Ubuntu and other Linux distributions have a variety of different repositories having all the relevant software information needed to provide the full functionality. When a user runs an installation/removal command, then it fetches the information from the relevant repository and then executes it.
In this article, we will provide you with the basic background about the repositories, and then we will discuss in detail how you can add them to Ubuntu. The content of this post is as follows:
Let’s start this guide!
What is an apt Repository in Ubuntu?
apt stand for stands for application packet manager that is used to install any application as it is directly linked with the Ubuntu software center. Ubuntu provides a large set of software you can directly install using the apt command, so you no longer need to search on the internet.
But from where will apt fetch that software you are looking for? The quick answer is to look inside the repositories, as they are nothing but different servers containing information about most of the applications.
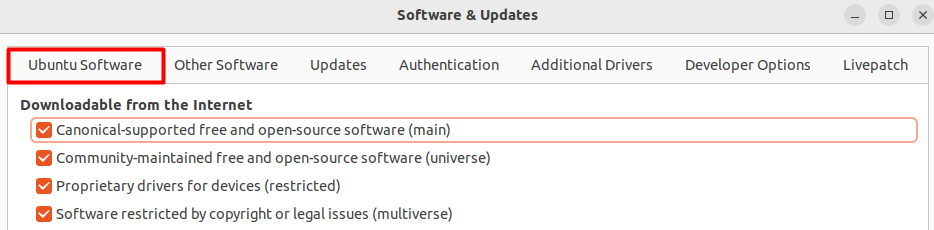
There are four main repositories in Ubuntu that you can use to add, which are described below:
- Main Repository
- Universe Repository
- Restricted Repository
- Multiverse Repository
Let’s discuss these repositories in detail, the differences, and how you can add them to your Ubuntu operating system (OS).
Main Repository
As the name suggests, this is the main repository for the Ubuntu operating system that is usually enabled by default. This repository contains the most secure and reliable free and open-source software without any bugs.
The software in this repository is fully supported by Ubuntu developers, and frequent updates are also available. You will find most of the packages and software in this repository as they are needed by the system utilities to perform well all the time. Other than that, most of the security and system updates are also dependent on this repository.
The primary factor is that all the included files and packages have undergone extensive testing and were created with an Ubuntu installation in mind.
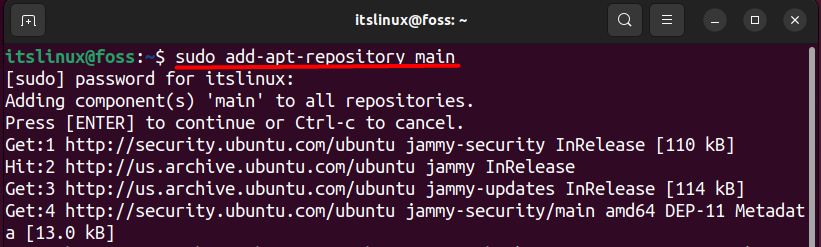
You can add this repository by writing the following command in the terminal:
$ sudo add-apt-repository main
Universe Repository
There are many applications and packages available in the universe repository, but you might not find those in the main repository. The reason is that this repository is being managed by the community and other developers that are not directly linked with the Ubuntu developers.
It has a huge amount of software that you can access for free, but that is not backed by the ubuntu developers. So, you can try installing them at your own risk using an apt packet manager, as they can be unreliable and not trustworthy.
Also, you will get frequent security and software updates just like you will get from the main repository, but they are not directly managed by the Ubuntu developers. Users can also move their repository from the universe to the main repository if they follow the strict guidelines provided by the Ubuntu team.
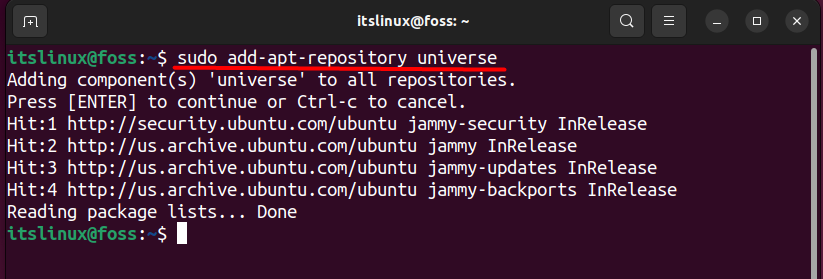
$ sudo add-apt-repository universe
Restricted Repository
Ubuntu tries to offer software that is free and open source exclusively, but this isn’t always practical, especially when it comes to hardware support. The software available in this repository is free to use, but they didn’t allow you to redistribute them
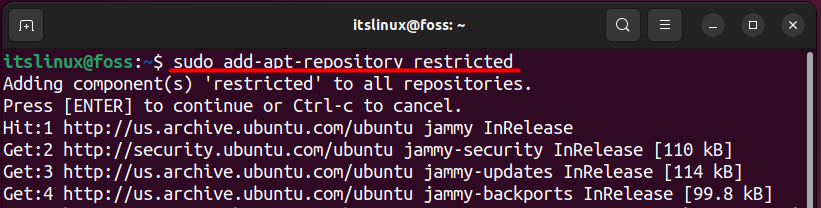
In other words, you can say that the software available in the restricted is closed source. They are also not supported by the Ubuntu team, but they are proprietary, and no one can alter this software. You can add this repository by writing the command mentioned below:
$ sudo add-apt-repository restricted
Multiverse Repository
The multiverse repository is not free and open-source (FOSS) due to its legality and licensing issues cannot enable this repository by default. This is one of the riskiest repositories among the four, as the packages and software provided in it are not guaranteed if they perform well or not.
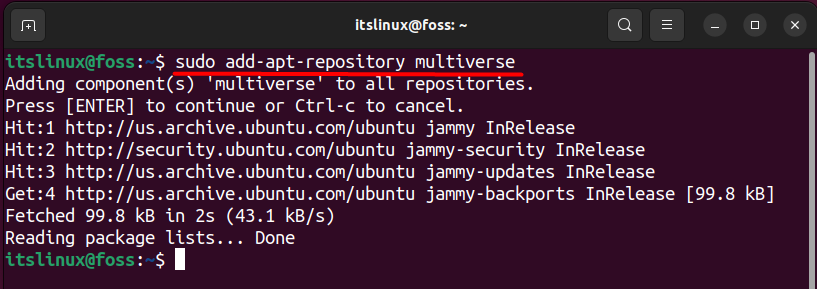
Also, the updates and fixes have security threats and risks as well which is why using this repository is not recommended. Still, you can use this repository by typing the following command:
$ sudo add-apt-repository multiverse
You can also enable these repositories by going into the “software and update settings” and selecting the first option of “ubuntu software”, where you will find these four repositories.
How to Remove the apt Repository?
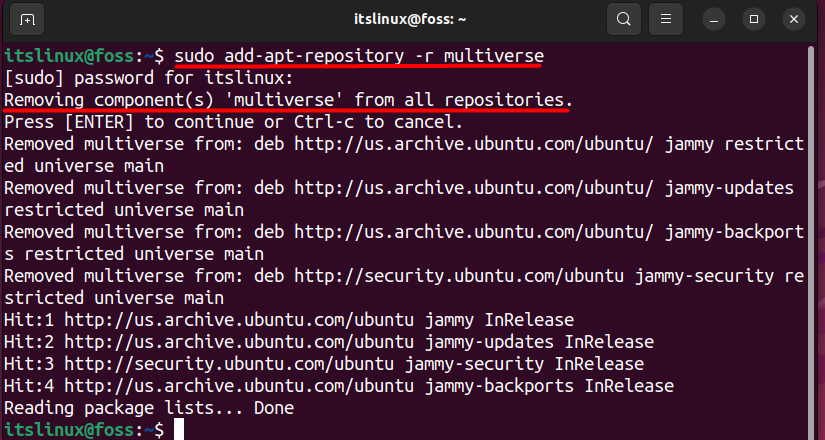
You need to follow the same method as you did while installing the repository. The only difference is that you must write ‘-r’ before writing the repository name, as mentioned below.
$ sudo add-apt-repository -r [Repository Name]
For example, if you want to remove the multiverse repository, then you can do that by typing the below command:
$ sudo add-apt-repository -r multiverse
Bonus Tip: Fix “add-apt-repository Command not Found” Error
If you are not able to add any specific repository and facing error while doing it then you can read this article to resolve the error.
That’s all from this post!
Conclusion
Repositories are an essential part of Ubuntu distribution as they contain all the relevant applications that you can access and install. There are four major repositories that have been discussed in this article, which are the main, the universe, the restricted, and the multiverse. You can install any of these repositories using the apt command, which we have also discussed in detail. Moreover, the removal method of the apt repository is also described.