The header or Footer are the two most important sections to format any document. The content in these sections is repeated throughout the document, such as the title name. Google Docs provides interesting features for inserting a header or footer in a document. It enhances the overall look of documents with proper formatting. In this post, we will demonstrate the methods for adding or removing headers and footers in Google Docs. The guidelines for this post are as follows:
Let’s learn these methods one by one:
How to Add or Remove Header in Google Docs?
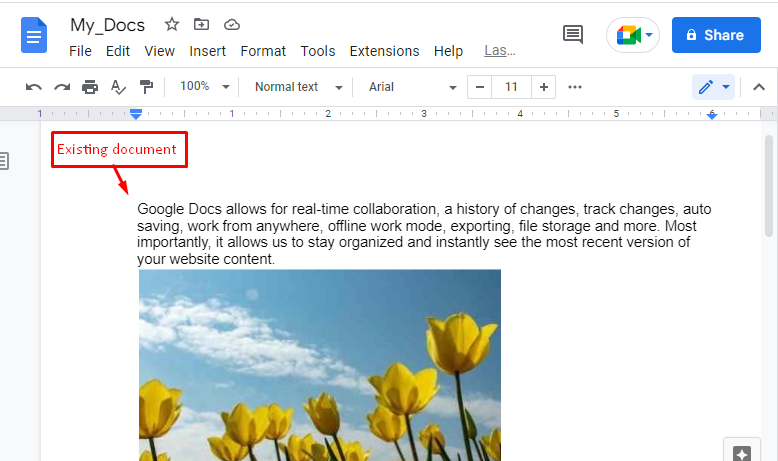
An existing document is adapted to add or remove the header in Google Docs. Most of the time, the header contains page numbers, section names, book names,s and many more. In this method, step-by-step guidelines are provided to add or remove headers in Google Docs.
Add Header
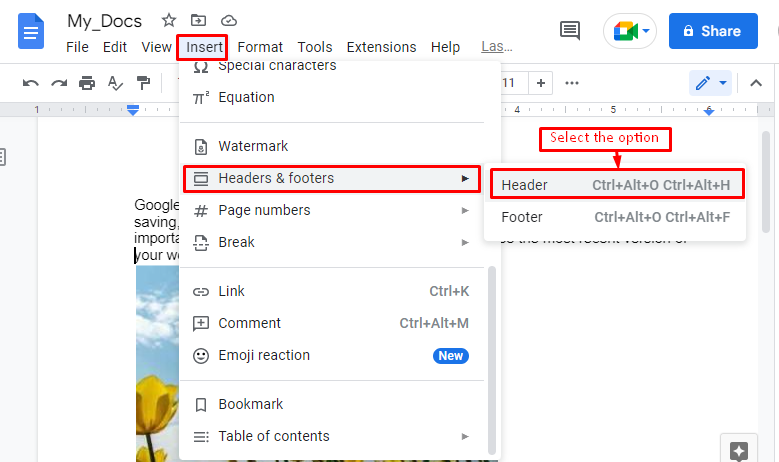
Navigate to the “Insert” tab and hover over the “Headers & footers” option. Another options menu will appear; click on the “Header” option.
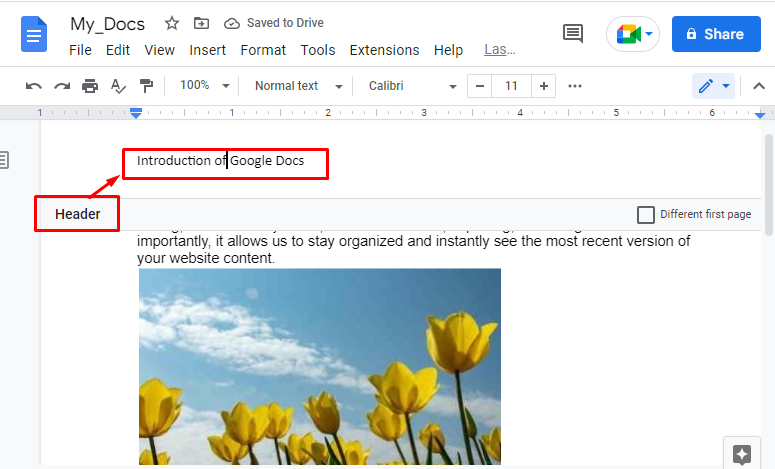
After that, your cursor will jump inside the header section where you can type or add the text. For instance, we are using the text “Introduction of Google Docs” in the header section, as shown below. After writing the text in the header section, click the mouse on any part of the document to add the header.
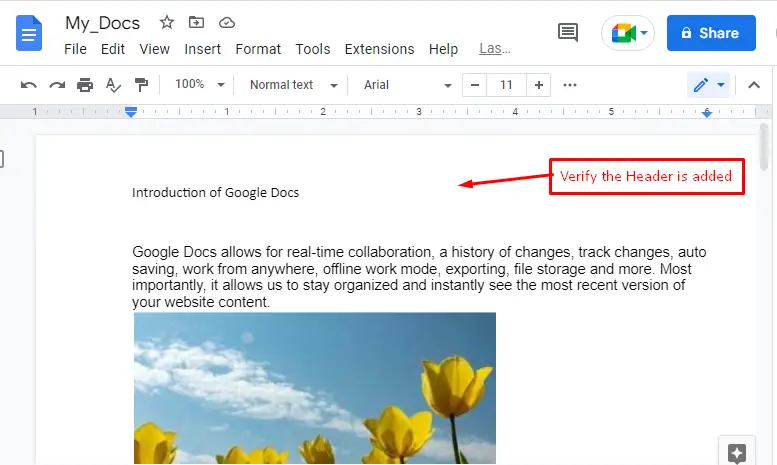
Hence, the user can verify that “Introduction of Google Docs” is placed at the header of Google Docs.
Remove Header
For removing the header in Google Docs, a “GIF” is captured here that can be seen here.
In this “GIF”, press the double click at the header section, and select the text present in it. After that, delete the content that is applicable throughout the document.
Method 2: Add or Remove Footer in Google Docs
Another method is adopted to add or remove footers in Google Docs. For this purpose, the procedure steps are provided as follows.
Add a Footer
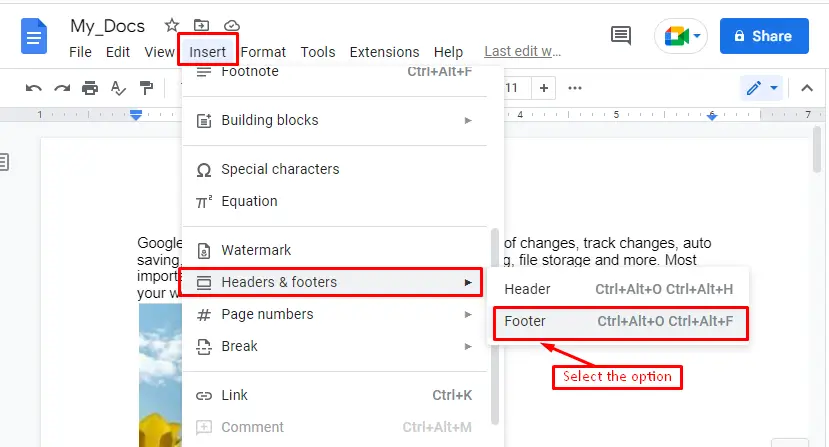
For adding the footer to an existing document, select the “Headers & footers” option from the “Insert” tab of the menu bar. After that, choose the “Footer” option in the dropdown list. Moreover, users can utilize the shortcut key “Ctrl+Alt+F” as an alternative method.
Users can type any text in the footer section of Google Docs. In this scenario, we wrote “Copyright document” in the footer.

Remove a Footer
For removing the footer in Google Docs, a “GIF” is captured by pressing the double click on the footer section of Google Docs.
Bonus-Tip: Double Click to Add or Remove Header/Footer in Google Docs
By pressing the double click on the header or footer, type “Google Docs” and “Copyright”. The content is applied in the whole document. After that, double-click on the header or footer section to delete the content with the “Delete” key.
Excellent Work! You have learned to add or remove the header or footer in Google Docs.
Conclusion
Google Docs provides the “Headers & footers” option to add or remove a header or footer in a document. After pressing this option, choose whether you want to add a header or footer. After choosing the option, the cursor will fall into the respective section where you can add a new text or remove the existing one. Moreover, you can double-click in the header’s or footer’s area to perform the addition or removal of the header and footer. This post has explained how to add or delete a header and a footer in Google Docs.

TUTORIALS ON LINUX, PROGRAMMING & TECHNOLOGY