In Google Docs, tables represent the data in columns and rows for better understanding. Users can create tables and customize them by changing their width, size, alignment, and Format. Users can also add colors on individual cells to make the content different.
This post will demonstrate how to align tables in the center using 2 different methods.
The content of the post is:
- Using the Right-Click to Center a Table in Google Docs
- Using Menu Bar to Center a Table in Google Docs
Let’s start this guide.
Method 1: Using the Right-Click to Center a Table in Google Docs
Sometimes, users must align the table in the center to maintain the document’s formatting. In this method, the table will be aligned to the center by selecting and right-clicking on the table. Let’s practice it visually:
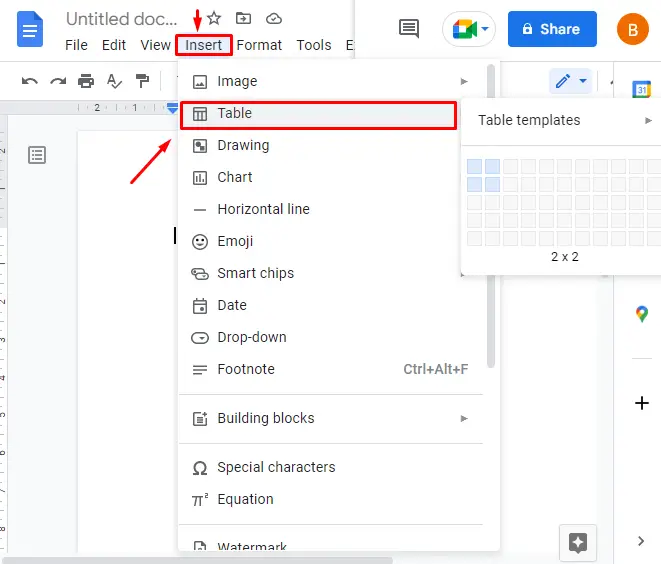
Open your Google Docs document and insert the table using the “insert” tab from the MenuBar. Click on the “insert” tab and mouseover on the “Table” option from the dropdown and create your desired rows and columns:
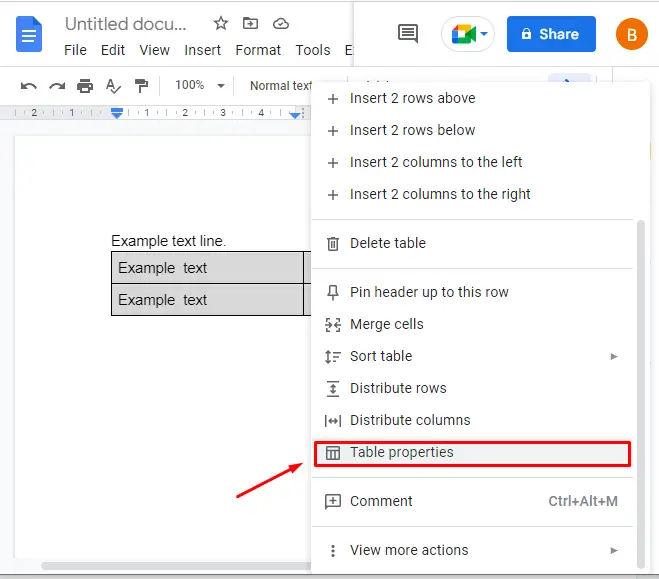
Now, “Right click” on the, scroll down the dropdown menu and click on the “Table properties”:
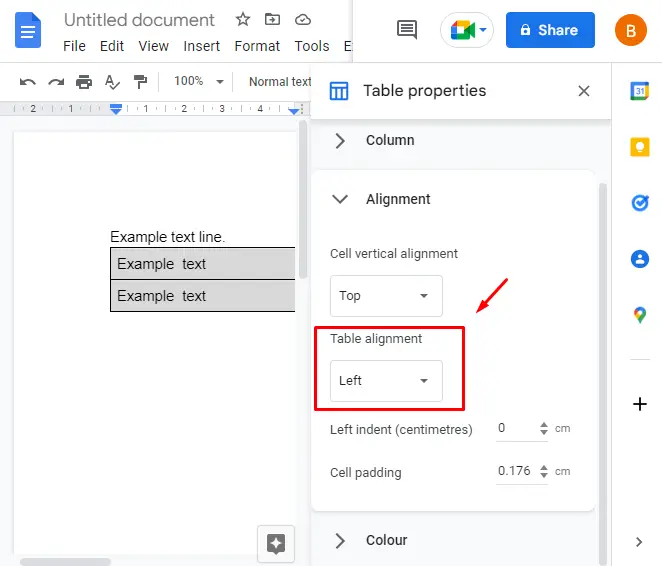
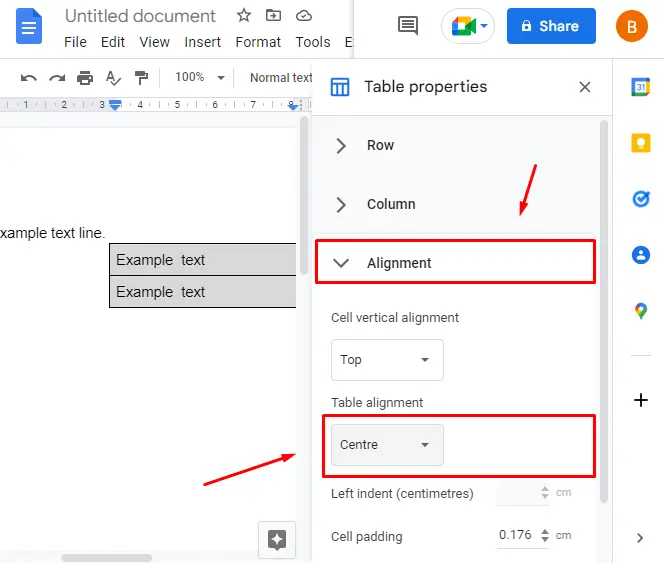
Afterward, click on “Alignment” from the sidebar and change the “Table alignment”:
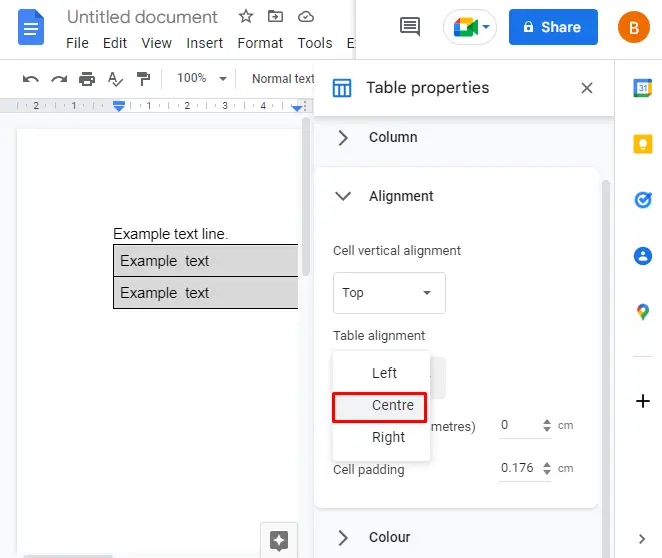
Set the “Table alignment” to the “Centre” option:
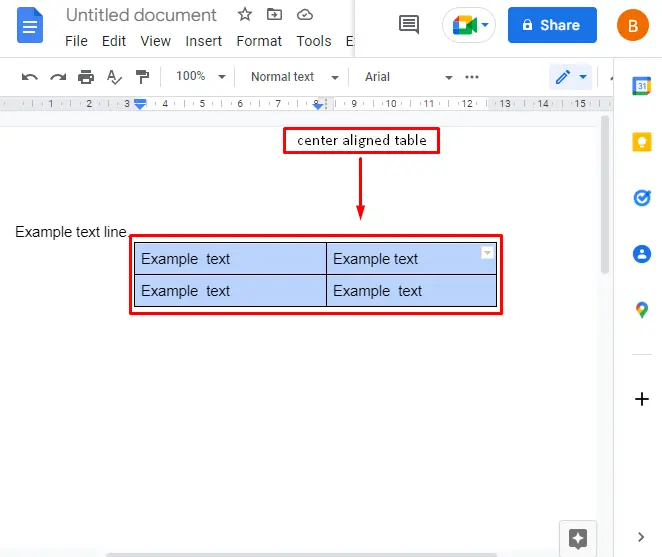
Now, the table is center aligned as shown in the below image:
Let’s head over to the second method.
Method 2: Using Menu Bar to Center a Table in Google Docs
Another method to align tables in the center is using the “Format” option from the MenuBar. Select the table and click on “Format” from MenuBar. From the dropdown, mouseover on “Table” and click on the “Table properties”:

Click on the “Table properties” and set the alignment of the table to center inside the “Alignment” option:
After performing the above steps, the table will be center aligned:

That’s all from this guide!
Conclusion
Tables can be center aligned by selecting and “right clicking” on the table and using the “Format” option from the MenuBar. This Google Docs guide has demonstrated the possible methods to center a table.
