On Linux, the DNS cache is a temporary storage system for DNS lookups and is responsible for converting domain names into IP addresses. When a DNS query is made, the system checks the cache for the related information. If found, then it hastens the process of resolving domain names. If the data in the DNS cache is outdated or incorrect, it must be flushed to ensure that the correct information is being used. If your system has a cache of a website and suddenly, for some reason, the website owner changes the IP address, the system has old IP, which will cause an IP conflict.
Today’s guide explains the flushing of the DNS cache on Ubuntu, so let’s start digging.
How to Check DNS Cache Status on Ubuntu?
Before flushing it, you should know if the DNS cache on your system is enabled or not using the command line utilities such as nslookup. To install this utility, the package named “dnsutils” will be installed on your system as it contains a few other utilities. Use this command to do so.
$ sudo apt install dnsutils
Since this command requires sudo privileges, you will be prompted to enter the user password, and the terminal will install it.
Now when the package “dnsutils” is installed, let’s use the nslookup command to see if the DNS caching is enabled on the system.
$ nslookup www.google.com
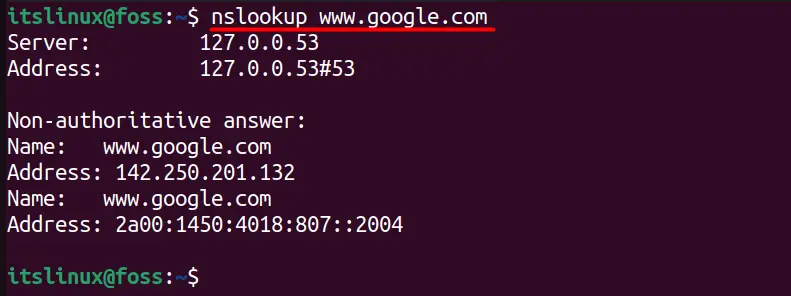
- In the above image, Server & Address defines the queried DNS server, and the port used is 53.
- A Non-authoritative answer indicates that the DNS server you asked for does not possess accurate information for the domain name.
- The website “www.google.com” was queried on its DNS, which contains the following IP addresses: IPv4 (142.250.201.132) and IPv6 (2a00:1450:4018:807::2004). It is worth noting that the domain name “www.google.com” can be mapped to several IP addresses.
The main thing to notice is 127.0.0.53, the server that indicates the DNS caching is enabled. If it were disabled, you would see a “connection refused” error.
$ nslookup www.google.com

Enabling DNS Cache: Users can enable DNS caching using this command.
$ sudo systemctl start systemd-resolved

Checking Status: It will enable the caching on Ubuntu, and to check the status, use this command.
$ sudo systemctl status systemd-resolved
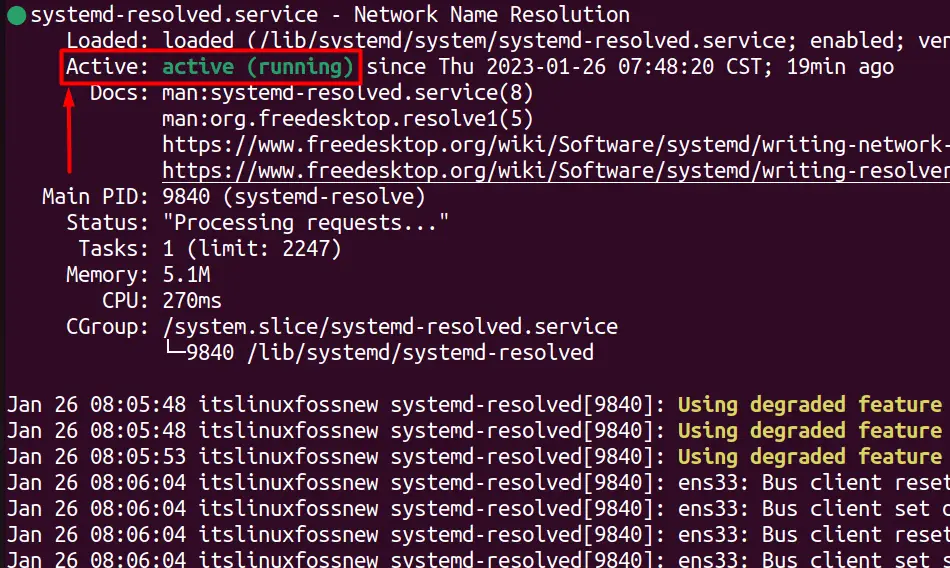
Disabling DNS Cache: As highlighted in the above image, the current status of “systemd-resolved.service” is active, meaning DNS caching is enabled. To disable it, use this command.
$ sudo systemctl stop systemd-resolved

The “systemd-resolved.service” is now inactive, meaning DNS caching is disabled.
How to Flush DNS Cache on Ubuntu?
Flushing the DNS cache is considered a good practice because of the dynamic world of the internet, and the DNS information is changing as we speak. Some users reportedly faced connectivity issues like “took too long to respond” and other problems like false redirection.
Checking the Statistics of DNS Cache
To view the statistics of the DNS cache on Ubuntu, use this command:
$ resolvectl statistics
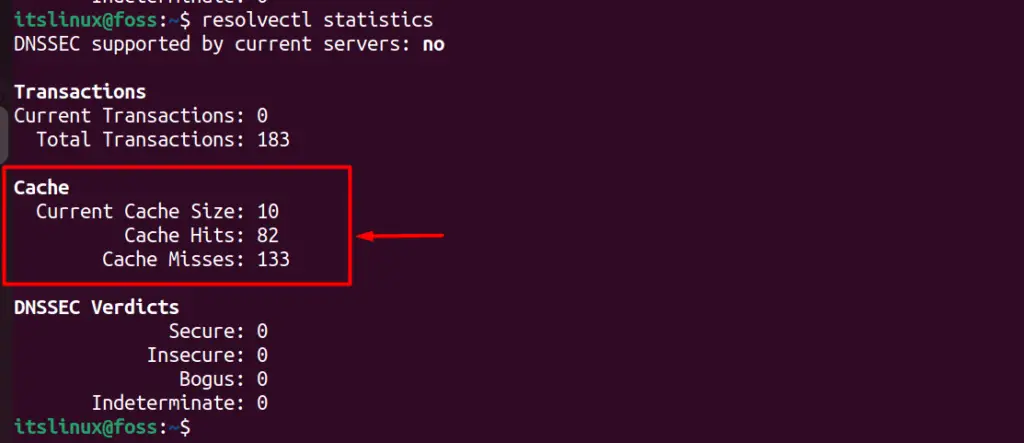
The command specified above displays the statistics of the DNS cache as shown in the image above:
- The “Current Cache Size” indicates the number of DNS records stored in the cache.
- The “Cache Hits” represents the number of times a DNS query was resolved successfully using a record from the cache.
- The “Cache Misses” denotes the number of times a DNS query couldn’t be resolved using a record from the cache, and a remote DNS server was consulted for resolution.
Flushing DNS Cache:
Now, to flush it, use this command.
$ sudo resolvectl flush-caches

It will erase the DNS cache on Linux, which can be checked using this command.
$ resolvectl statistics
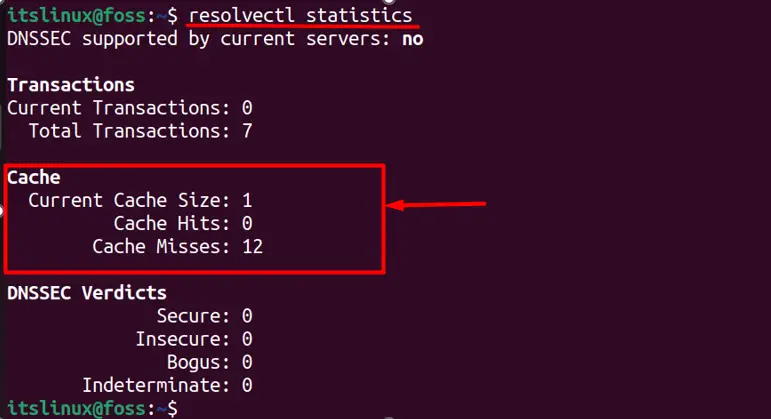
As seen above, the current cache size is reduced to 1, which is expected because sometimes the OS automatically re-adds a record.
Conclusion
Flushing the DNS cache is a good practice to keep your web surfing smooth, as there are a few problems that can be there if it is not flushed. This guide discusses the flushing DNS on Ubuntu 22.04.