Brochures are promotional documents used for various purposes like Introducing the organization, services, customers or members, etc. Most organizations practice brochures to promote their company. These brochures can be designed with various editing tools. One of these is Google Docs, which allows you to create aesthetic Brochures. This article will demonstrate the methods to create Broucher on Google Docs.
The content of the post is:
Let’s start this guide.
Method 1: Create a Brochure Using Builtin Template
Google Docs provides built-in templates for the brochure. Let’s discuss the method of using templates in Google Docs.
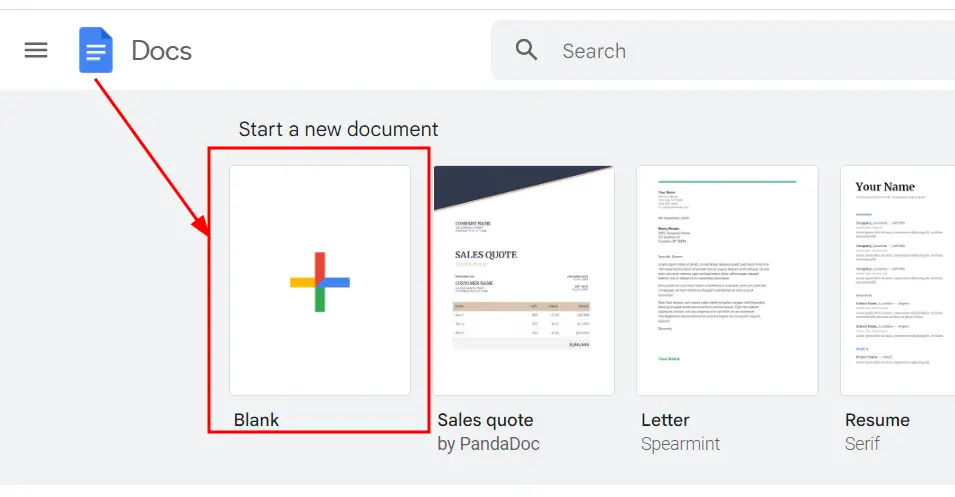
Step 1: Open a Blank Document
Open up a blank document through Google Docs:
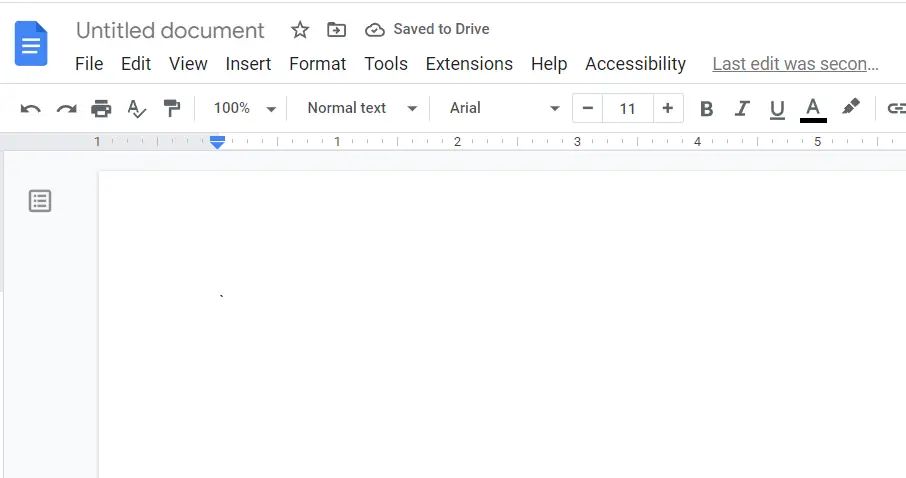
A blank document will appear:
Step 2: Select the Template
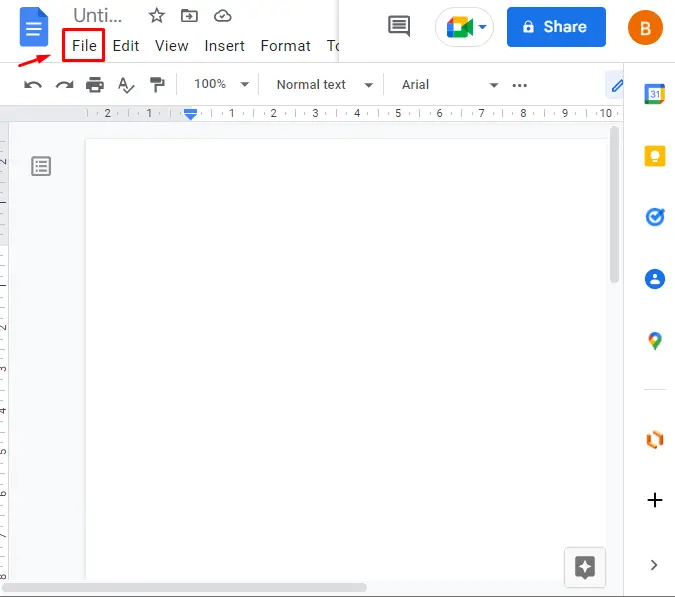
Click on the “File” option from the MenuBar:
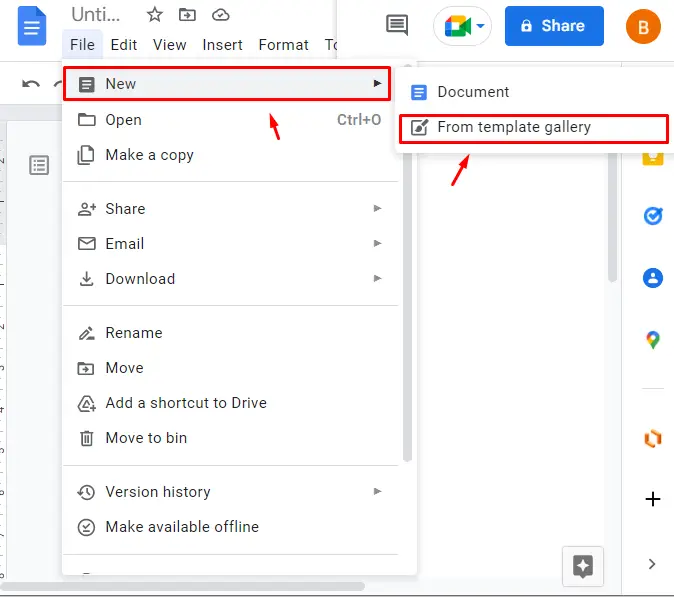
Hover on the “New” and click on the “From template gallery”:
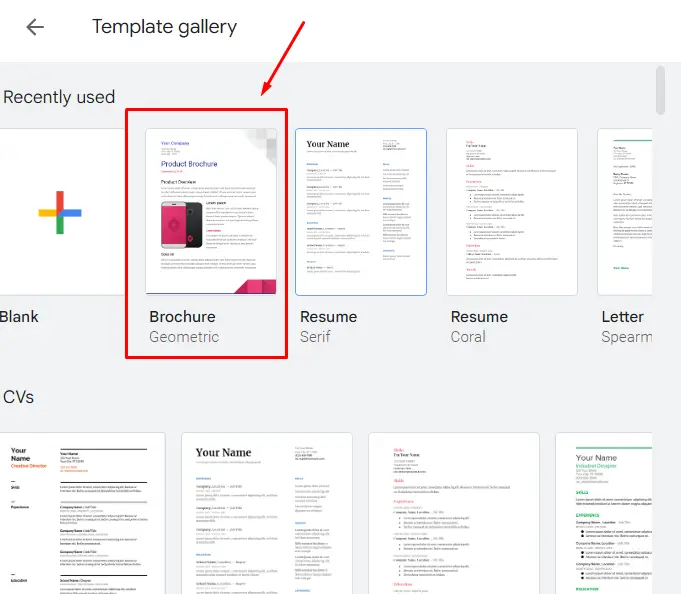
This will open the new tab of the browser, and all templates will appear there, click on the brochure template as shown in the below image:
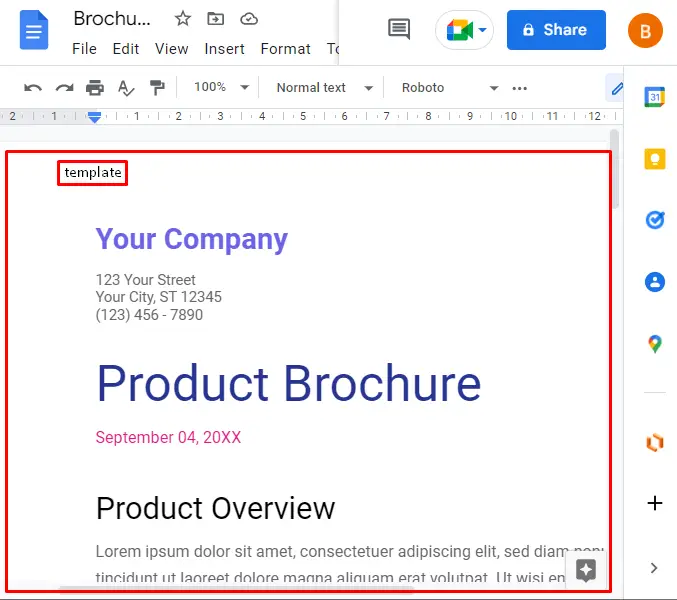
A new document will be created with a name brochure, and a template will be pasted into that document:
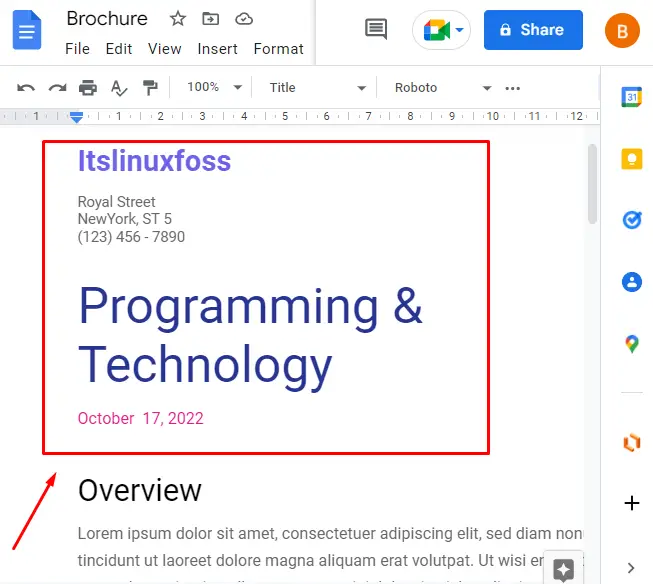
Step 3: Customize the Template
Now, the user can customize the template such as his company name, address, and product overview.
Method 2: Creating a Brochure Manually
This method demonstrates the steps to create a Brochure Manually. The user needs to apply their creativity as the process is manual, and the design will be made by the users. Let’s, follow the steps to create Broucher manually.
Step 1: Open a Document
Open a Google Docs file (new or existing document):
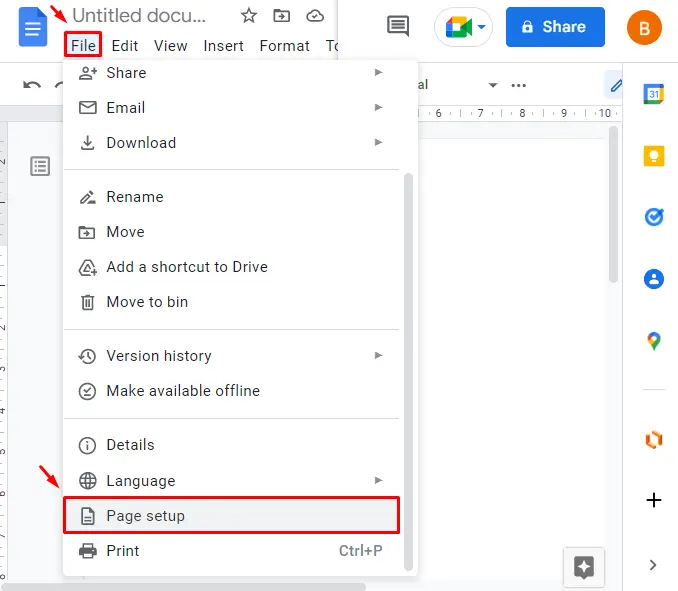
Step 2: Modify Page Size
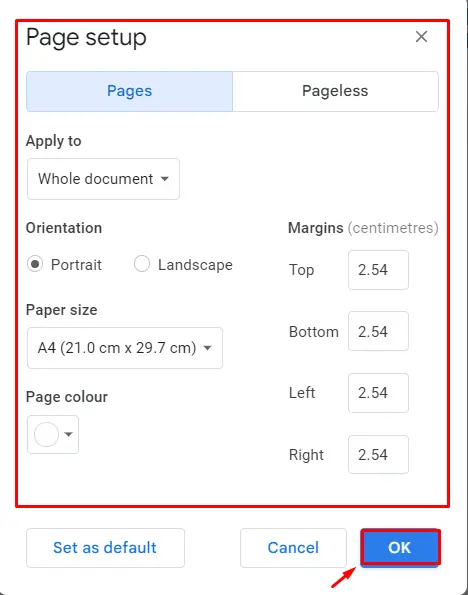
Then, click on the “Page setup” under the “File” tab option from the MenuBar:
Adjust the page size according to the brochure’s requirement and press “OK”:
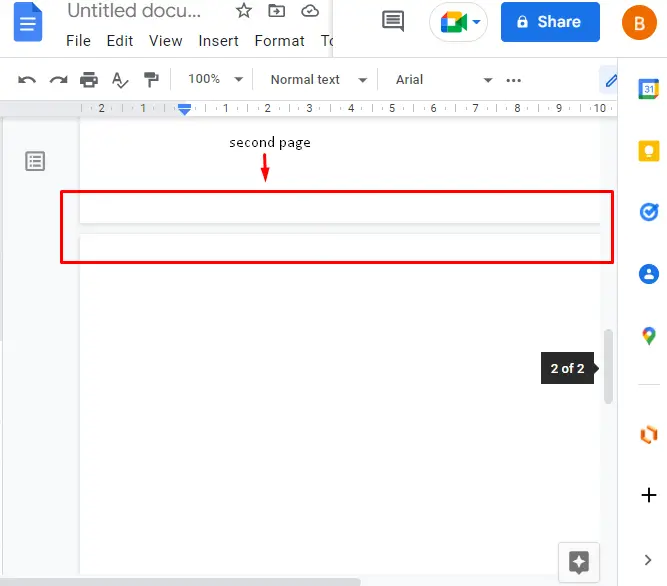
Step 3: Add Another Page WIth the Same Settings
Create one more page and apply the same set of page setups as on the first page:
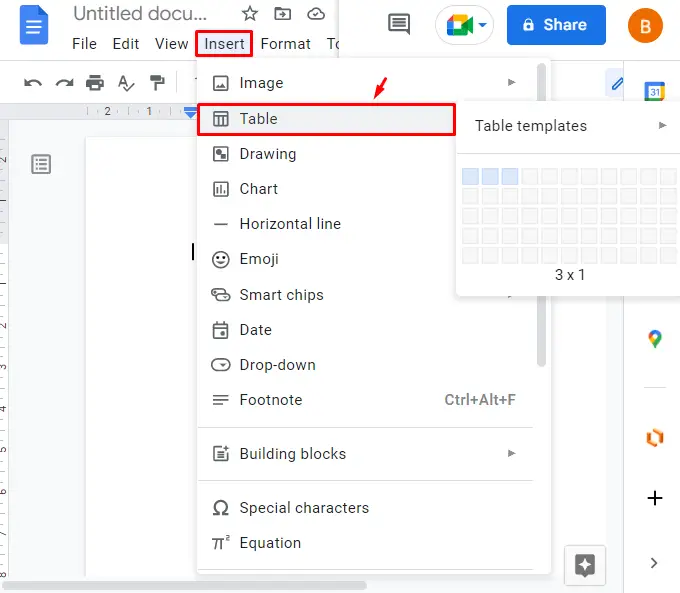
Step 4: Add a Table
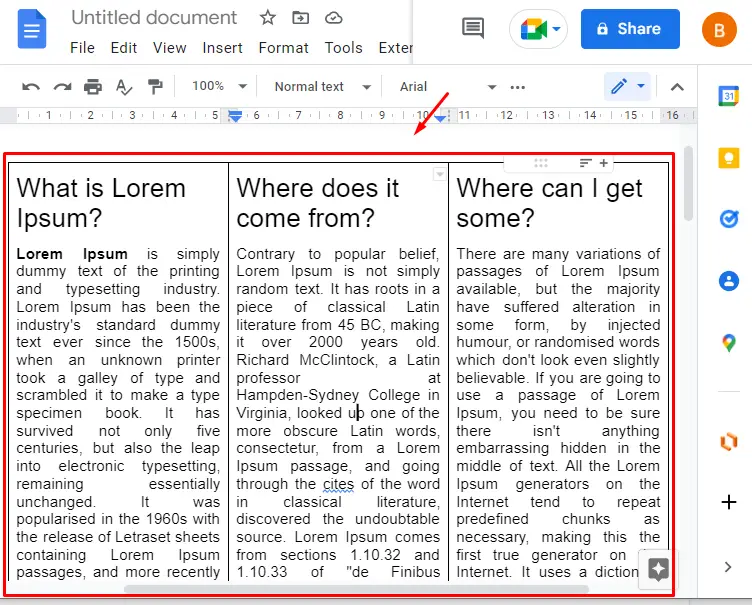
Now, create the table on the page by using the “Insert” tab from MenuBar. There could be three columns and one row (3*1) of the table, which is the standard dimensions of a brochure:
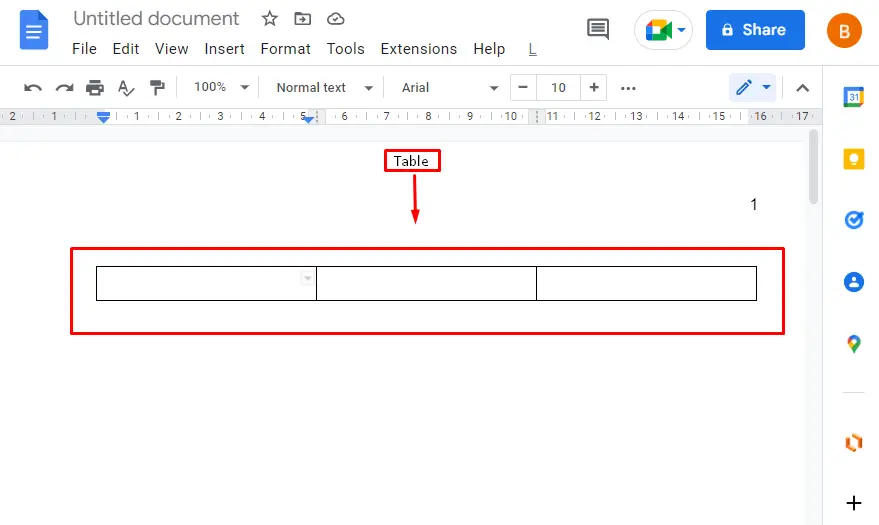
The table is inserted as shown in the below screenshot:
Step 5: Customize Table Cells
Now, expand the columns of the table and type (or paste the copied content) the content into it:
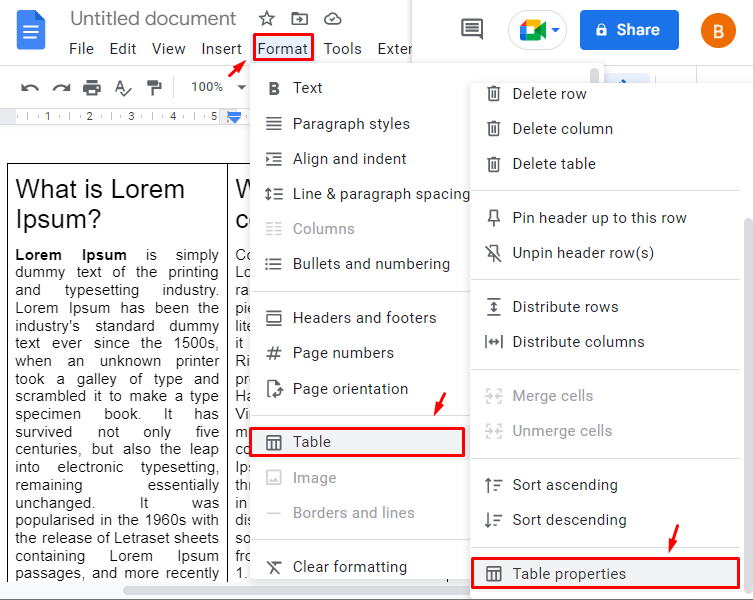
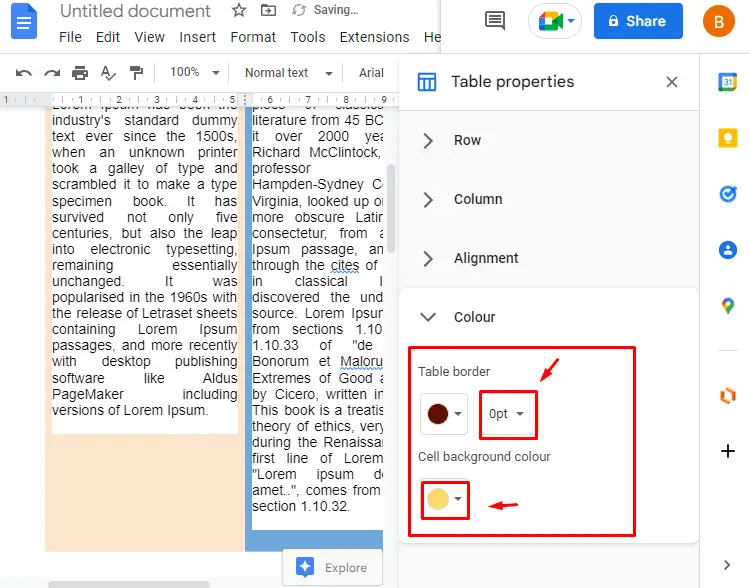
Now, add some color in each column and remove the border of the table by using the “Table properties” from the “insert” of the MenuBar:
Apply some changes in the table by changing color and removing the border:
Look at the customized brochure:

In this way, the user can make their brochures manually. The brochures can be customized more from the options/features in the “Table properties”.
That’s all from this guide!
Conclusion
In Google Docs, the brochure can be created from the built-in templates or manually by utilizing the table and its properties. The built-in templates allow you to make a brochure quickly with the available designs. However, a table of 3 columns and 1 row is used to create a customized brochure. This post has demonstrated multiple methods to create a brochure in Google Docs.
