An invoice contains information about services or products delivered to customers. Google Docs assist their audience in drafting professional invoices and modifying them according to their needs. This tutorial will provide a method to create an invoice on Google Docs.
The content that carried out this guideline is as follows:
- Method 1: How to Create an Invoice Via Built-in Templates?
- Method 2: How to Create a Customized Invoice on Google Docs?
- Method 3: How to Create a Customized Invoice on Mobile Google Docs?
Let’s start with the first method.
Method 1: How to Create an Invoice Via Built-in Templates?
Google Docs is an open-source tool that provides an efficient way to create an invoice in no time. To achieve this task, the step-by-step instructions are given below:
Step 1: Open Google Docs
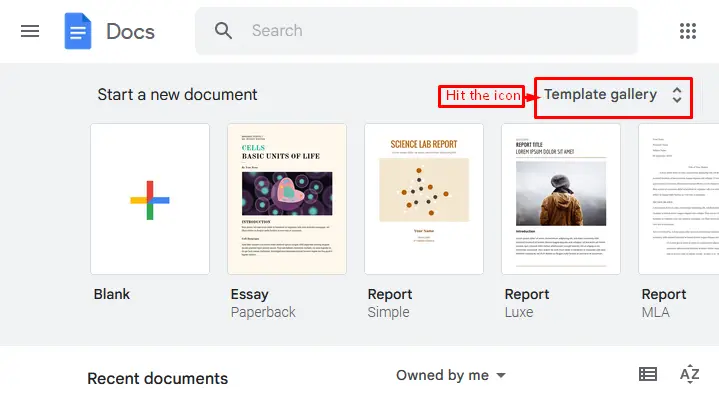
To access the built-in template of the invoice, click the URL “https://docs.google.com/,” which navigates to the Google Docs window. At there, hit the “Template gallery” icon below:
Step 2: Choose the built-in template
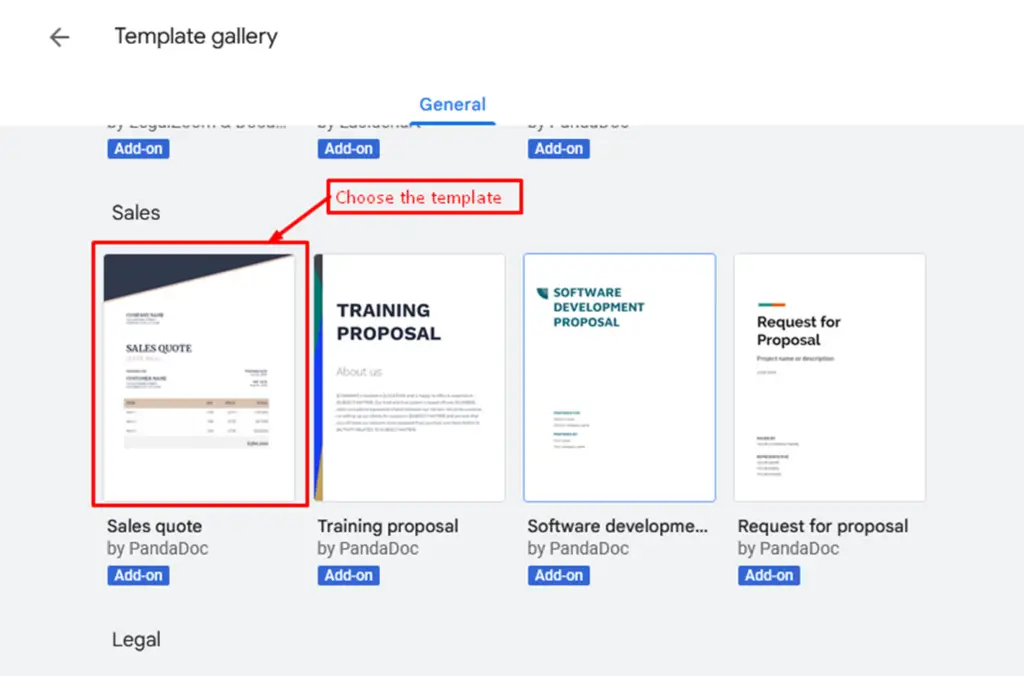
It navigates to the “Template gallery” window having multiple templates. In this scenario, pick the “Sales quote” template that is close to the “Invoice” template:
Step 3: Create an Invoice
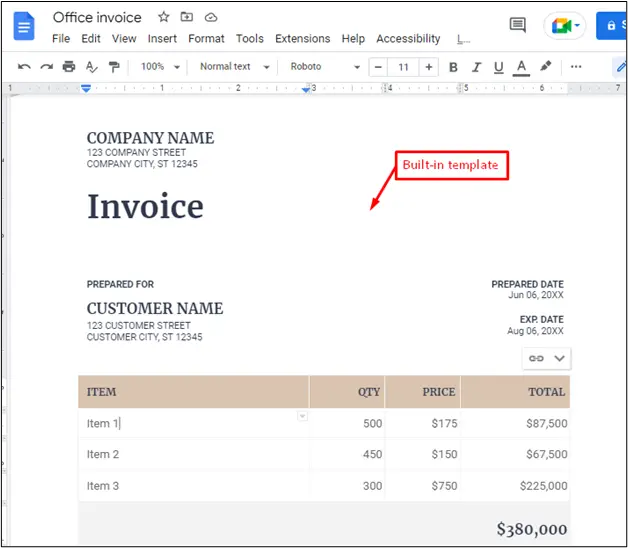
After pressing the specified template in the “Template gallery” window, it opens in Google Docs. Now, users can modify “COMPANY NAME”, “COMPANY ADDRESS”, “CUSTOMER NAME”, “ITEMS”, “QUANTITY”, “PRICE”, and ”TOTAL” according to their demands:
That is all from the built-in templates of Google Docs.
Method 2: How to Create a Customized Invoice on Google Docs?
For creating a customized invoice, Google Docs facilitates a variety of built-in functionalities. The step-by-step procedure is described here to create a customized invoice in Google Docs:
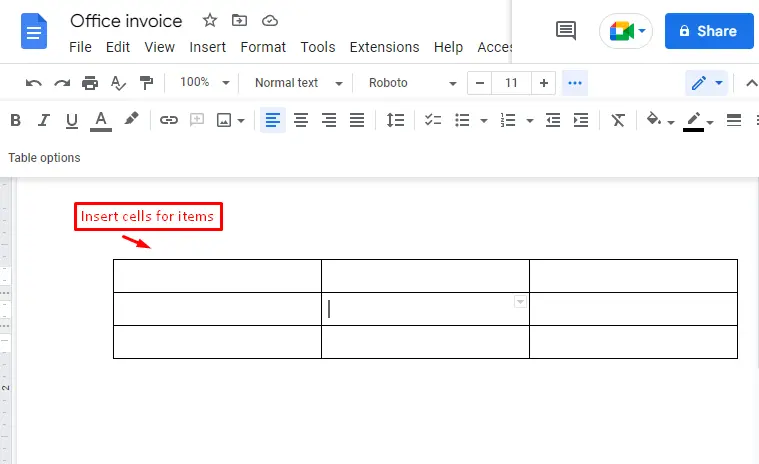
Step 1: Insert Table Cells
Choose the required cells by hovering over the “Table” option from the “Insert” tab, which can be visualized below:
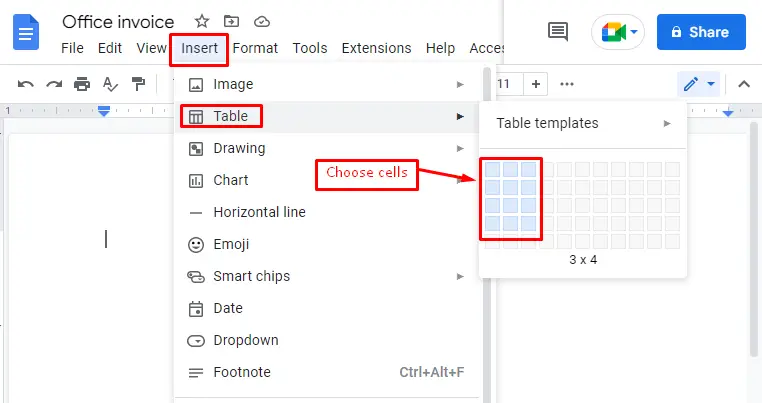
Users can verify that six cells have been inserted for the product items of the invoice:
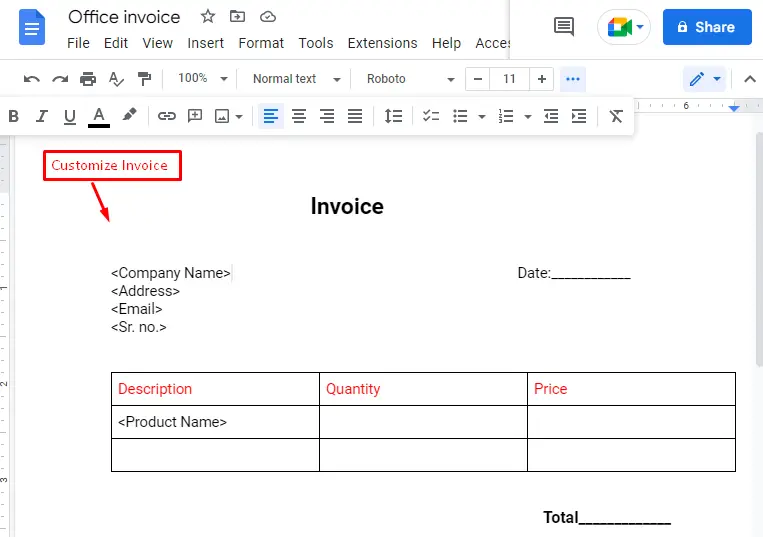
Step 2: Customize the Invoice
Create a simple invoice template in Google Docs on which users can type the “Company Name”, “Address”, “Email”, and “Sr. no.” at the top left side. After that, write the “Product Name” in the “Description” column and place “Quantity” and ”Price” in the same row of different columns. Finally, the total amount of the invoice can be written on the bottom-left side of the invoice, as seen below:
That is all from the customized invoice in Google Docs.
Method 3: How to Create a Customized Invoice on Mobile Google Docs?
Google Docs offers numerous features for mobile users with a single click. By using it, users can create an invoice in simple steps, which are as follows:
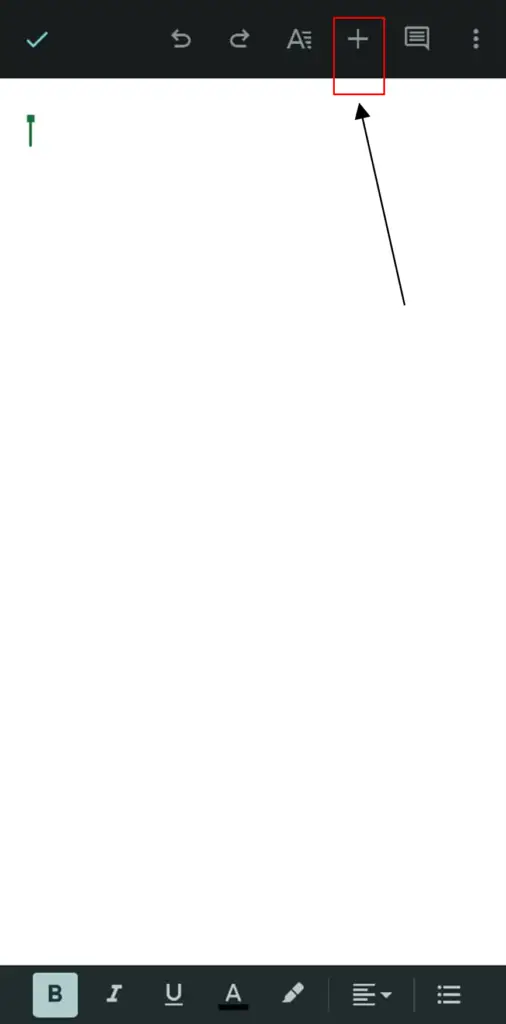
Step 1: Open Google Docs
After opening an empty document on mobile, hit the “+” button to utilize the built-in feature of Google Docs:
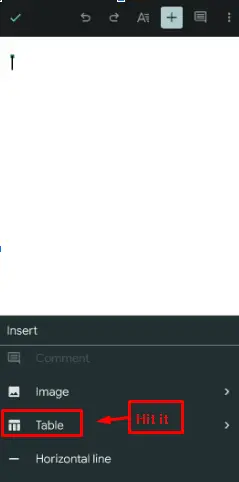
Step 2: Choose the Table option
It navigates to a new window of multiple options. At there, choose the “Table” option to add cells in the current document as below:
Step 3: Insert table
There, choose the required number of rows and columns by pressing the “up” and “down” buttons. After that, hit the “Insert table” button below:
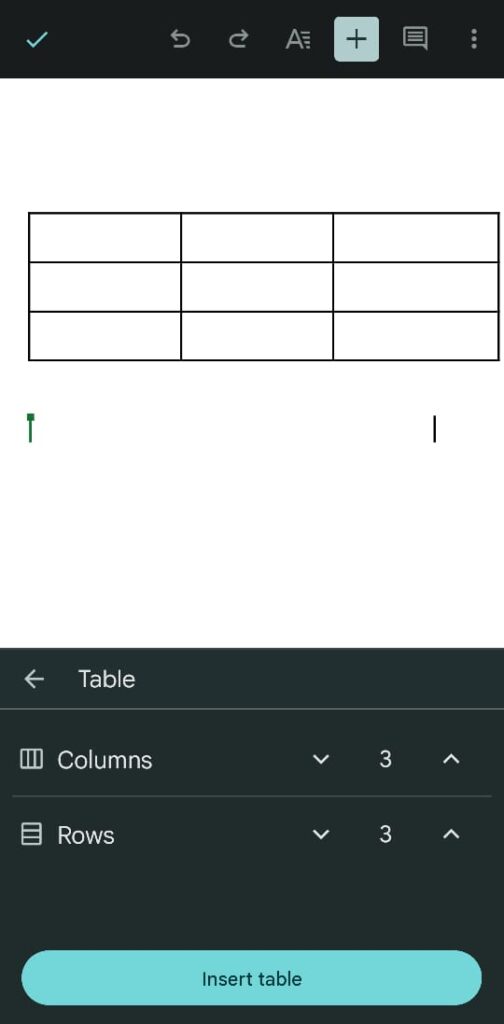
Step 4: Verify Inserted Rows and Columns
Verify that selected cells have been inserted into an existing document. Now users can modify it according to their needs:

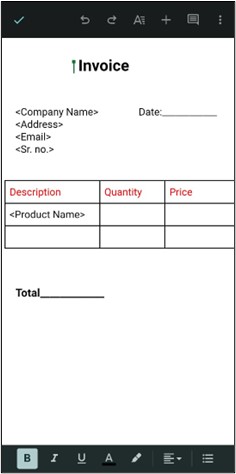
Step 5: Create a Customized Invoice
Now, users can edit the “Company Name”, “Address”, “Email”, and “Sr. no.” “Product Name” and many more based on their needs:
That is all from the mobile Google Docs.
Conclusion
Google Docs provides built-in templates from the “Template gallery” to create an invoice on Google Docs. After inserting the template into the document, users can type “Company Name”, “Address”, “Email”, and “Sr. no.” “Product Name” and many more. Additionally, the method of creating customized invoices has been provided in windows and mobile Google Docs. This guide has explained all the essential steps to create an invoice in Google Docs.
