In Linux, Cron logs store the cron job information; each cron job refers to the specific task scheduled by the user. The cron logs created by each cron job are based on their type and provide hints if any problem occurs during the execution. They gather website information(visits) that helps to improve its performance.
This guide enlists all possible ways to display the cron logs’ location on the server.
- Where Cron logs are Stored on Your Server?
- How to Create Cron Logs File Manually?
- How to View Real-Time Cron Logs?
Where Cron Logs are Stored on Your Server?
The cron logs are stored in the main “system log” file placed in the “/var/log/” directory by default.
The “syslog” stands for “System Logging Protocol”.
Use the “cat” command with the combination of “grep” to filter out the cron logs from the “/var/log/syslog” file in this way:
$ tail /var/log/cron                             #For CentOS/RHEL
$ cat /var/log/syslog | grep cron                #For Debian/Ubuntu-Based
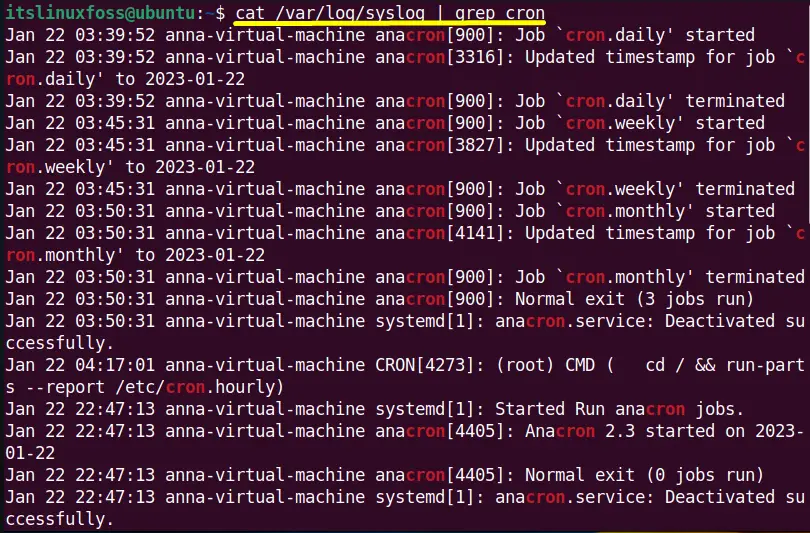
The output displays the current active cron jobs in the terminal.
How to Create Cron Logs File Manually?
The user can also create a separate cron logs file that can be easily monitored. The steps to perform this task are illustrated below:
Step 1: Open the Default Cron Log File
First, access the cron log configuration file “/etc/rsyslog.d/50-default.conf” in the default text editor named “nano”:
$ sudo nano /etc/rsyslog.d/50-default.conf
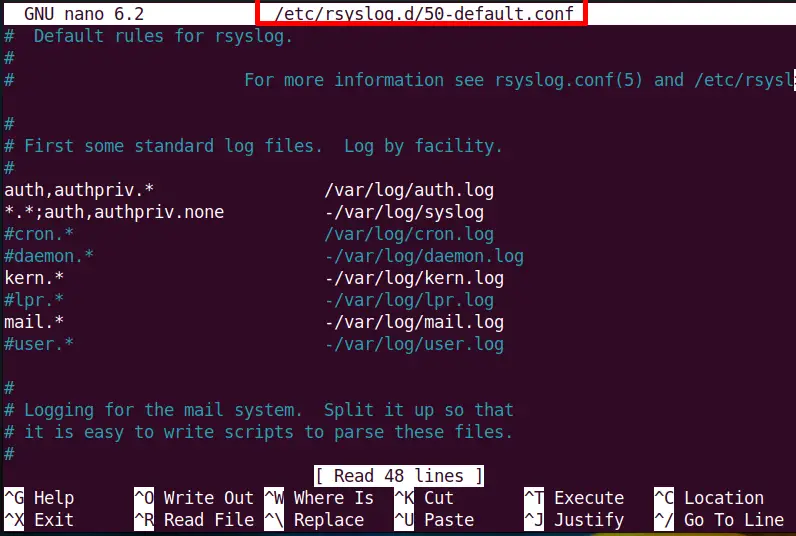
Find the “#cron.*” line in the above file and uncomment it by just removing the “#(hash)” in front of it:
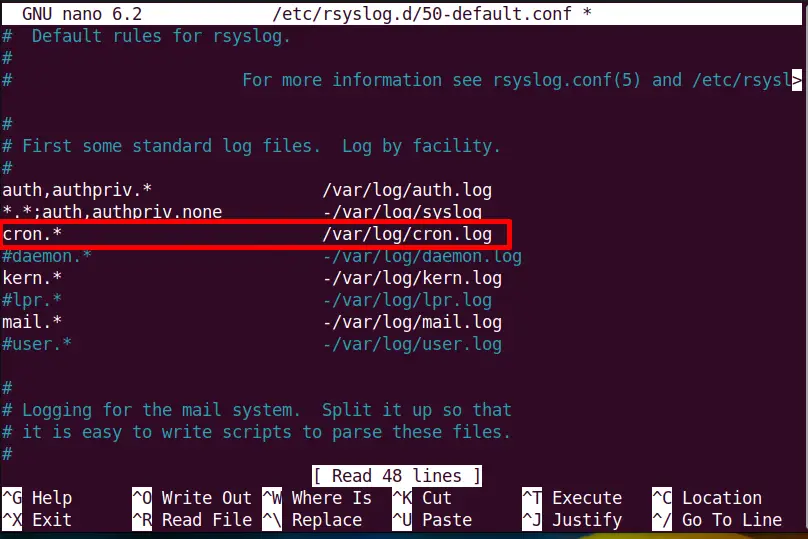
Press “Ctrl+S” to save and “Ctrl+X” to exit the editor.
Step 2: Create New Cron Log File
Create a new “cron.log” file in the “/var/log/” static directory. This task can be easily performed using the command:
$ sudo nano /var/log/cron.log

Step 3: Restart the ryslog Service
In Last, restart the “ryslog” services using the “systemctl” command to save the changes effectively:
$ sudo systemctl restart rsyslog

The “ryslog” service has been restarted, and now all the cron logs are stored in the newly created “cron.log” file.
How to View Real-Time Cron Logs?
Apart from saving the cron logs, the user can easily view the real-time cron logs after specified time intervals using the “watch” command.
Step 1: Create Watchcron File
Create and edit the “watchcron” file or according to the user’s choice using the command:
$ sudo nano watchcron

Write the “bash Shebang” at first to run it into a bash shell. After that, define the “watch” command with the following arguments:
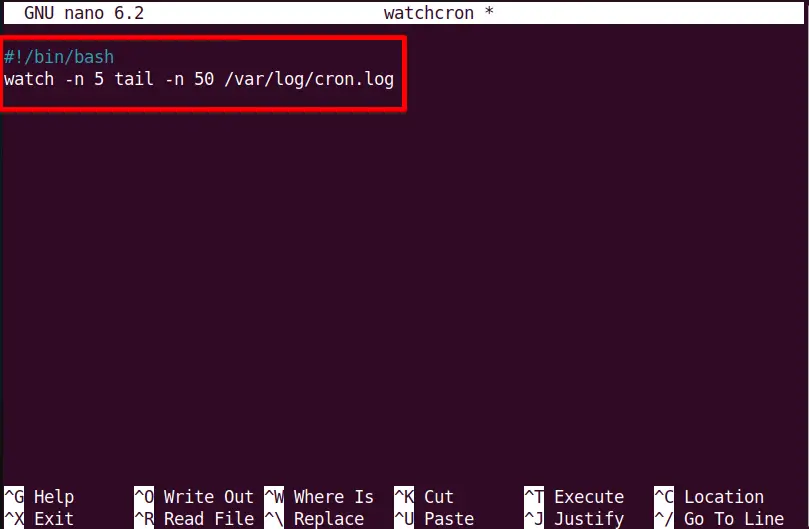
Press Ctrl+S(save) and Ctrl+X (exit). The above “watch” command will refresh the cron logs after every 5 seconds and show on the terminal at 50 seconds.
Step 2: Modify Watchcron File Permissions
Assign the “x(execute)” permissions to the “watchcron” file to make it executable using the “chmod” command:
$ sudo chmod +x watchcron

Copy the “watchcron” file into the “/usr/sbin” location using the “cp” command. The /sbin directory contains executable files necessary for the system administration:
$ sudo cp watchcron /usr/sbin

Step 3: Execute Watchcron File
Execute the “watchcron” file, and now the system’s real-time cron logs are displayed as shown in the image:
$ ./watchcron
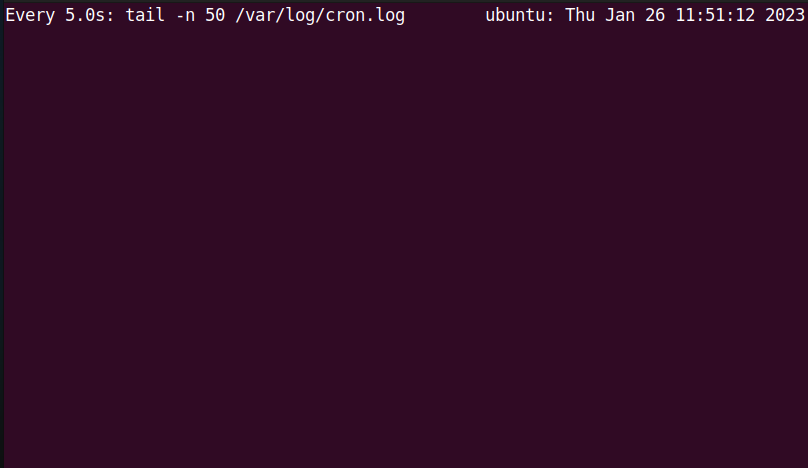
No cron job is set that’s why the file contains no content.
Conclusion
In Linux, the cron logs are stored in the “/var/log/syslog” main system file that can be easily accessed through the “cat” and “grep” commands. The user can also create a separate file, “cron.log”, to store the cron logs. Moreover, the “watch” command allows the users to check the cron logs(real-time). This guide has illustrated the location of cron logs where they are stored on your server.
