Google Docs is a widely used text editor having a lot of functionalities such as “making a calendar”, “merging the table rows and columns”, “inserting images”, and much more. Using the “Drawing” window, users can draw a shape, an arrow, or a line on a picture and many more. This post will demonstrate the various examples to draw on a picture in Google Docs.
The guideline of this post is illustrated below:
- How to Draw on a Picture in Google Docs?
- Example 1: Draw a Shape on a Picture in Google Docs
- Example 2: Add a Text to a Picture in Google Docs
- Example 3: Draw an Arrow on a Picture in Google Docs
Let’s start with the method:
How to Draw on a Picture in Google Docs?
In a Google Docs document, a specific picture or image can be designed by adding a shape or typing some text on it. In this section, we will illustrate three examples of drawing an equation, a shape, or a text/number on a picture in Google Docs.
Example 1: Draw a Shape on a Picture in Google Docs
Here, a sample document is considered where an image will be circled first and then added to the document. For better understanding, the process is divided into various steps that are described below:
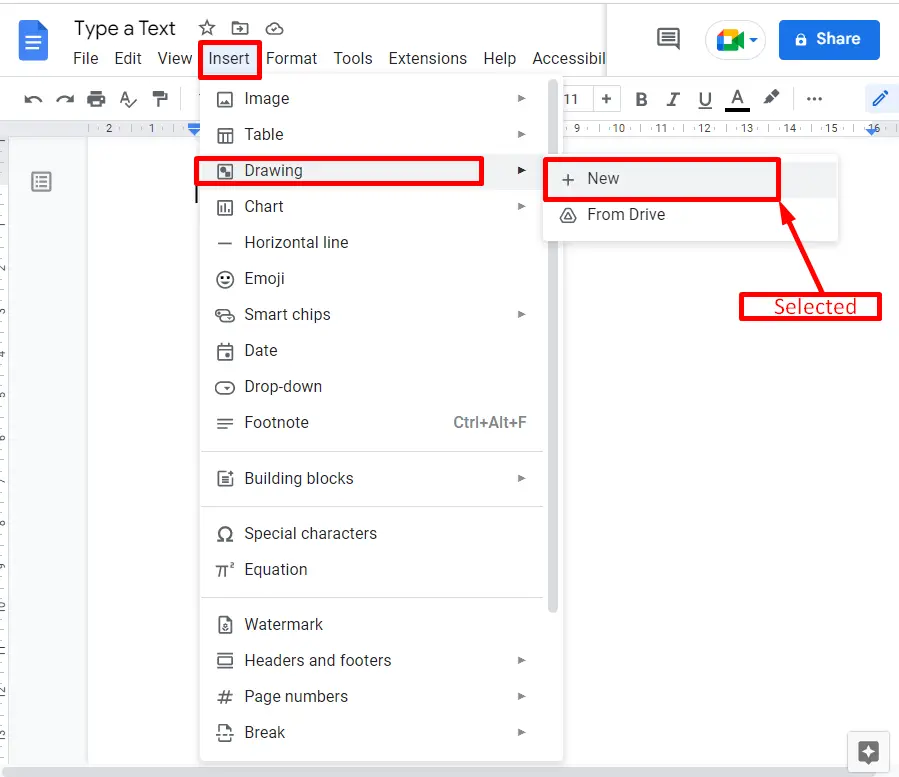
Step 1: Open the Document
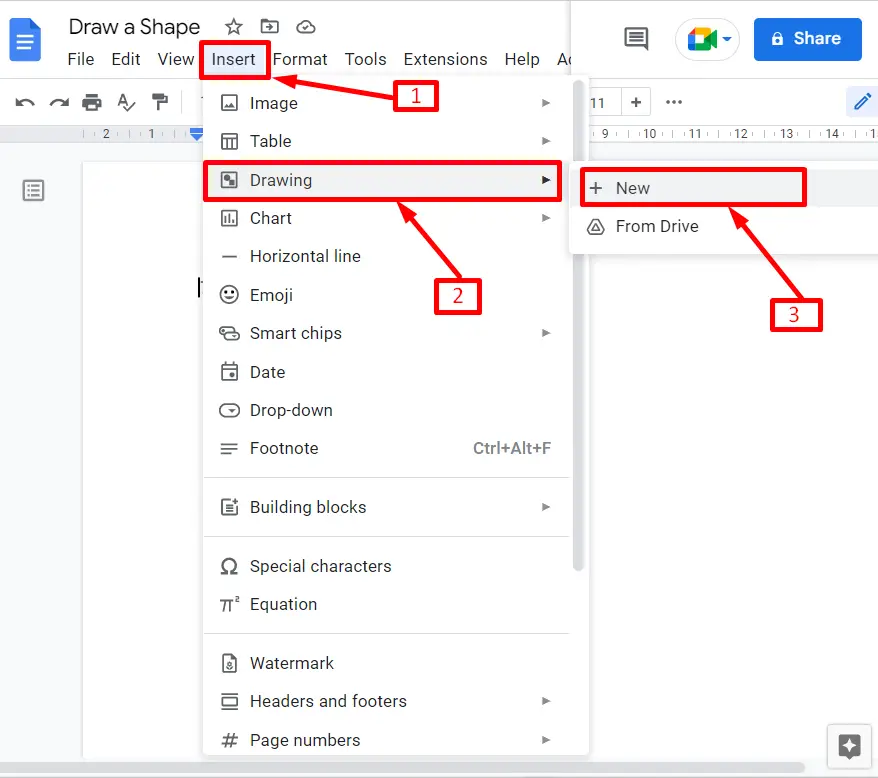
In the existing document, hit the “Insert” tab and choose the “Drawing” option from the dropdown and navigate to the “New” option to open a “Drawing” window:
Step 2: Add a Picture
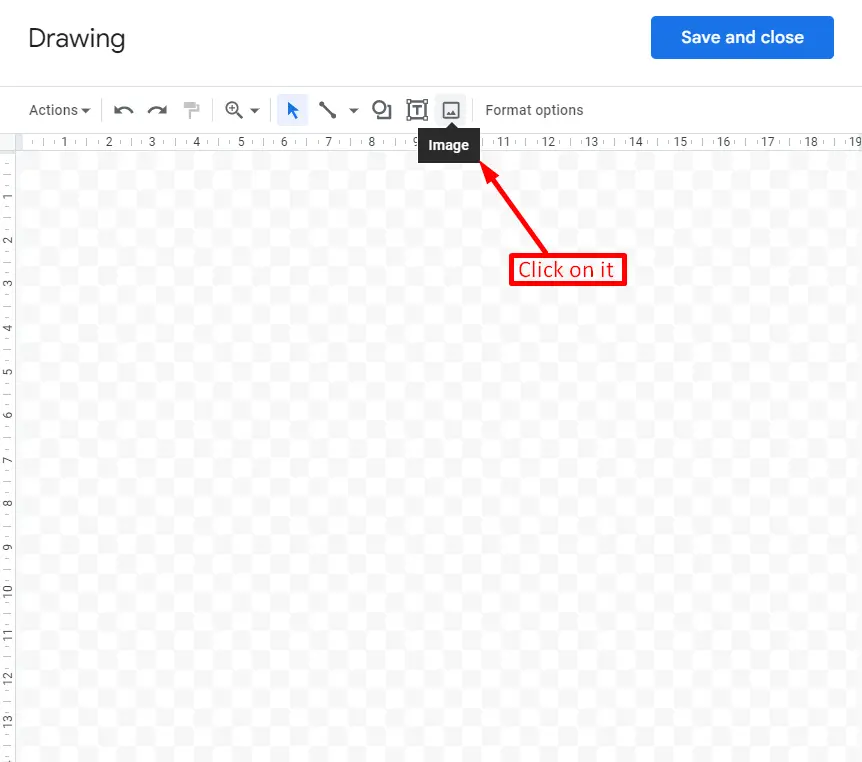
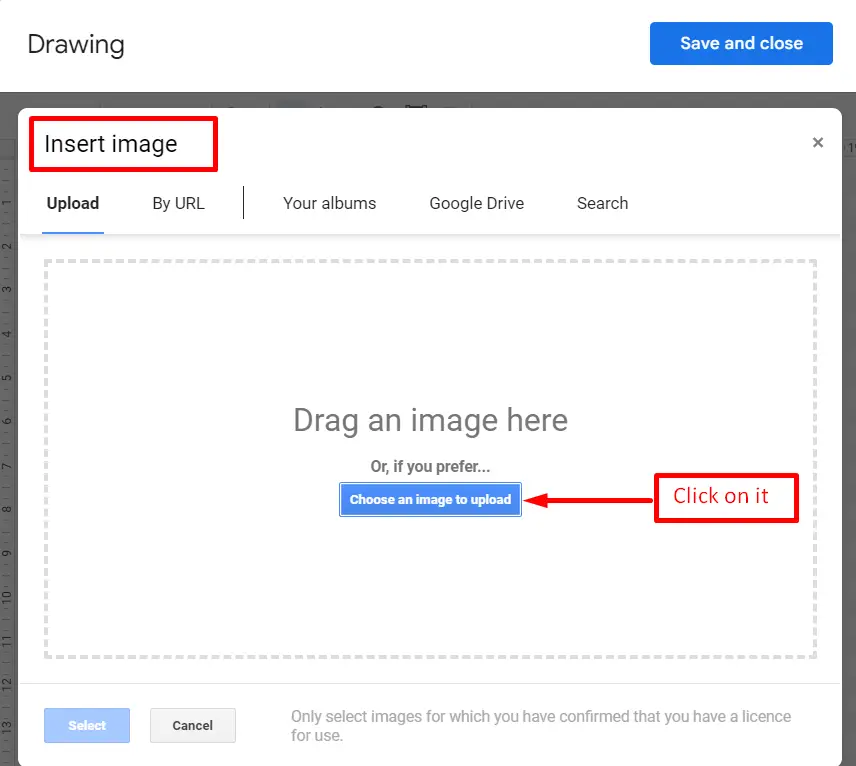
It navigates to the “Drawing” window. To add an image, click on the “Image” option from the toolbar:
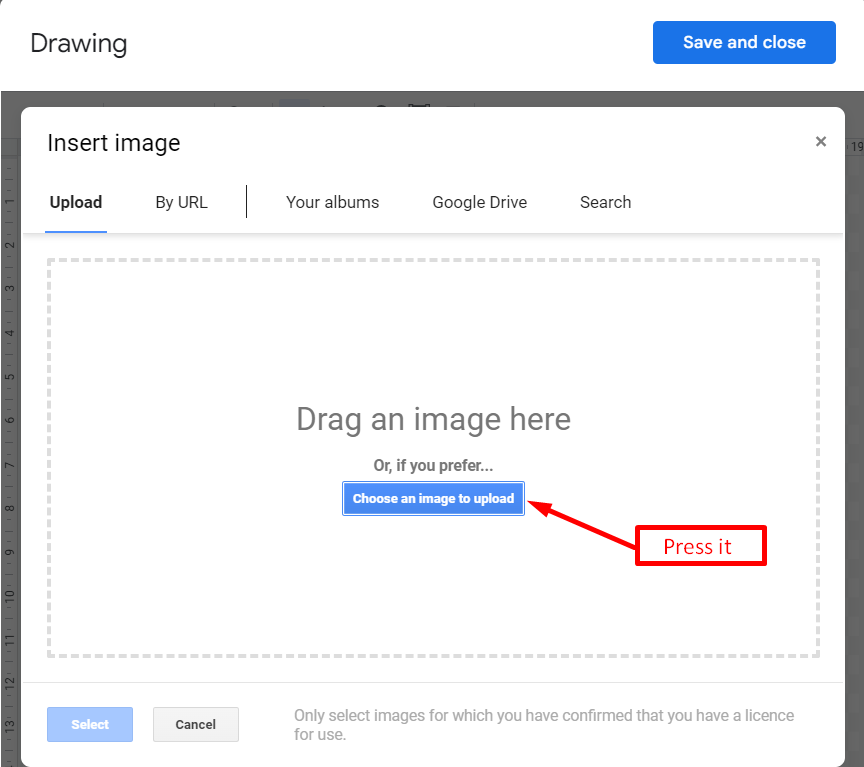
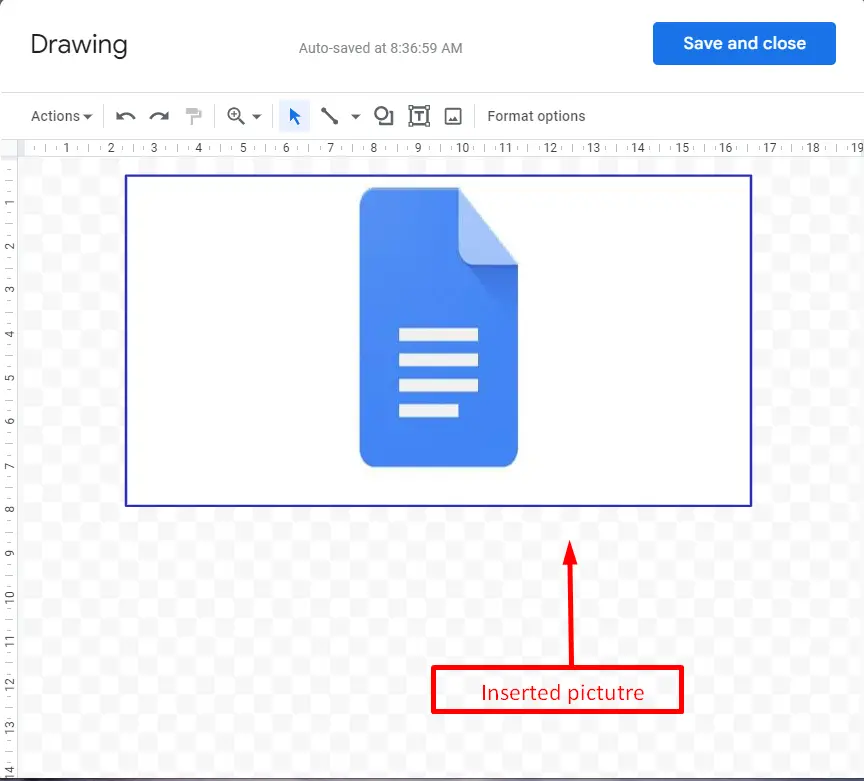
Next, click on the “Choose an image to upload” button to insert an image:
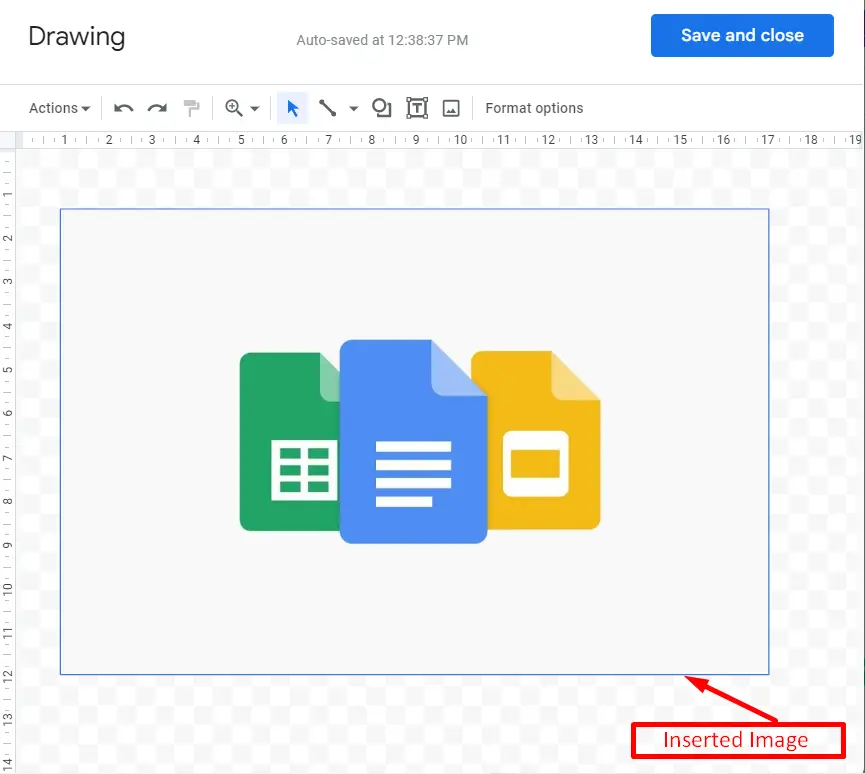
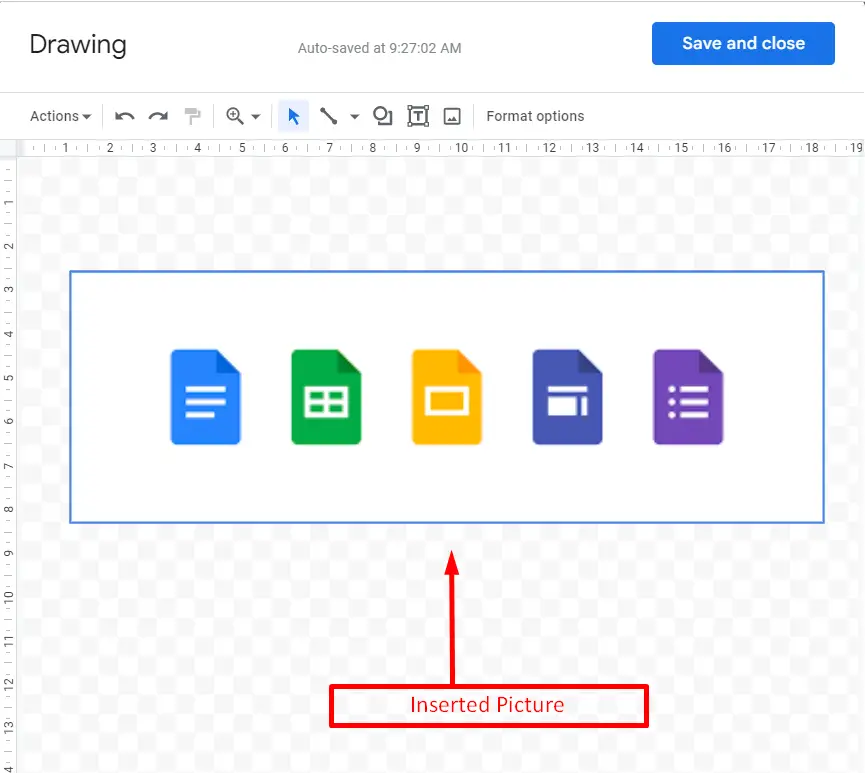
The image has been uploaded to the drawing window and will be displayed as shown below:
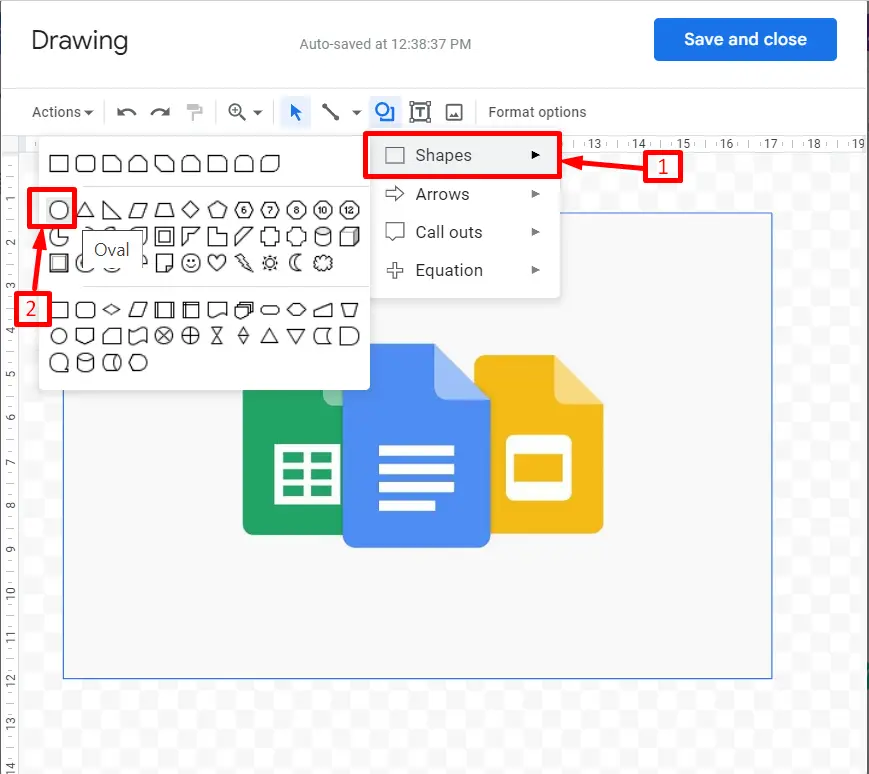
Step 3: Draw a Shape on the Picture
To draw a shape on a picture, click on the “Shapes” option from the toolbar. Select the “Oval” shape as shown in the below figure:
Add Oval on Picture
Using the mouse pointer, we will draw the oval shape onto the inserted image. The following options are utilized:
- Draw an oval of suitable dimensions that fit on the image.
- Set the style of the oval to transparent.
- Set the border color and border weight of the oval.
In last, press the “Save and close” button available in the top right corner to insert that shape into the document. The whole process is described in the following “GIF”:
It is observed from the above “GIF” that the oval is drawn into the inserted picture.
Let’s learn to type text on a picture.
Example 2: Add Text to a Picture in Google Docs
Here is another example of adding text to a picture using the “Drawing” window. Follow the steps below:
Step 1: Open a Drawing Window
In the first step, move toward the “Insert” tab. It generates a drop-down list with several options. Select the “Drawing” option and next click on the “New” option from the submenu:
Step 2: Insert a Picture
A “Drawing” window will pop up. In this “Drawing” window, use the “Image” option shown in the action bar to insert a picture:
Step 3: Add a Text on the Picture
Now, use the “Text box” option in the toolbar to add text to an inserted picture. You can change the font size, font color, and many other formatting options in the toolbar, as seen in the following “GIF”:
Step 4: Verify the Text on the Picture
After adding text to a current picture, press the “Save and close” button on the top right corner of the drawing window. The picture will automatically appear in the existing Google Docs document:
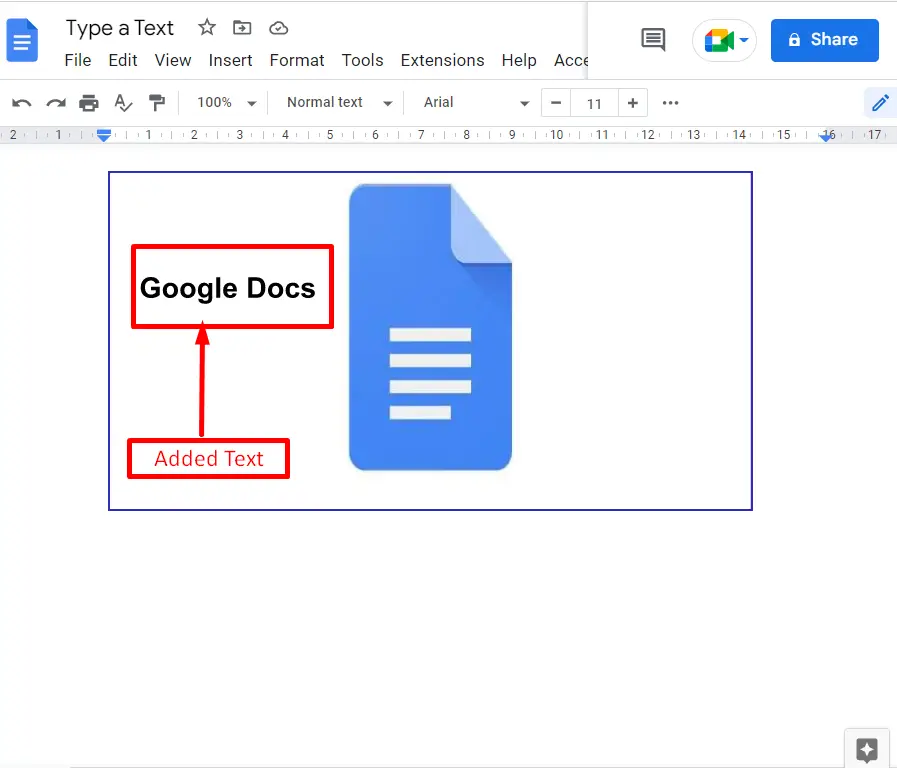
The output shows that the text has been added to the picture.
Example 3: Add an Arrow to a Picture in Google Docs
In this example, an arrow will be added to a picture using the “Drawing” window. Some essential steps are required to perform this task:
Step 1: Insert a Picture
In the first step, insert a picture in the “Drawing” window using the “Image” icon. Next, press the “Choose an image to upload” button from this window to insert a picture:
The following picture is uploaded to the drawing window after pressing the selected option:
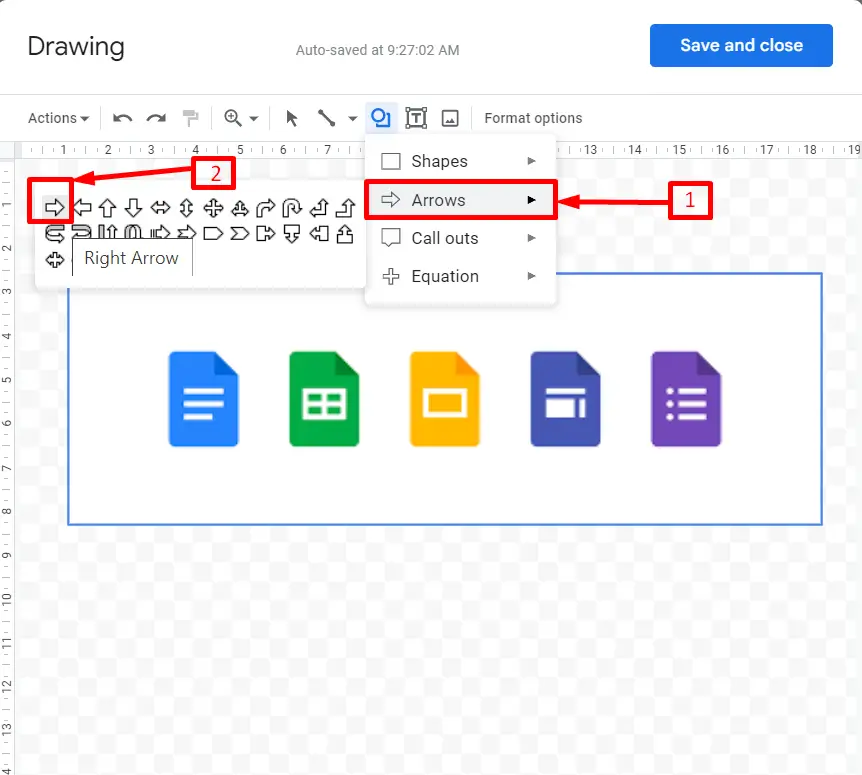
Step 2: Add an Arrow
Click on the “Shapes” icon to add an arrow to the inserted picture. For this, hover over the “Arrows” option and select a “Right Arrow” in the pre-defined arrows:
Now, draw the selected “Right Arrow” on the inserted picture with the help of a mouse pointer. The following options are utilized:
- Draw a “Right Arrow” of suitable dimensions that fit on the image.
- Pick the red color for the right arrow and assign a border.
- Finally, press the “Save and close” button to save the picture in the existing document.
The complete process is visualized in below “GIF”:
That’s all from today’s Google Docs post!
Conclusion
Google Docs offers a “Drawing” window to draw text, shapes, and any object on a picture. It is useful to add custom designs to brochures, graphs, and flyers. The “Drawing” window provides the “Shapes“, “Text box”, and “Insert Image” options to draw a specific shape and an arrow on the picture. This post briefly demonstrated three examples of how to draw a shape, an arrow, and text on a selected picture.
