In Linux, the Vim editor is the most popular text editor with advanced features that include highly customizable and fast operations. To add more functionalities to the Vim editor, plugins are installed that add special features.
This guide will provide a practical guide to installing plugins with different methods.
- Method 1: Using Vim Plugin Manager
- Prerequisite: Install vim-plug Plugin Manager
- Install NERDTree Plugin Using vim-plug Manager
- Method 2: Manually Install Vim Plugin
- Update Installed Plugins
- Upgrade Installed Plugins
- Uninstall Vim Plugin
Method 1: Install Vim Plugin Using Vim Plugin Manager
To install the plugin using the vim plugin manager is quite easy; you need to follow the below steps. The vim-plug plugin manager is required to install the plugin in this method.
Prerequisite: Install vim-plug Plugin Manager
For installing the Vim plugin manager, run the below curl command:
$ curl -fLo ~/.vim/autoload/plug.vim --create-dirs https://raw.githubusercontent.com/junegunn/vim-plug/master/plug.vim

The vim plugin manager is downloaded. Let’s install the plugin now.
Install NERDTree Plugin Using vim-plug Manager
To install the NERDTree plugin in Vim, follow the below easy steps:
Step 1: Create the .vimrc Configuration File
The plugin settings are saved in the “.vimrc” config file. When vim starts, it loads all the plugins available in the .vimrc file. Use the below-stated command to create and open the file in Vim:
$ sudo vim ~/.vimrc
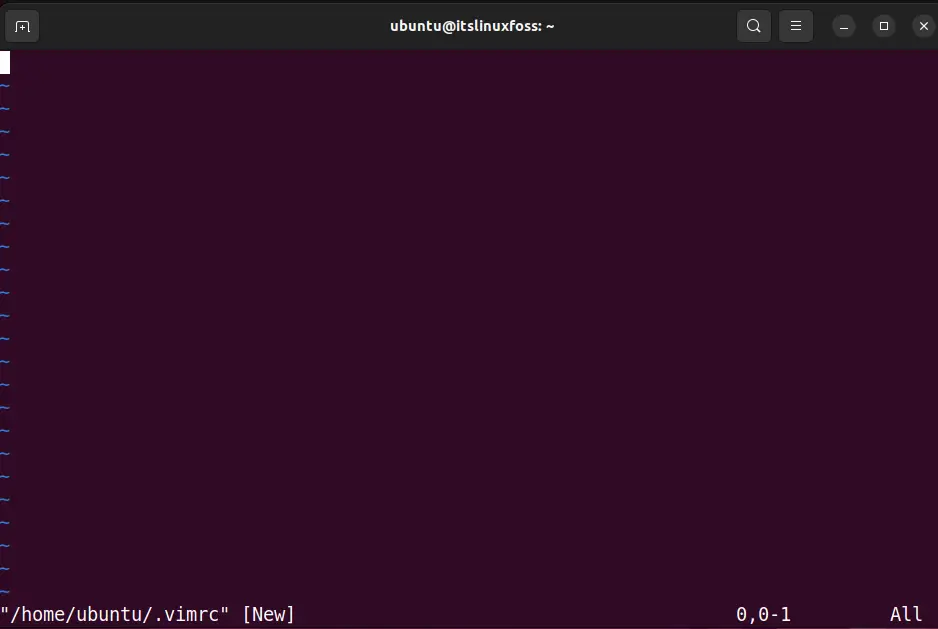
The above interface for the .vimrc file will open.
Step 2: Add the Code for Specific Plugin
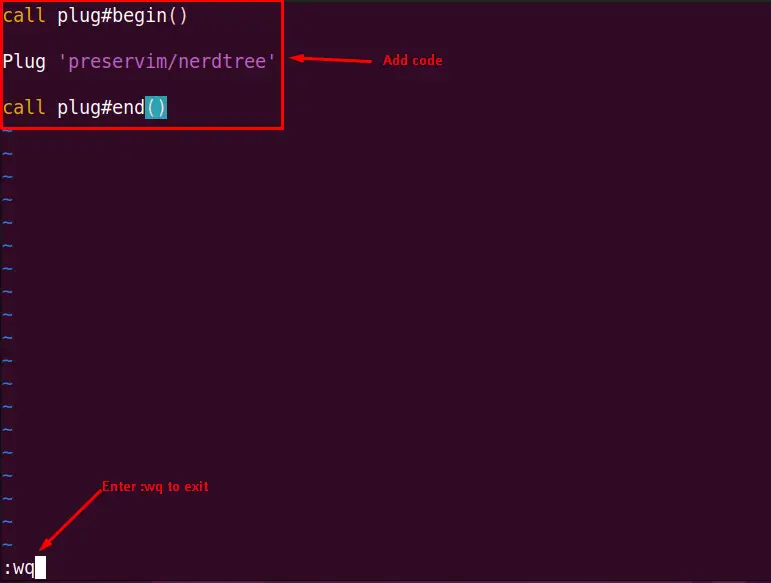
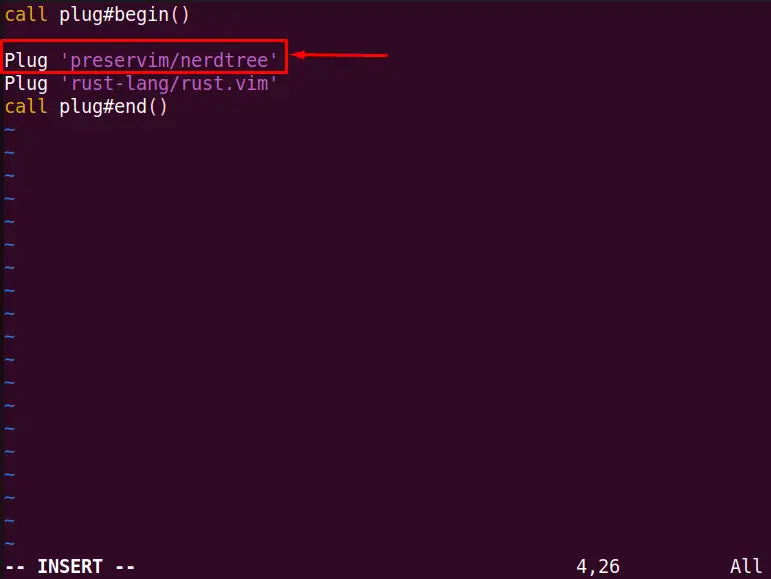
To add any plugin to Vim using the plugin manager, you must specify the plugin details within the begin() and end() codes. To add the NERDTree plugin in Linux, put the following code to the .vimrc file:
Note: If the plugin is already installed and you want to install another, you must add the plugin details in the code body below.
call plug#begin()

Plug 'preservim/nerdtree'

call plug#end()
The above code explanation is:
- call plug#begin(): It shows the plugin to be installed will be defined after this line.
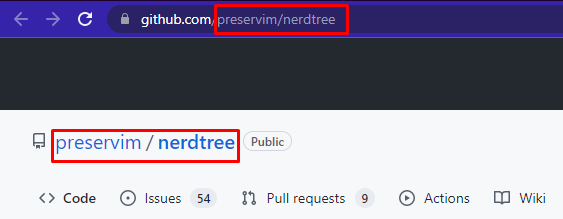
- Body: Put the specific plugin “owner-name/plugin-name” here. The plugin owner’s name is “preservim”, and the plugin name is “nerdtree” which will be mentioned in the NERDTree plugin’s official git repository.
- call plug#end(): It shows that the plugins are declared in the body, and the plugin code ends here.
Note: The owner-name/plugin-name of any plugin is also mentioned in its official git link and as the tile of the plugin, as shown below:
Use the “:wq” command to save and exit vim.
Step 3: Install the Plugin
After adding the code to the “.vimrc” file, open the vim editor and use the below command to install the plugin defined in the .vimrc file:
:PlugInstall
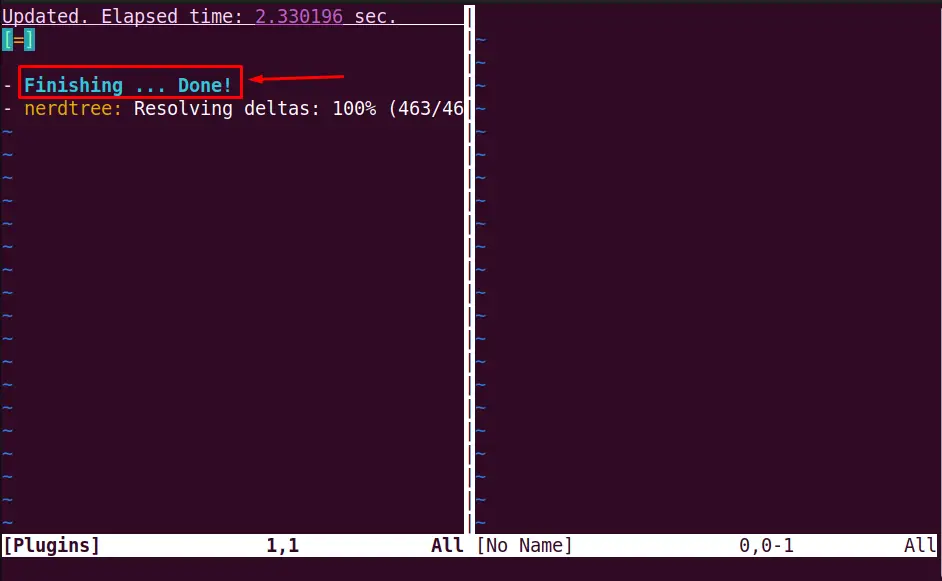
The output shows the “Finishing… Done!” status that the plugin is installed successfully.
Step 4: Verify the Installed Plugin
To verify that the NERDTree plugin is successfully installed in Vim, run the below command to list the plugins installed in Linux:
:scriptnames
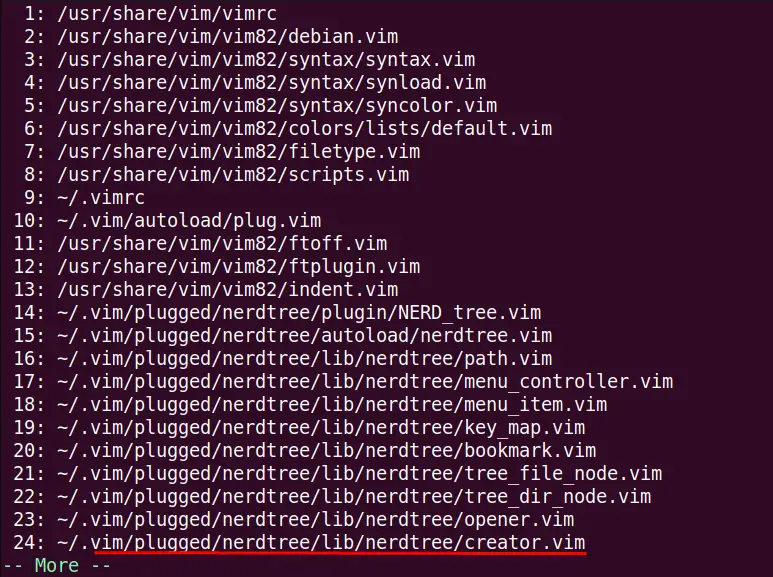
It shows that the “NERDTRee” plugin is installed in Vim.
Method 2: Manually Install Vim Plugin
Let’s manually install the “rust-vim” plugin in Vim by performing some easy steps.
Step 1: Create Default Directory for Specific Vim Plugin
To install any plugin manually, you must create its default directory first. To create the default directory, its general syntax is as follows:
$ mkdir -p ~/.vim/pack/vendor/start
The “mkdir” command will create a directory and the “p” flag will detect if the directory already exists (and avoids the creation).
To create the default directory for the plugin “vim-airline”, run this command in the terminal:
$ mkdir -p ~/.vim/pack/vendor/start

The default directory for the vim-airline plugin is created manually.
Step 2: Change the Directory to Default Plugins Directory
Use the below cd command to change the directory to the default manual plugins directory:
$ cd ~/.vim/pack/vendor/start/

Step 3: Clone the Official HTTPS Address for the Specific Plugin
Now, we need to clone the vim-airline HTTPS address to the default directory using the following command:
Note: Replace with the plugin’s specified HTTPS address and git clone command.
$ git clone https://github.com/vim-airline/vim-airline.git
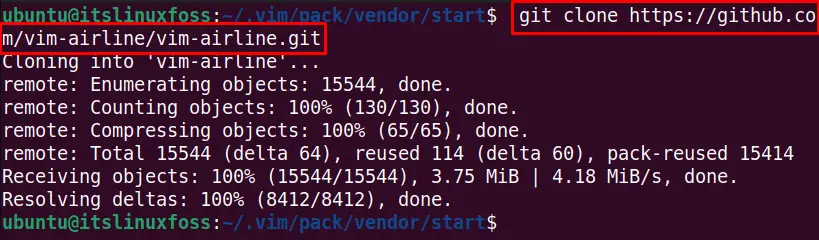
The Vim plugin is cloned to the default plugin directory.
Step 4: Verify the Installed Plugin
Use the below command to verify that the “vim-airline” plugin is successfully installed:
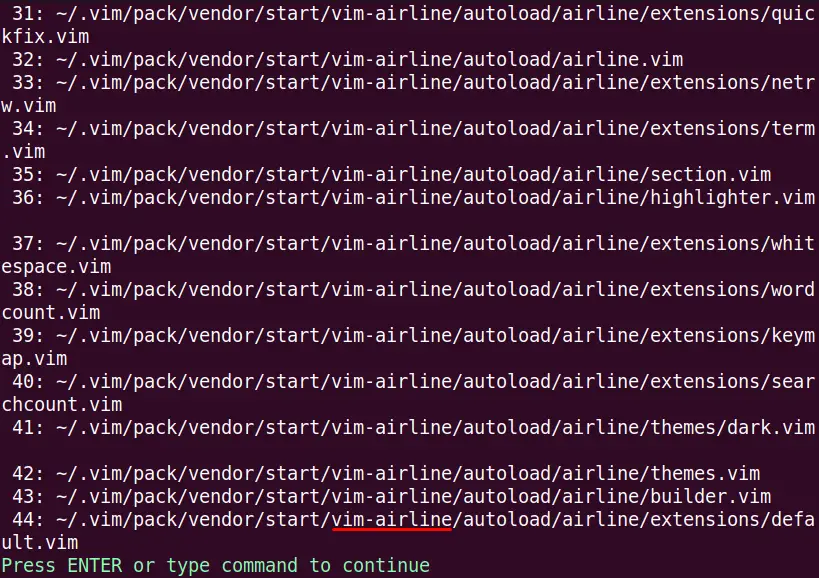
The output shows that the vim-airline plugin is successfully installed.
How to Update Installed Vim Plugins?
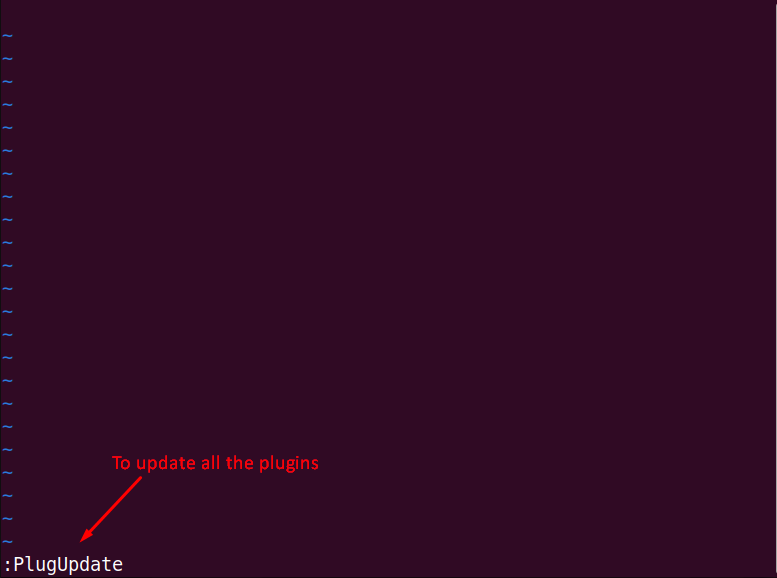
If the plugins are already installed, and you want to update all the plugins, execute the following command:
:PlugUpdate
To update multiple plugins in Vim, write the plugin names with the PlugInstall command as shown below and run the command in Vim:
:PlugInstall plugin1 plugin2
How to Upgrade Installed Vim Plugins?
In the previous steps, we updated all plugins and a single plugin. While to upgrade the updated plugins, run the below-stated command in Vim:
:PlugUpgrade

How to Uninstall Vim Plugins?
To remove the plugin, navigate to the “.vim” file with the below-mentioned command and remove the specific plugin line:
$ sudo vim ~/.vimrc
After removing that highlighted line, the NERDTree plugin will be deleted.
Conclusion
There are two methods to install the plugins in Vim, using the vim plugin manager and manually installing the plugin. Install the Vim plugin manager and add the “owner-name/plugin-name” to the “.vimrc” file. To install the plugin using the manual method, we can create the directory and make a clone of the official plugin git link to that directory.
This guide has elaborated on these methods alongside the update/upgrade techniques.