Tables, either in Google Docs or any other platform, are the best way to organize the data (in rows and columns). As Google Docs is a collaborative platform where the changes are being made by multiple users on the same document simultaneously. Therefore, Google Docs offers the facility to edit the table after creation. This guide demonstrates the multiple ways to edit the table in Google Docs. The content of this guide is shown below:
- How to Edit Tables in Google Docs?
- How to Insert Columns and Rows in the Table?
- How to Merge Table Cells?
- How to Modify the Table Border?
- How to Delete the Rows and Columns?
Let’s start with the write-up of this guide.
How to Edit Tables in Google Docs?
After creating a table in Google Docs, the users can insert rows and columns, adjust the table size, modify the table border, and other properties. Before proceeding further, have a look at the following table, which will be used as an example to address the above-stated editing practically:
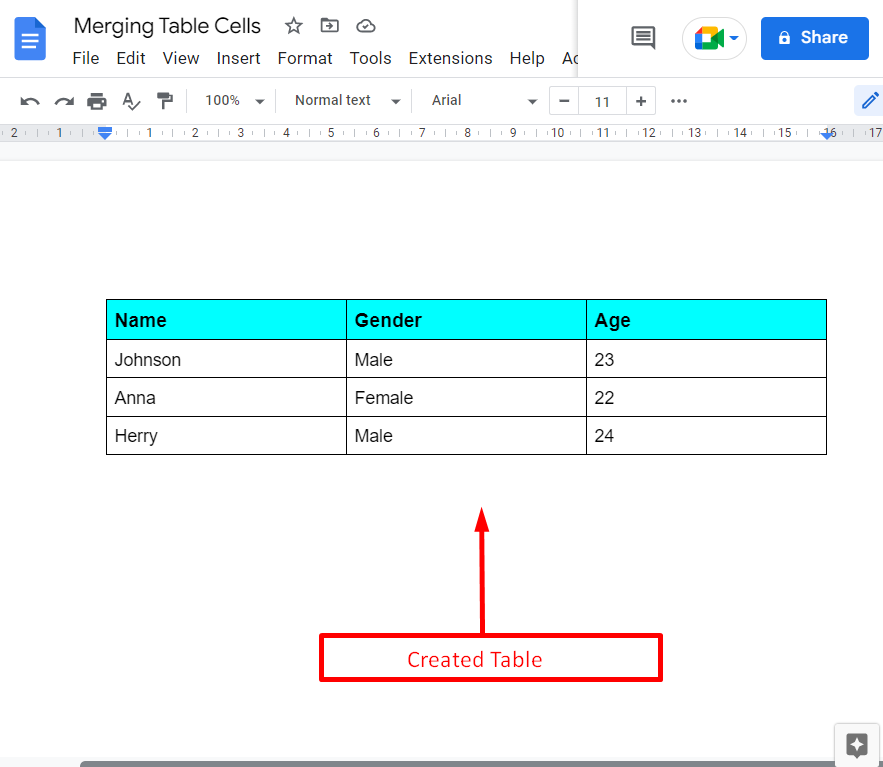
In the current table, there are four rows and three columns (including the header).
How to Insert Columns and Rows in the Table?
Open the Google Docs file in which the table is placed. To insert rows/columns in that table, follow the below stated steps:
- Move the mouse cursor inside the cell where the user needs to insert a row and column.
- Right-click inside the cell. A drop-down menu will appear containing multiple options. The rows can be inserted either upside or downside of that cell. However, the columns can also be inserted either on the left or right side of the cell.
In our case, we have inserted a row below the cell (4th-row, 3rd column) and a column to the right side of the table. The following “GIF” demonstrates the insertion in our case.
That’s it! You have learned to insert columns and rows.
How to Merge Table Cells?
Sometimes dealing with tables in Google Docs, few cells have similar information that can be merged into one. Google Docs provides an amazing “Merge cells” feature to merge the table cells in the existing table. To perform this operation, some essential content is demonstrated below:
- Firstly, choose the specified rows or columns from the existing table. In the current table, the first two columns are selected.
- Press the “Table” option by clicking the “Format” tab.
- It contains a drop-down menu with various sub-options.
- Press the “Merge cells” option to merge the selected columns of the current table in Google Docs:
The user can merge two or more rows by following the above instructions.
How to Modify the Table Border?
Other than creating a table, it can also be modified by performing different operations, such as changing the table size, inserting rows and columns, and modifying the table border. This method explains the procedure to modify the table border. To do so, a few instructions are presented below:
- A table is already created having four columns “Name”, “Class”, “Section”, and “Roll No”. Now modify the border of the existing table.
- Firstly, navigate to the “Format” tab. It generates a drop-down list with different sub-options.
- Select the “Tables properties” option from the sub-menu of “Table”.
- A new “Table properties” window will open on the left pane. This window has four options: “Row”, “Column”, “Alignment”, and “Colour” to modify the current table.
- Click on the “Colour” option and change the default color and width of the table border by using the “Border color” and “Border width” icons.
- The current table border-color “Red” and width “3pt” is adjusted.
How to Delete the Rows and Columns?
The existing table can also be edited by deleting the rows and columns containing unnecessary data. For this task, Google Docs offers the “Delete column” and “Delete row” options. The below-mentioned instructions are followed to delete the rows and columns:
- Select the specific row and column of the current table.
- Right-click after selecting the row and column. A drop-down menu will appear.
- Click on the “Delete row” option to delete the specified row of the existing table. Similarly, select the “Delete column” option to delete the selected column of the existing table.
- The selected row and column are deleted, and their values are in the Google Docs table.
- The user can also delete more than two columns or rows by following the same instructions:
That’s all about this guide.
Conclusion
Google Docs offers the “Table” option used to edit the table. It allows the user to edit the tables by performing different operations, such as inserting or deleting rows/columns, merging cells, modifying the border, adding colors, and much more. This post has practically demonstrated various editing properties in Google Docs tables.
