The “mkvirtualenv” (virtualenv and virtualenvwrapper) is the command to create the virtual environment. It is beneficial for the user to manage projects and perform various tasks under different environments. While creating the new virtual environment in the bash shell, the user may encounter the error “mkvirtualenv: command not found.”
In this post, the reasons and the solutions for the error “mkvirtualenv: command not found” in Bash will be demonstrated.
- Reason 1: Virtual Environment is Not Set
- Reason 2: The “mkvirtualenv” Command is Not installed.
- Solution: Install the “mkvirtualenv” Command and Set the Virtual Environment
Reason 1: Virtual Environment is Not Set
The error “mkvirtualenv: command not found” is that the virtual environment is not set in the system. Because the package “virtualenv” and “virtualenvwrapper” are missing.
Reason 2: The “mkvirtualenv” Command is Not installed.
Another possible reason for the error “mkvirtualenv: command not found” is that the “mkdirvitualenv” command is not installed in the operating system. The error can be seen in the below image.
$ mkvirtualenv test

Solution: Install the “mkvirtualenv” Command and Set the Virtual Environment
Here’s the step-by-step procedure to install the “mkvirtualenv” command and set up the virtual environment in Linux.
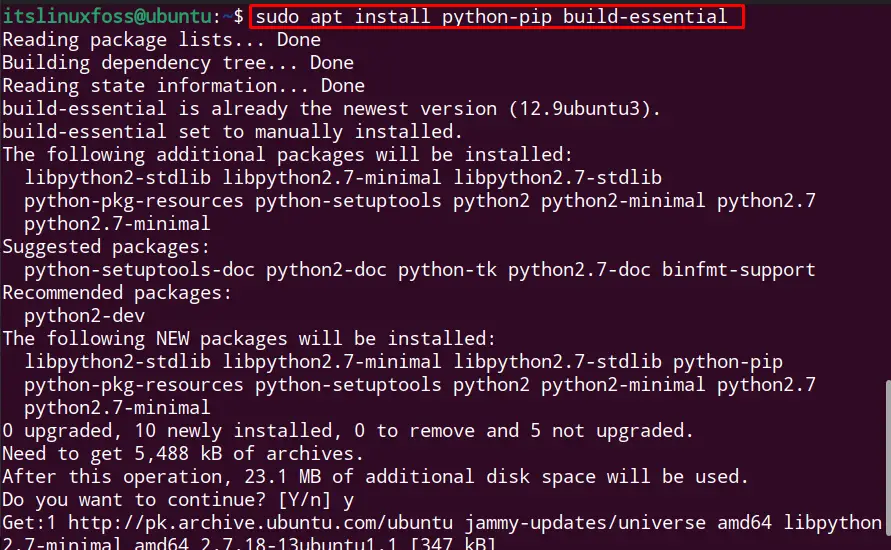
Step 1: Install Build Essential for Python
First, install the build-essential packages for the Python module using the following command:
$ sudo apt install python-pip build-essential     #Debian/Ubuntu
$ sudo yum install python-pip gcc-c++ groupinstall "Development Tools"  #Fedora/CentOS/RHEL

$ sudo pacman -Sy python-pip base-devel     #Arch
The python build-essential is installed.
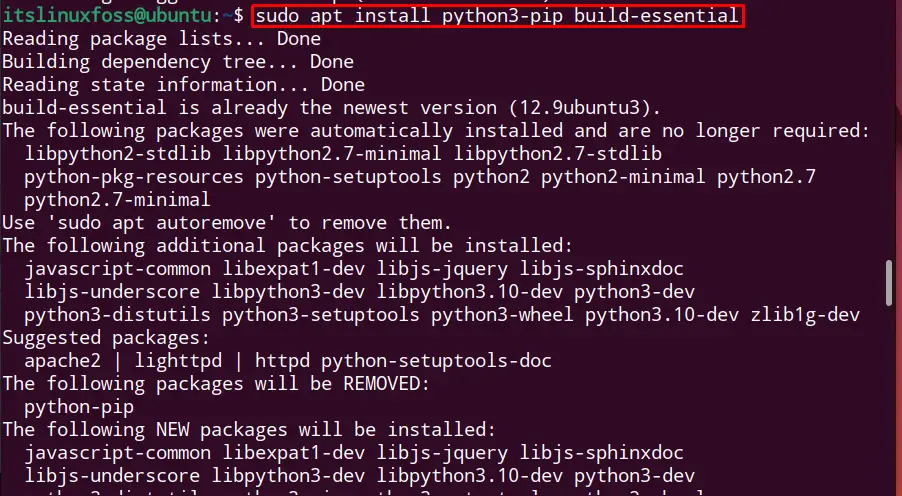
If you are using the python3 module, consider the below-given command:
$ sudo apt install python3-pip build-essential
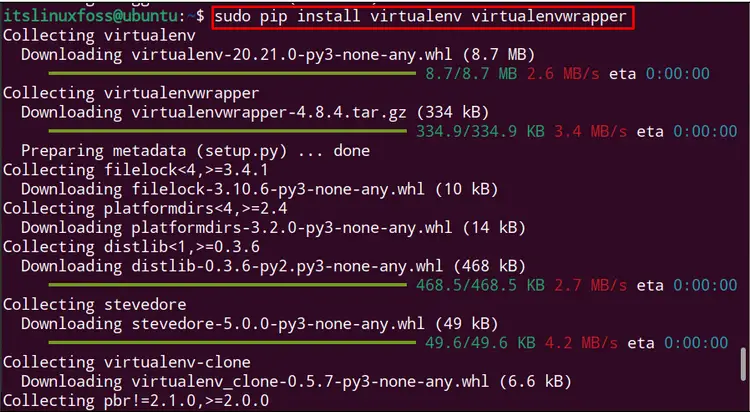
Step 2: Install “virtualenv” and “virtualenvwrapper”
The “virtualenv” is the python package that enables the user to create more than 1 environment. While the “virtualenvwrapper” is the collection of defined functions for the shell, such as bash, ksh, and zsh. Install both python packages using the pip command as shown:
$ sudo pip install virtualenv virtualenvwrapper
The packages “virtualenv” and “virtualenvwrapper” are installed.
Similarly, if you are using the python3 module, examine the following command:
$ sudo pip3 install virtualenv virtualenvwrapper
Step 3: Search the File Path (virtualenvwrapper.sh)
The next step is to search for the file path of the “virtualenvwrapper.sh” (contains the execution of shell functions) file using the find command:
$ sudo find / -iname virtualenvwrapper.sh

The path for the file “virtualenvwrapper.sh is printed.
Note: The permission denied for the error is due to the trust boundaries defined by the Gnome Virtual
File System (GVFS). Not even the sudo user can access this file.
Step 4: Configure the “.bashrc” File
Now, configure the “.bashrc” file for creating the virtual environment. To do so, export the following variable and source command with the file path of “virtualenvwrapper.sh” as shown:
export VIRTUALENVWRAPPER_PYTHON=/usr/bin/python3
export WORKON_HOME=~/.env
source /usr/local/bin/virtualenvwrapper.sh
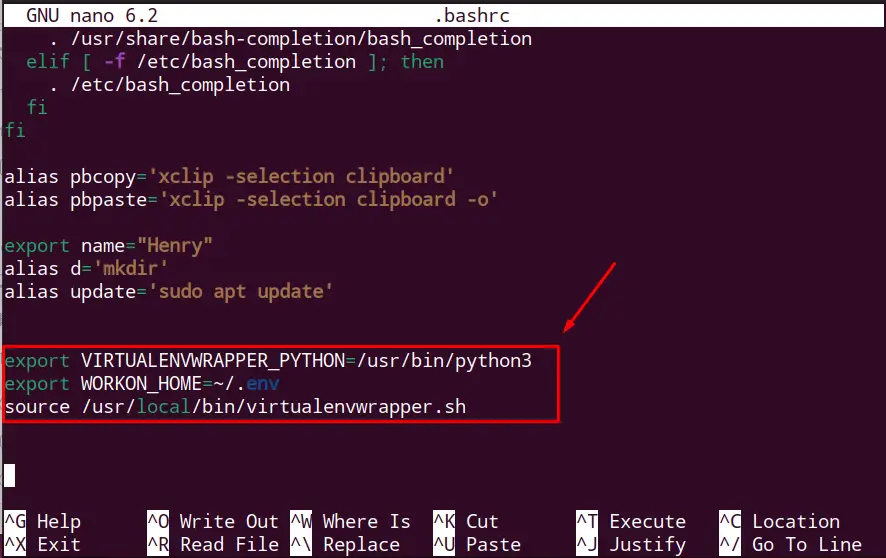
Save the “.bashrc” file exit.
Step 5: Execute the Bash File
Execute the “.bashrc” file to apply using the source command to see the new changes:
$ source ~/.bashrc
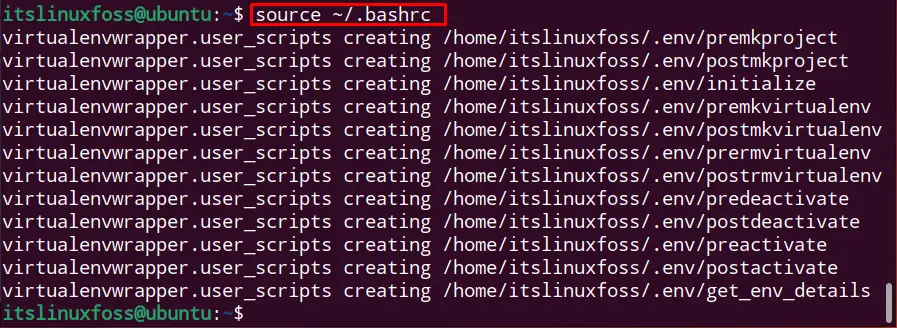
The “virtualenvwrapper” is ready to create the virtual environment.
Verify Results
The environment for the mkvirtualenv command is set; the user can check the version of the “mkvirtalenv” command:
$ mkvirtualenv --version

The mkvirtualenv version 20.21.0 is available to use.
Creating the Virtual Environment
Let’s create the virtual environment in the terminal:
$ mkvirtualenv test
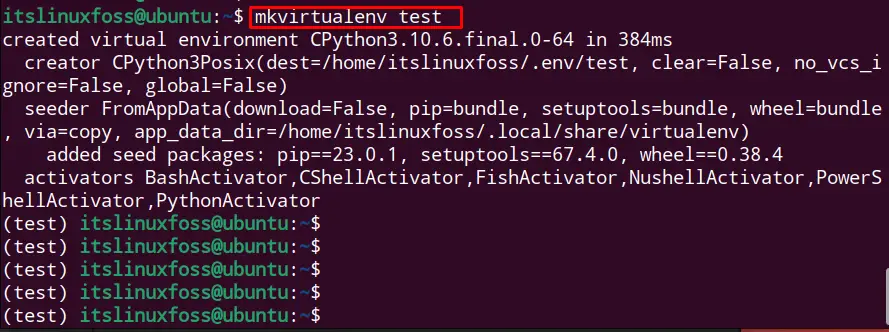
The “test” virtual environment is created.
Conclusion
The reason for the error “mkvirtualenv: command not found” is that the virtual environment is not set or the command “mkvirtaulenv” is not installed. To fix this, set the virtual environment by installing the build-essential, virtualenv, and virtualenvwrapper for python. Then configure the “.bashrc” file for the virtual environment. Apply the source command to execute “.bashrc” and create the virtual environment using the “mkvirtualenv” command.
This write-up has illuminated the reason and the solution with a step-by-step guide for the error “mkvirtualenv: command not found.”
