When you have been using your system for a long time, it starts building up unnecessary files and packages that need to be removed to clean up your disk space. And it is very important if you are using GUI based system. It will boost the system speed and run all the applications smoothly. This post describes the seven possible aspects to free up disk space in Ubuntu.
- Prerequisites: Check the File System Space Utilization
- Method 1: Remove the Unnecessary Application and Packages
- Method 2: Remove Unwanted Dependencies and Broken Libraries Files
- Method 3: Clean apt Cache
- Method 4: Audit and Cleanup Log Files
- Method 5: Manage Snap Packages, and its Database
- Method 6: Cleanup Trash Folder
Prerequisites: Check the File System Space Utilization
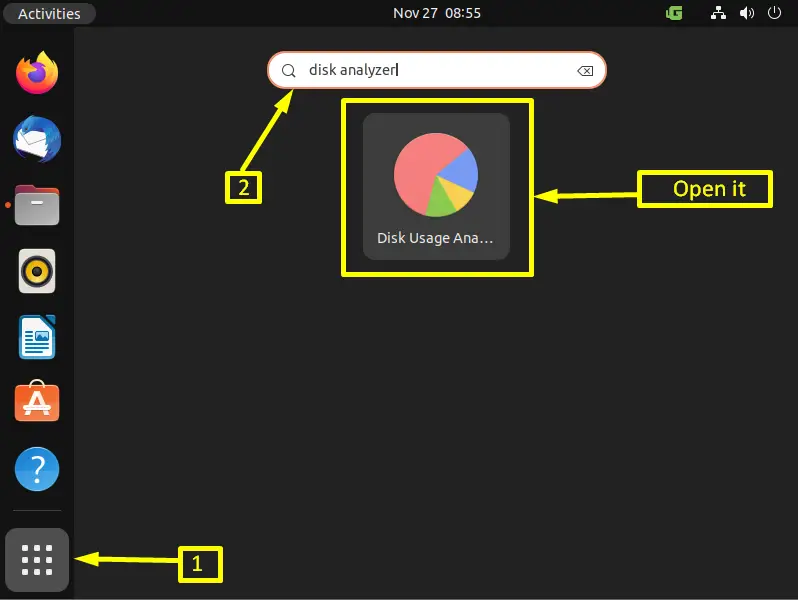
First, check the file system utilization before cleaning up the Ubunutu 22.04 system. To perform this task, Ubuntu 22.04 provides the “Disk Usage Analyzer” application by default.
Click on the “Show Applications” icon. It opens up a new window that contains a “Search” bar and the “Application Menu”. In the “Search” bar, type the “Disk Usage Analyzer” and click on it as shown in the screenshot:
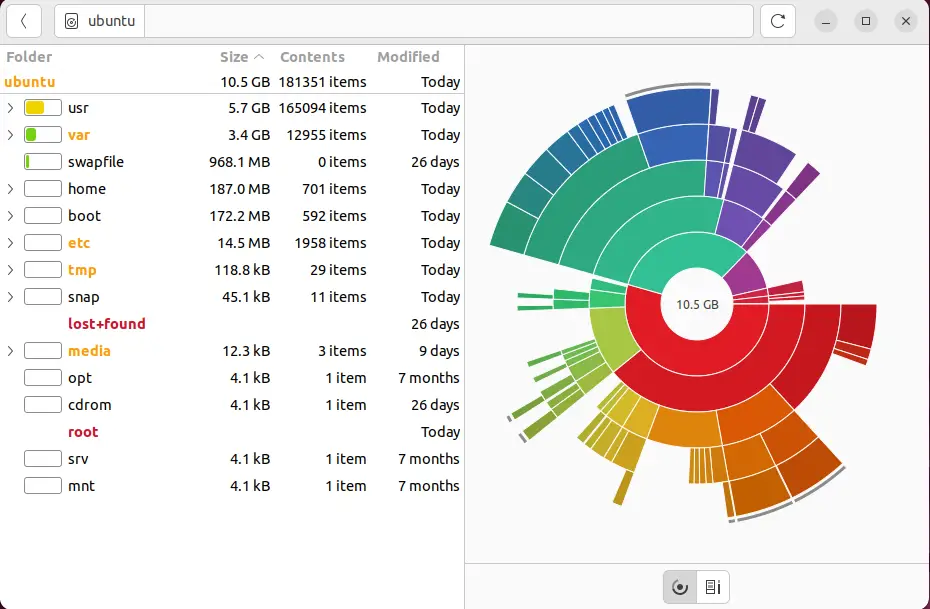
The “Disk Usage Analyzer” utility analyzes the file system space. It provides a graphical representation of each folder utilized:
Note: If the “Disk Usage Analyzer” is not installed (or somehow not working) in your system, then run the “df (disc free)” command on the terminal. It shows the total and used space of all the file systems:
| $ df |
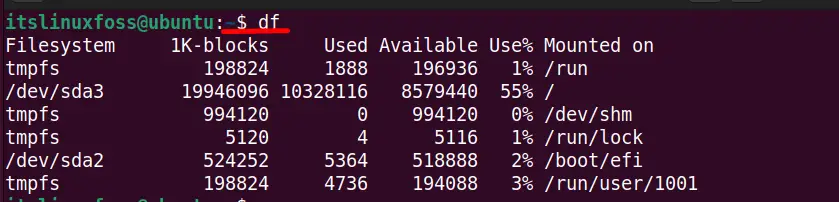
The output displays the used and available space of each file and folder.
Method 1: Remove the Unnecessary Application and Packages
Suppose you install an application, but later it is no longer useful, and you forget to remove them, or maybe your system comes with a bunch of games pre-installed, and you won’t be playing most of them. It takes the space on your hard drive and poses a security risk. So, removing any software is best, even if you are not using it in the Linux distribution Ubuntu.
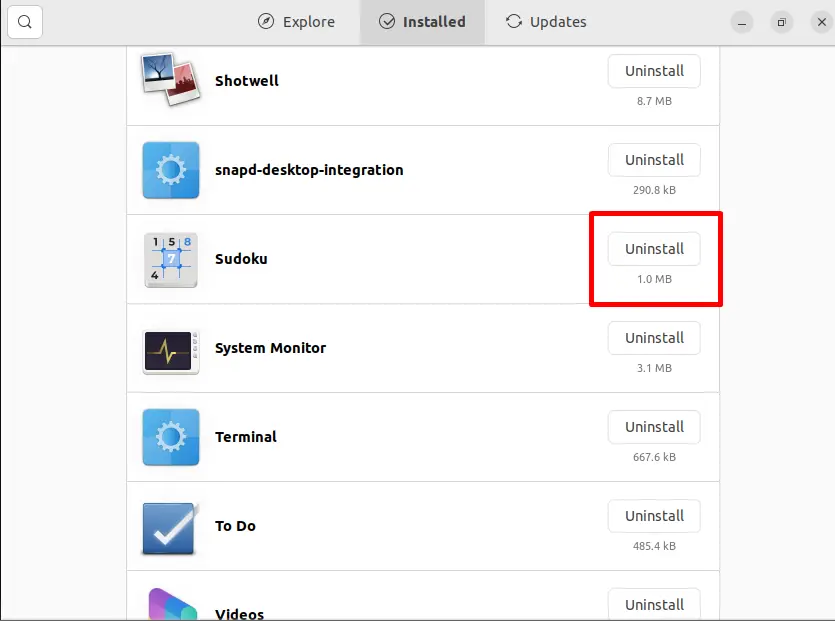
To remove the unnecessary applications and packages, open the “Ubuntu Software Center” available in the dock panel of the Ubuntu desktop. Navigate to the “Installed” icon in the menu bar:
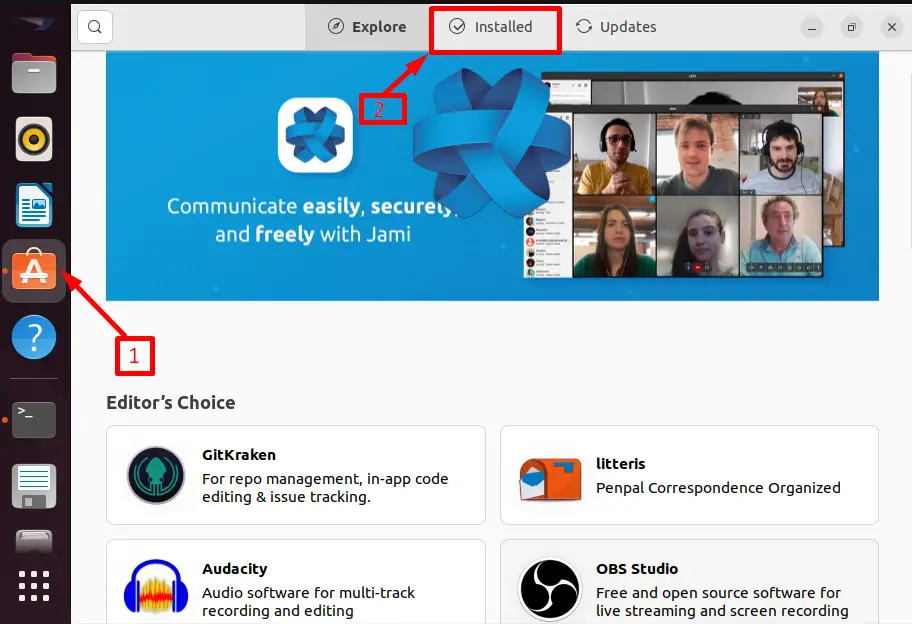
The installed application list is shown in the “Ubuntu Software Center” window. Scroll down the list and press the “uninstall” button to remove any of the unnecessary applications from the system:
The package can be removed by following the below-mentioned command:
$ sudo apt remove [pacakge-name]
Method 2: Remove Unwanted Dependencies and Broken Libraries Files
When we install a package in the Ubuntu system, it will also install some other packages along with dependencies. Later, if you remove that package, those automatically installed packages, and dependencies are not removed and useless. It just takes up additional space in the hard drive.
So, you can use the apt “autoremove” and “autoclean” commands to remove the unnecessary dependencies and broken libraries. The general syntax of the “autoremove” command is written below:
$ sudo apt autoremove
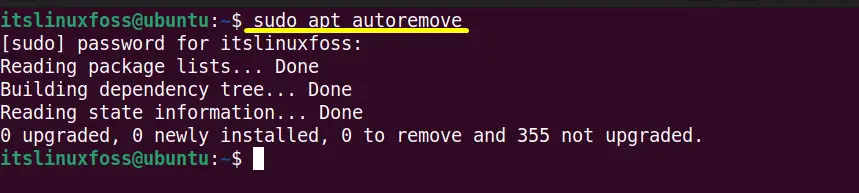
The “autoremove” command has removed all the unwanted dependencies.
The basic syntax of the “autoclean” command is as follows:
$ sudo apt autoclean
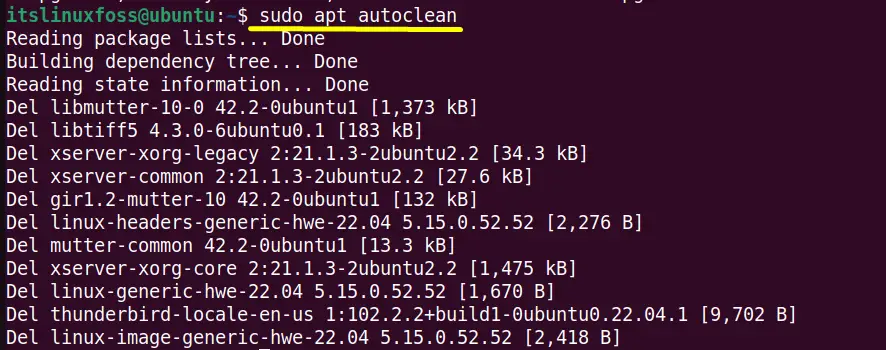
At this point, all the broken libraries are removed from the entire Ubuntu system.
Method 3: Cleanup apt Cache
The system automatically builds up the cache database when any package is installed in Ubuntu. This cache takes up extra space in the hard drive.
Remove or clean up this cache to get free space from the hard drive. It is similar to Windows creating common files in the C drive when we download and install the software.
The Ubuntu system maintains that database inside the “var/cache/apt” folder. Run the “du” command to check the disk utilization as shown in the screenshot:
$ du -sh /var/cache/apt

The output shows that the current Ubuntu system contains the “677” Mb space. Now execute the “apt clean” command to clean that database:
$ sudo apt clean

Now, again run the “du -sh” command, and it will that the cache has been removed:
$ sudo du -sh

Method 4: Audit and Cleanup Log Files
Not only Linux or Ubuntu, but every system also creates the log files. The log files help troubleshoot the system. But if you do not clean up the old log files that are useless, they can grow quite a bit.
In the latest distributions, services and all the log kernel, as well as user-level processes, are managed by a central system process called “systemd”. It starts the other necessary processes at the system level and later at the user level.
One of the services that “systemd” initiates is the “journald” daemon, which handles all the logging, and the utility that handles the log files is “journalctl”. So simply type the below-mentioned command to check the disk utilization:
$ sudo journalctl --disk-usage

The output denotes that all the log files are taken “168.0” Megabytes in the current system.
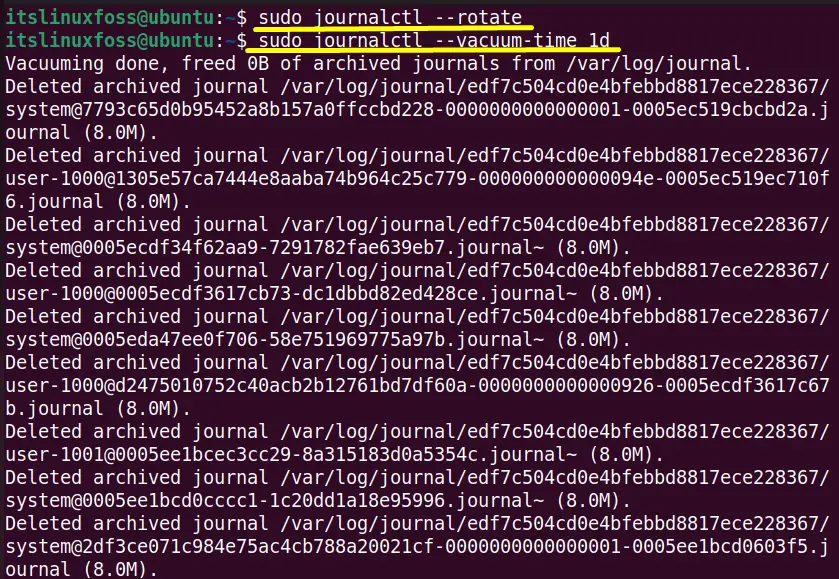
Now, type the “journalctl – -rotate” command in the terminal. It will mark all the active journal log files as archived and renamed so that the new logs won’t be written on them, and the system will just create the new log file. If you don’t use this command, then no active journal log files are deleted even if they are old:
$ sudo journalctl --rotate
In last execute the “journalctl –vacuum-time 1d” and it will delete all the log files that are older than 1 day:
$ sudo journalctl --vacuum-time 1d
Note: You can specify the time limit as per the requirement, i.e.,
Method 5: Manage Snap Packages, and its Database
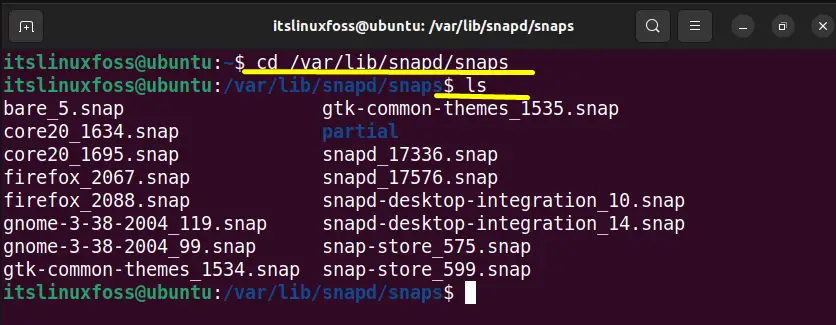
Snap is a bundle of applications and its dependencies and library files. It is used to install the application along with the dependencies. Any package that can be installed from snap either by command line or Graphical User Interface will be stored inside the “/var/lib/snapd/snaps” folder:
$ cd /var/lib/snapd/snaps
By default, it keeps the older version of the packages as well as they are upgraded.
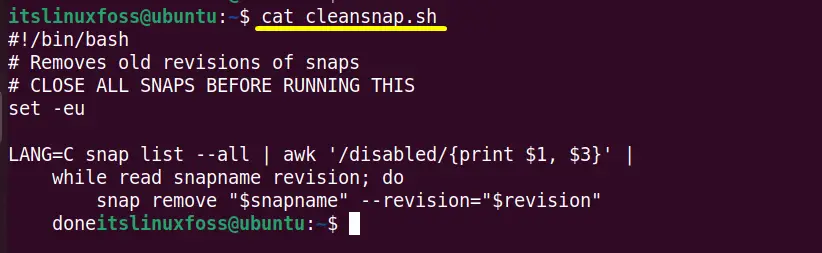
Step 1: Create a Script
If you want to keep only the latest version, then copy the below-mentioned script in the current Ubuntu system:
Step 2: make the Script Executable
Now, change the permission with the “chmod” command:
$ chmod a+x ./cleansnap.sh

Check the Snaps Total Size
After that, check the current snaps package statistics by utilizing the following command:
$ du -sh /var/lib/snapd/snaps

The current snaps packages occupy “1.5” Gigabytes of space in the system.
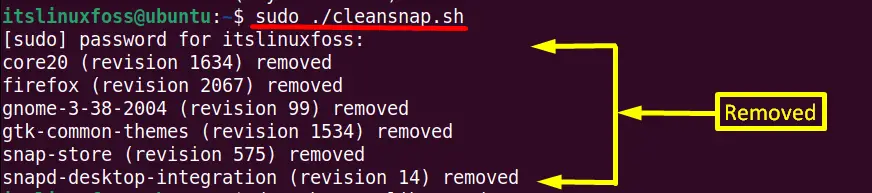
Step 3: Execute the Script
Run the script to remove the unwanted snap package:
$ ./cleansnap.sh
Verify the Size of snaps
Check the disk space again it will definitely be less next time because of the removal of some packages:
$ du -sh /var/lib/snapd/snaps

The script file has cleaned up the unwanted packages, and now the reaming packages occupied the “835” Megabytes of space.
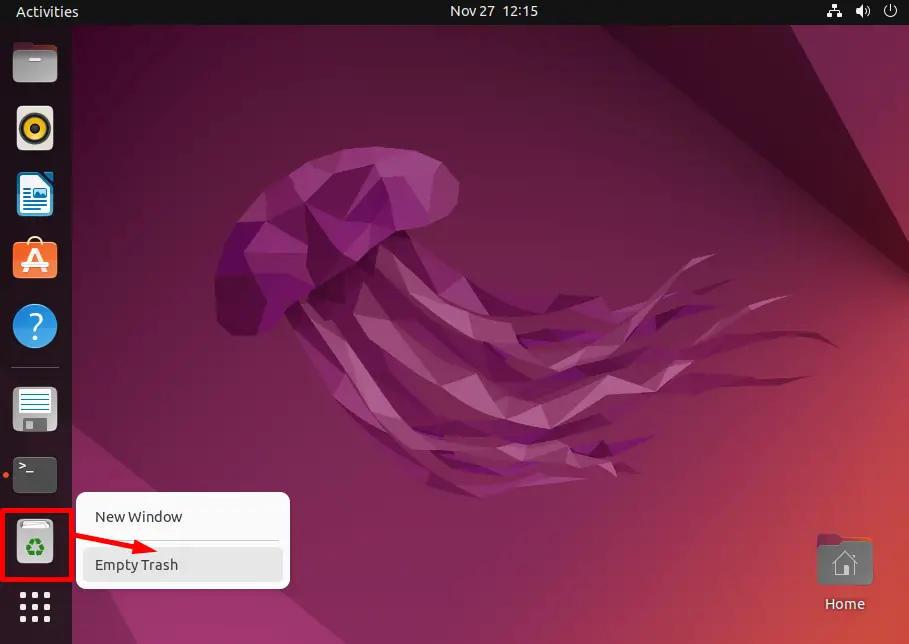
Method 6: Cleanup Trash Folder
Here is the last method to free up the disk space in Ubuntu. In this method, it is recommended that if you use the desktop a lot, then check the trash items from time to time. This is because the items you delete will stay in the trash folder. So right-click on the “Trash” folder in the dock panel of the Ubuntu desktop. It generates a drop-down list that contains two options. Press the “Empty trash” option, and it will remove all the trash files from it:
That’s all from this guide!
Conclusion
In Ubuntu, the disk space can be freed up by utilizing the method “sudo apt autoremove [pacakge-name]”, “$ sudo apt autoremove”, “$ sudo apt autoclean”, and various other methods that are demonstrated in this guide. This post has briefly explained various methods to free up disk space in Ubuntu.
