One of the most popular scripting, server side programming languages used for developing web applications is “PHP”. It’s embedded within HTML and handles the dynamic of the web along with the database, sessions, and is widely used for building entire e-commerce website.
There are many popular frameworks that are written using PHP, such as Laravel, WordPress, Magento etc. Here in this article we’ll guide you step by step on the installation of PHP 8 on your Ubuntu 20.04. So follow the provided steps for successful installation.
Step By Step Guide For Installation
The installation of PHP is an easy straightforward step. All you’ve to do is follow the below guide.
Step 1: Update Your System & Install Dependencies
Update your system before any installation:
$ sudo apt update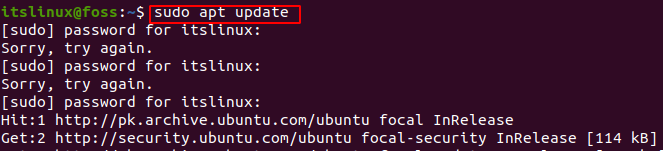
$ sudo apt upgrade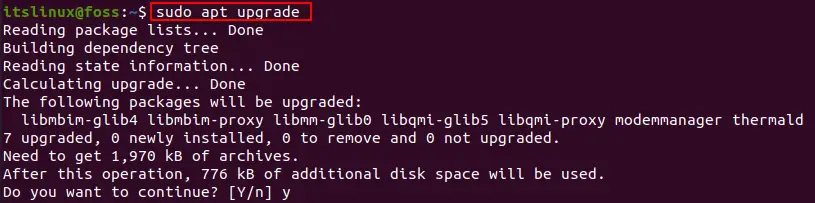
Now, install the required dependencies for installation:
$ sudo apt install ca-certificates apt-transport-https software-properties-common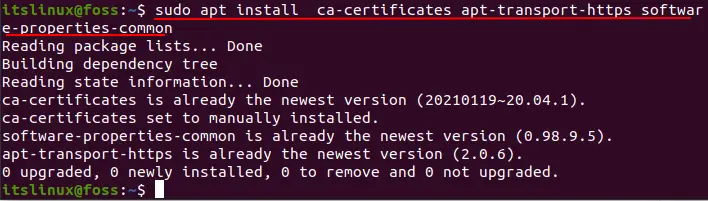
Step 2: Add the Repository (Ondřej Surý)
Now, we need to add a repository in order for the version 8 of PHP to be downloaded.
$ sudo add-apt-repository ppa:ondrej/php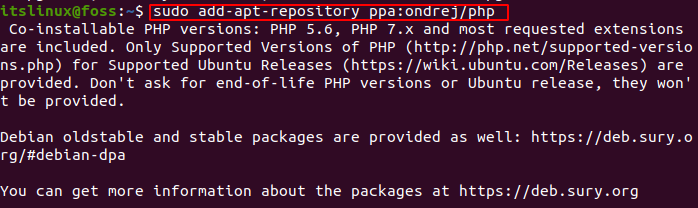
Here, you’ll get a message like this:

Just simply click enter to continue and add the repository
Step 3: Installation of PHP 8 using Apache
Next, simply update the system first in order to start using the repository we added:
$ sudo apt updateNow, you’ve to install PHP 8.0 apache module incase you’re using the Apache server:
$ sudo apt install php8.0 libapache2-mod-php8.0
This will take just a few seconds. Now we have to restart the server in order to enable the module we just added.
$ sudo systemctl restart apache2
In order to use the Apache server with PHP-FPM we need to install some packages, for that run the command provided below:
$ sudo apt install php8.0-fpm libapache2-mod-fcgid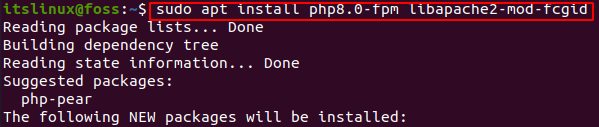
After this enable the PHP-FPM using the two commands provided below:
$ sudo a2enmod proxy_fcgi setenvif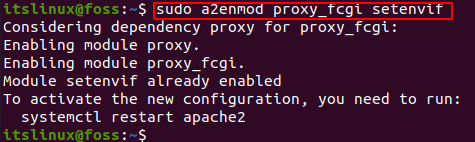
$ sudo a2enconf php8.0-fpm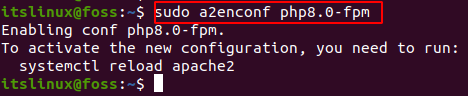
Now, in order for these changes to take place restart the system:
$ sudo systemctl restart apache2
Step 4: Installation of extensions for PHP
In order to use various libraries that comes as extensions with PHP and can be downloaded as packages:
$ sudo apt install php8.0-[extension-name]In this example we installed mysql extension:
$ sudo apt install php8.0-mysql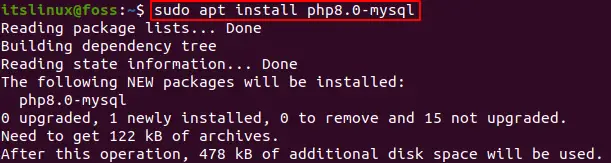
Step 5: Verification Of PHP 8.0 Installation
Check the version of PHP you installed through the command provided below:
$ php -v
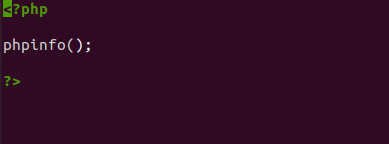
Finally, we need to create a sample file for php:
$ sudo nano /var/www/html/info.phpPaste these lines in the file:
<?php

phpinfo();

?>
Now, save the file and run the following on your browser:
http://server-ip/info.phpIt will display you the following screen:
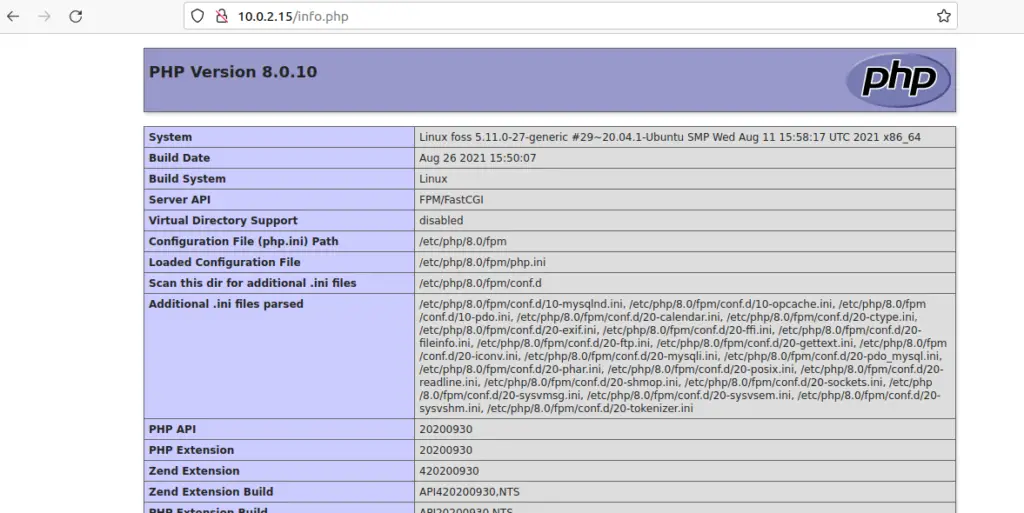
Now, you’ve PHP 8.0 running on your Ubuntu 20.04. Start using it.
Conclusion
PHP is widely used scripting languages used for controlling website dynamic to database, even whole e-commerce websites are built around it. Here, in today’s guide we showed you the installation of PHP 8.0 version on Ubuntu 20.04. Further we showed you how to create a file and run it on the browser. Simply follow the above guide for error free installation and start using it for building web applications.

TUTORIALS ON LINUX, PROGRAMMING & TECHNOLOGY