Discord is a free communication platform that empowers users to create servers, channels, and groups to chat, voice call, and share files. It offers advanced features such as video calling and screen sharing, enhancing the user experience. This makes it an ideal choice for everyone to use it and take full benefits and experience from its features.
This guide will explain the complete downloading procedure of Discord on Windows 64-bit OS.
Downloading Discord on Windows 64 bit
The below steps can be followed to install Discord on Windows 64 bit.
Step 1: Launch Discord Official App
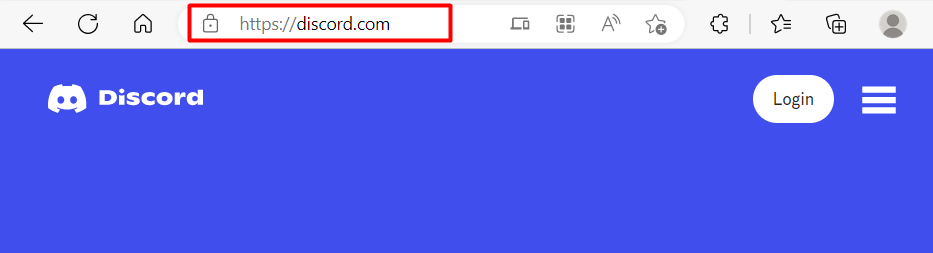
Discord application can be downloaded by visiting its official website using this Link:
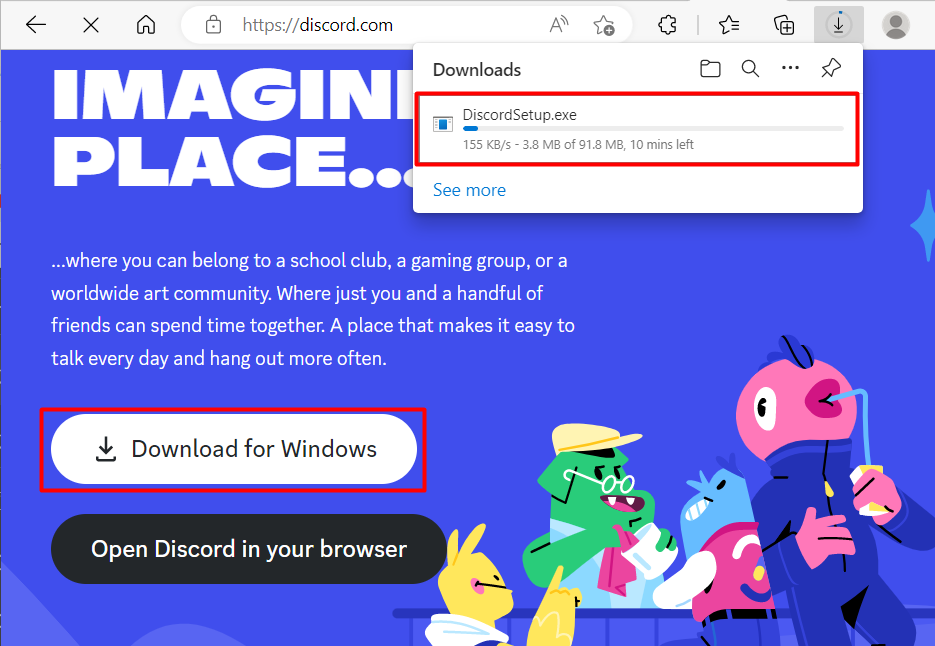
Step 2: Download Discord Installer
Next, click on the “Download for Windows” button to start downloading the Discord installation file:
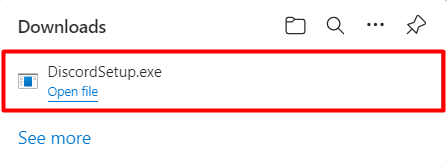
Step 3: Execute Discord Installation File
There are multiple ways to execute the installation of the Discord file such as opening the browser which you have used to download this file. Then, either go to downloads or press the “CTRL+J” shortcut key which will show you the list of download files. Then, click on the Discord downloaded file to start its execution:
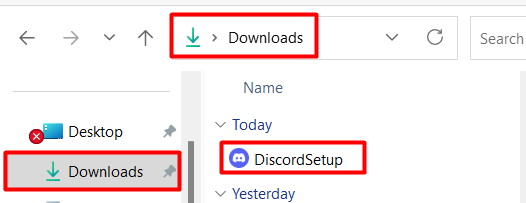
Discord installer can also be accessed from the “Downloads” folder and then executed by double-click on it to start its installation on Windows 64 bit:
Upon doing so, the Discord installation will be started which can take some time:
Step 4: Log in to Discord
Log in to the Discord account by providing the email and password credentials of the Discord account. However, you can register yourself by hitting the “Register”:

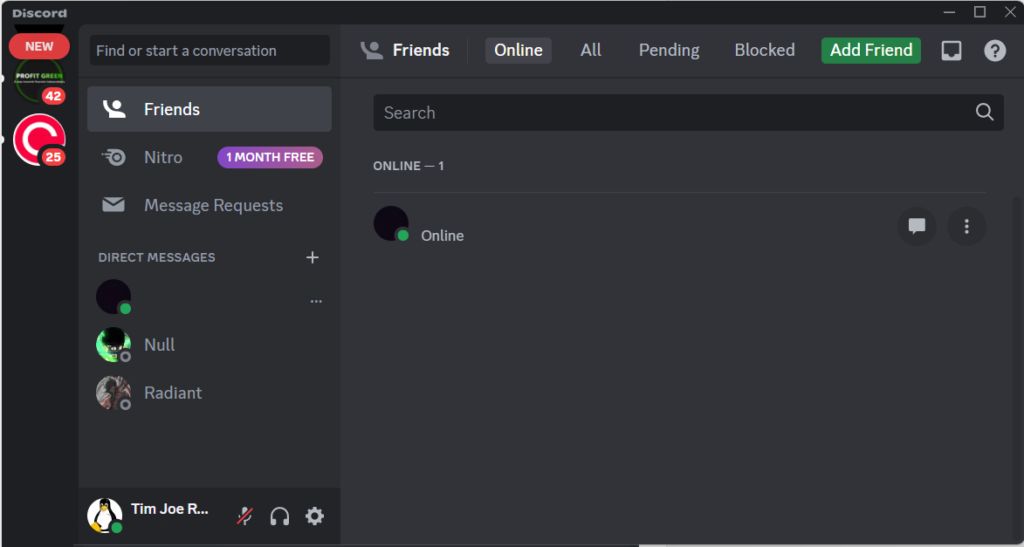
Here, you can see we have successfully downloaded and accessed the Discord account on Windows 64-bit system:
That’s all about downloading Discord on a Windows 64-bit system.
Conclusion
Discord is a powerful and versatile communication platform that can enhance your gaming and social experience. Downloading Discord on Windows 64 bit is a simple and straightforward process. You can download the Discord application through its official link and then follow the steps outlined in this article.