Automation is a highly considerable factor when it comes to DevOps, but there exist a lot of other aspects in DevOps that cannot be ignored, for example, monitoring which has a significant role in every stage of the software delivery pipeline. The quality of monitoring which is involved is also very necessary to investigate. So, how is this monitoring done?
At the time, where we implement the strategies of automating the integration, provisioning, testing, and deployment we need to utilize the monitoring techniques of DevOps for screening the builds, executions, and resources. A lot of sellers offer tools for free trials that can be used in the process of monitoring, but only the tool that stands among all of these tools is Nagios. It is a tool that has a rich-plugin system, with free and open-source tools for observing and fixing the issues within the IT framework before they affect the other business projects.
Nagios
Officially Nagios is now called Nagios Core. It is one of the foremost popular and most seasoned open-source monitoring areas, and even though the tools in this core version only offer a single license, it possesses some of the most comprehensive options of the monitoring in the market. Here are some of the Highlights that Nagios gives it to its clients, all through a centralized view:
- Nagios is utilized for monitoring different network services such as SMTP, SSH, POP, HTTP, PING, NNTP, etc.
- SMS/Email alerts, Improved Network Infrastructure, and applications
- System metrics, Detailed device status information
- Remotely monitoring through the Remote Plugin Executor of Nagios and it also examines host resources.
- Nagios offers a simple design of plugin that allows the user to develop their service checks easily.
- Its web interface is utilized for investigating current Network status, Issues history, notifications, log files, etc.
- It also does parallelized service checks.
- It also has the capability for defining event handlers for executing in between host or service events for proactive resolution of problems.
- Nagios can define the hierarchy of network hosts using parent hosts. This functionality helps in the detection and separation between the hosts which are unreachable or down.
These were just a handful of features that we have picked for you. Now, let’s step-in towards the Nagios 4 installation process on Ubuntu 20.04. Before following the installation guide, make sure that you are working as a ‘superuser’.
Installing Nagios 4 on Ubuntu 20.04
Step 1: Open the terminal by pressing ‘CTRL+ALT+T’ or search it in the activities. The package list needs to be updated.
$ sudo apt update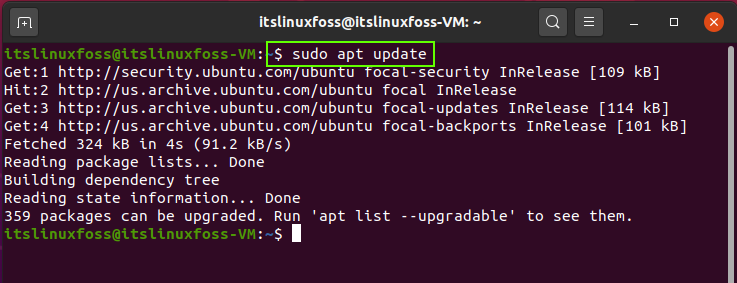
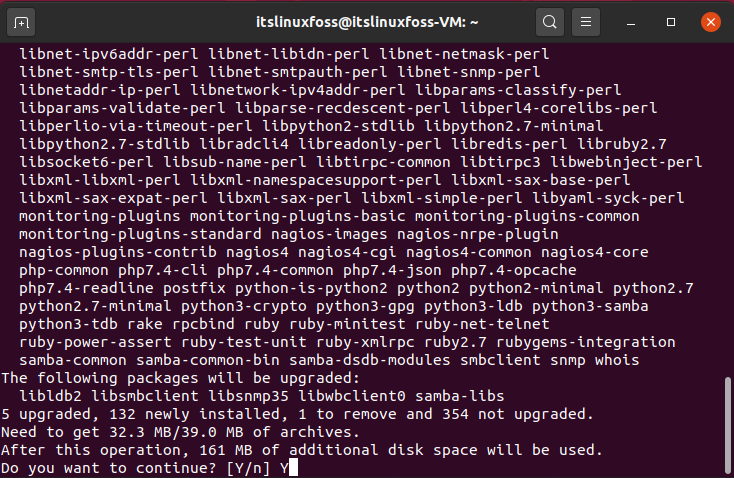
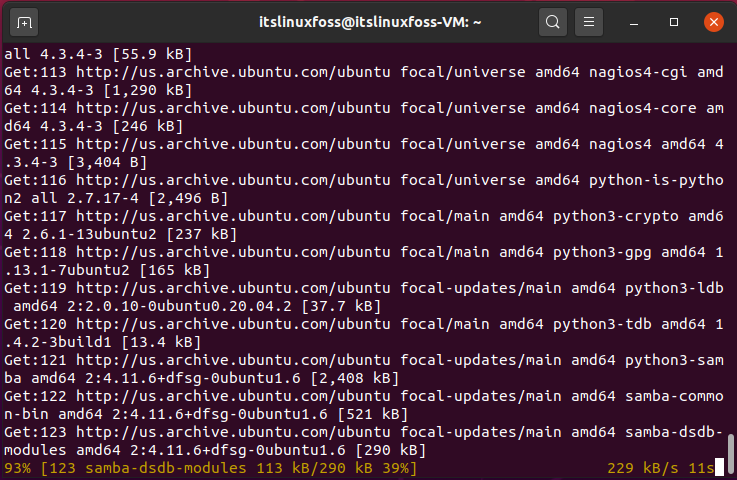
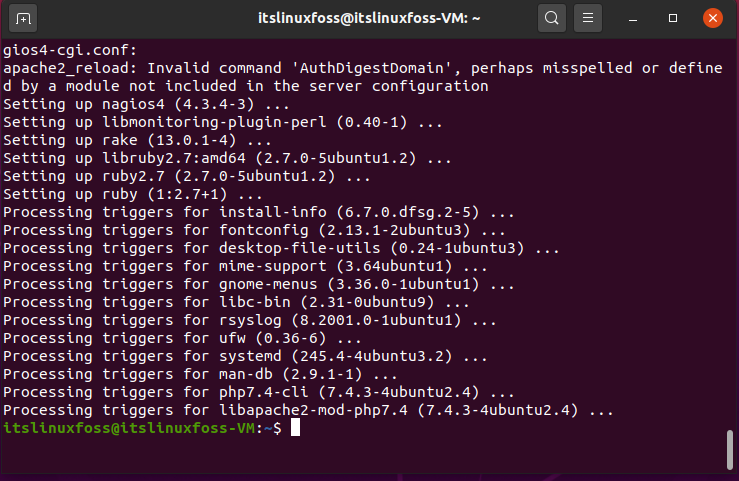
Step 2: Write out the following command to install the bundle of packages for Nagios 4.
$ sudo apt install nagios4 nagios-plugins-contrib nagios-nrpe-plugin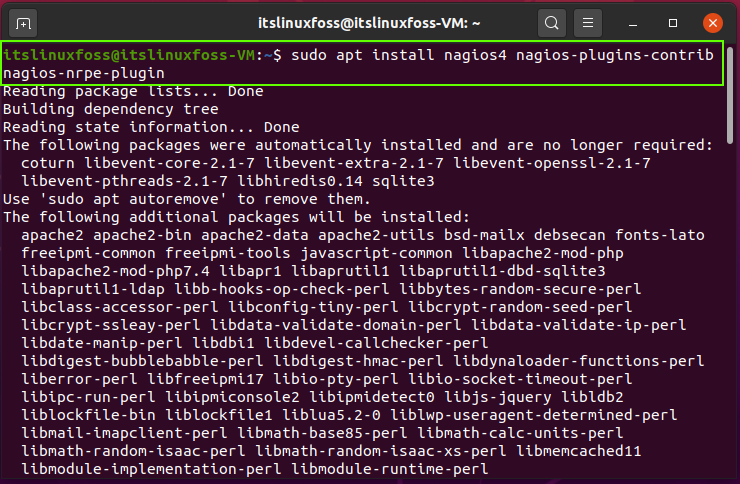
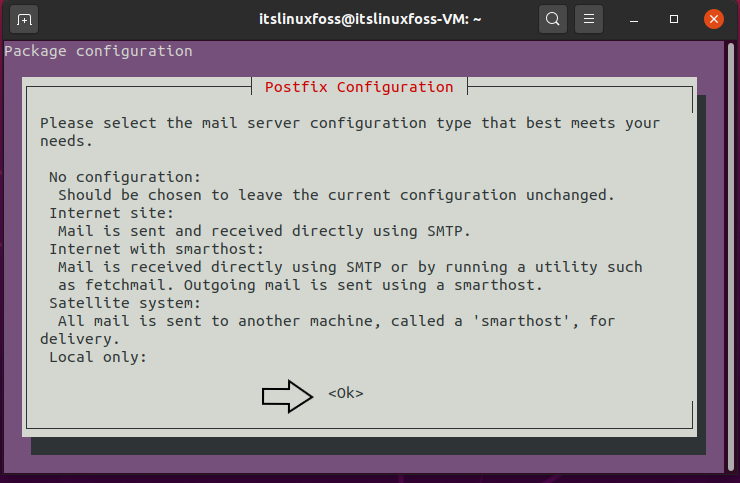
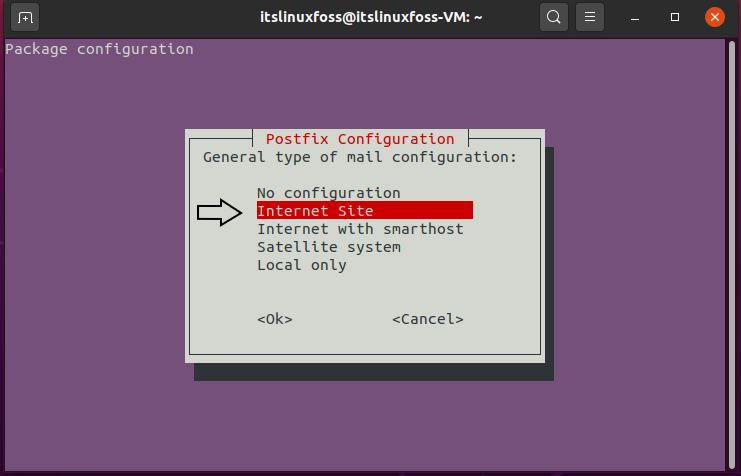
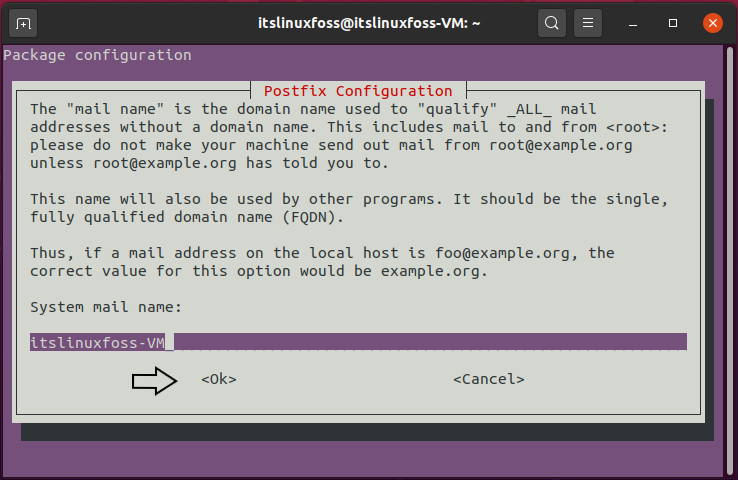
Step 3: Setup the Postfix configuration settings according to your choice and then add the system mail name.

Step 4: Now you need to enable some essential modules.
$ sudo a2enmod authz_groupfile auth_digest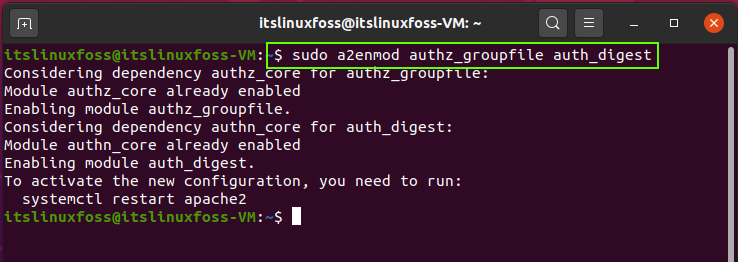
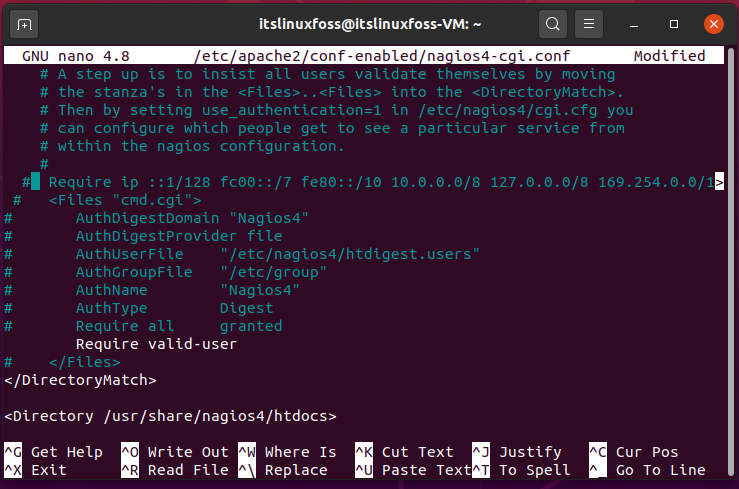
Step 5: Open-up the configuration file by utilizing the given command and uncomment the ‘require valid user’ line.
$ sudo nano /etc/apache2/conf-enabled/nagios4-cgi.conf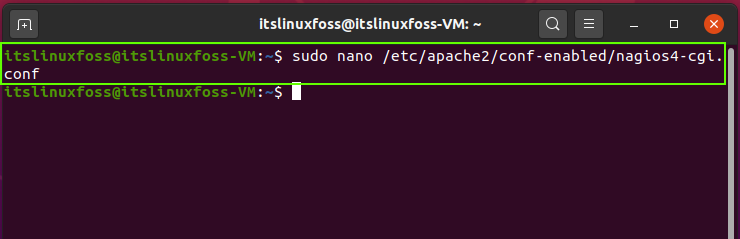
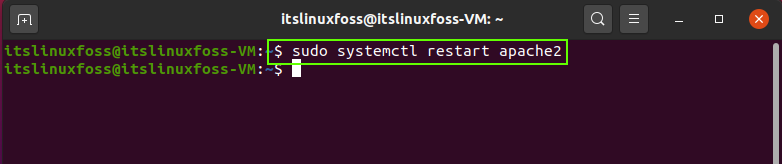
Then Restart the apache2 service.
$ sudo systemctl restart apache2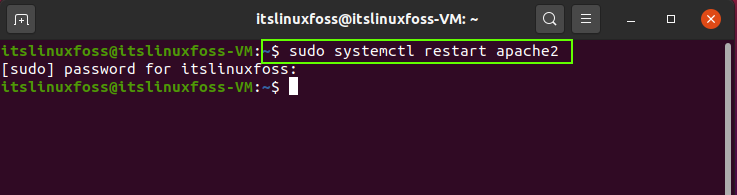
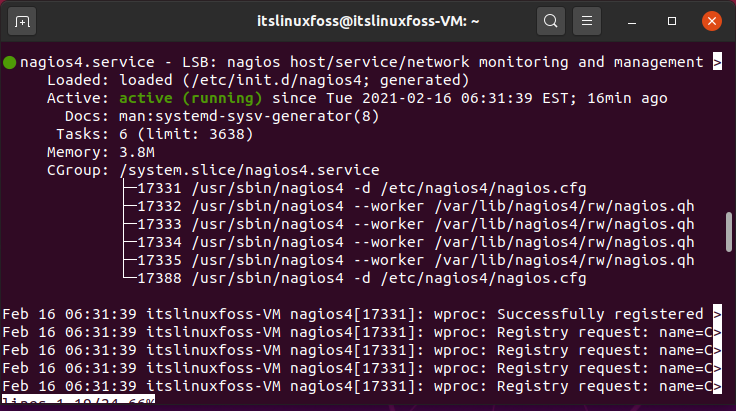
Step 6: Check the status of apache2 and Nagios service.
$ sudo systemctl status apache2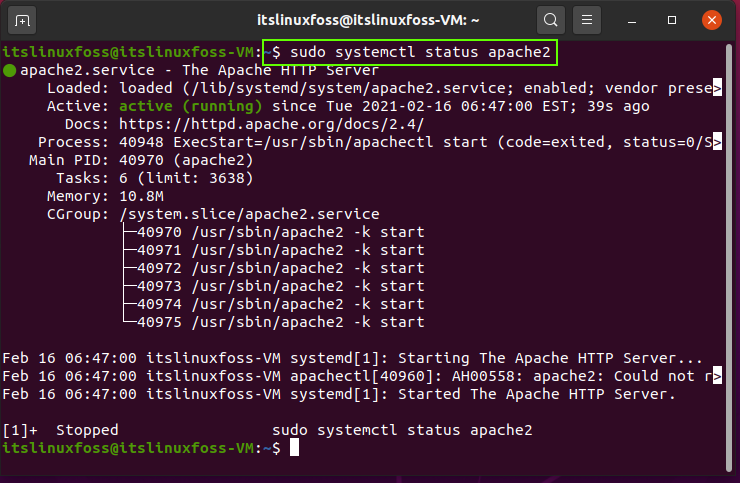
Step 7: Use the ‘htdigest’ to create a new Nagios user and its password. Here the command will create a user by the name ‘itslinuxfoss’.
$ sudo htdigest -c /etc/nagios4/htdigest.users Nagios4 nagiositslinuxfoss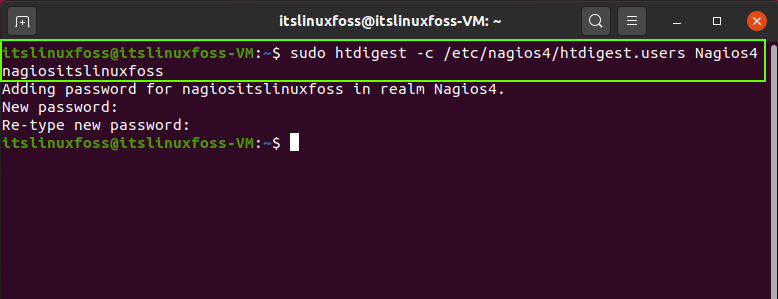
$ sudo systemctl restart apache2Step 8: Update the rules for Apache on the firewall.
$ sudo ufw allow Apache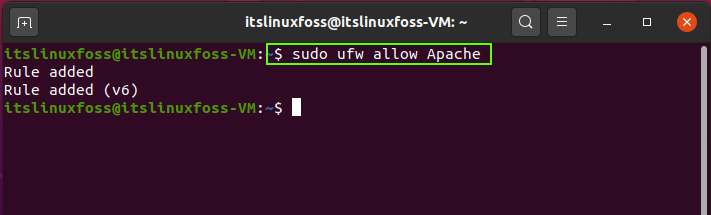
That was all about Nagios 4 installation. Access its interface by using your IP address or domain name.
http(s)://your_domain_or_ip_address/nagios
Conclusion:
This article provided you a step-by-step guide for the installation of Nagios 4 on Ubuntu 20.04.

TUTORIALS ON LINUX, PROGRAMMING & TECHNOLOGY