A network protocol called FTP also known as File Transfer Protocol is used for transferring files between various remote networks. It allows the transfer of multiple files, including directories. There are many popular servers on Linux for FTP which include PureFTPd, ProFTPD and VSFTPD.
Very Secure FTP daemon or VSFTPD proves to be a fast, secure and stable server for FTP. It makes the copying of the file over the network much easier and hence providing ease to the user.
Today in this tutorial we’ll learn how to set up the FTP server with VSFTPD on Ubuntu 20.04 . Along with its configuration for the users to be restricted to their home directory and encryption of the transmission with TLS/SSL.
Step By Step Guide
Follow the given steps below for an easy setup of FTP with VSFTPD.
Step 1: Update Your System
In order for your system to be updated before any installation then run the following command:
$ sudo apt update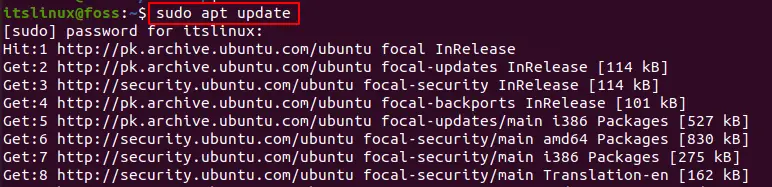
Step 2: Installation of VSFTPD
Now, run the following command to install VSFTPD on your system:
$ sudo apt install vsftpd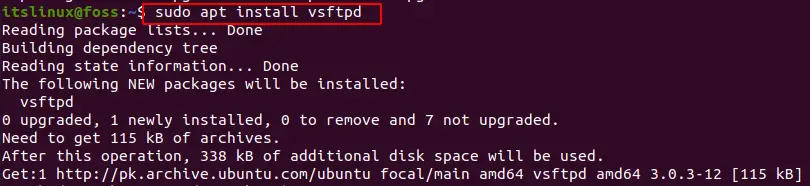
This will start the FTP server on your system but incase to verify it, run the following command:
$ sudo systemctl status vsftpdIt should provide you with the following output:
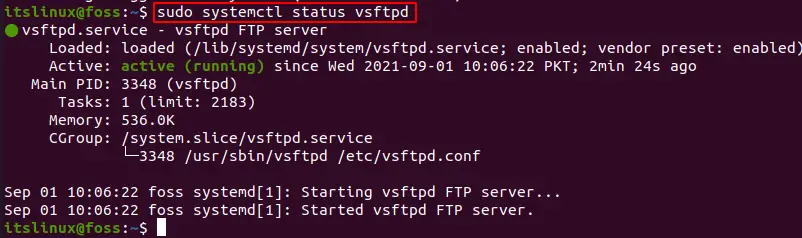
This indicates that the system is actively running. Now it’s time to configure it.
Step 3: VSFTPD Configuration
All the configurations of the server VSFTPD are securely stored into the file: /etc/vsftpd.conf. To configure a secure installation of the vsftpd server we need to follow the below steps:
Firstly, open the configuration file of VSFTPD by running the command given below:
$ sudo nano /etc/vsftpd.confThis will open up a file in which you need to make some changes:
Now, following changes should be made:
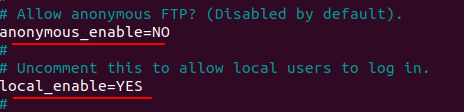
FTP Access: We need to give local users the access of FTP server only. For this, you’ve to search for “anonymous_enable” and “local_enable” directories. Your setting should look like this:
Uploads Enabling: Here, for uploading and removing of file uncomment the “write_enable” line, and after it should look like this:

Chroot: In order for the local FTP users to not have the access of the files outside their home directory, uncomment the line “chroot_local_user”, and after it should look like this:

In this way we’ve enabled the chroot. This will cause the no file uploading by the VSFTPD due to security reasons, if it’s a writable directory in which users are locked in. In order to allow the uploads while chroot is enabled, you’ve to create a directory inside the user home for ftp. This will allow a writable upload directory for uploading files while chroot is running. Add the following lines in the file:
user_sub_token=$USER
local_root=/home/$USER/ftp
Mode for FTP connection: VSFTPD by default uses an active mode. To change into passive, you need to set the max and min range of ports. Add the following lines:
pasv_min_port=30000
pasv_max_port=31000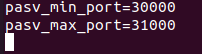
Limitation on User Login: In order to allow certain users to login, add these lines at the end of your file:
userlist_enable=YES
userlist_file=/etc/vsftpd.user_list
userlist_deny=NO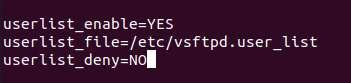
After it’s enabled you’ve to specify each user per line in the file /etc/vsftpd.user_list.
FTP Transmission with SSL/TLS: Now, to have a secure transmission we need an SSL certificate. For this run the following command:
$ sudo openssl req -x509 -nodes -days 3650 -newkey rsa:2048 -keyout /etc/ssl/private/vsftpd.pem -out /etc/ssl/private/vsftpd.pem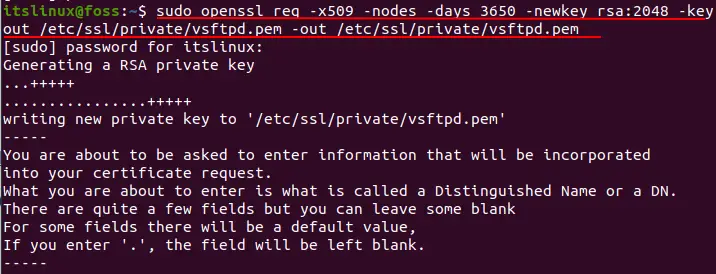
This will generate the above commands, followed by a bunch of questions. It will generate a private key and a certificate that has validation for 10 years. Once this is done, open VSFTPD configuration file:
$ sudo nano /etc/vsftpd.conf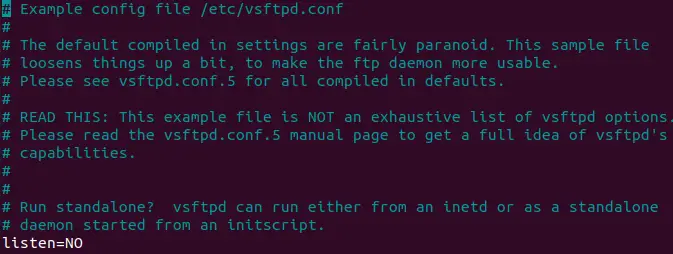
In this file find the following:

Now change their values to the following lines:
rsa_cert_file=/etc/ssl/private/vsftpd.pem
rsa_private_key_file=/etc/ssl/private/vsftpd.pem
ssl_enable=YES
If this is not specified, TLS will be used to make secure connections.
Step 4: VSFTPD Service Restart
Now, after you’ve made all the changes in the file, save and close it. You need to run the commands provided below in order to restart the services with the changes we made.
$ sudo systemctl restart vsftpd
Step 5: Firewal
We need FTP traffic to be allowed in case UFW Firewall is running. Now, to open 20 port(Port for FTP Data), 21 port(Port for FTP Command) and 30000-31000 (Port Range for Passive mode), run the below commands:
$ sudo ufw allow 20:21/tcp
$ sudo ufw allow 30000:31000/tcp
Now run the following commands and restart the firewall:
$ sudo ufw disable
$ sudo ufw enable
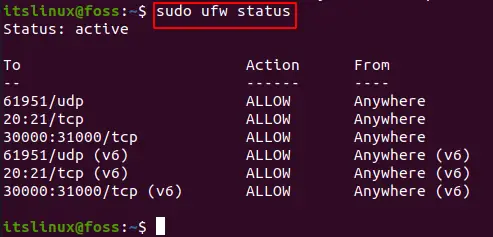
Now, to check if the changes are working run the following command:
$ sudo ufw statusThis should give you the following output:
Step 6: User Creation for FTP
Now, we’ll create a user in order to test FTP server:
- User named “newftpuser” is created:
$ sudo adduser newftpuser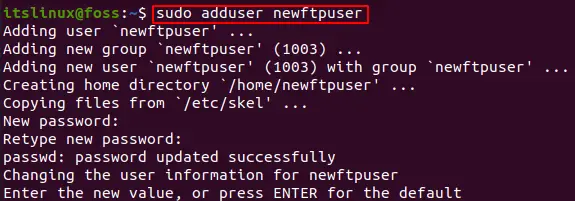
- Adding user to the allowed ftp user list:
$ echo "newftpuser" | sudo tee -a /etc/vsftpd.user_list
- FTP directory and setting the permissions:
$ sudo mkdir -p /home/newftpuser/ftp/upload
$ sudo chmod 550 /home/newftpuser/ftp
$ sudo chmod 750 /home/newftpuser/ftp/upload
$ sudo chown -R newftpuser: /home/newftpuser/ftp
Now in this way the user will upload the files in the directory “ftp/upload”. Now FTP is all set and completely functional to use.
Conclusion
FTP provides a service of transferring files between various systems over the network. VSFTPD is a widely used choice for setting up FTP servers. In this how-to guide we learned the installation of FTP Server with VSFTPD on Ubuntu 20.04. Furthermore, we configured it and its firewall along with the creation of a user.
Although there are more secure servers out there, FTP is still widely used one. By following the above steps, you’ll be able to transfer and upload files over the network.

TUTORIALS ON LINUX, PROGRAMMING & TECHNOLOGY