In Google Docs, fonts are the most prominent entity in any Google Doc file, and a suitable font attracts the readers to read the document. Google Docs offers some built-in fancy fonts other than the standard font styles. Besides this built-in support, Google Docs has extension support to add more fancy fonts. This post will demonstrate the possible methods to use fancy fonts in Google Docs. The content for the post is as follows:
- Method 1: How to Use Built-in Fancy Fonts in Google Docs?
- Method 2: How to Use Fancy Fonts in Google Docs Using Extensions?
- Bonus Tip: How to Use Fancy Fonts on Google Docs Mobile App?
Let’s start this guide!
Method 1: How to Use Built-in Fancy Fonts in Google Docs?
In Google Docs documents, built-in fonts are available on the page’s toolbar, and users can add these fonts to their documents. There are many families of fonts, such as Arial, impact, Lora, etc. let’s discuss the method to use some Fancy Fonts on Google Docs.
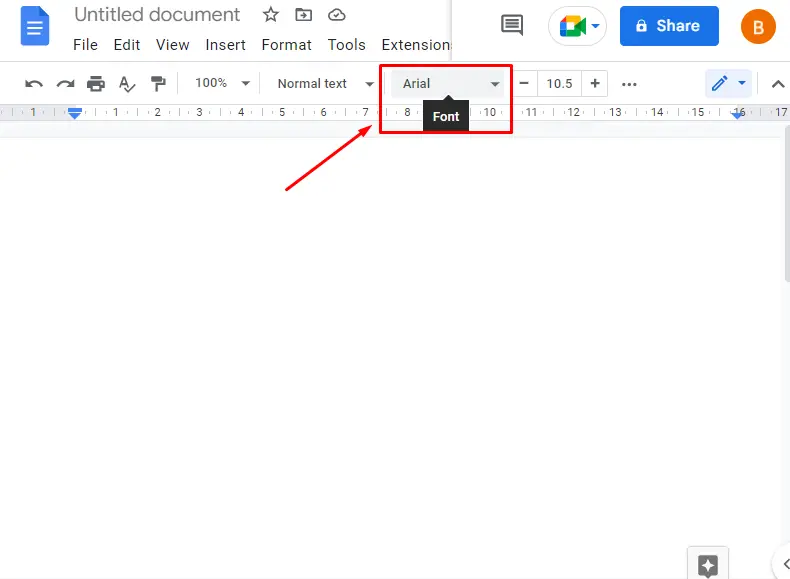
Step 1: Open the Document
The first step is to open the Google Docs document and click on the “Font” option:
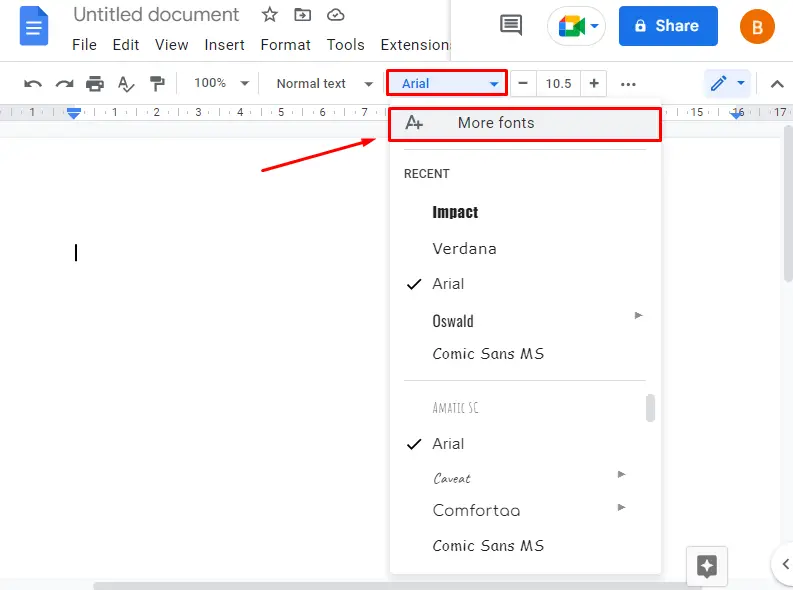
Step 2: Explore Fonts
The next step is to click on the “More Fonts” option from the dropdown:
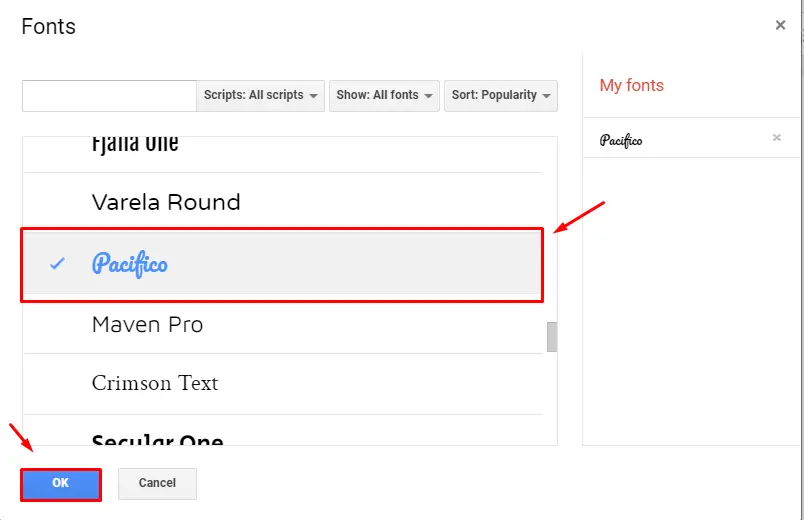
Step 3: Choose the Font
After that, a pop-up will appear on the screen. Choose the font for your document, as in our case, “Pacifico” font is used, then click on “OK”:
Step 4: Type the text and Verify the Results
After the font is chosen, type in the document to check the font of the document:
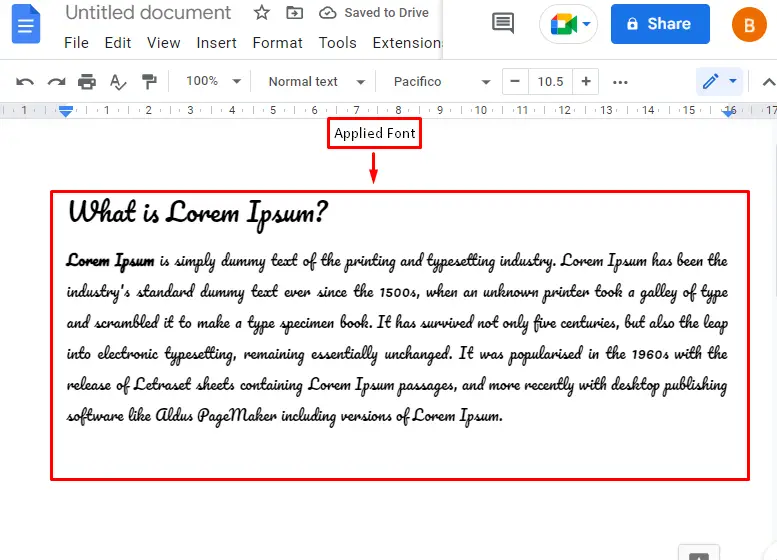
Here you can see that the font style has been changed to fancy.
Let’s check the second method to use fancy fonts.
Method 2: How to Use Fancy Fonts in Google Docs Using Extensions?
Another method to use fancy fonts in Google Docs is the “Extension” in Google Docs. An extension can be added using the “Extensions” tab from the MenuBar. Let’s check this method step by step.
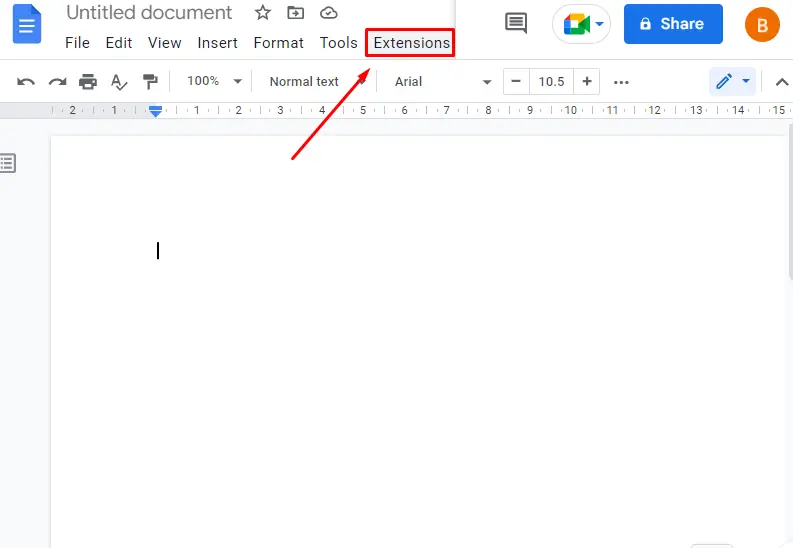
Step 1: Open the Document
Open the document and click on the “Extension” tab of the MenuBar:
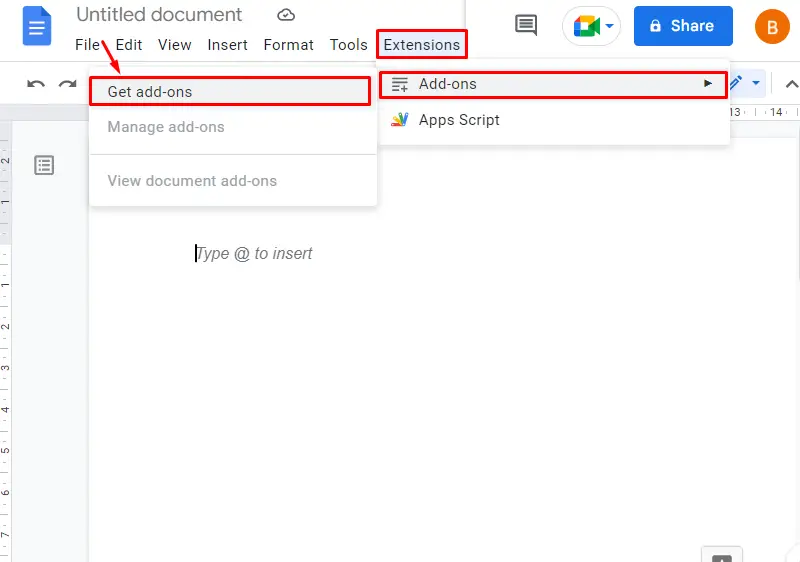
Step 2: Invoke Add-ons
Hover on the “Add-ons” and click on “Get add-ons” from the dropdown:
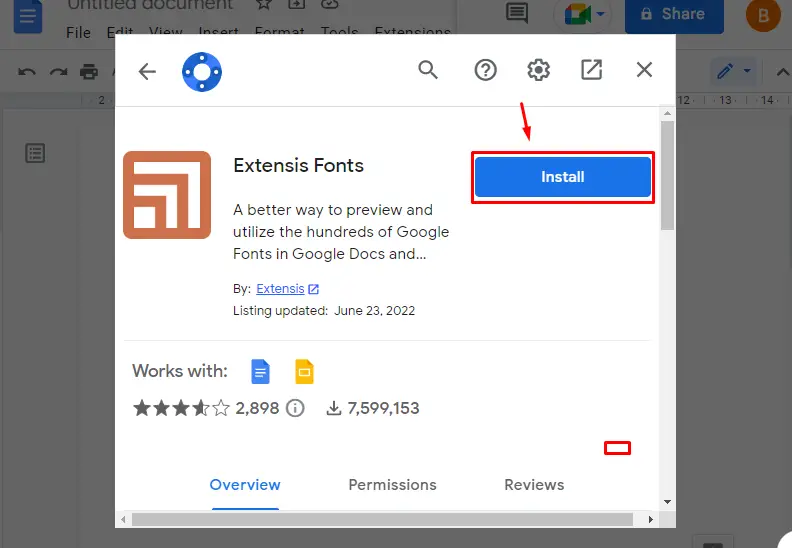
Step 3: Search Extension “Extensis Fonts”
The next step is to search for the “Extensis Fonts” extension and install it by clicking on the “Install” button:
Step 4: Run the Extension
After the installation, the extension will appear under the “Extensions” tab of the document:
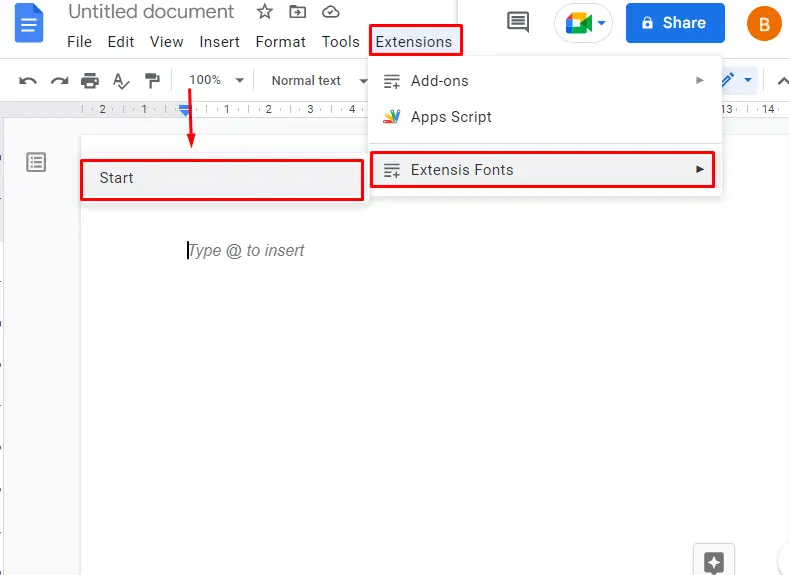
After clicking on the start button, the selected extension will open on the right side of the page:
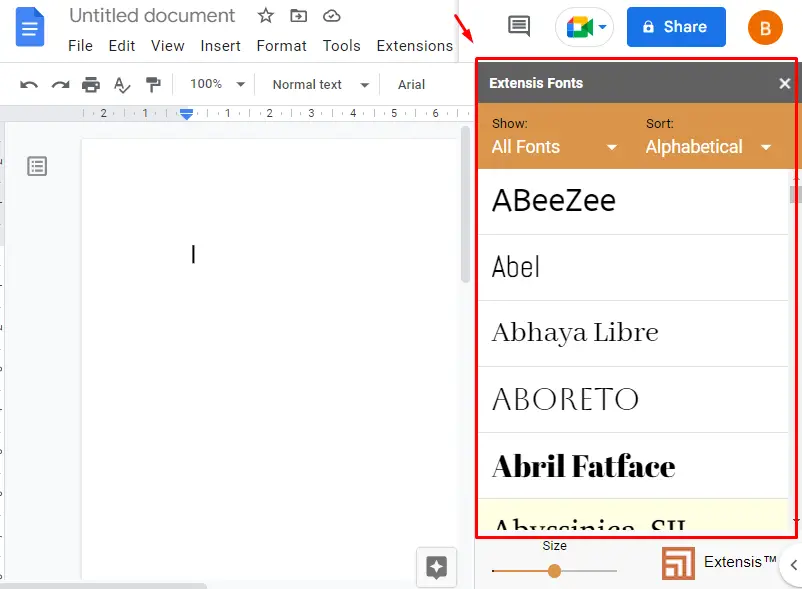
Step 5: Explore the Fancy Fonts in the Extension
Now, add some text to the document, then select the text and click on the font:
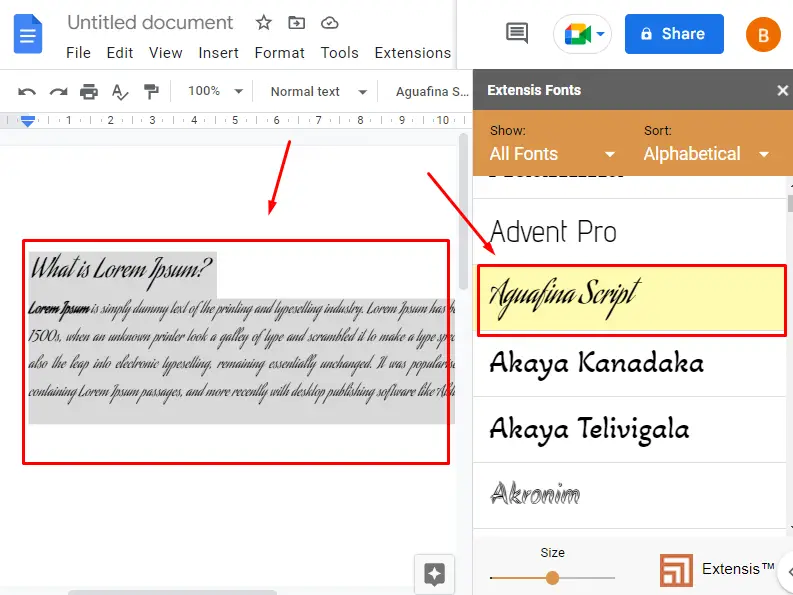
Apart from the selected fonts, there is a list of fancy fonts on the opened extension.
Step 6: Verify the Results
After choosing the font, it will be added to the text of the document as shown in the below image:
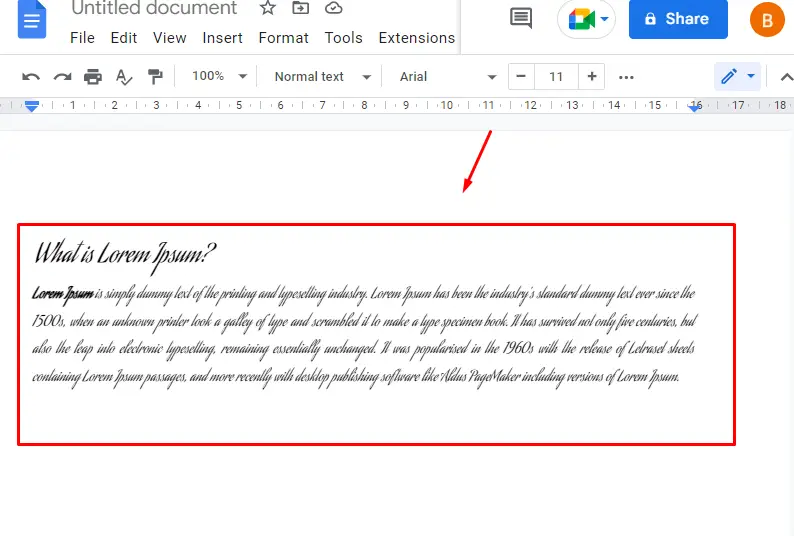
These are the methods to use fancy fonts in Google docs.
Bonus Tip: How to Use Fancy Fonts on Google Docs Mobile App?
Google Docs support for Mobile Apps is available and fancy fonts can also be added using the Mobile App of Google Docs. Let’s practice the method of using fancy fonts on a Mobile App.
Step 1: Open the Document
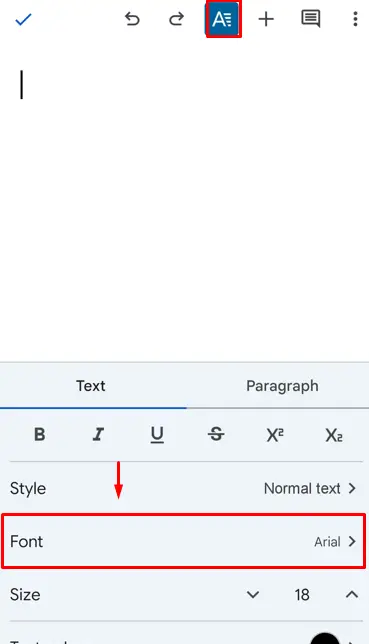
Open the document and click on the font option from the bar:
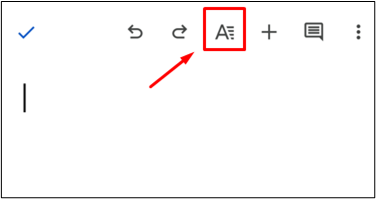
Step 2: Open the Font Option
After that, click on the “Font” option from the dropdown:
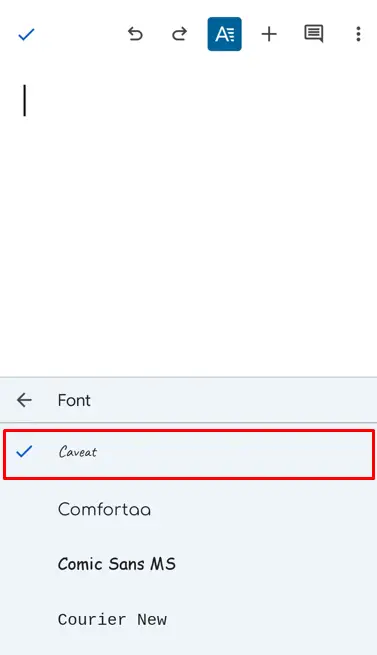
Step 3: Choose the Font
Now, choose the font from the font list according to your choice, as in our case “Caveat” font is used:
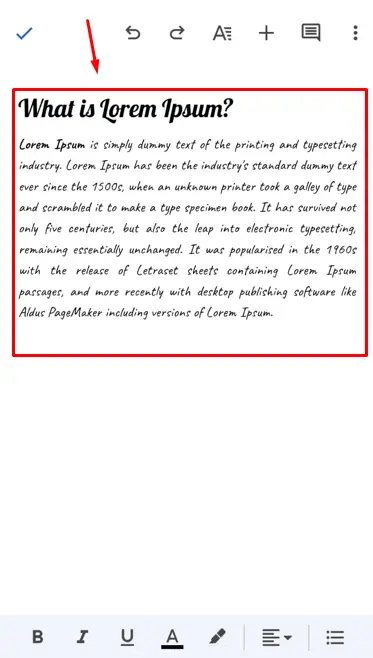
After the font is chosen, type the text in the document to check the results:
That’s it from this guide.
Conclusion
In Google Docs, the Fancy Fonts can use by using the “Font” option from the toolbar or using the “Extensis Font” Extension. The “Fonts” option contains some built-in fancy fonts, whereas the extension has some additional fancy fonts support. In this article, two methods have been demonstrated to use Fancy Fonts in Google Docs. The method of using fancy fonts on the Google Docs mobile app is also illustrated.
