The citation is a formal way that tells the reader about the source of information in various styles, such as Chicago, APA, MLA, etc. The source may include the book chapter, conference paper, journal paper, or a web link. In Google Docs, indent citation means indenting all the lines of citation by 0.5 inches except the first line. Moreover, users can indent the citation manually. In this Google Docs guide, we have demonstrated numerous methods to indent citations in Google Docs. The content of this post is as follows:
- Indent Citation by Ruler on Google Docs
- Indent Citation by Indentation Options in Google Docs
- Indent Citation by Indent Buttons in Google Docs
Method 1: Using the Ruler to Apply the Hanging Indent on Google Docs
In Google Docs, the ruler is employed to indent the citation based on the user’s needs. The ruler comprises two parts: “Left indent” and“First Line indent”.These parts are utilized to implement the indent on the selected text in Google Docs.
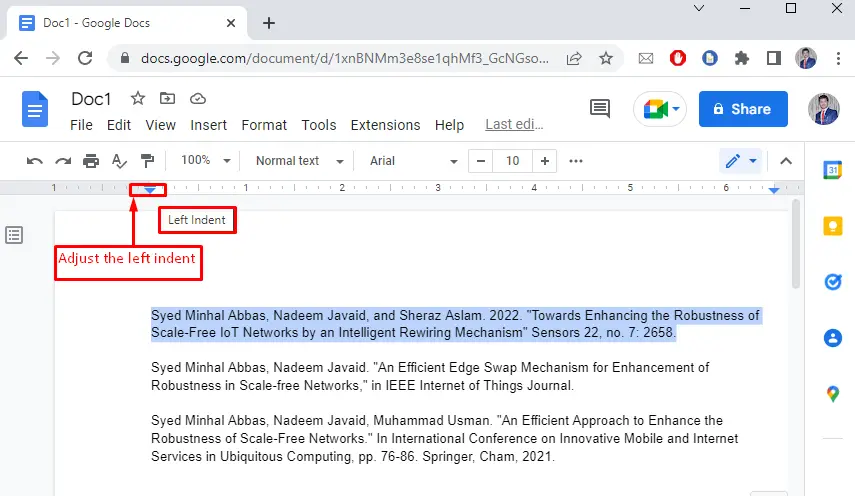
Adjust the Left Indent on Google Docs
The “Left Indent” is employed to indent all the text lines of a selected paragraph from the left margin at a specific distance. Users can adjust the indent by “Left Indent” by selecting the text and then using the ruler to set the indent scale as shown below:
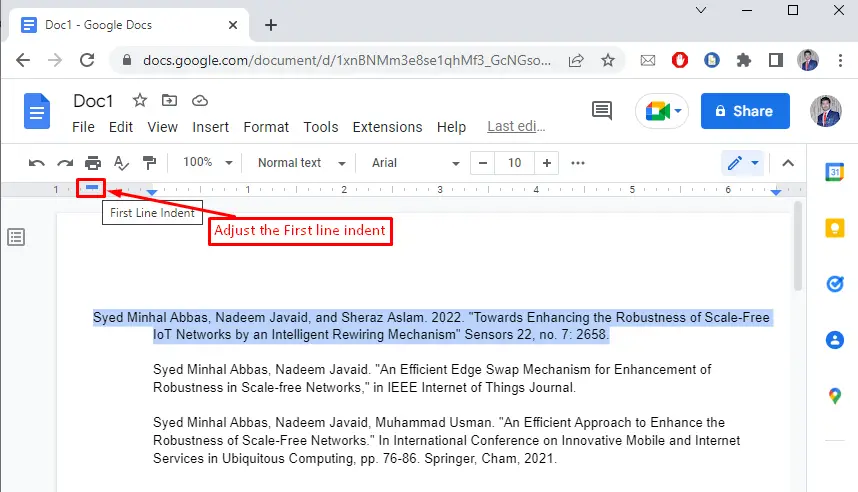
Adjust the First Line Indent on Google Docs
In this step, the “First Line Indent” is utilized by holding the small rectangle icon on the ruler. To make use of it, select the citation and move the ruler (the upper part, which is a small rectangle) to indent the first line of the paragraph:
Until now, you have learned to indent the citation in Google Docs.
Method 2: Indent Citation by Indentation options
In this method, the “Indentation Option” is selected from the “Format” tab after writing the citation in Google Docs. This method comprises various steps that are performed below:
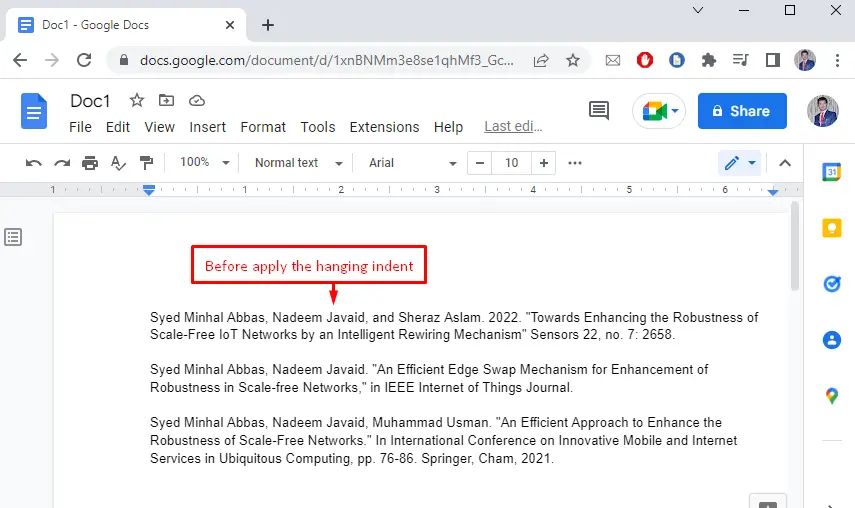
Step 1: Write Citation in Google Docs
In this step, the user can write some text into the document to perform the indent citation. Hence, the indent applies to the selected text by the indentation option. In our case, we are using three citations as shown below:
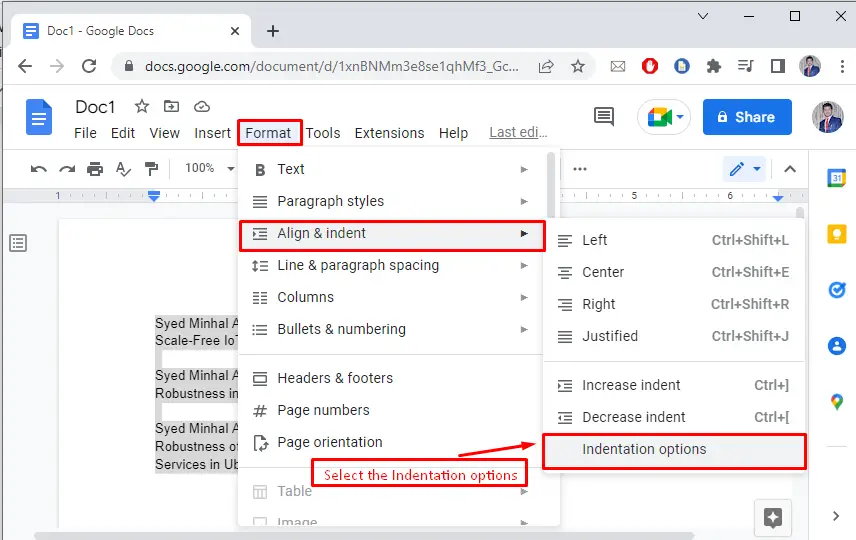
Step 2: Choose the Indentation Option
After selecting the text, click on the “Format” tab, where a dropdown list is generated. After that, hover over “Align & Indent” and choose the “Indentation option” to apply the indent features to the selected text of Google Docs.
Step 3: Choose the Hanging Option
A new pop-up window is raised by clicking the “Indentation options”. The “None” indent is selected by default. Choose the “Hanging” option and hit the “Apply” button:
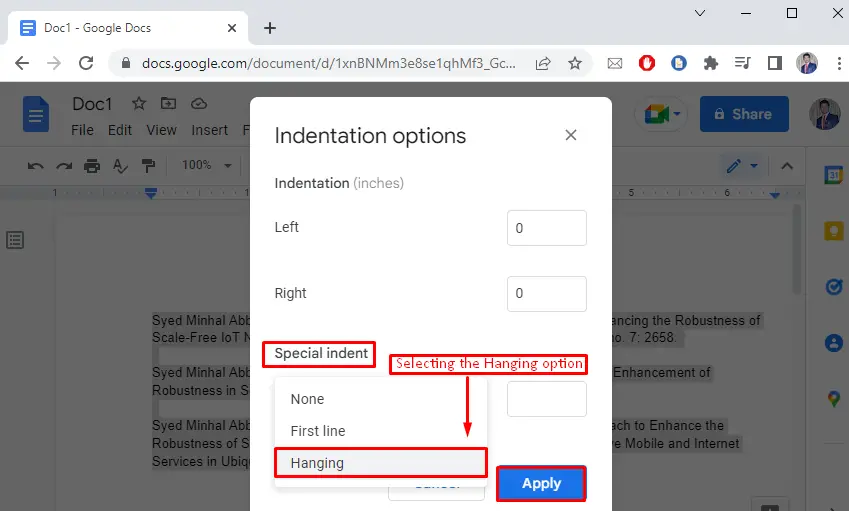
The “0.5” inches is already selected by default to indenting the selected citation except for the first line in Google Docs:

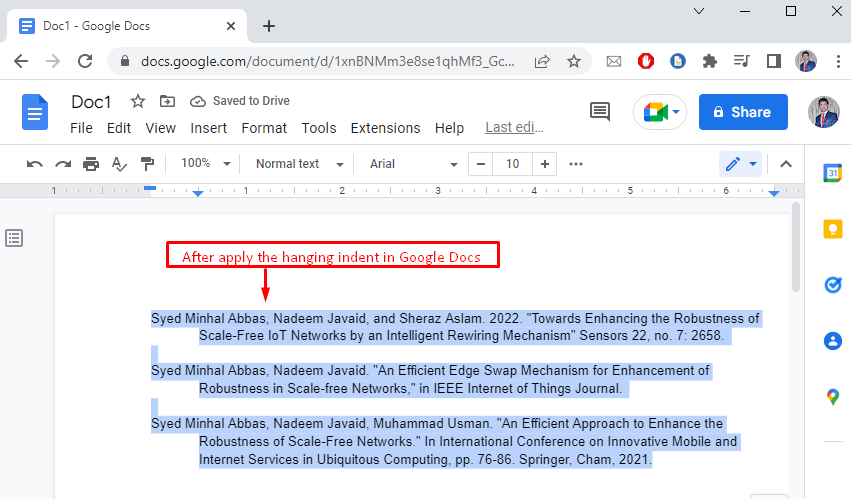
The indent citation is placed on selected text in Google Docs. Hence, the first line is intended at the margin, while the subsequent lines are indented to the right at 0.5 inches by default:
Method 3: Using Indent Buttons to Indent Citation
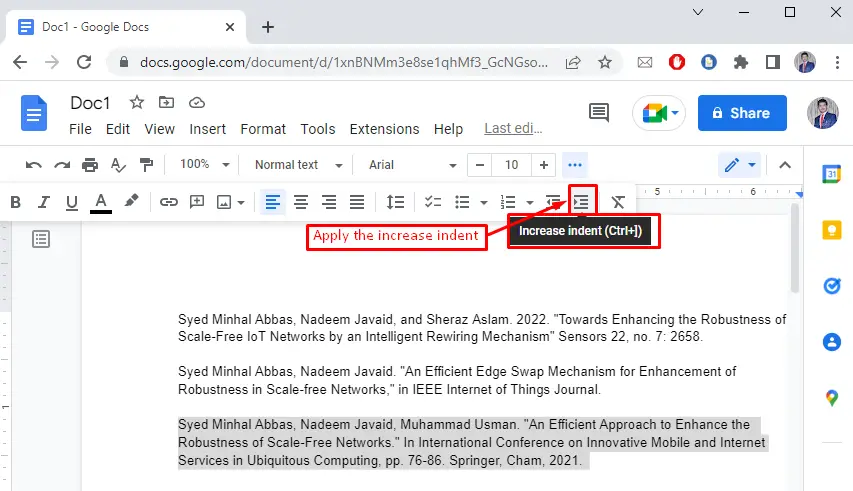
The “Increase Indent” button is utilized from the toolbar of Google Docs. Let’s see how it can be used to indent citations in Google Docs:
Applying the Increase Side Indentation
The text is selected first. After that, use the “Increase Indent” button in Google Docs as shown below:
The selected text moves towards the right by pressing the “Increase indent” button, as shown in the below figure.
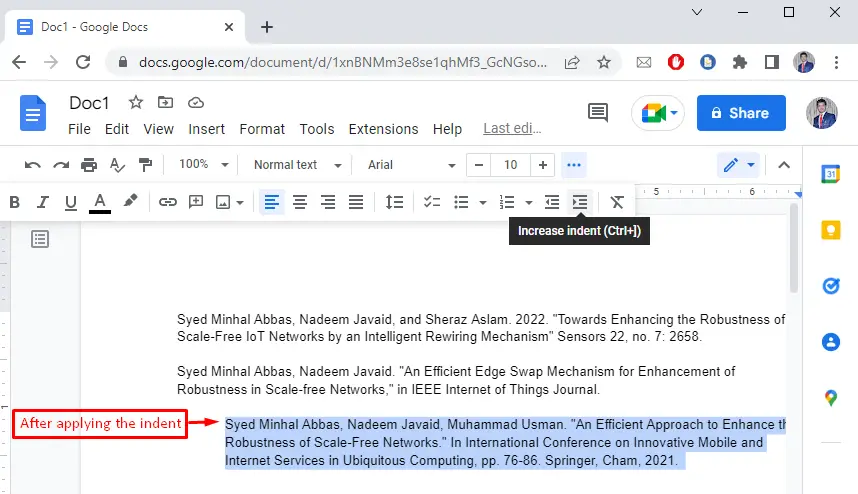
Note: Right indent citation is also possible with the shortcut key “CTRL+]” on Google Docs.
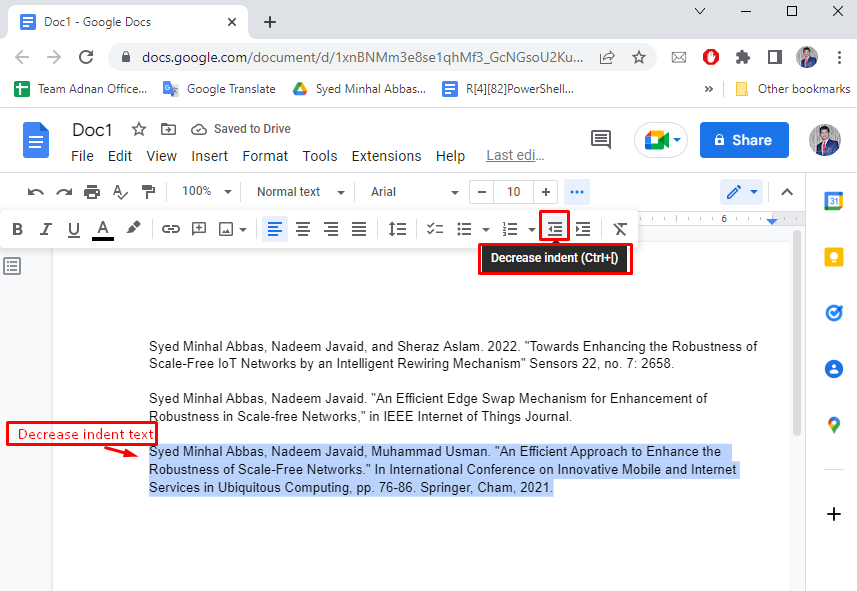
Left Indent the Selected Text
In Google Docs, the “Decrease indent” button is utilized to move the selected text to the left indent as shown in the below figure:
Conclusion
The “Ruler”, “Indentation options”, and “Indent buttons” are used to indent citations in the selected text of Google Docs. The “Ruler” can be adjusted to indent the citation on Google Docs. Furthermore, the “Indentation options” are selected from the “Format” tab to apply the indent property to text. In the end, the “Indent buttons” indent the text right after applying the button. That was all about indenting citations in Google Docs.
