The GDebi package installer is used to install any Debian packages easily and quickly compared to the default Debian package installer of Ubuntu. However, it can run on all the Linux distributions, such as Fedora, CentOS, Red Hat, and many others. Here in this guide, we have explained the installation methods of the GDebi package installer on Ubuntu.
The content covered in this guide is listed below:
- Method 1: Install GDebi Package Installer Using Terminal
- Method 2: Install GDebi Package Installer Through GUI
- How to Install Any Package Using GDebi Installer?
- How to Make GDebi as Default Installer in Ubuntu?
Let us start today’s tutorial!
Method 1: Install GDebi Package Installer Using Terminal
The command line interface helps the users to communicate with the operating system by executing the different commands on the terminal. Let’s get into the installation of the GDebi package installer:
First, press the shortcut key “Ctrl+Alt+T” to open the terminal. Now, run the “apt install” command on the terminal to install the “GDebi” package installer on Ubuntu:
$ sudo apt install gdebi
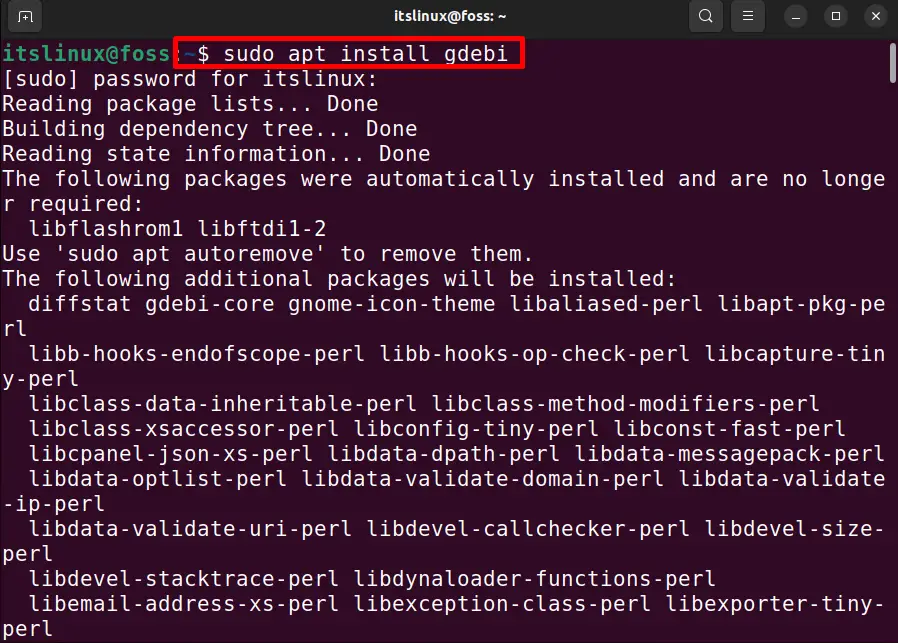
The output represents that the “GDebi” package is installed successfully.
Type the “gdebi –version” command to verify the “GDebi” installation process in the current Ubuntu system:
$ gdebi - -version,
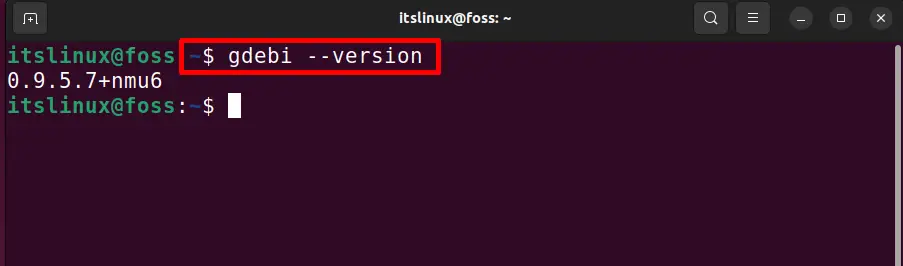
As shown above, the version “0.9.5.7” is currently installed on Ubuntu.
How to Remove the GDebi Using Terminal?
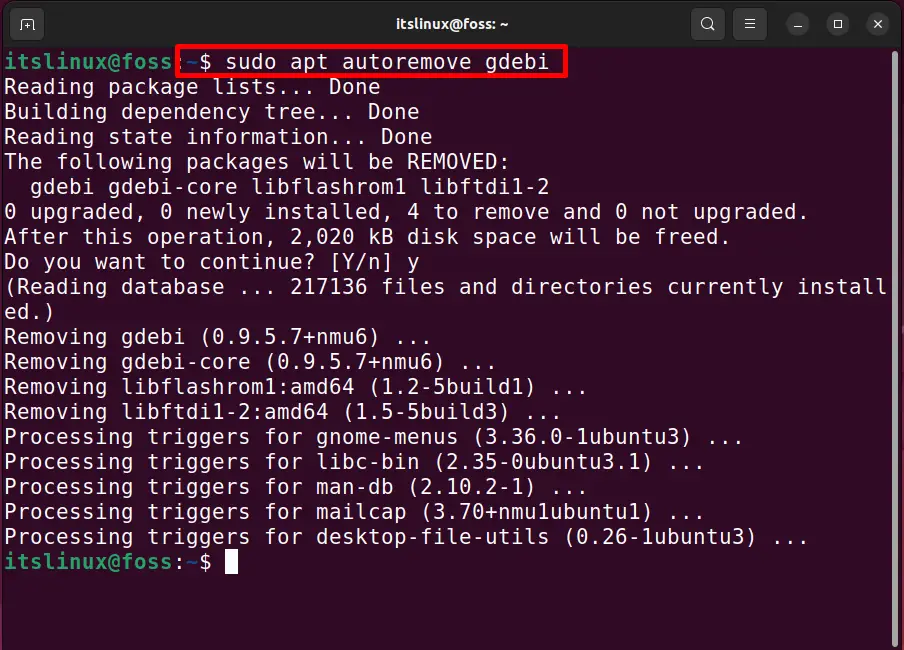
Use the following “apt autoremove” command to completely remove the “GDebi” package installer as follows:
$ sudo apt autoremove gdebi
Method 2: Install GDebi Package Installer Through GUI
The Ubuntu Software Center is beneficial for installing new applications and packages into the current Linux system. In this method, the Ubuntu Software Center will install the GDebi package installer on Ubuntu.
Step 1: Access Ubuntu Software Center
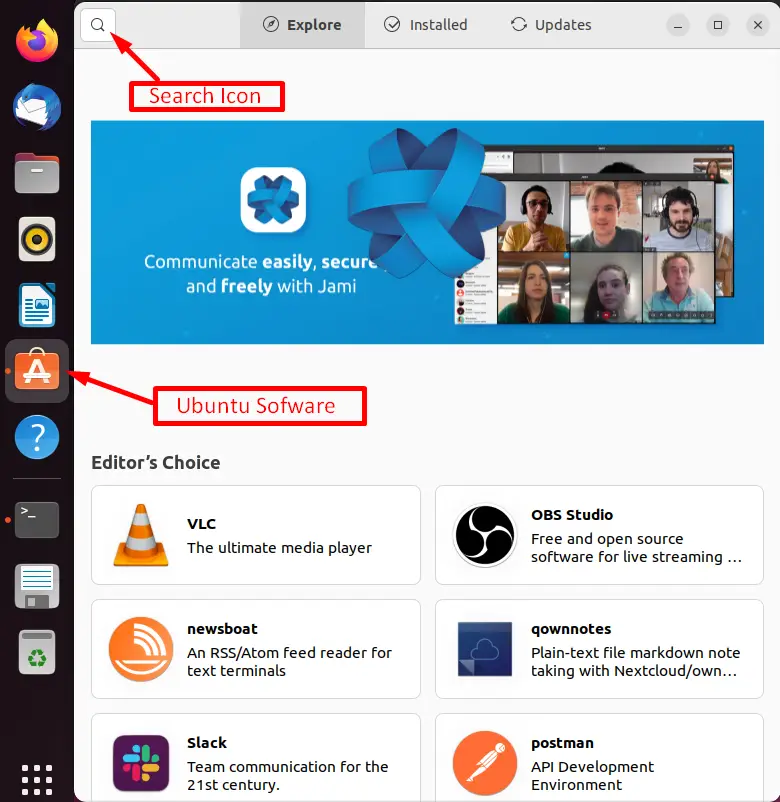
Open the “Ubuntu Software” center and hit the “Search” icon located at the top left corner of the desktop window:
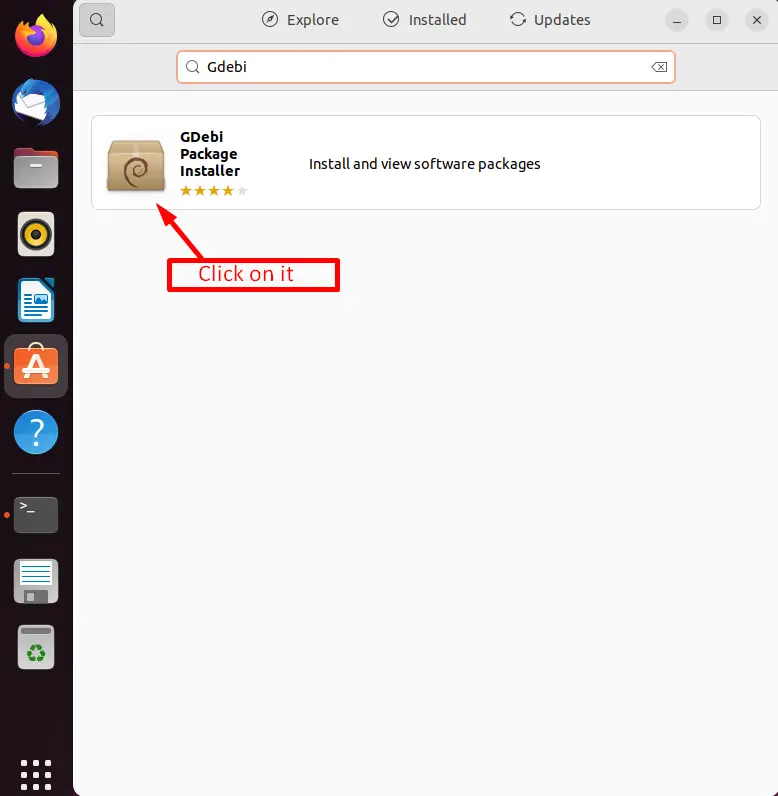
Step 2: Search GDebi
Search the “GDebi” package installer for the Linux distribution Ubuntu and click on it:
Step 3: Install GDebi Package Installer
Press the green “Install” button to start the installation process of the “GDebi” package installer:

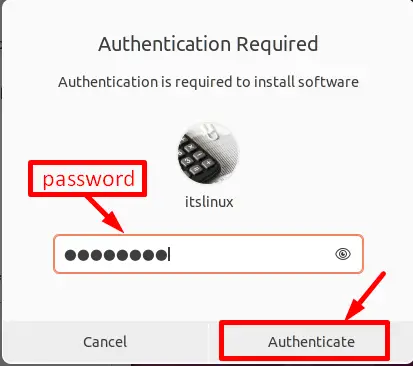
The “Gdebi” package installer needs root user authentication for installing, removing, or updating the packages. To perform this task, first, enter the root user “Password” and then hit the highlighted “Authenticate” button:
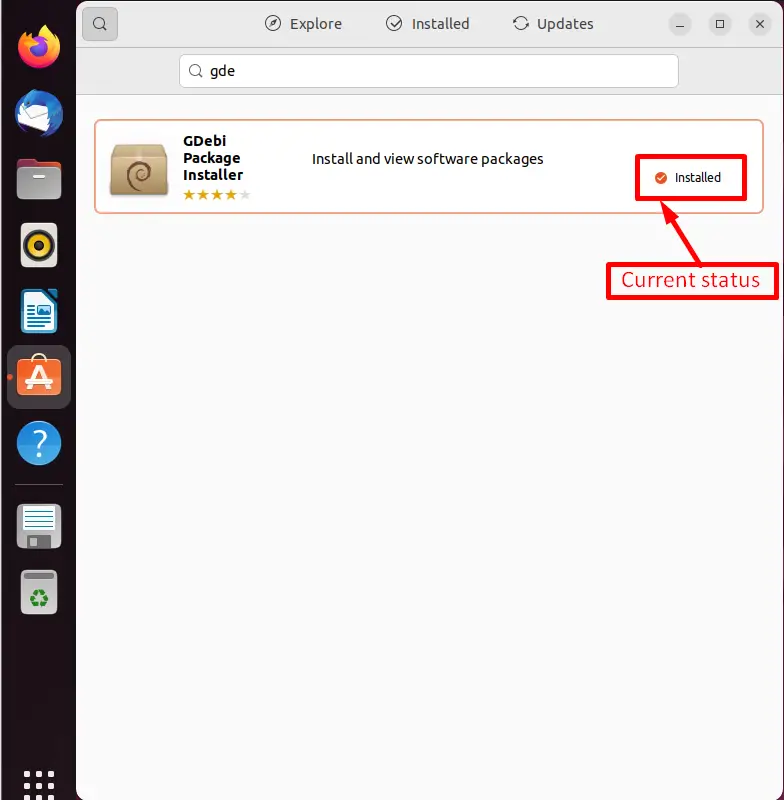
The respective package is installed successfully in the entire Ubuntu system. However, the current status of the “GDebi” package installer is now changed to “Installed”, as shown in the screenshot:
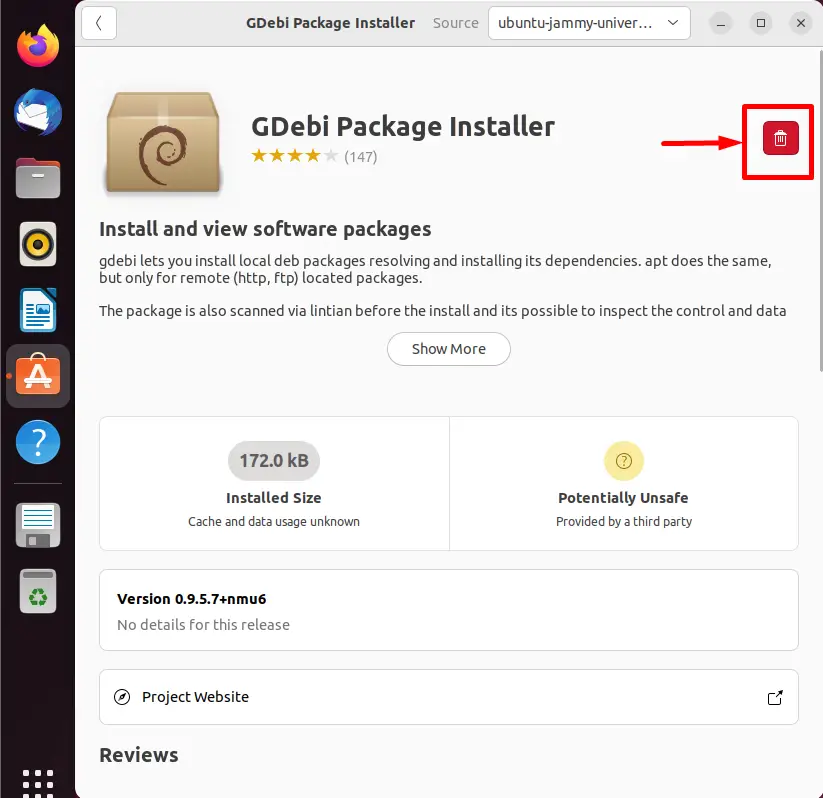
How to Remove GDebi Using GUI?
Search for the “GDebi” package and click on it to open. After clicking on it, the following interface will appear. From there, click on the “Remove/Delete” icon as highlighted below:
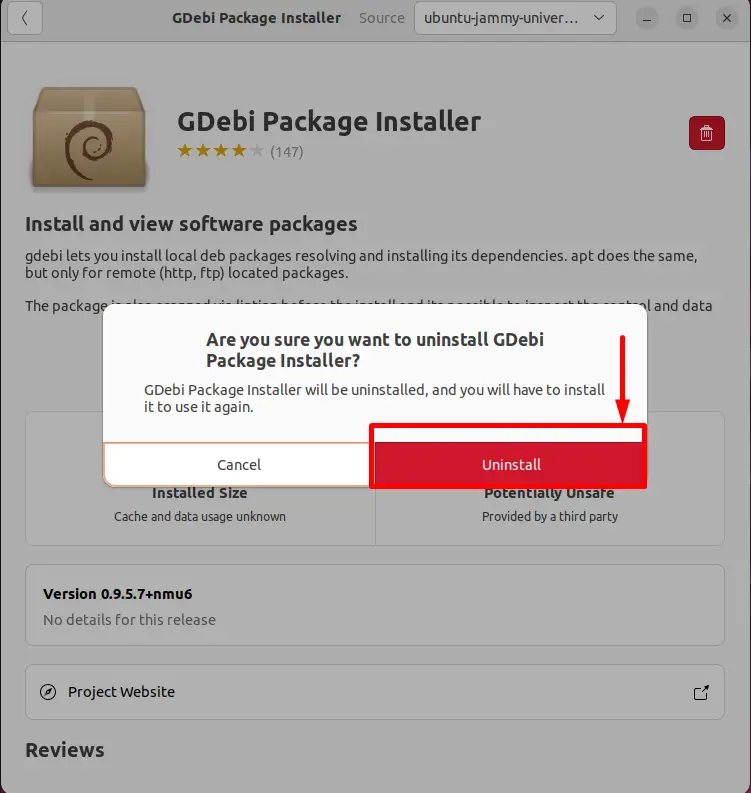
It will ask for confirmation, click on the “Uninstall” button:
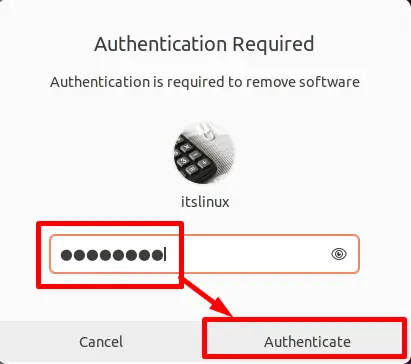
Now, enter the root user “Password” and click the “Authenticate” button:
The “GDebi” package installer will be removed from the current ubuntu system.
How to Install Any Package Using GDebi Installer?
When the installation is completed with either the “terminal” or “GUI” method, the user can use the “GDebi” package installer. This section comprises the different ways to use the GDebi package installer:
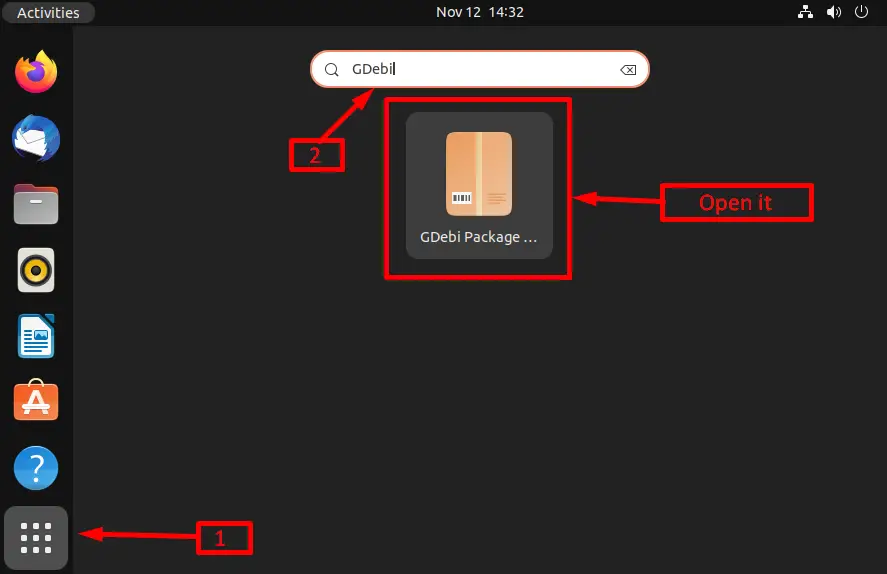
Open the “GDebi” package manager using the “Show Applications” icon available in the bottom left corner of the desktop window. It generates a new window that contains the application menu and a “Search” bar. Navigate to the “Search” bar to search for the “GDebi” package installer and then open it:
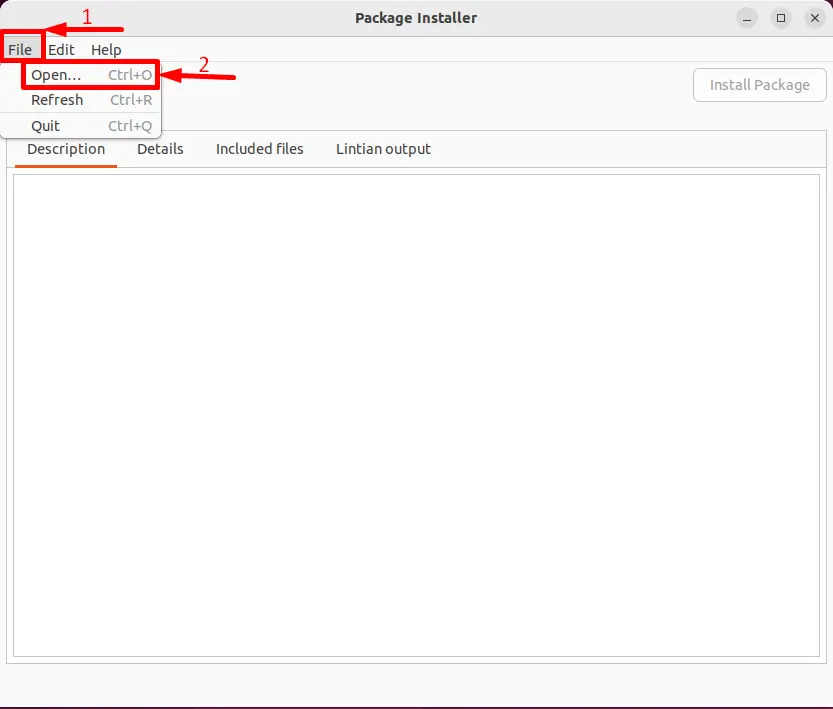
After that, the “GDebi” package installer window will open having three tabs in the menu bar. Hit the “File” tab. It will open a drop-down list holding three “Open”, “Refresh”, and “Quit” options. Hover over the first option, “Open”, to open the desired Debian package into the “GDebi”:
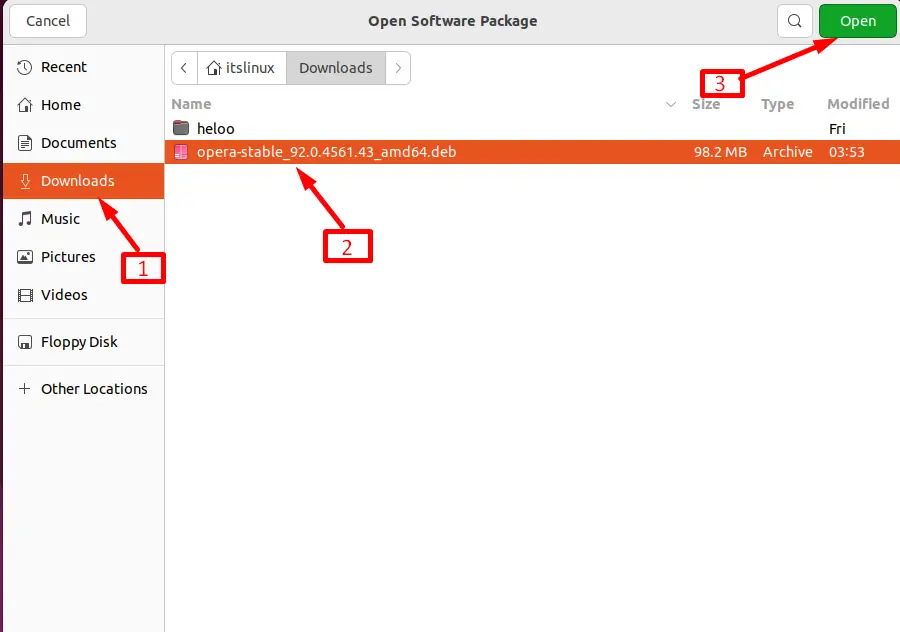
Click on the Debian package,(in our case, the package is “opera-stable_92.0.4561.43_amd64.deb”). Next, press the “Open” button to open that package into the “GDebi” package installer:
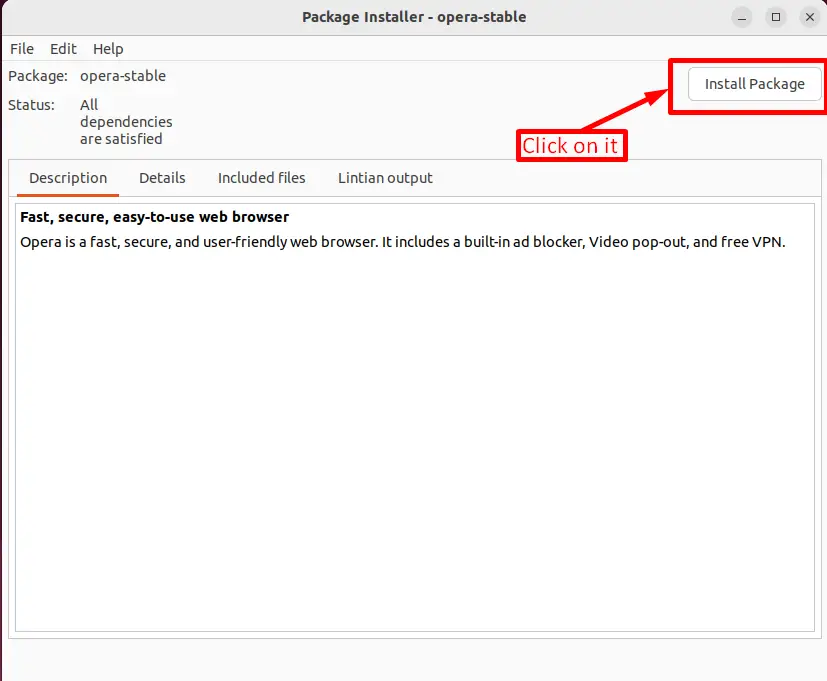
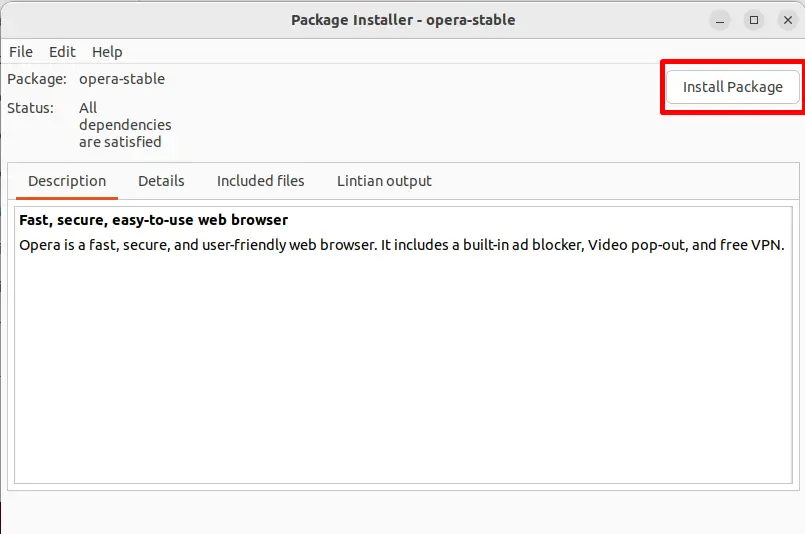
The current pop-up window of the “GDebi” package installer is showing information about the “opera” Debian package. Click on the “Install Package” button if you want to install the current Debian package:
That’s how the package will be installed.
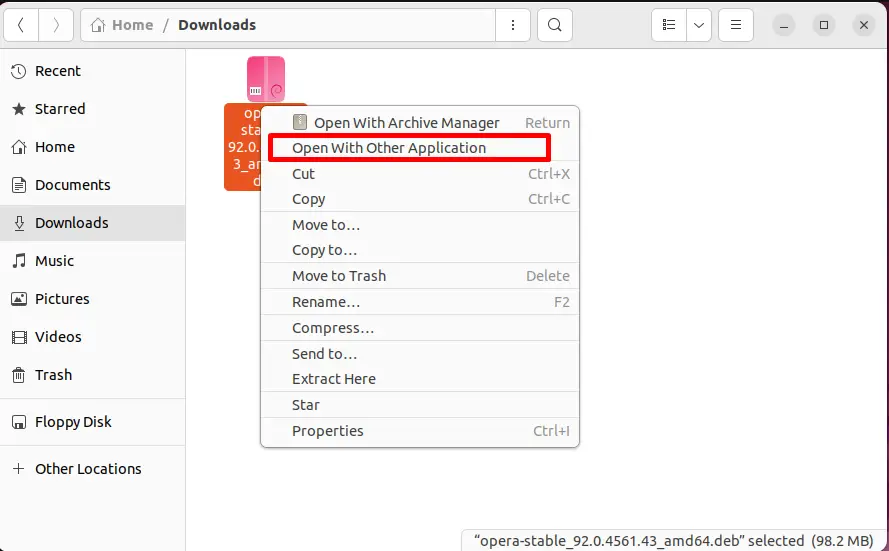
Alternatively, you can open the package in GDebi by right-clicking on it and choosing the option“Open With Other Application” as shown below:
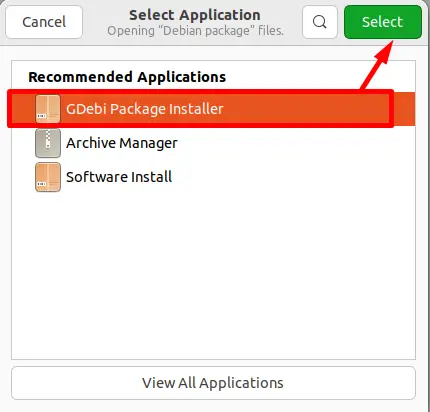
Select the “GDebi Package Installer” from the pop-up “Select Application” box and click on the “Select” button to install the Debian package via the “GDebi” package installer:
The “opera” package will be loaded into the “GDebi” to continue the installation process, tap on the“Install Package” button:
Doing so, the installation of that specific package will be started.
How to Make GDebi as Default Installer in Ubuntu?
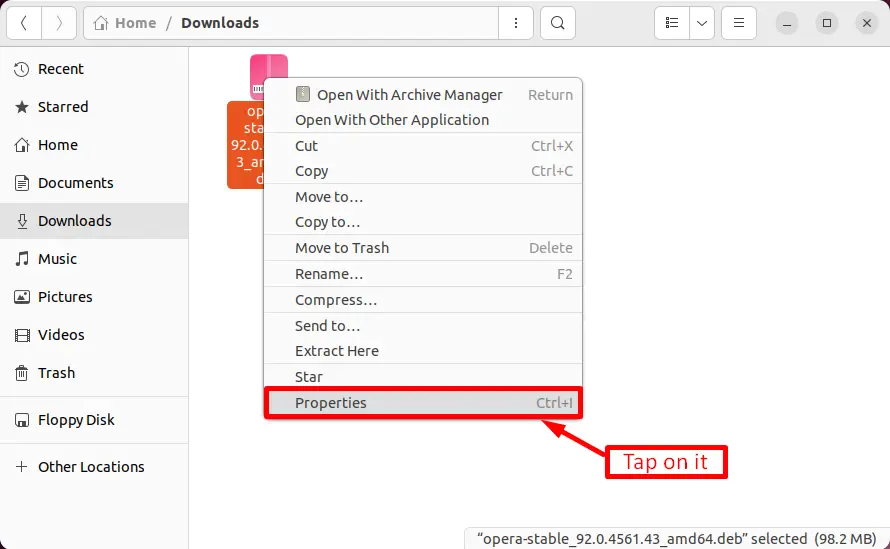
The user can easily make the “GDebi” package manager a default installer. To do so, right-click on the “opera” Debian package or the particular package you want to install. A drop-down menu will pop up. Click on the “Properties” option present at the bottom of the drop-down menu:
Hit the “Open with” tab and then select the “GDebi Package Installer” into the recommended applications. Next, press the “Set as default” button to make the “GDebi” package manager a default manager:
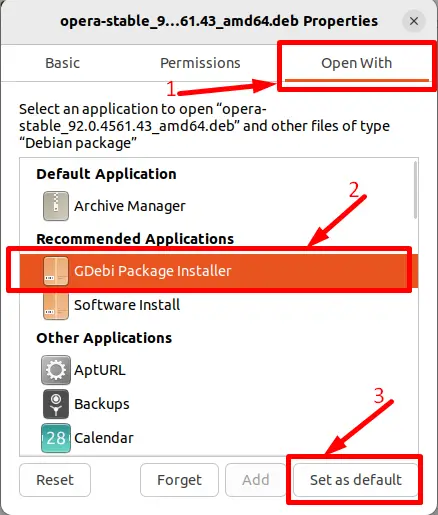
That’s all from this guide.
Conclusion
In Ubuntu, use the “$ sudo apt install gdebi” command in the terminal or the “Ubuntu Software Center” to install the GDebi package installer. GDebi package installer is the front-end tool to manage Debian packages. This post has briefly explained the installation and the working of the GDebi package installer on Ubuntu.
