The “virt-manager” is known as the “virtual-machine” manager. It is a desktop user interface used to manage the virtual machine using the “libvirt”. The “libvirt” is the management daemon that handles the virtualization software such as KVM, QEMU, Xen, and many others.
The “virt-manager” is a super easy tool and can be utilized in all Linux distributions to add, delete, and manage multiple virtual machines.
This today’s guide provides a detailed view of the installation and usage of virt-manager in Ubuntu and other Linux distributions.
- Prerequisites: Install KVM in Linux
- How to Install virt-manager in Linux?
- How to Use virt-manager in Linux?
- How to Remove virt-manager in Linux?
Prerequisites: Install KVM in Linux
The “KVM” is an open-source virtualization tool that helps in the creation and configuration of virtual machines on a single server with the help of the “virt-manager” interface. It is used for testing, developing, and migration purposes of VMs from one host to another.
The KVM refers to an external utility that requires the following steps of installation.
Step 1: Install KVM
Use the default manager as per Linux distributions to install the KVM tool alongside the other necessary packages:
For Fedora:
$ sudo dnf install qemu-kvm libvirt-clients libvirt-daemon-system bridge-utils -y
For CentOS/RHEL:
$ sudo yum install qemu-kvm libvirt-clients libvirt-daemon-system bridge-utils -y
For Ubuntu/Debian:
$ sudo apt install qemu-kvm libvirt-clients libvirt-daemon-system bridge-utils -y
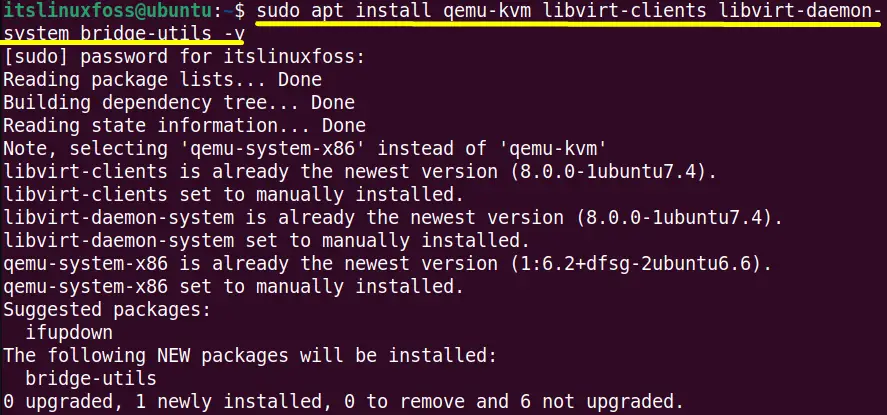
The specified package has been installed successfully.
Step 2: Check “libvrtd” Status and Start
The “libvrtd” is the command line interface daemon that helps to create, manage, delete, and configure virtual machines.
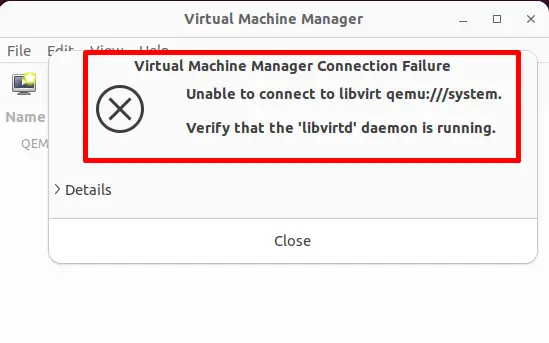
Make sure that the “libvrtd” daemon is running otherwise; it will give an error like this at the creation of a virtual machine:
Execute the “systemctl” command to check the status of “libvrtd” daemon:
$ sudo systemctl status libvirtd
The output shows that “libvirtd” is in an active running state. If it is not running, “start” it using this command:
$ sudo systemctl start libvirtd

The command has started the “libvirtd” daemon instantly.
How to Install virt-manager in Linux?
This section provides the guidelines for installing the virt-manager in Ubuntu and other Linux distributions.
Step 1: Update the System Repositories
First, update the system repositories before the installation of “virt-manager” using these commands:
$ sudo apt update                                #For Ubuntu/Debian
$ sudo yum update                                #For RHEL/CentOS
$ sudo dnf check-update                          #For Fedora
$ sudo pacman -Sy                                #For Arch Linux
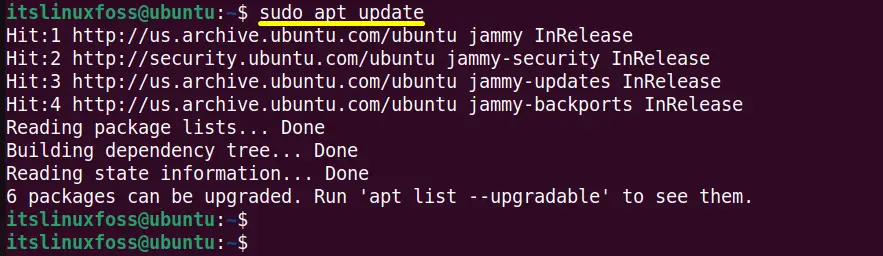
The output contains the updated list of all the system packages.
Step 2: Install virt-manager
Execute the default package manager with the “sudo(superuser)” support to install “virt-manager” as per Linux distribution:
$ sudo apt install virt-manager                       # For Ubuntu/Debian
$ sudo yum install virt-manager                       # For RHEL/CentOS
$ sudo dnf install virt-manager                       # For Fedora
$ sudo pacman -S virt-manager                         # For Arch Linux
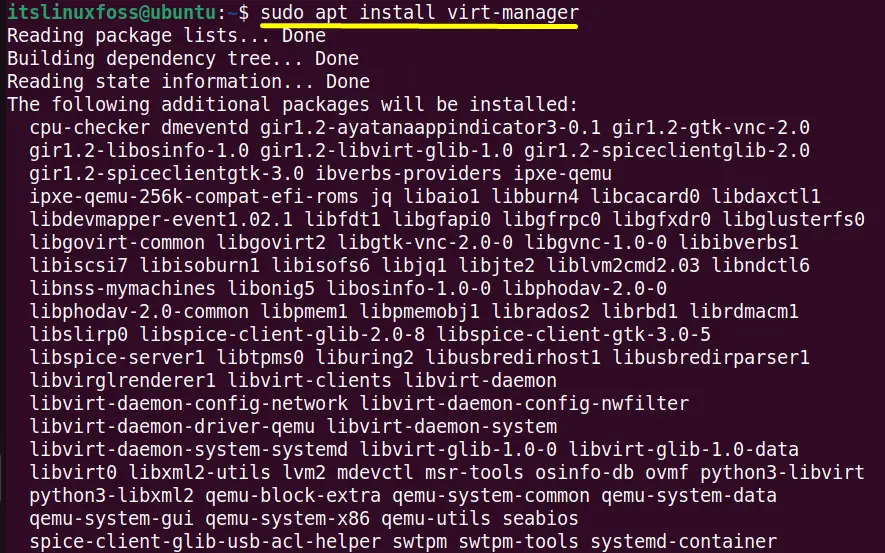
The “virt-manager” has been successfully installed in the current Ubuntu system.
Step 3: Verify virt-manager
To verify the installation of “virt-manager”, check its version by specifying its name with the “–version” flag:
$ virt-manager --version
The installed “virt-manager” is “4.0.0”.
Launch the “virt-manager”
Specify the “virt-manager” name as a command in the terminal and execute it to launch it:
$ virt-manager
How to Use virt-manager in Linux?
Follow the below-given steps of instructions to create a first virtual machine using the virtual machine manager when it is opened.
Step 1: Create a New Virtual Machine
Right-click on the “QEMU/KVM” to create a new virtual machine. Select the “New” option from the pop-up menu:

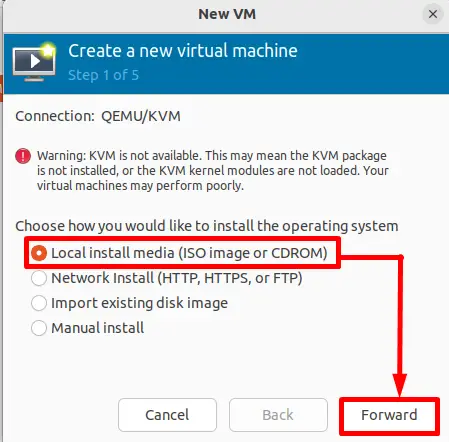
Step 2: Select the Installation Medium
Choose the virtual machine installation medium listed in the “New VM” window. For instance, the “Local install media (ISO image or CD-ROM)” is selected and hit the “Forward” button:
Browse the absolute path of the “ISO image” from the local system and move “Forward” to the next step:
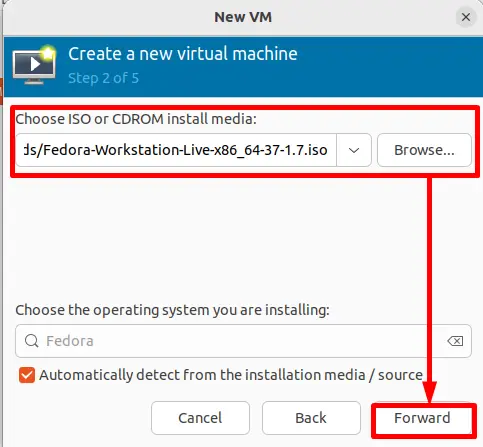
The entered ISO image is for the Fedora operating system.
Step 3: Adjust the Memory and CPU
Keep the size of memory that you want to allocate for the new operating system and also the number of CPUs:
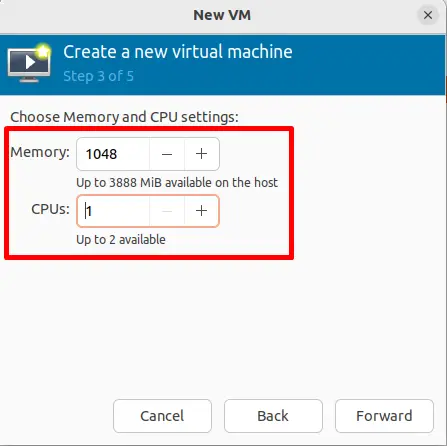
Here, the “1048” mebibyte storage and “1” CPU is selected.
Step 4: Set the Disk Image Size
Adjust the disk image size that is acceptable for the newly created virtual machine. Click on the “Forward” button to proceed with the process:
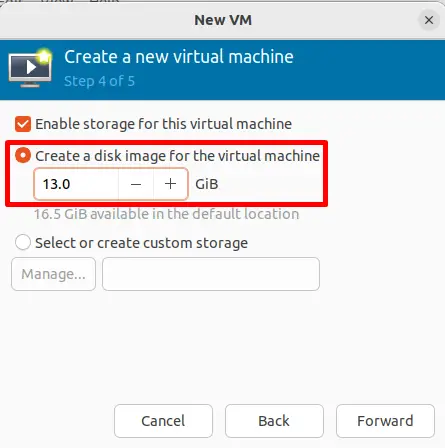
The “13.0” gigabytes disk image size is adjusted.
Step 5: Assign a Name of VM
In the last set a name of the virtual machine, i.e., “fedora” and “Finish” the configuration settings:
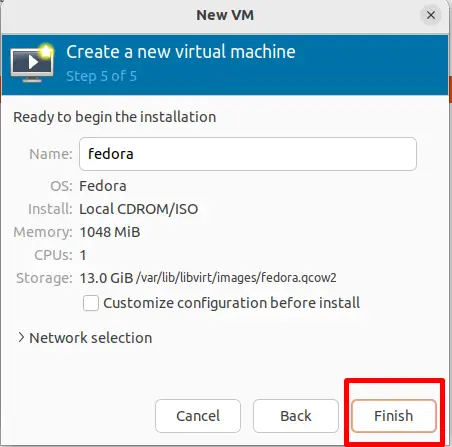
The configuration settings have been finished.
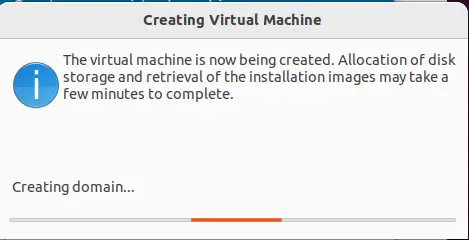
The new “fedora” virtual machine takes a few seconds to complete the installation:
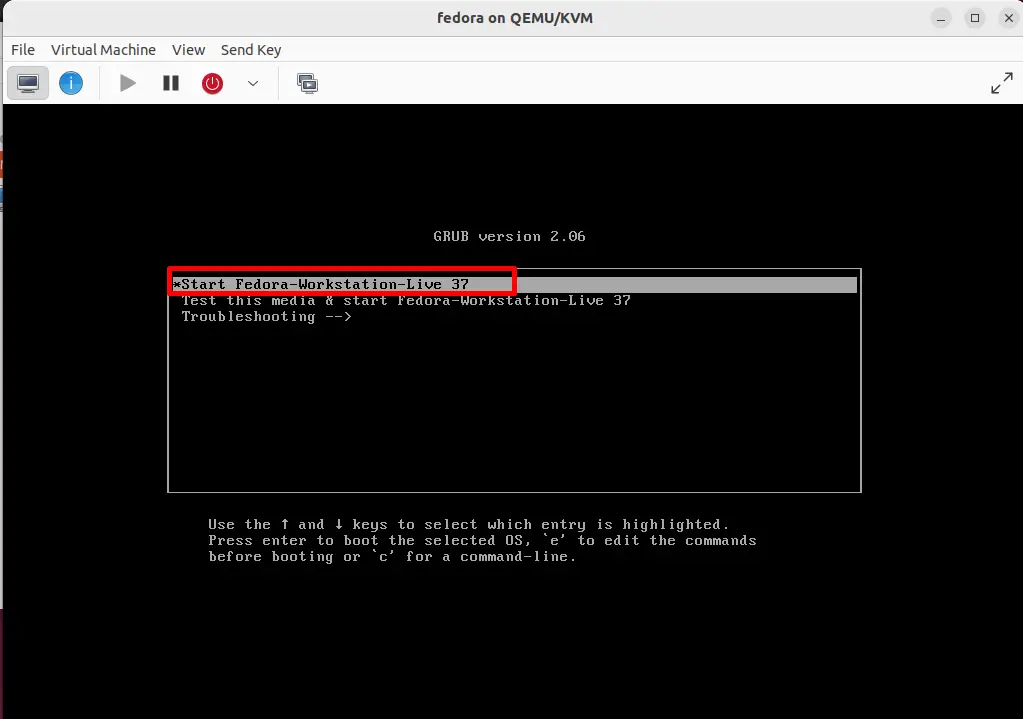
Step 6: Run the Virtual Machine
The creation of the new “fedora” virtual machine is created. Start the virtual machine and perform tasks on it:
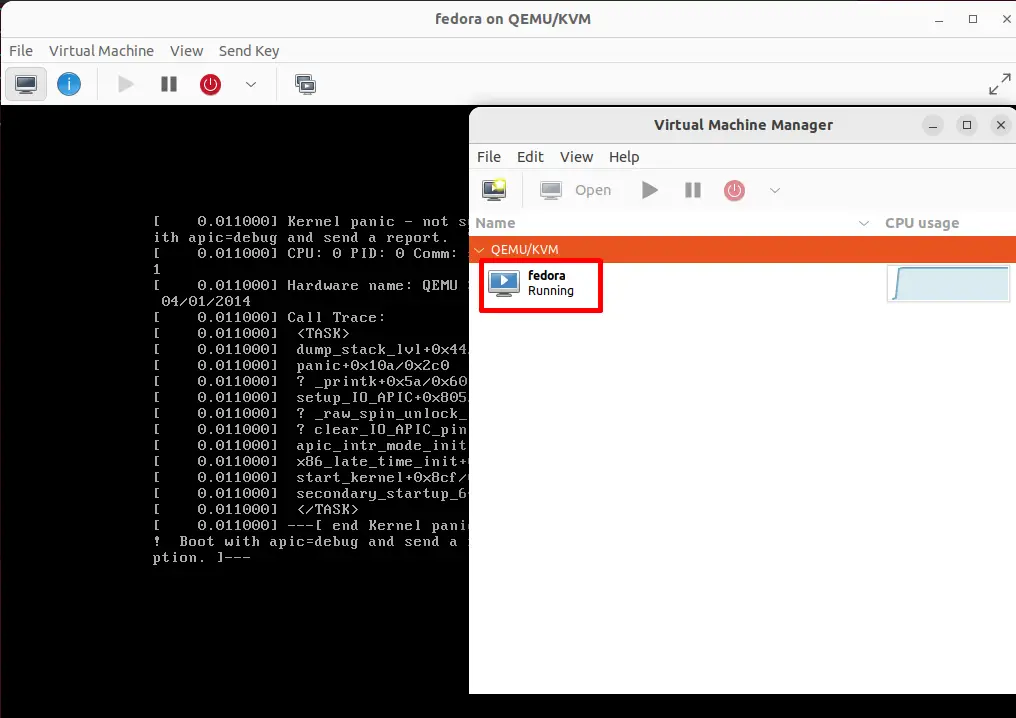
It is verified that the “fedora” virtual machine is in a running state:
To keep the virtual machine stopped, use the “Shut Down”, drop-down menu list that contains a variety of options like “Reboot”, “Shut Down”, “Force Reset” and many others:
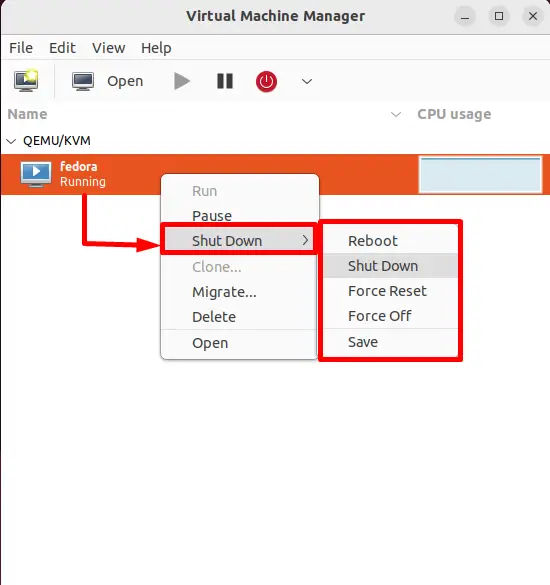
In case the user wants to delete the virtual machine then hit the “Delete” option.
How to Remove virt-manager in Linux?
When the usage of virt-manager is completed, then remove all the configuration files and the additional dependencies using the default package manager:
$ sudo yum remove virt-manager                        #For CentOS/RHEL
$ sudo dnf remove virt-manager                        #For Fedora
$ sudo apt --purge remove virt-manager                #For Ubuntu/Debian-Based
The “–remove” flag will remove the installation files, and the “–purge” will remove the configuration files. The “purge” flag is not used in Fedora/CentOS/RHEL because its “remove” flag completely deletes all the files of the package:
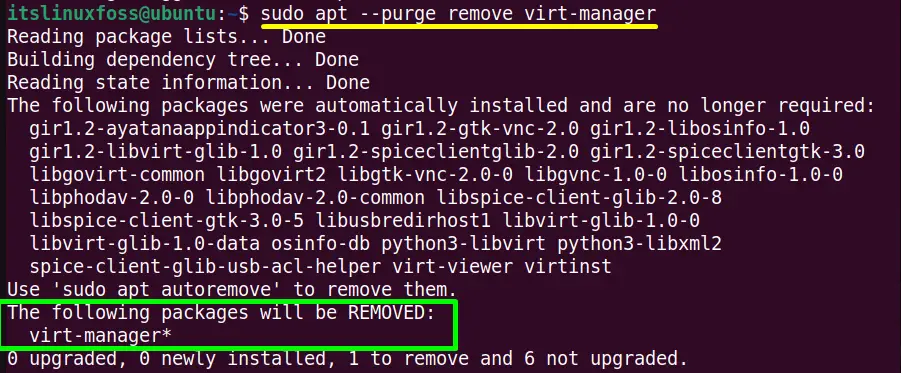
The “virt-manager” and all of its packages have been removed completely.
Conclusion
In Ubuntu and Other Linux, the “virt-manager” can be installed simply from the local repository using default package managers. It requires the virtualization CPU support i.e KVM/QUEME and the “libvirtd” daemon to manage the services.
This guide has provided a brief description of how to install and use virt-manager in Ubuntu and other Linux distributions.
