Borders are the lines around a text, number, and the entire document to make them more attractive. Google Docs does not exactly provide the “Border” option but offers multiple ways to perform this task. Once the user makes a border, it can also be customized using different functions such as changing the “border-width”, “border-color”, and much more.
In this post, we will demonstrate the following approaches to making a border in Google Docs:
Let’s start with the first approach.
Method 1: Using the Table to Make a Border
Some steps are described below to make a border in Google Docs using the “Table” option from the insert tab. Let’s start with the first one:
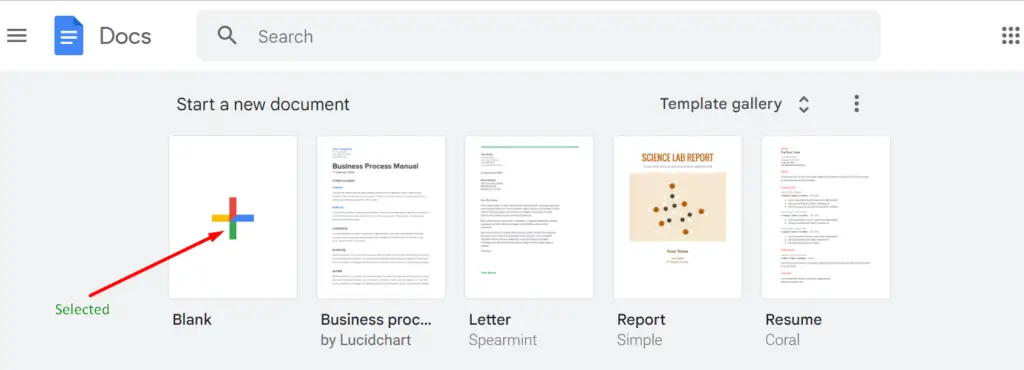
Step 1: Opening a Google Docs File
A new blank document is selected from Google Docs to make a border.
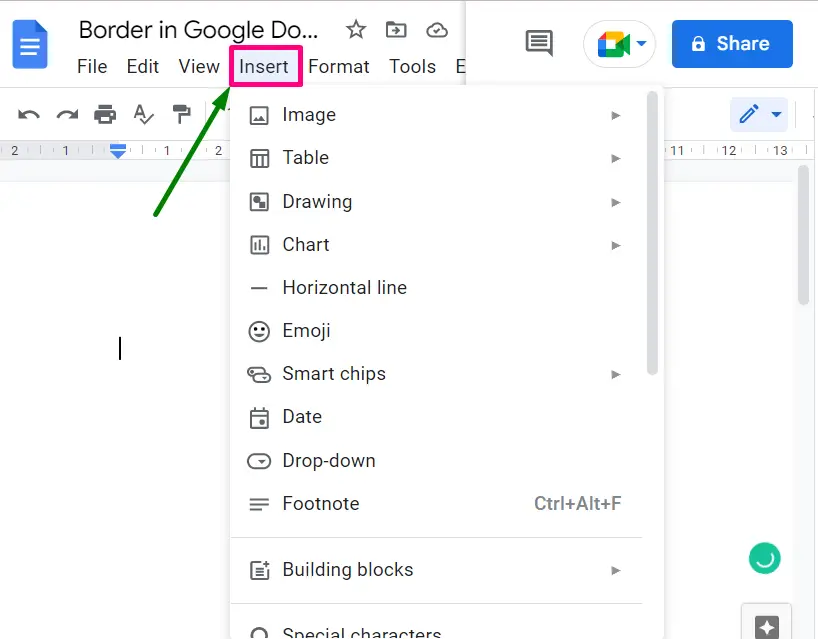
Step 2: Press the Insert Tab
In the next step, move the cursor to the “Insert” tab. It generates a drop-down menu containing various options:
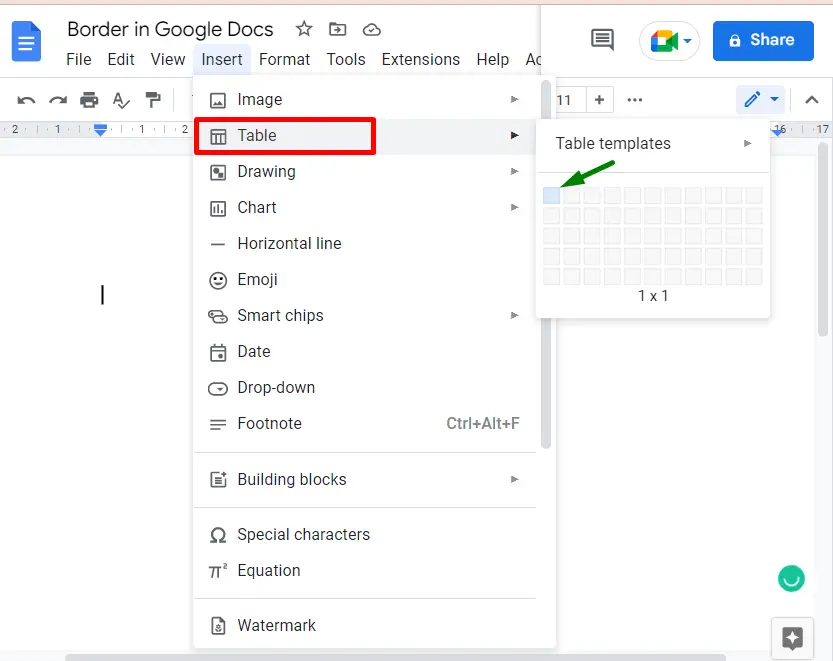
Select the “Table” option. A submenu will open, then choose one cell “1×1” from it:
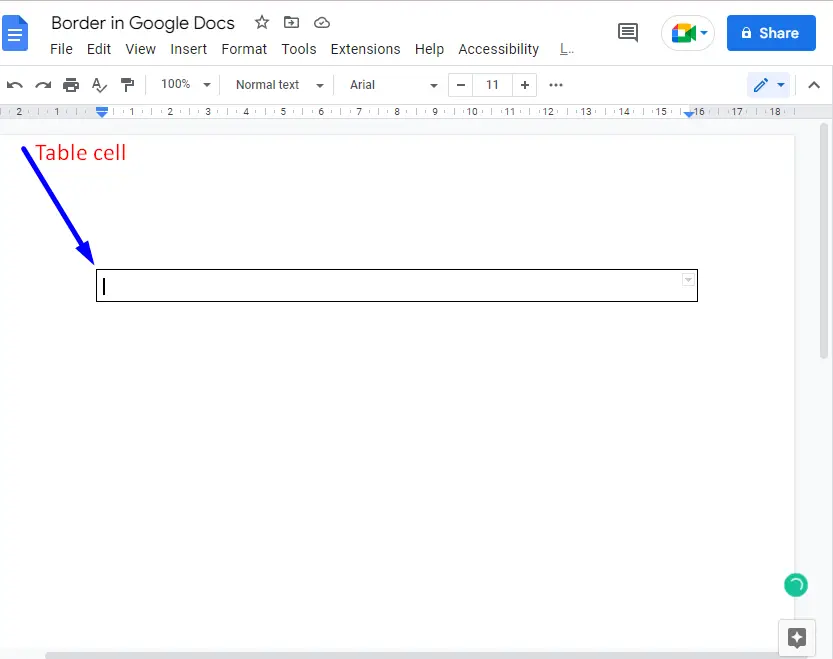
The cell will automatically appear on the document:
After doing so, keep pressing the “Enter Key”, and you will have a proper feel of the page border, as shown in the following “GIF”:
Step 3(Optional): Customize the Border
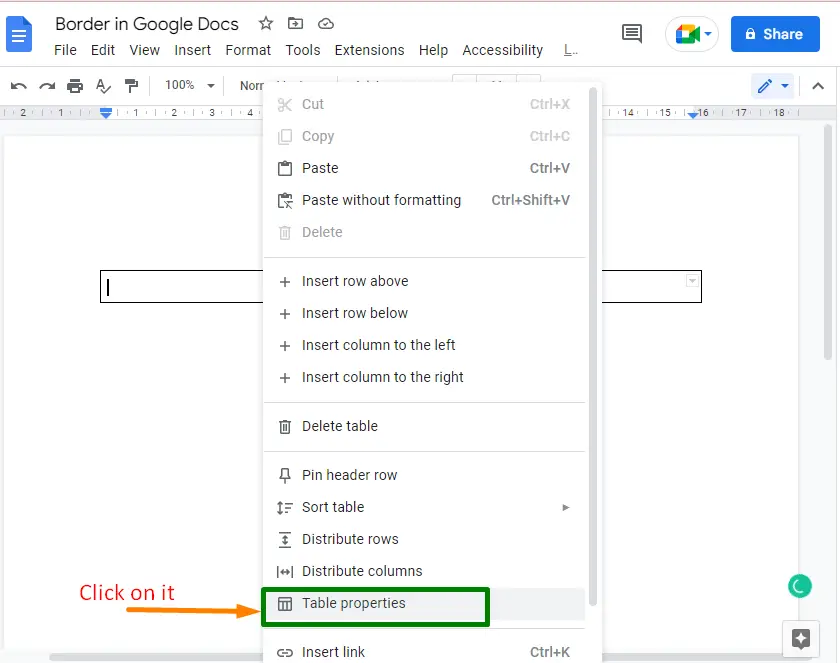
Now, the user can customize the table cell by right-clicking inside the cell and navigating to the “Table properties” option:
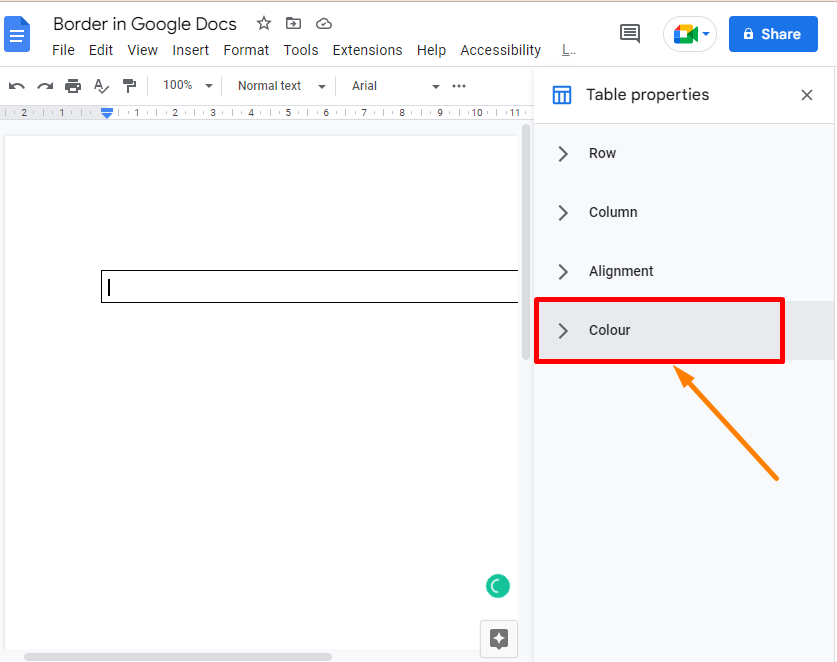
The “Table properties” are shown on the right side of the existing document.
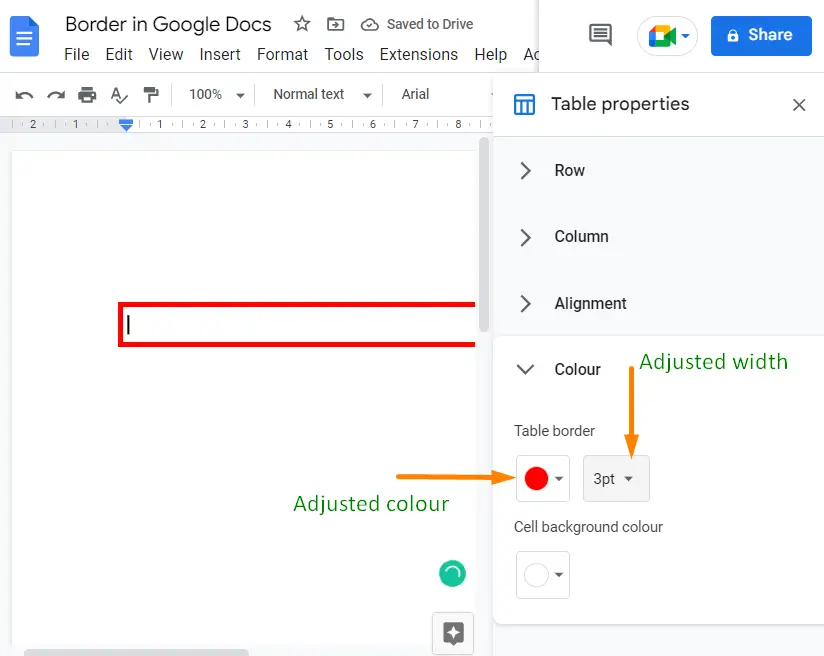
There are four options “Row”, “Column”, “Alignment”, and “Colour”. In this case, we will press the ”Colour” option:
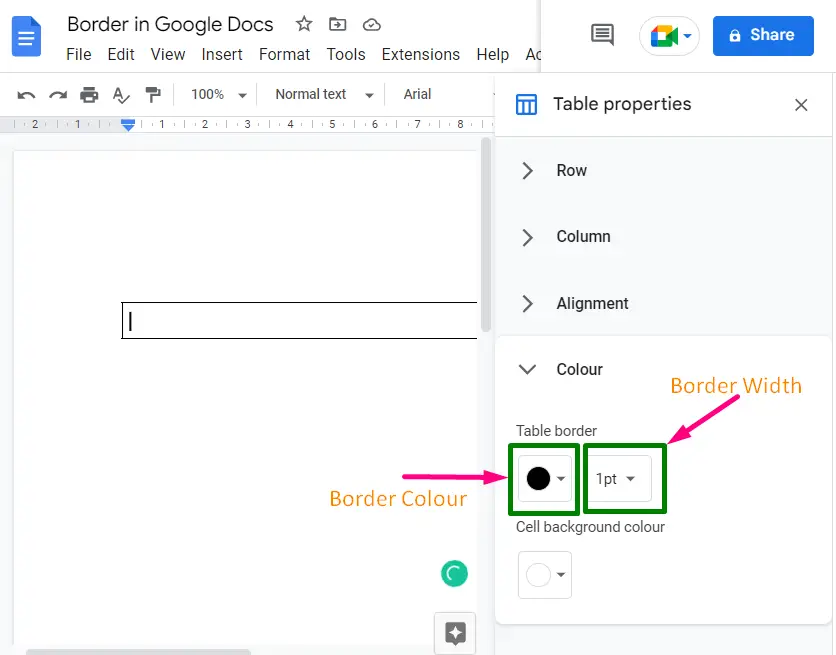
This selected option generates a drop-down menu having options ”Table Border” and “Cell background color”. We will use the highlighted “Border Colour” and “Border Width” options from “Table Border” to change the width and color of the existing cell:
In this scenario, we have adjusted the border color “Red” and the border width “3pt”:
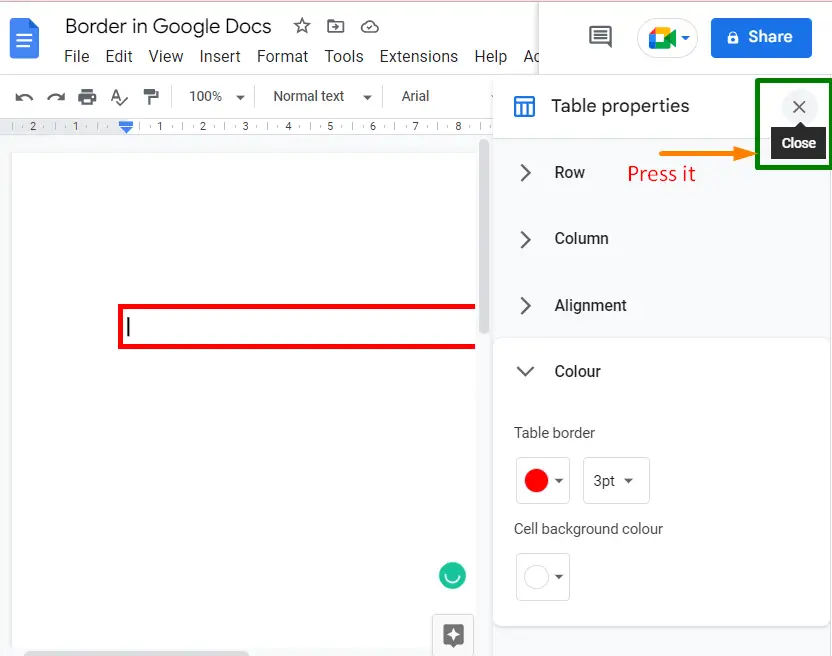
As you can see that the border color and width of the entire table cell is changed now. Press the “X” button to close the “Table properties” window:
Now, the page border will be customized. Here, we can add some text and insert an image:

Here, all the steps of method 1 are completed.
Method 2: Using the “Drawing” to Make a Border
This is another approach for making a border in Google Docs. The following steps are described below to perform this task.
Step 1: Open the Drawing
Firstly, navigate to the “Insert” tab from the Menu bar and hover over the “Drawing” option to choose the “New” option:

Step 2: Add a Rectangle
A blank drawing window will open. Move to the “Shape option”. A dropdown will appear where you need to hover over the “Shapes” option to choose the appropriate shape from the list:
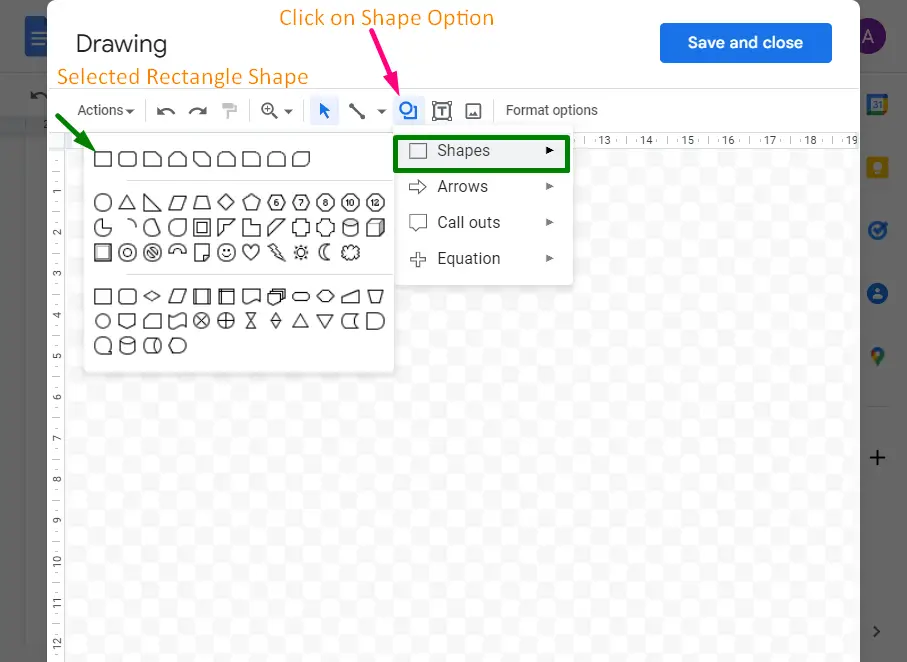
Draw the rectangle shape with the help of a mouse pointer as shown below:
Step 3: Customize the Rectangle
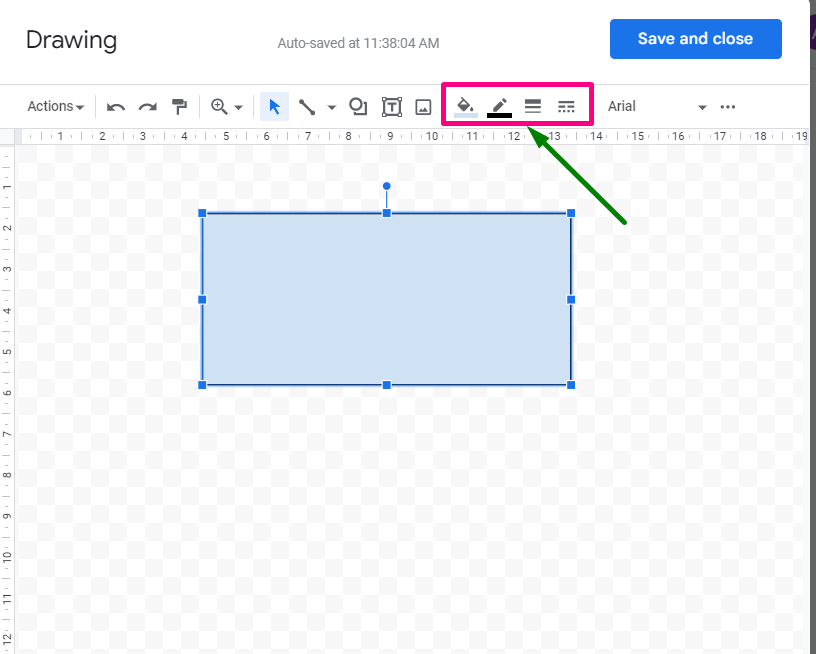
The user can customize the shape by using the options:
- Border Weight: It is used to change the width of the border.
- Border Colour: It is used to change the border color.
- Border Dash: It is used to change the border outline style.
- Fill Colour: It is used to change the background color of the border.
.
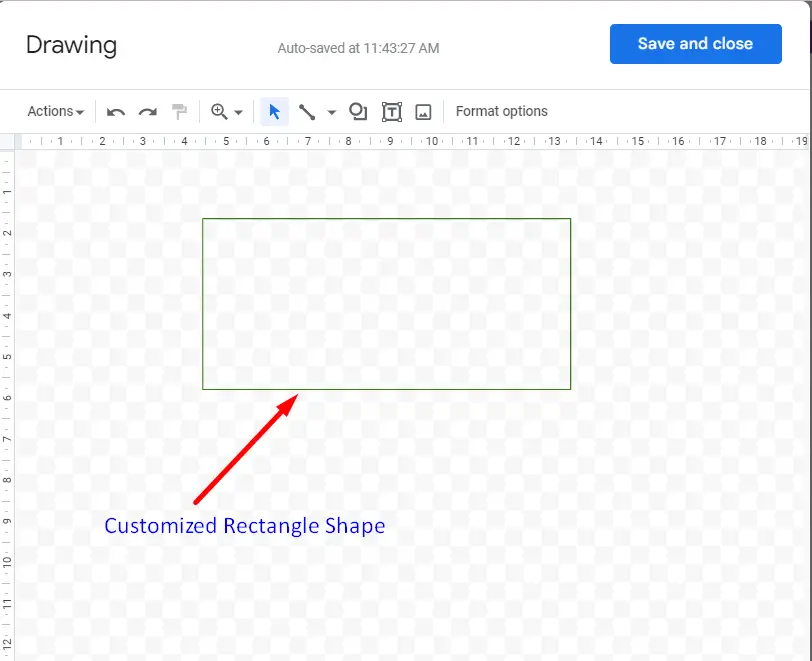
In this scenario, we adjusted the border color and background color of the drawn rectangle shape using the options described above. The customized rectangle shape is given below:
Step 4: Add Some Numbers
Now add numbers in it using the “Text box”:

After completing the process, press the “Save and close” button to close the drawing window. The rectangle can be shown at the mouse’s pointer (where the pointer was at the time of drawing):

That’s all about this post.
Conclusion
Google Docs provides an amazing feature “Table” to make a border around a text, number, and image. It can also be done by utilizing the “Drawing” window from the “Insert” tab. This post has briefly demonstrated both ways to make a border in Google Docs.
