The first page of any document is called its cover page. A cover page is used in situations where we want to convey a short description of our documents. Its layout or formatting could vary, depending on the user’s choice. Keeping in view the user choice, we can create and design a cover page by using an amazing editing tool Google docs.
In this guide, we are demonstrating two methods to make a cover page in Google Docs. The content of this guide is described below.
Let’s start with the first one!
Method 1: Make a Cover Page From Scratch
Here are the following steps required to make a cover page in Google Docs from scratch.
Step 1: Open a Google Doc
First, open the Google Docs on your machine and select the “Blank” document.
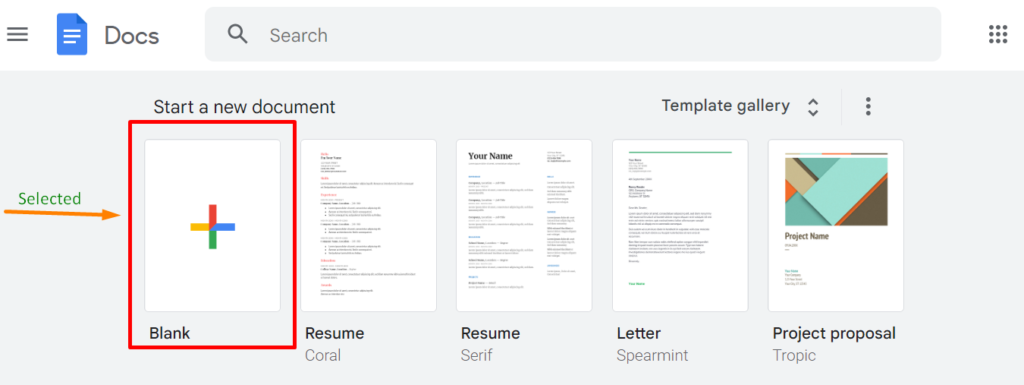
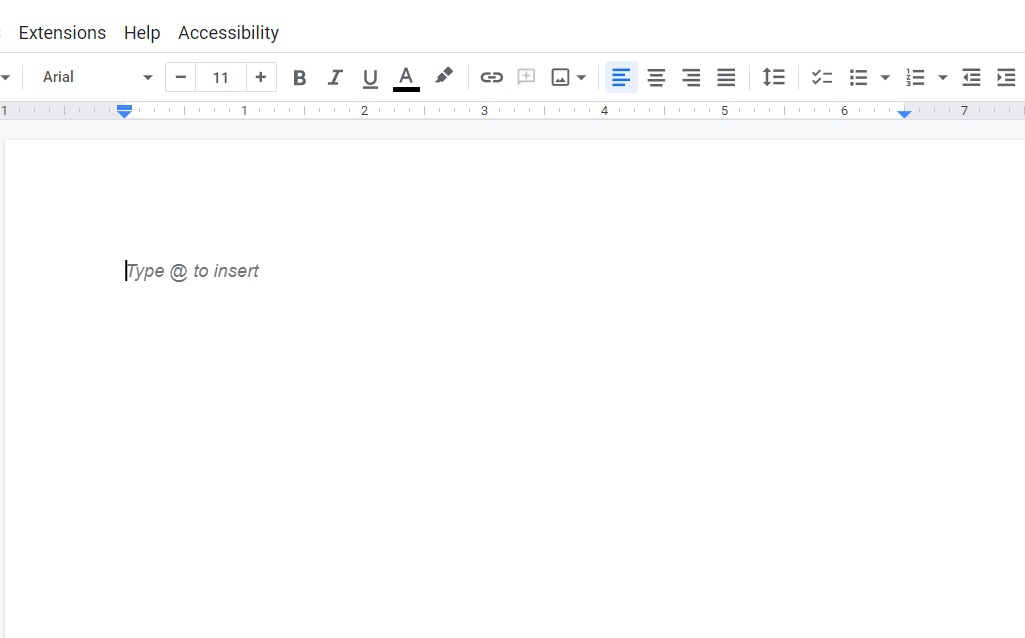
A new blank document template will be opened on your system screen.
Step 2: Open Page Setup
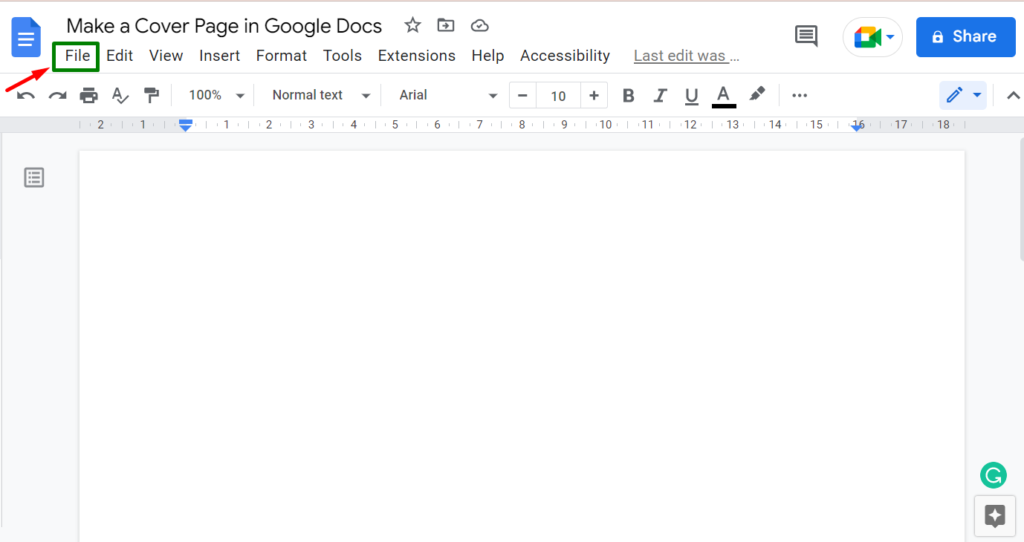
When the new blank document is opened, press the “File” tab from the menu bar.
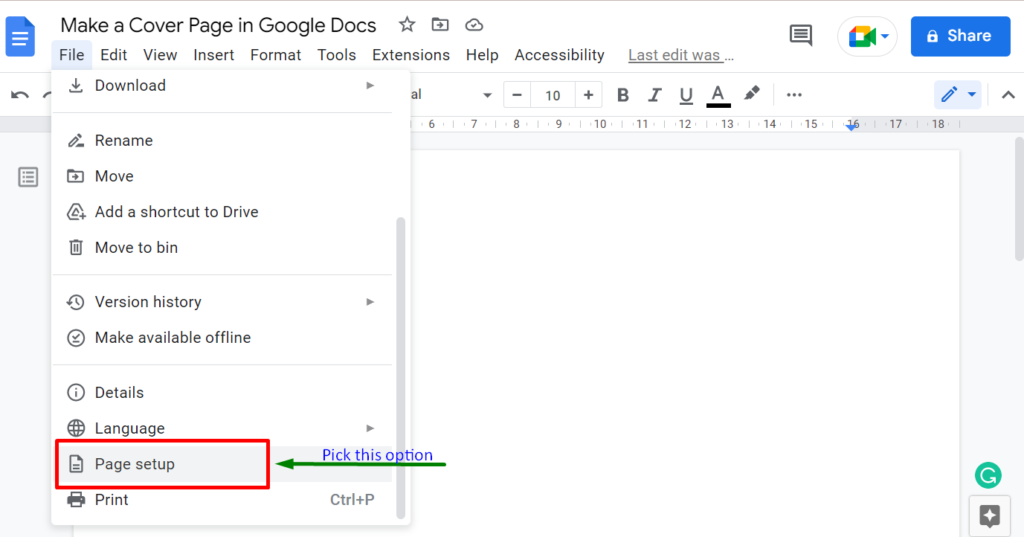
It generates a drop-down menu. Scroll down the menu and pick the option “Page setup”.
After picking this option, a “Page setup” window will open. This window has different options and buttons to customize the dimensions of a Google Docs cover page.

Step 3: Customize Page Settings
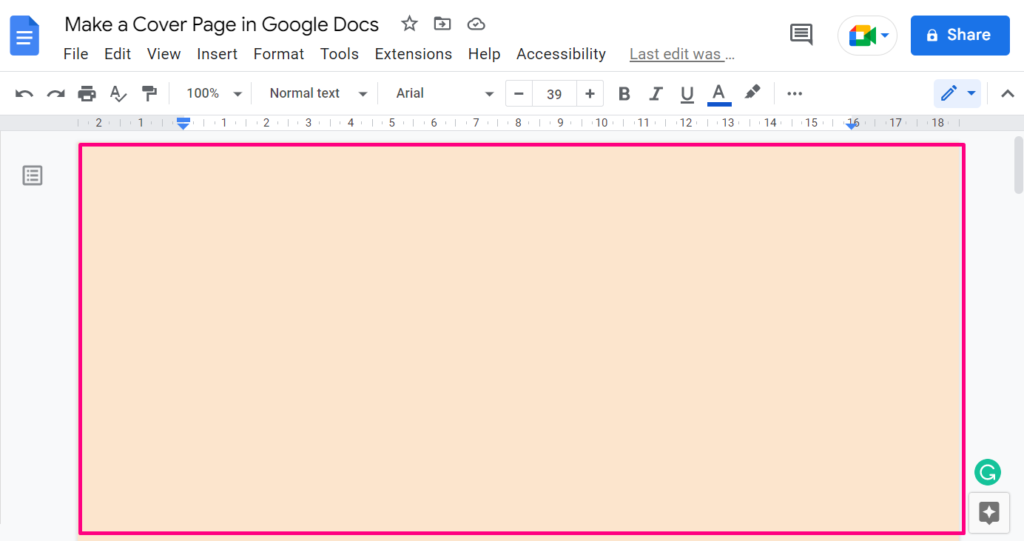
In this scenario, we will only change the page color and click on the “OK” button.
You can change the dimensions as per requirements.
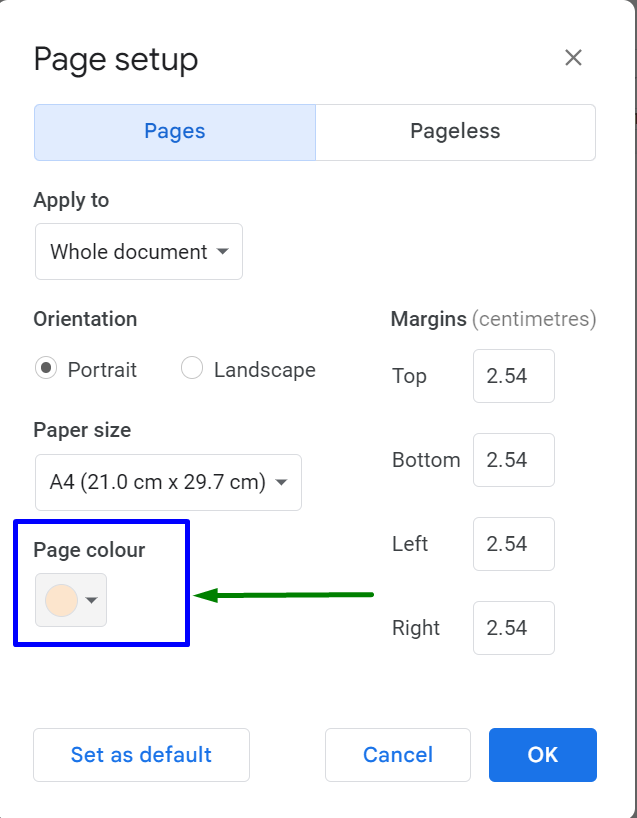
After pressing the “OK” button, the “Page setup” window will be closed. The cover page color has been set.
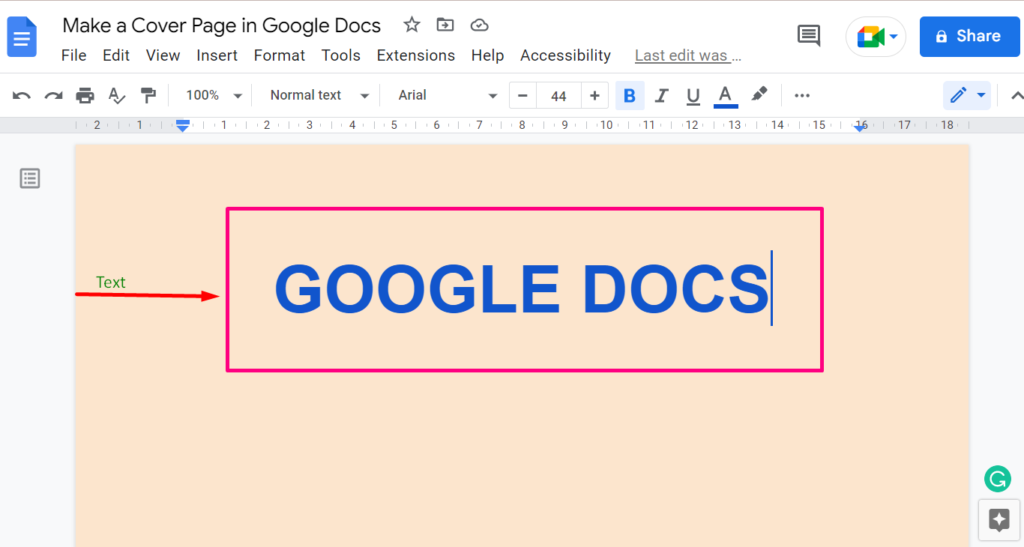
Step 4: Add Text (Or the Information For Cover Page)
Now, we can add the text ”Google Docs” in the document. The text can also be customized by changing its font size, font color, and font style according to the requirements.
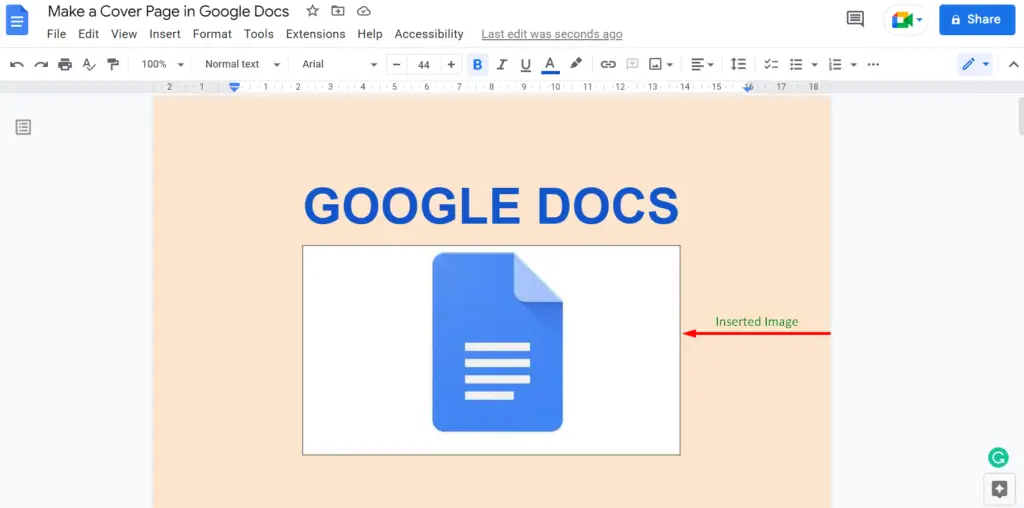
Step 5: Insert an Image
Now, we will add an image by using the “Insert image” icon from the toolbar. A drop-down menu opens, and click on the first option ”Upload from computer” option. We selected this option because the image is placed in our local system.
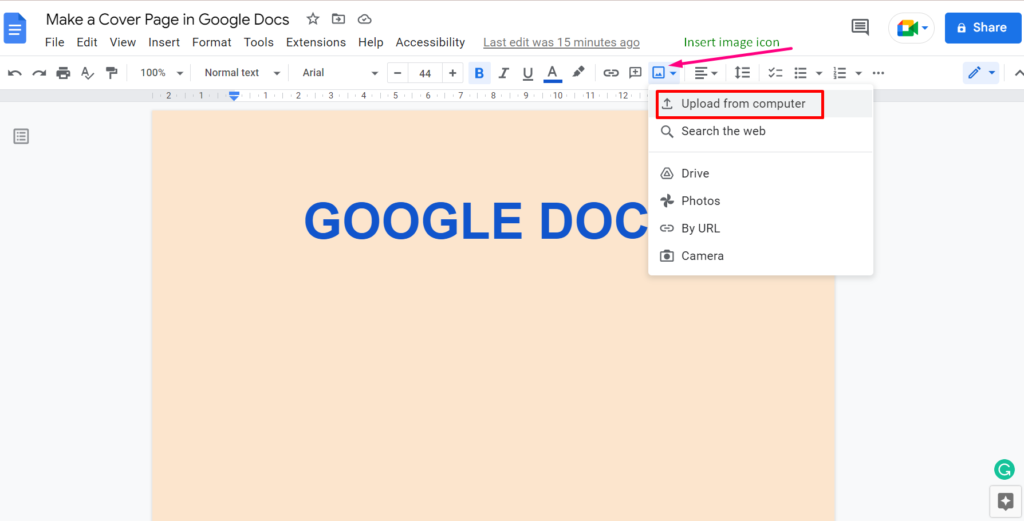
A Google Docs image is inserted below the text. You can adjust the image size and resolution according to your choice.
From the scratch method, we easily created a Google Docs cover page.
Method 2: Make a Cover Page From Template Gallery
In this method, the user can customize a cover page by selecting a specific template from the template gallery. Let’s follow the steps to do this:
Step 1: Open Google Docs
For making a cover page in Google Docs, open Google Docs and then select the “Template Gallery” option.
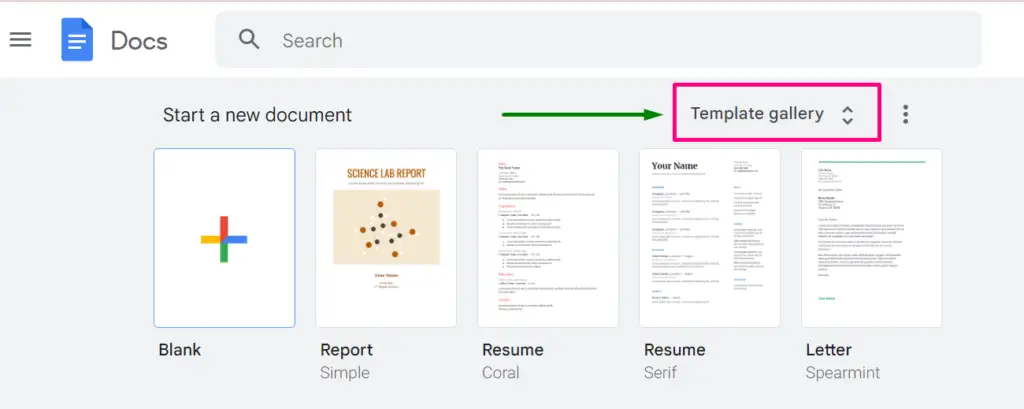
Step 2: Select a Template
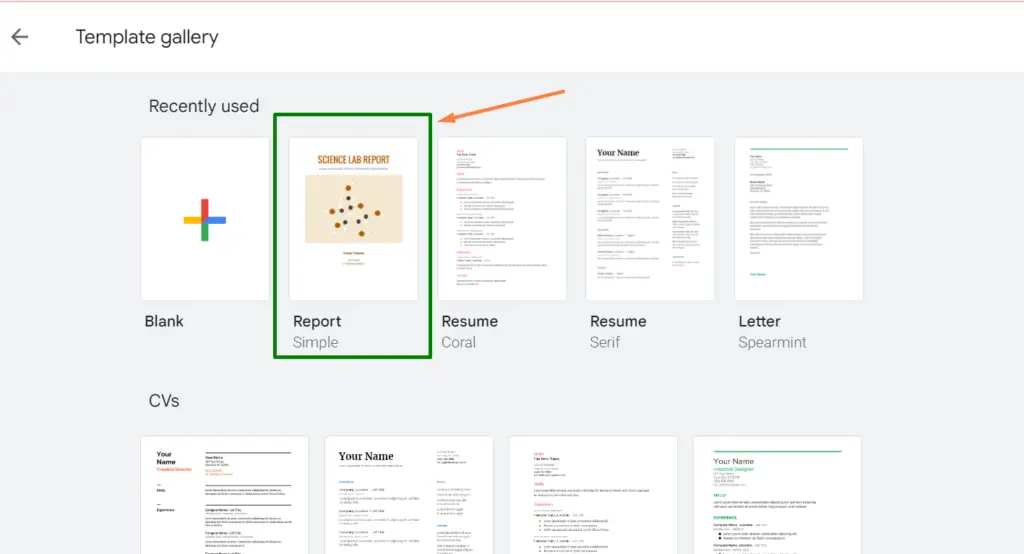
Different templates are shown in front of the user after clicking on the “Template gallery” option. In this scenario, we selected a simple report template to customize.
The highlighted template will be opened on Google Docs.
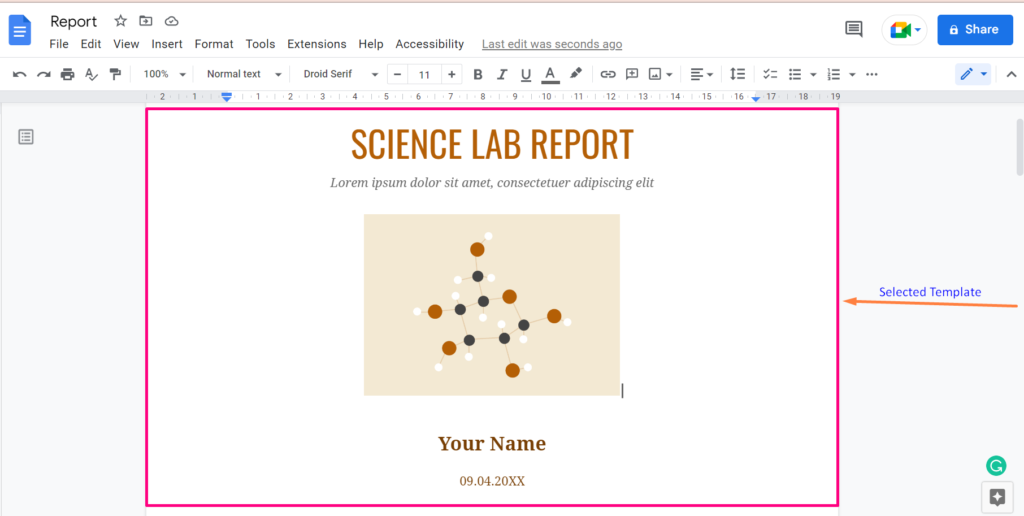
Step 3: Customize the Selected Template
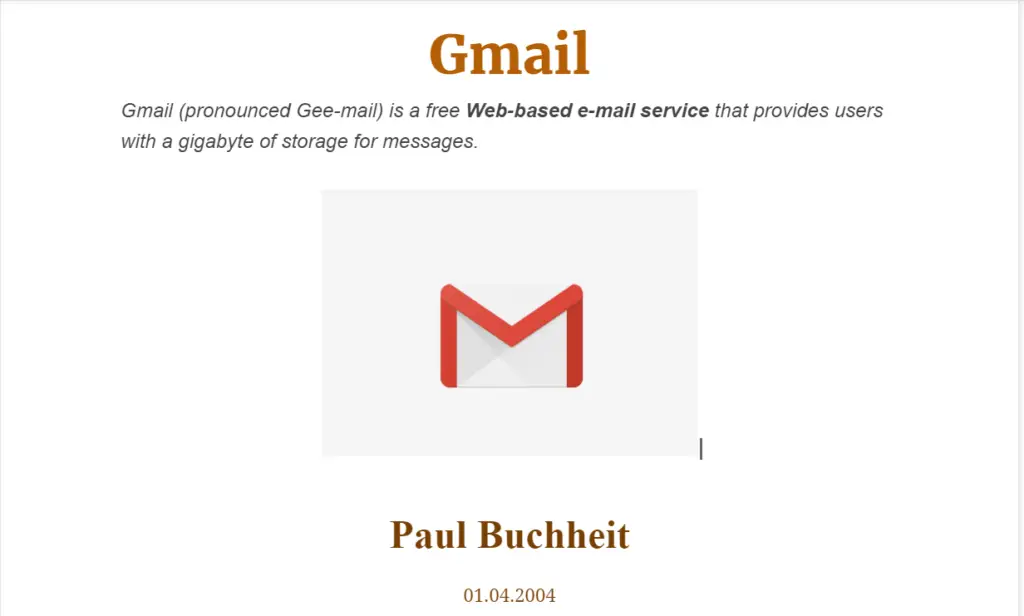
The cover page of the selected template can be customized by performing different actions. Suppose, you want to make a cover page for the GMAIL. In this case, you may follow the below-mentioned guidelines:
- Title: Replace the existing title with a new title Gmail.
- Tagline: The tagline will also be changed according to the title.
- Image: An image is replaced by a “Gmail” image in our local system.
- Name: Gmail developer’s name is written in the place of “Your Name”
- Date: Gmail was developed on April 01, 2004.
All the steps of the method (To Make a Cover Page From Template Gallery) are completed here. The user can also customize the selected template according to his requirements.
That’s all about this article.
Conclusion
Google Docs allows users to make a cover page by following two methods “From Scratch” and “ From Template Gallery”. Following the first method, the user can modify the page settings and create a customized cover page. At the same time, the user can make changes in the template to mold it according to their need. This Google Docs guide has briefly explained both of these methods.
