In Google Docs, the images can be inserted in a normal way, and then they can also be moved to other positions. The position can be in between the text as well. This process can be performed from the Google Docs mobile application. The objective of this article is to demonstrate the various aspects of moving images in Google Docs. The content of this post is as follows:
Let’s start this guide!
How to Move Images in Google Docs?
By dragging and dropping, the image is moved to different positions in the document. However, problems occur when formatting the text around the image. Therefore, the movement of images in Google Docs is quite tricky. To move an image, the following steps are carried out:
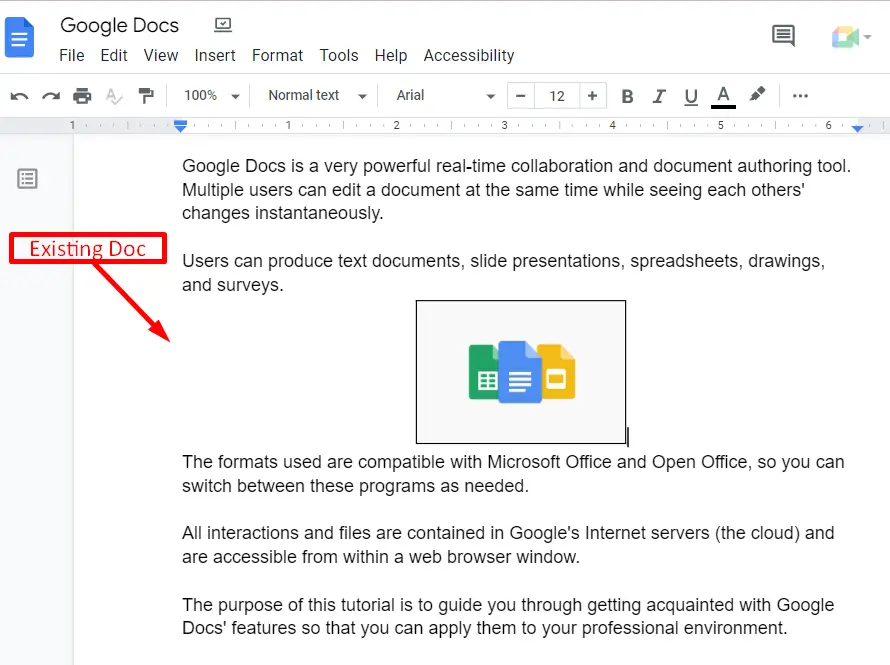
Step 1: Open Google Docs Document
Firstly, open the Google Docs file on the local system. In this situation, an existing document is carried out:
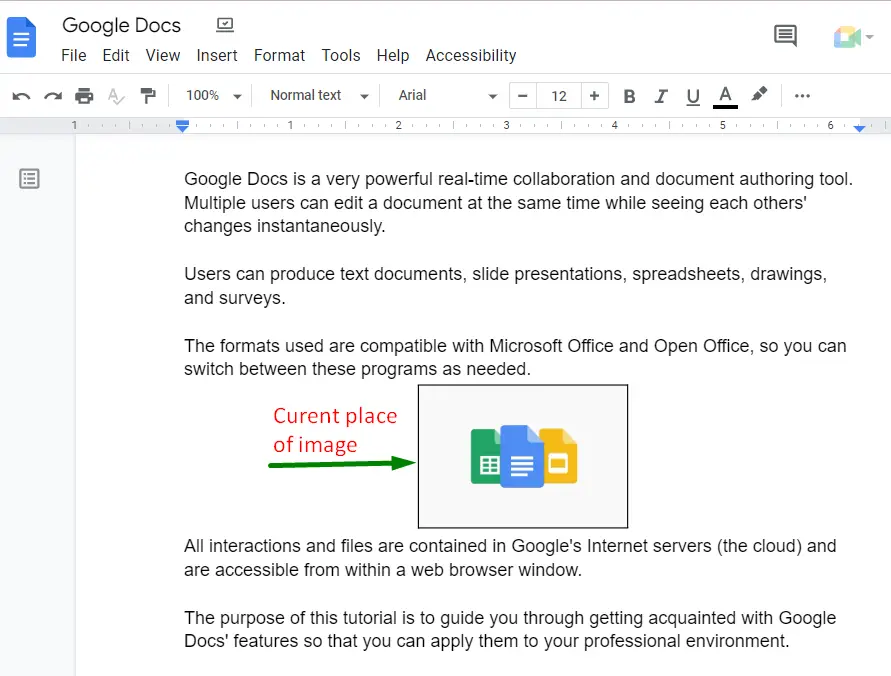
Step 2: Move the Image
Hold the already inserted image with the help of a mouse and move it to another place, as we did here:
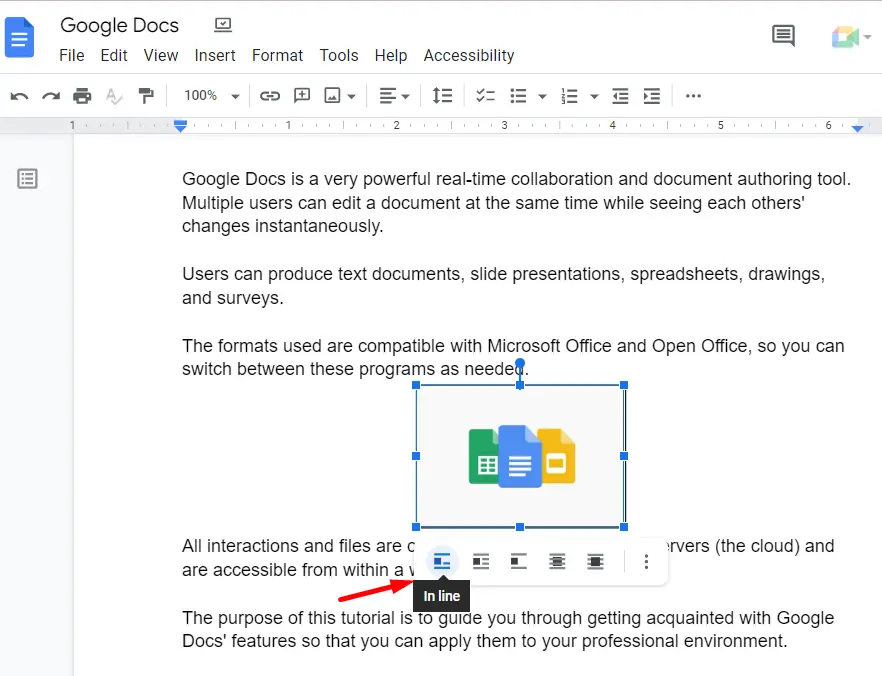
Step 3: Adjust the Formatting
Click on the current image. A small style menu box of the image will open at the bottom of the image. There are five icons in the menu, which are described below:
- In line: In this setting, Google Docs deals with the image like any sentence, character, or word. The image moved anywhere on the page, just like a text or a word in the document.
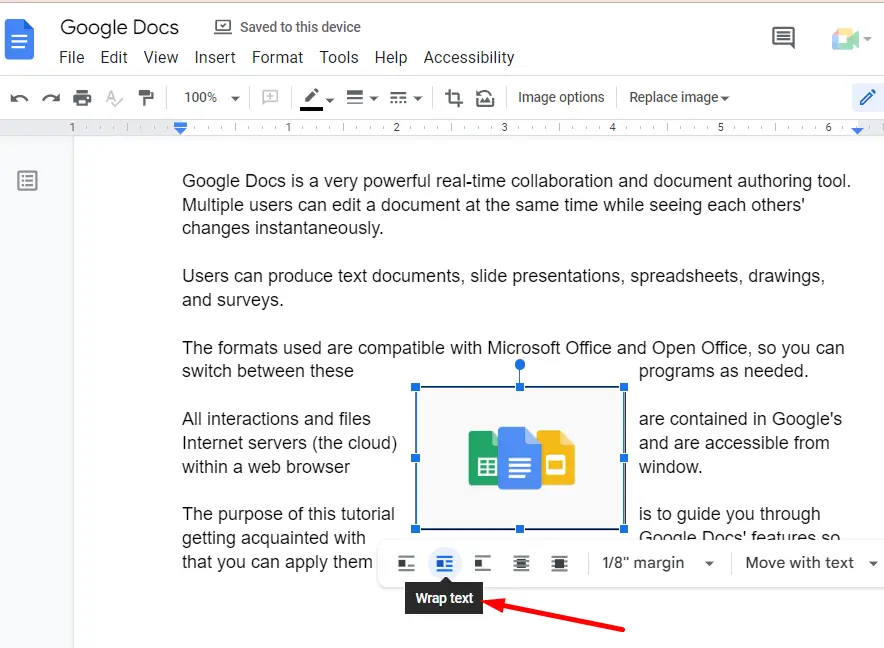
- Wrap text: In this setting, the text wraps around the four sides of the image. There is an equivalent gap between the text and the boundaries of the image.
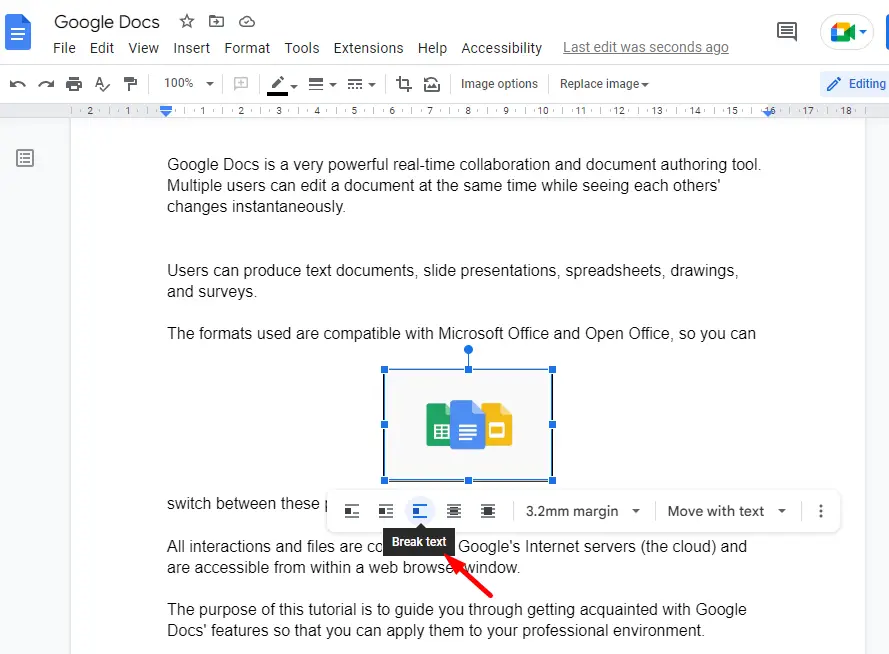
- Break text: In this setting, the current image breaks the text or a paragraph. It is placed above or below the text or a paragraph in which it is inserted.
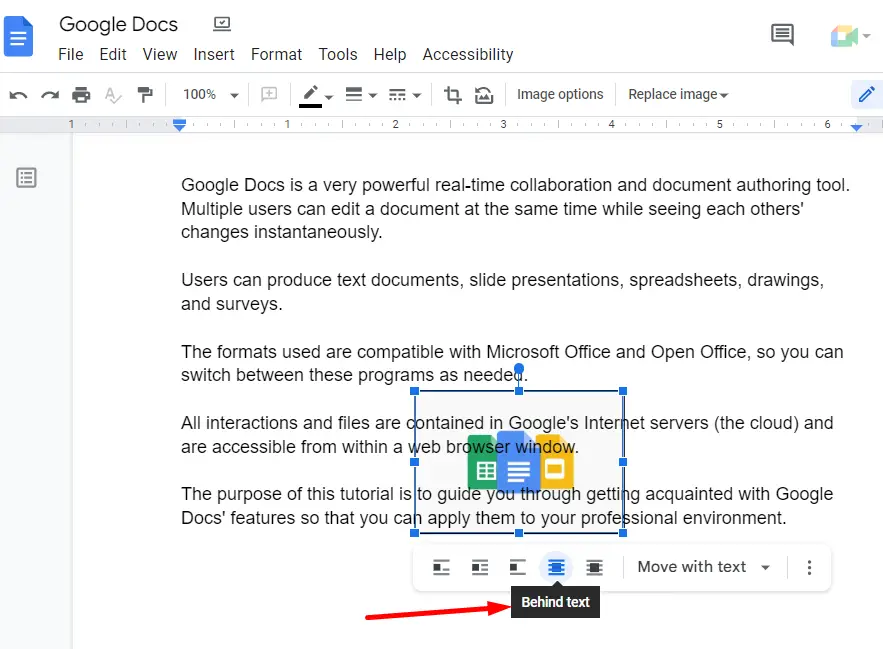
- Behind text: In this setting, the image is placed behind the text or a sentence where it is inserted.
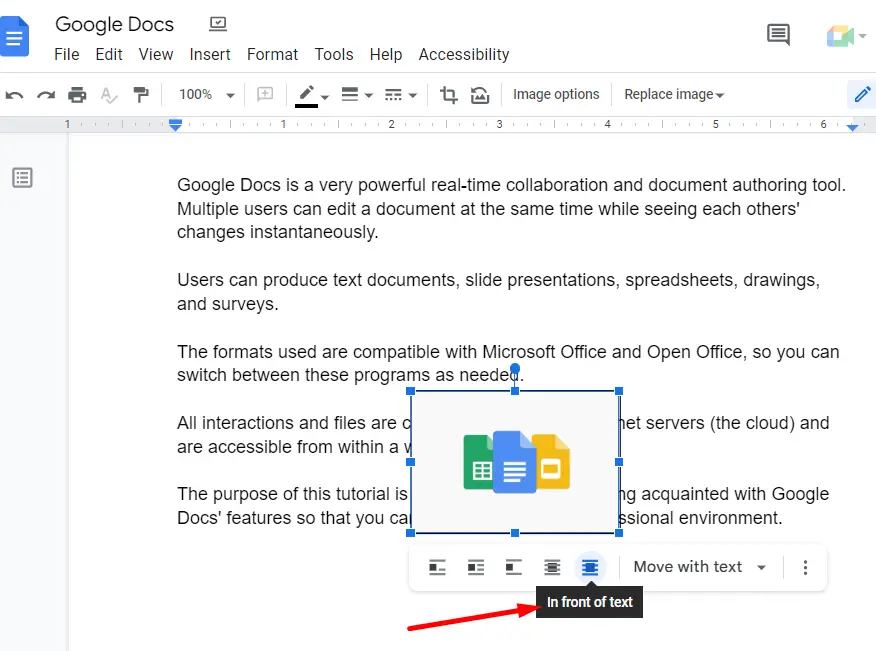
- In front of the text: In this setting, the image will appear at the front of the written text or a paragraph, as shown below.
All these functionalities are applied on our Google Docs file, and the changes are shown one by one below.
After applying “In line” formatting:
After applying the “Wrap text”, the document looks like this:
After applying the “Break Text” settings:
After using the “Behind Text”:
After putting the image “In front of text”:
This was all about moving an image in Google Docs mobile app.
How to Move Images in Google Docs Mobile App?
The images in Google Docs can also be moved through the mobile app. Let’s see how it is possible:
Step 1: Open Google Doc
Open the Google Doc in the mobile application:
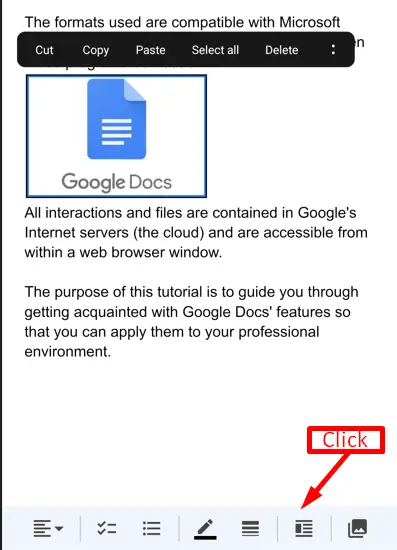
Step 2: Place the Image in a Specific Position
Hold the inserted image of the document and place it in the specific position where the user wants it to be placed:
Step 3: Customize the Formatting
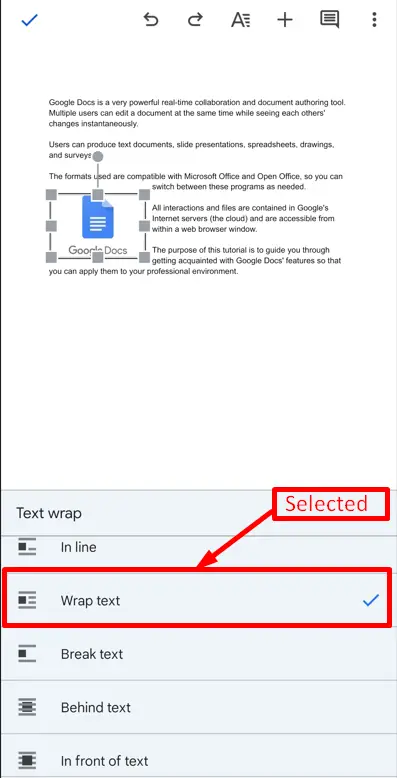
Now, click on the image and then press the icon shown below:
A menu bar will open at the bottom of the current document. This menu bar has five text formatting options (as discussed above). These are “Inline”, “Break text”, or“Wrap text”, “Behind text, and “In-front of text”. In this scenario, “Wrap text” is selected:
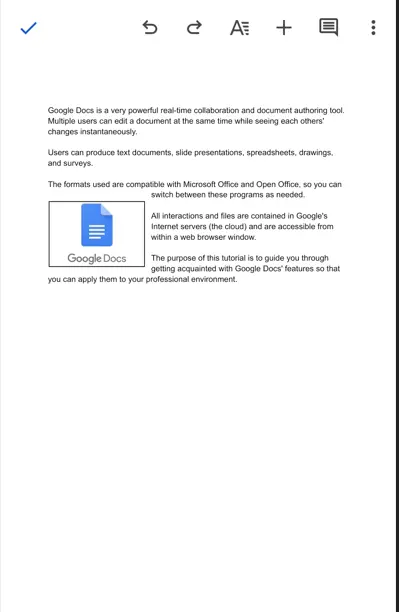
The text around the current image is wrapped now, as shown below:
That’s all about this article.
Conclusion
The images can be moved from one place to the other along with the text using the drag and drop process. The text of the inserted image is adjusted by utilizing “In-line”, “Wrap text”, “Behind text, “In-front of text”, and “Break text” icons. The Google Docs mobile application is also helpful in performing this task. This post has briefly explained the possible methods to move images in Google Docs.
