Avery labels are the particular information displayed on the products, banners, etc. Google Docs has built-in features to create these labels and customize them according to their needs. An alternative method can also be adapted to make these labels from the third-party extension and print them in Google Docs. This guide will explain the method for creating and printing the Avery labels in Google Docs.
The content of the post is as follows:
Let’s get started.
Prerequisite: How to Create Avery Labels in Google Docs?
Google Docs provides the “Get add-ons” feature to install third-party extensions. It is useful to utilize the extended features of Google Docs. To do so, the step-by-step procedure is explained to create the Avery labels in Google Docs:
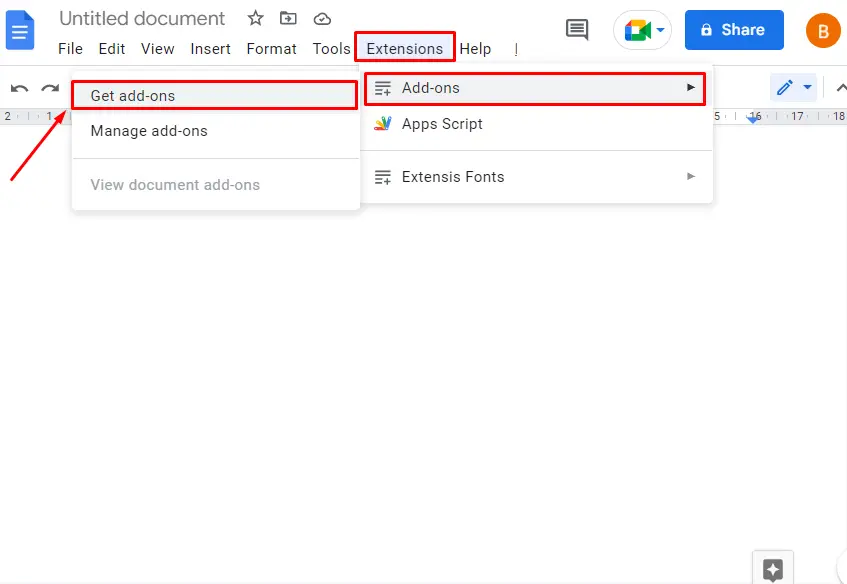
Step 1: Choose the “Get add-ons” option
After opening the blank document, hit on “Get add-ons” by hovering over the “Add-ons” from the “Extensions” tab of the menu bar:
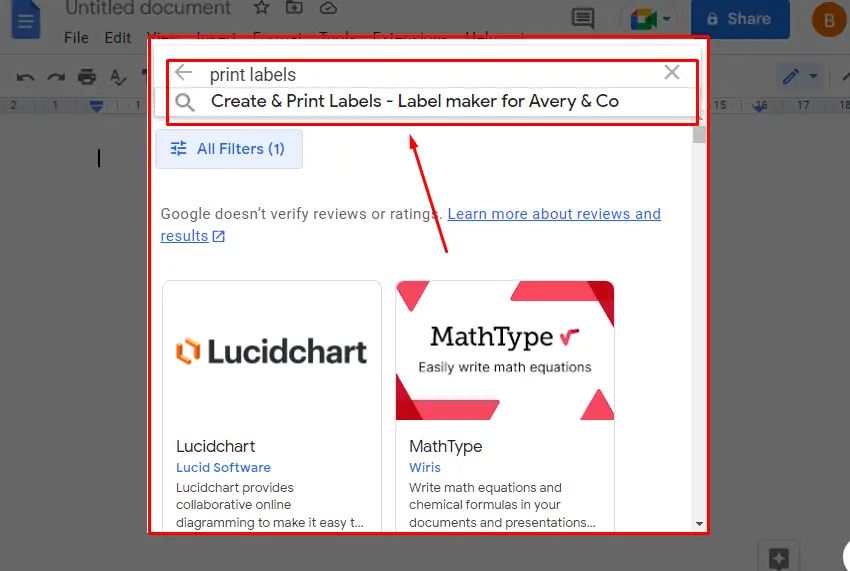
Step 2: Search the Avery Label Extension
It navigates to the new window. In this window, search the “print labels” extension in the search bar. After that, choose the “Create & Print Labels” extension as shown in below figure:
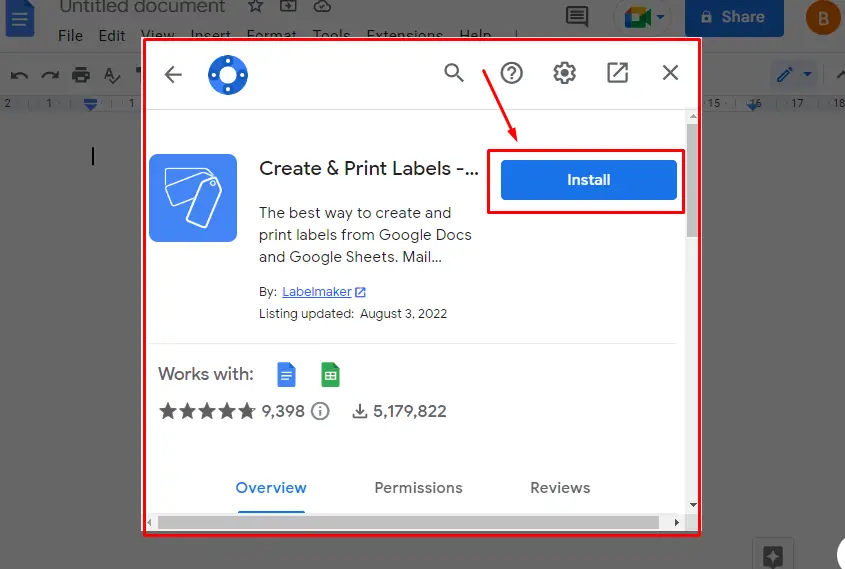
Step 3: Install the Extension
It navigates to the pop-up window after clicking on the extension. In this window, install the “Create & Print Labels” extension by hitting on the “Install” button:
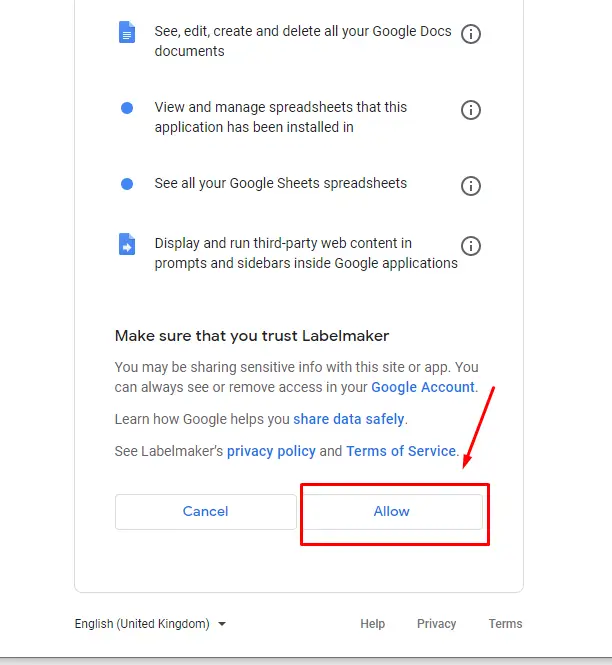
Step 4: Allow the Permission
Press the “Allow” button to permit you to proceed further with the installation in the Google Docs:
Step 5: Open the Extension For Creating Labels
After completing the installation process, click on “Create labels” from the “Extensions” tab as seen below:

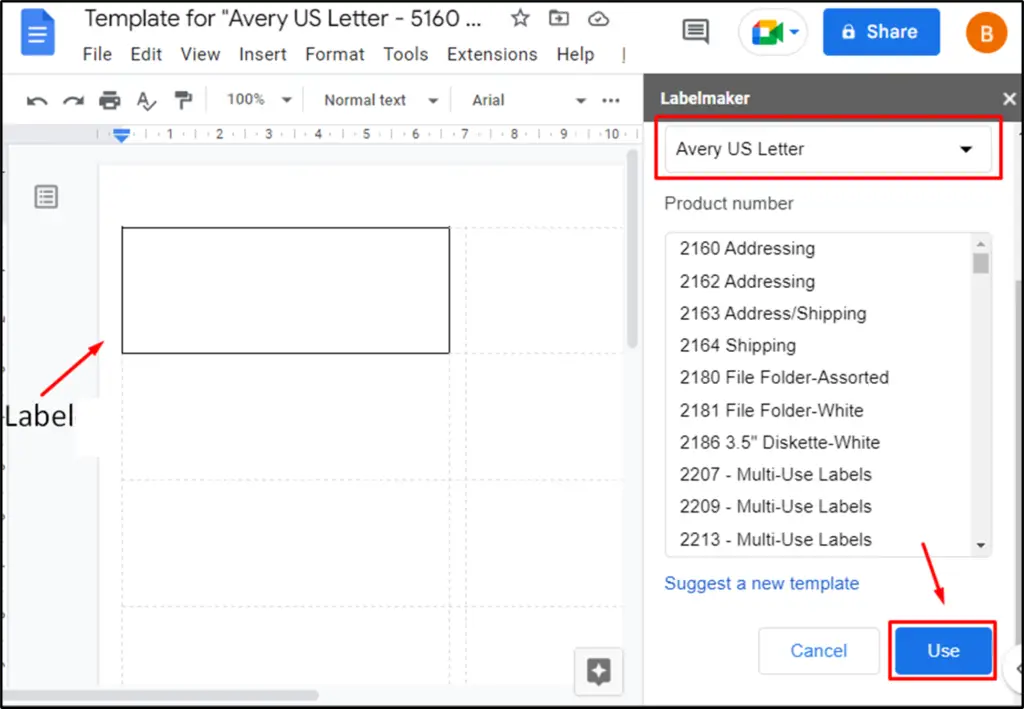
Step 6: Insert the Label Template
After clicking on the “Create labels”, the installed extension will open on the right side of the document. After that, choose the template as “Avery US Letter” and click on the “Use” button to insert the labels in the document:
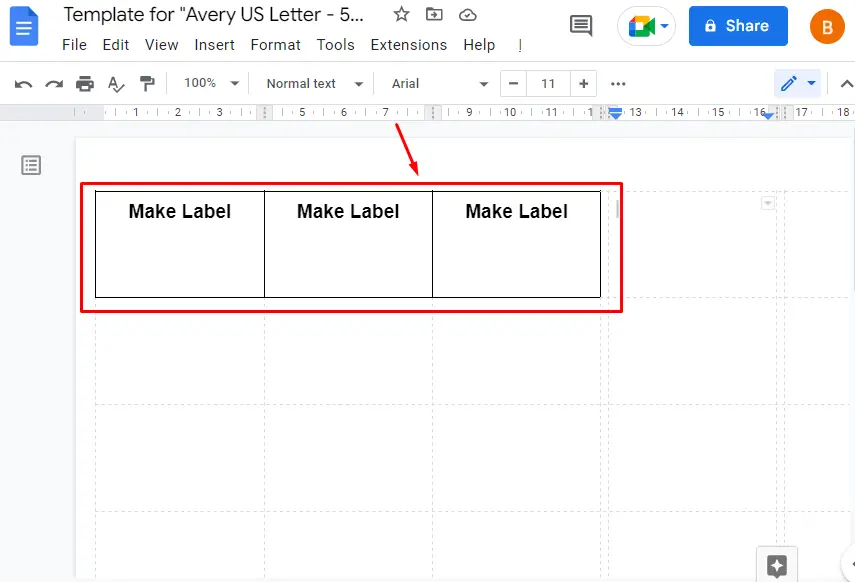
Step 7: Type in the Labels
After successfully inserting labels, type the custom information in each label according to the need:
Let’s print out these Avery Labels.
How to Print Avery labels in Google Docs?
Avery labels are printed using the “Print” option that can be accessed through the “File” tab of the Menu Bar. Additionally, users can utilize the “CTRL+P” shortcut for printing the required labels in Google Docs.
Let’s print the above-created labels using this method:
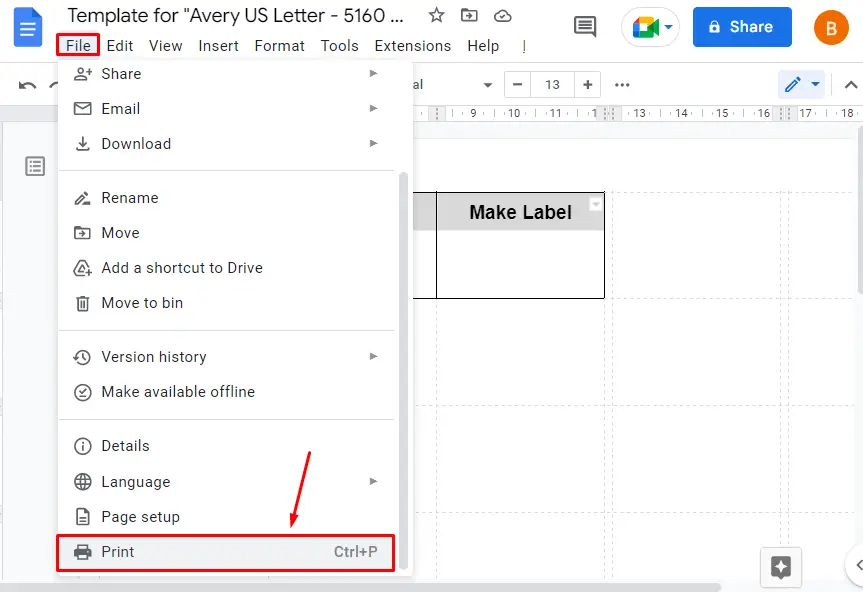
Step 1: Choose the Print Option
After the Avery labels are created and ready for the printing process. Hit on the “Print” option from the “File” tab of the MenuBar:
Step 2: Verify the Printout Display
It navigates to the final stage of the printout and gives additional options, “Pages” and “Color”, on the screen. Users can change the settings according to the requirement and click on the “Print” button to print the created labels:
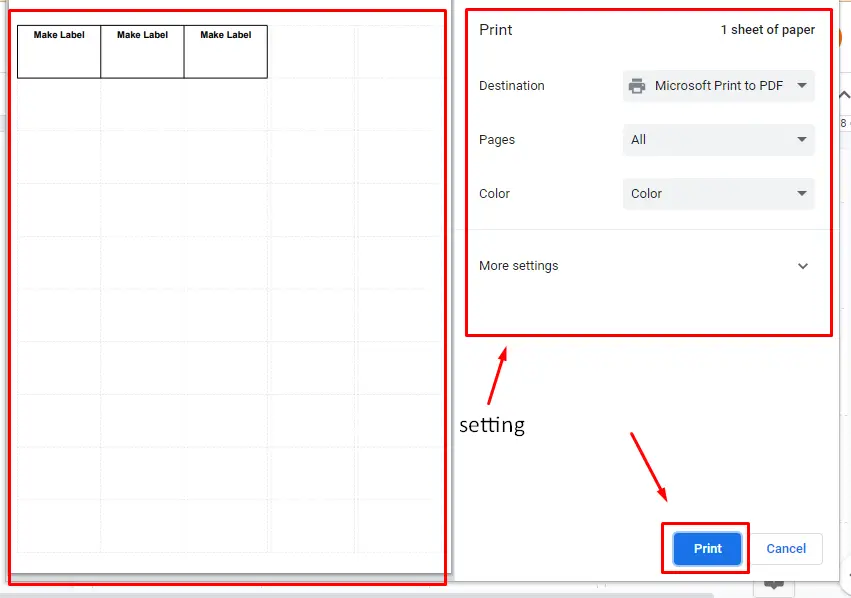
Note: Use the shortcut key “Ctrl+P” from the keyboard to print the Avery Label in Google Docs.
That’s all from the Google Docs guide.
Conclusion
In Google Docs, the “Avery Labels” are printed using the “CTRL+P” shortcut key and “Print” option from the “File” tab of the MenuBar. These labels are easily created through the “Create & Print Labels Maker” extension. Additionally, users can customize labels according to their brands and products. In this article, the method to create and print Avery labels has been demonstrated in Google Docs with a step-by-step guide.
