Labels are the metadata that identifies the document through a particular name. It is mostly utilized for managing multiple documents. Moreover, users can create customized labels by specifying colors, font sizes, and styles. This article demonstrates two methods to print labels in Google Docs. The content that supports this guide is as follows:
Let’s start with the first method.
Method 1: Using Print Option to Print Labels in Google Docs
Before printing, ensure you have created a label ()or considered an existing label). In this method, we will create labels and then proceed with their printing. The steps followed are described below:
Step 1(Optional): Create Labels
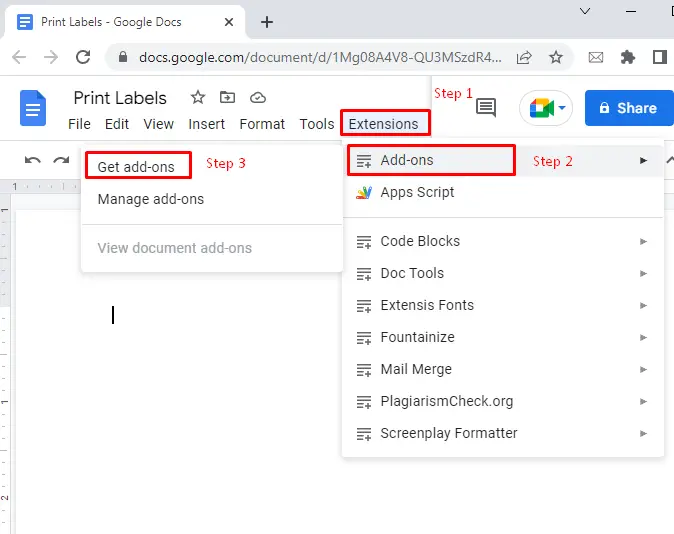
Google Docs facilitates users to create labels via third-party extensions. For this purpose, click on the “Extensions” menu and the “Add-ons”. From there, choose the “Get add-ons” option. The procedure can be visualized in the following screenshot:
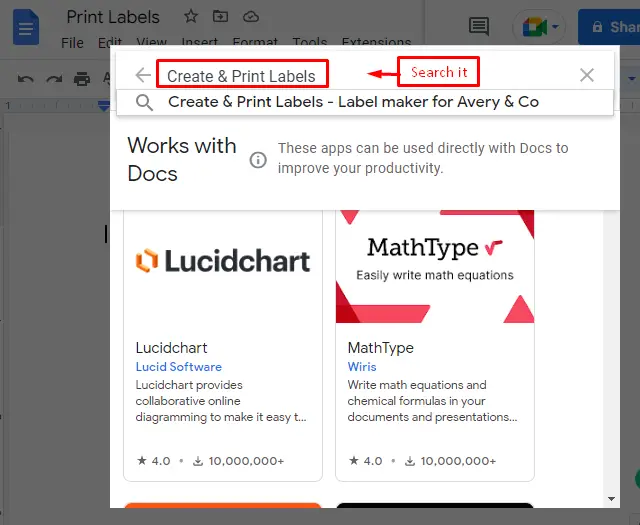
A new window, “Works with Docs”, is opened after pressing the above option. In this window, write the extension name “Create & Print Labels” in the search menu box, as shown in the below figure:
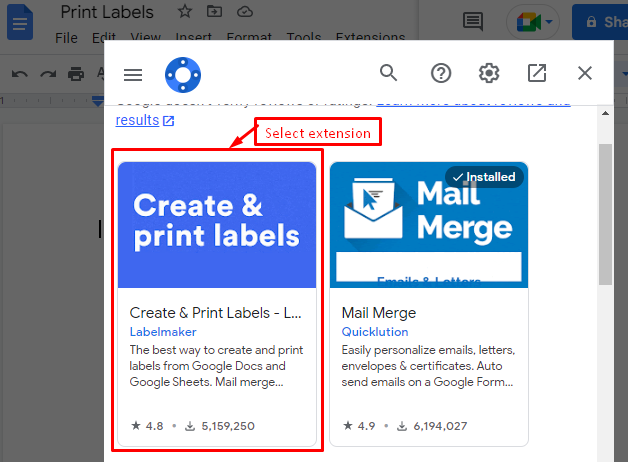
Select the “Create & Print Labels” extension as illustrated below:
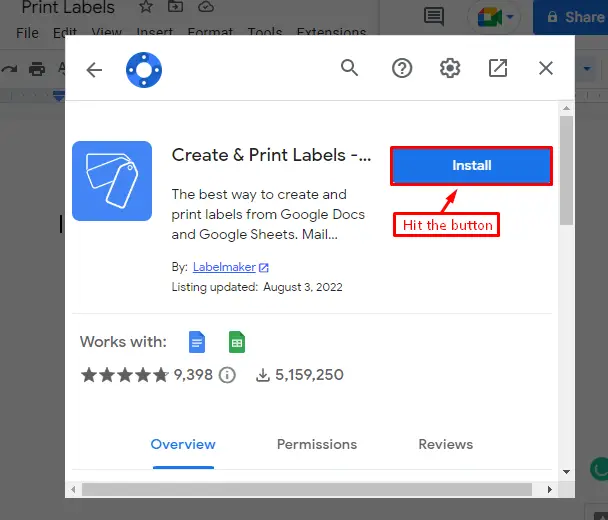
After pressing the specified extension, hit the “Install” button to start the installation process:
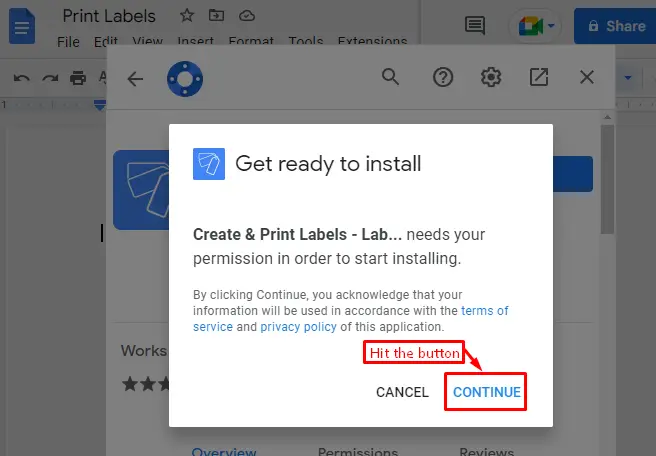
Give permission for the further procedure by hitting the “CONTINUE” button as displayed in the below figure:
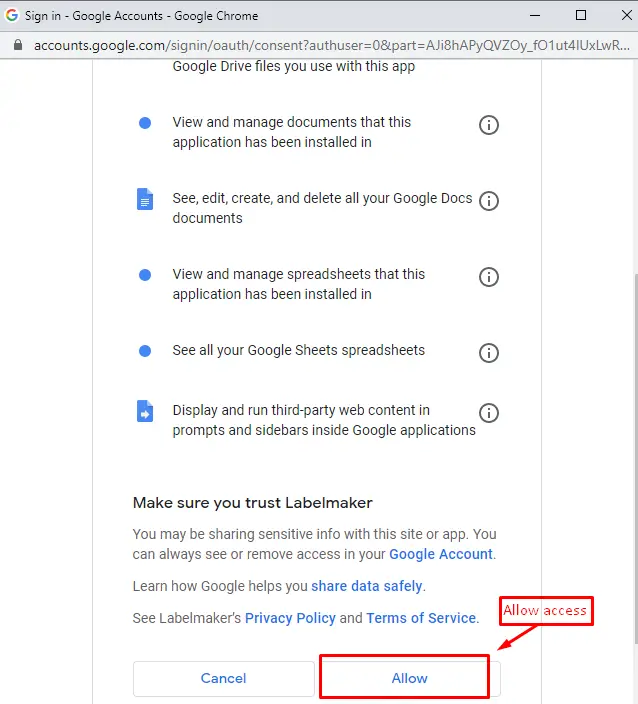
The extension requires permission during the installation process. Press the “Allow” button as shown in the below figure:
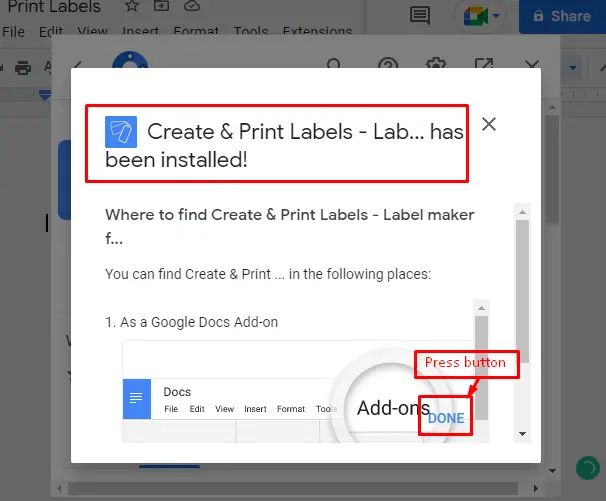
Finally, the extension “Create & Print Labels” was successfully installed in Google Docs. Hit the “DONE” button.
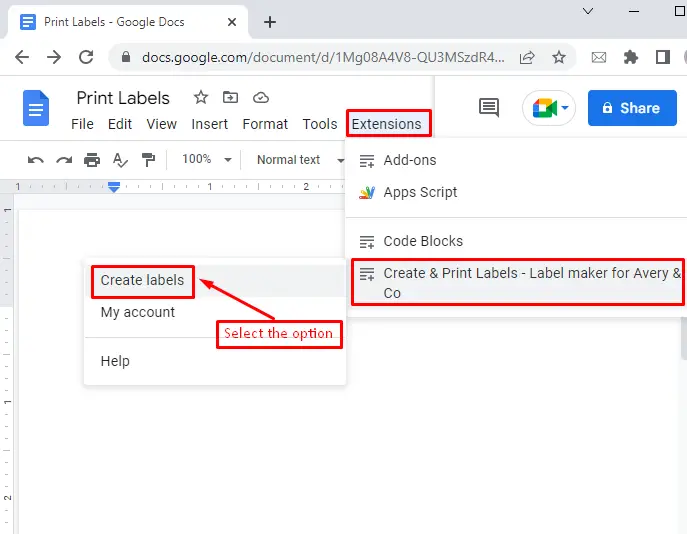
To create labels, select the “Create labels” option by hovering over the name of the installed extension, as depicted below:
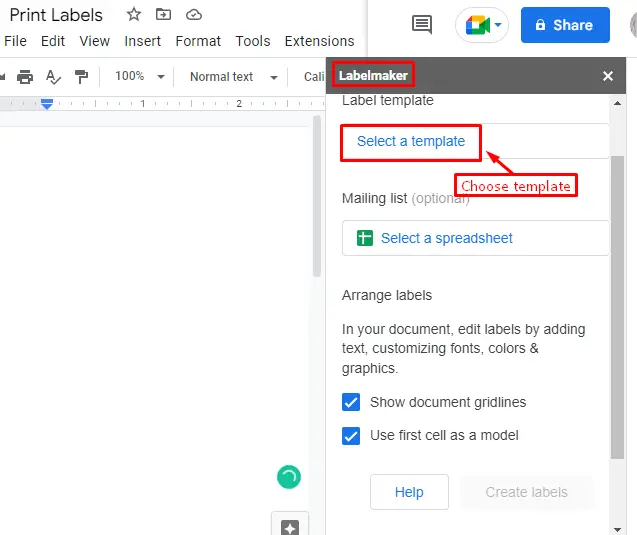
It pops up a side window. In this window, choose the “Select a template” option that gives multiple label format options:
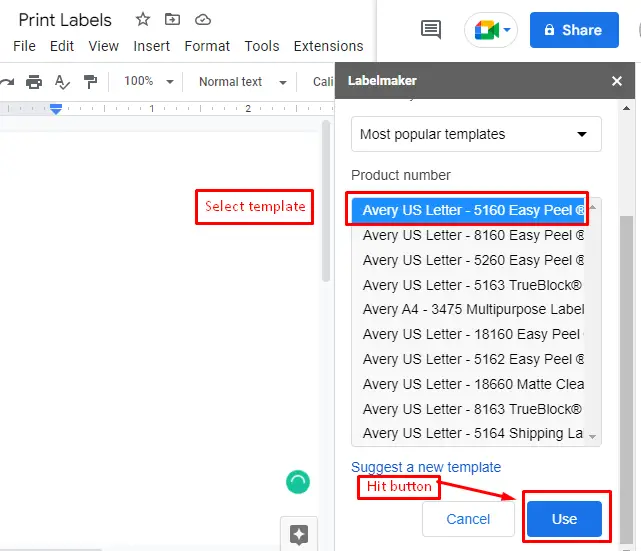
Choose the “Avery US Letter – 5160 Easy Peel” template in a list of templates for creating labels in Google Docs. After that, hit the “Use” button that can be displayed below:
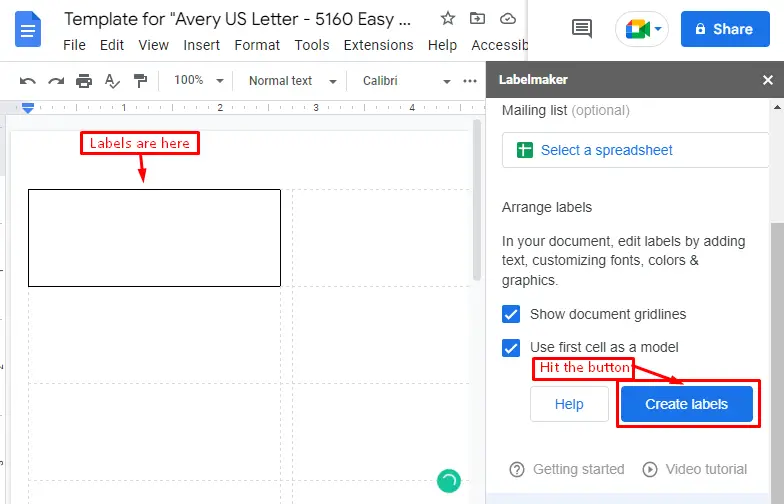
By pressing the “Create labels” button in the side window, labels are created in the current window:
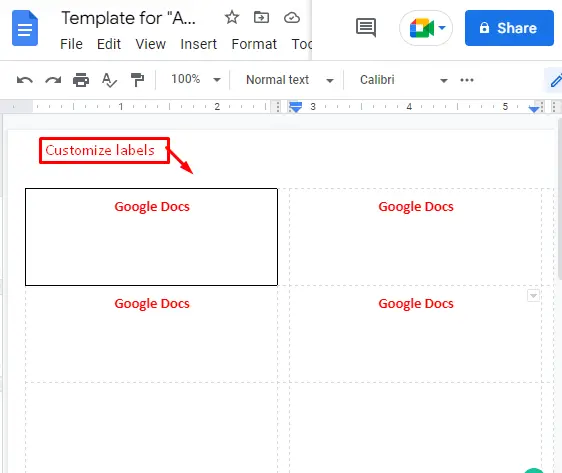
Now, users can customize these labels according to their needs. In this scenario, we wrote the “Google Docs” labels to print out the document:
Step 2: Print the Labels
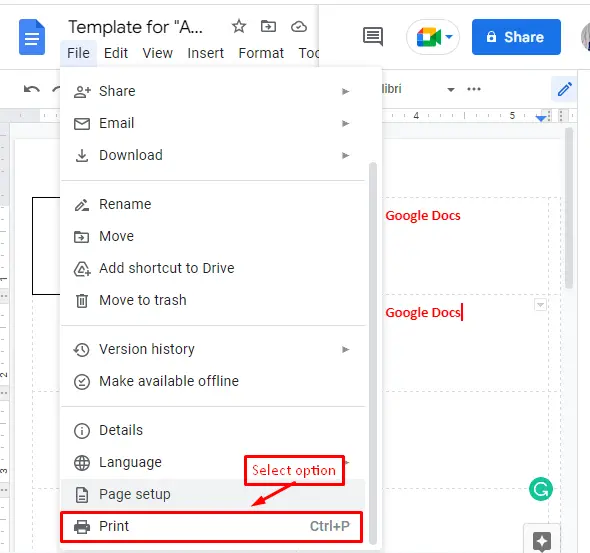
For printing documents, hit the “Print” option that comes from the “File” tab of the menu bar:
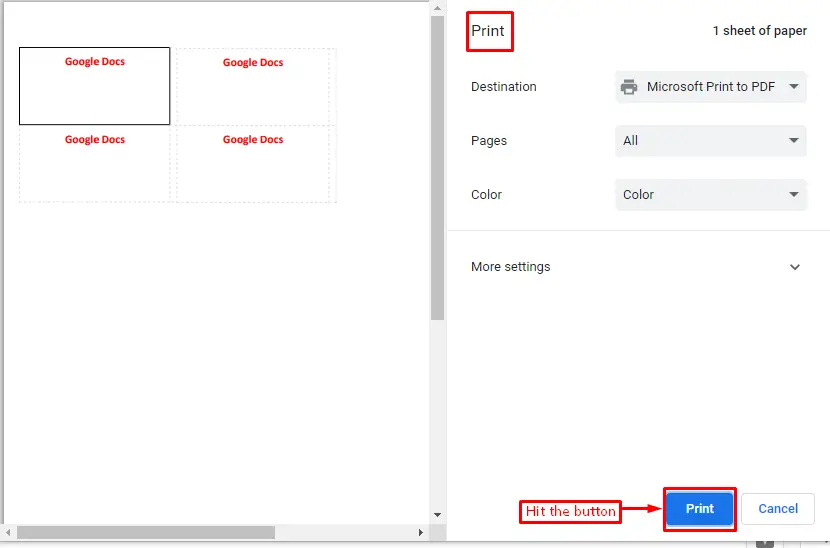
After pressing the option, a “Print” window is opened on which the user needs to hit the “Print” button that is located at the bottom right of the window:
That’s it from this method!
Method 2: Using CTRL + P to Print Labels in Google Docs
A shortcut key, “CTRL+P”, can also be used for printing labels in quick time. For this purpose, a “GIF” is captured to print out customized labels after adding some catchy look. The captured “GIF” is given below:
That is all from this tutorial.
Conclusion
Google Docs provides the “Print” option from the “File” tab and shortcut key “CTRL+P” to print labels. These labels are created through the “Create & Print Labels” third-party extension. In addition, users can customize labels according to their requirements. This article has provided a step-by-step procedure to print labels in Google Docs.
