DHCP can be used to automatically get an IP address and other network configurations from a DHCP server. However, sometimes the DHCP lease may expire, and a user needs to renew it to continue using the internet. The device will automatically request a new lease when a lease expires, but sometimes this process can fail.
This article will discuss the manual process to renew the DHCP lease on Ubuntu using the content below.
- Understanding DHCP Lease
- Renew DHCP Lease on Ubuntu
Understanding DHCP Lease
Before we jump into the steps for renewing your DHCP lease on Ubuntu, it’s important to understand what a DHCP lease is and how it works. A DHCP lease is a contract between a device and a DHCP server that specifies an IP address, subnet mask, gateway, and DNS server(s) for the device. This process ensures that IP addresses are efficiently utilized and prevents conflicts between devices that may request the same IP address.
Renew DHCP Lease on Ubuntu
Renewing the DHCP lease on Ubuntu consists of multiple steps, which are discussed below:
Step 1: Check the Current IP Address
Before renewing your DHCP lease, it’s essential to check your current IP address to ensure that you have lost network connectivity using the below command.
$ ip a
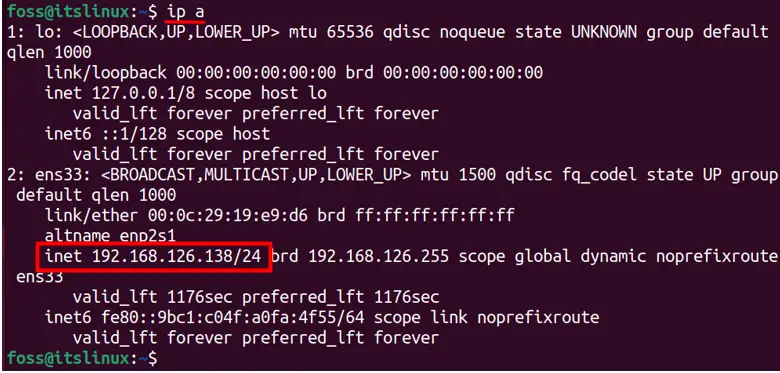
The current IP address for the system is 192.168.126.138.
Step 2: Release Current DHCP Lease
To release the current DHCP lease, a user needs to write the below command in the terminal:
Here is the breakdown of the command:
$ sudo dhclient -r
dhclient: The “dhclient” command is a client program for the DHCP protocol that communicates with the DHCP server to obtain an IP address lease and other network configuration settings.
-r: The “-r” option instructs the dhclient to release the current DHCP lease. This means that your device will notify the DHCP server that it no longer needs the current IP address and configuration parameters assigned to it, and it can be given to another device.

In the output, “killed old client process” means that the dhclient command has terminated an old instance of itself. This happens when a previous dhclient process was running in the background and was not properly terminated, which can cause conflicts when trying to obtain a new DHCP lease.
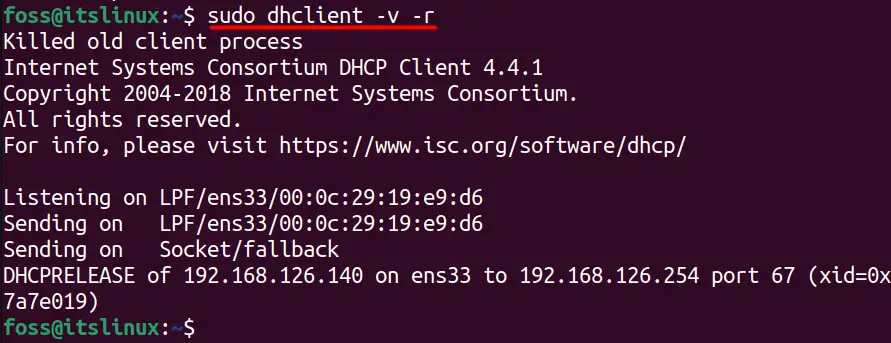
A user can also use the “-v” option along with this command which instructs the dhclient command to run in verbose mode. This option will provide detailed information about the DHCP process, including messages and error codes.
$ sudo dhclient -v -r
Step 3: Renew the DHCP Lease
After releasing the current DHCP lease, a user can renew a new DHCP by typing the below command:
$ sudo dhclient
This command will request a DHCP server to assign a new IP address to your device. The DHCP server will respond with an available IP address and automatically assign the new IP address to your device:
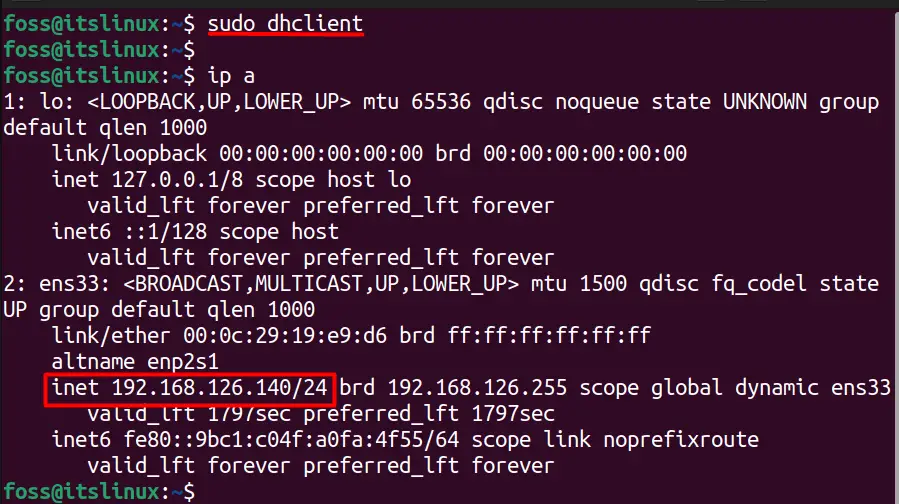
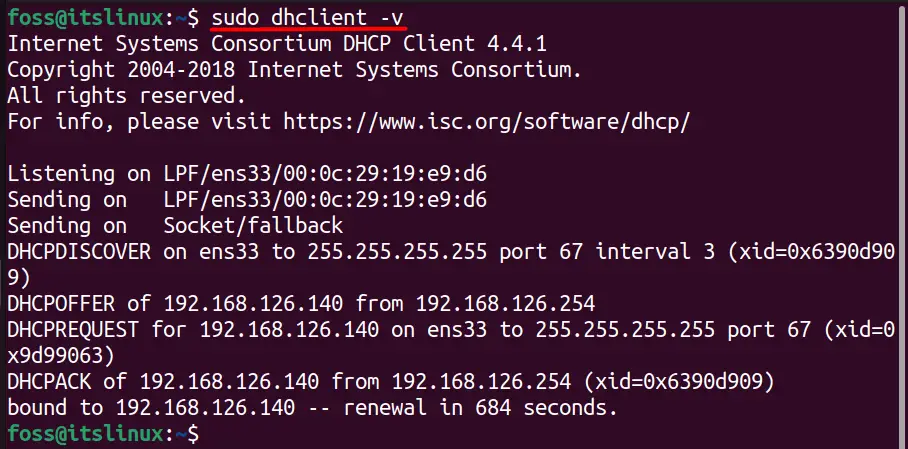
It can be seen in the above image that a new IP address has been assigned, which is 19.168.126.140, and the previous IP address was 192.168.126.138. The same thing could be done by using the “-v” option to provide additional information:
$ sudo dhclient -v
Note: Releasing and Renewing the DHCP Lease can also be done by providing the name of the network, which is “ens33” in this case:
$ sudo dhclient -r ens33
$ sudo dhclient ens33
Executing these two commands will release and renew the DHCP lease for the interface ens33 and provide you the new IP address:

Conclusion
Renewing the DHCP lease is a simple process that can resolve many connectivity issues on Ubuntu. There are two major steps involved in renewing the DHCP lease, which is to release and renew the current DHCP lease, which has been discussed in detail in this article.