In Google Docs, the indentation is defined as the distance/spaces of the text/line from the document’s margins. It is carried out to serve the specific purpose of the user, i.e., keeping a sub-paragraph or heading. Changing the indent to the default or decreasing the indent is known as “Reverse Indent”. This Google Docs post will demonstrate how to reverse indent on Google Docs. The content of this guide is illustrated below:
- Method 1: Using the Align and Indent Options in the Format Tab
- Method 2: Using the Decrease Indent Icon on the Toolbar
- Method 3: Using the Ruler
- Bonus Tip: How to Reverse Indent on a Google Docs Mobile App?
Let’s start with the practical implementation.
Method 1: Using the Align and Indent Options in the Format Tab
Follow the below-mentioned steps to “Reverse Indent” through the “Format” tab:
Step 1: Open Google Docs Document
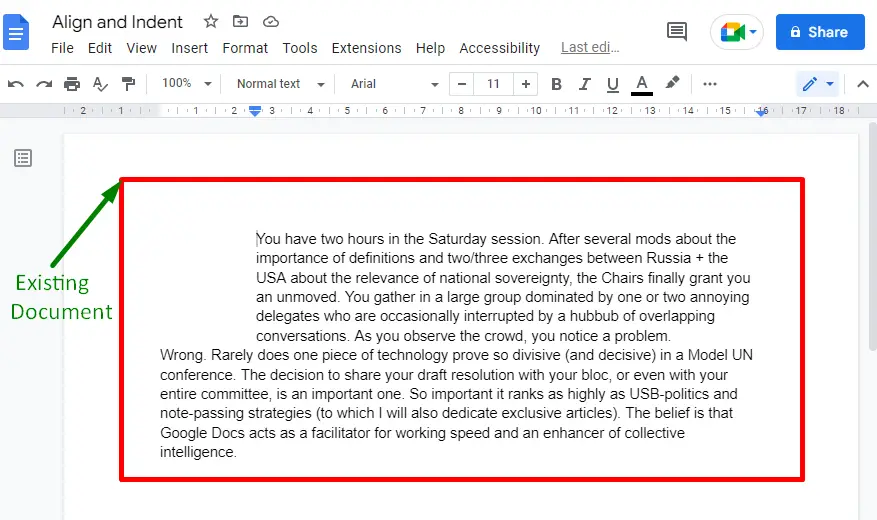
Firstly, open the Google Docs file where the “Reverse Indent” is required:
Step 2: Select the Specific Part
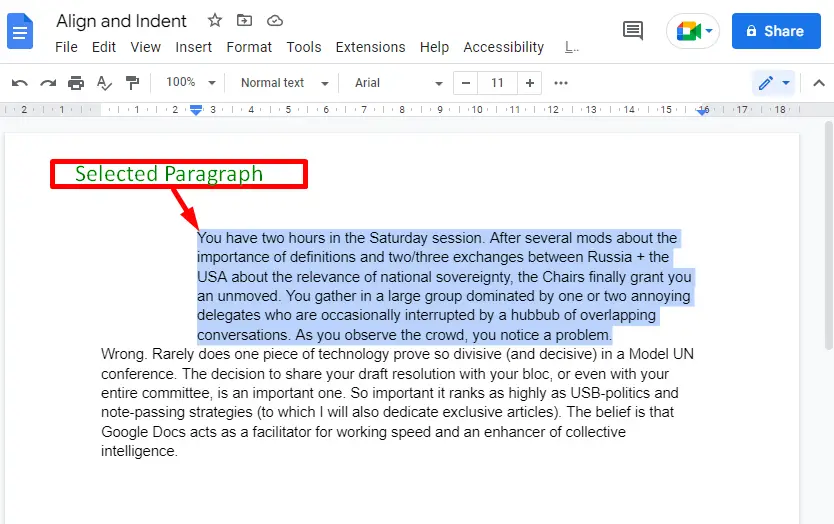
To reverse the indent, select the specific part or portion of the document. In the existing document, the first paragraph is selected:
Step 3: Open the Align and Indent
Move to the “Format” tab. It generates a drop-down list; select the “Decrease indent” option from that submenu:
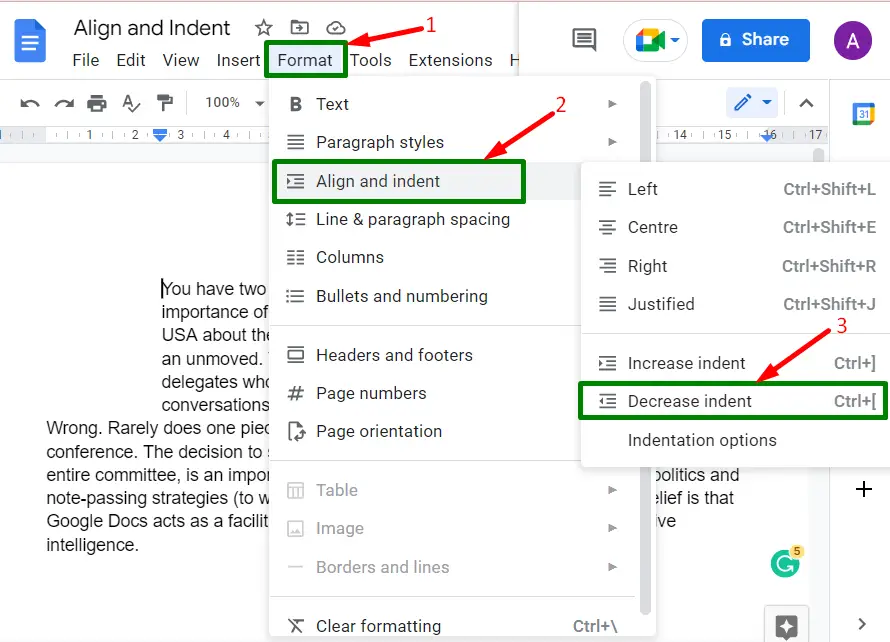
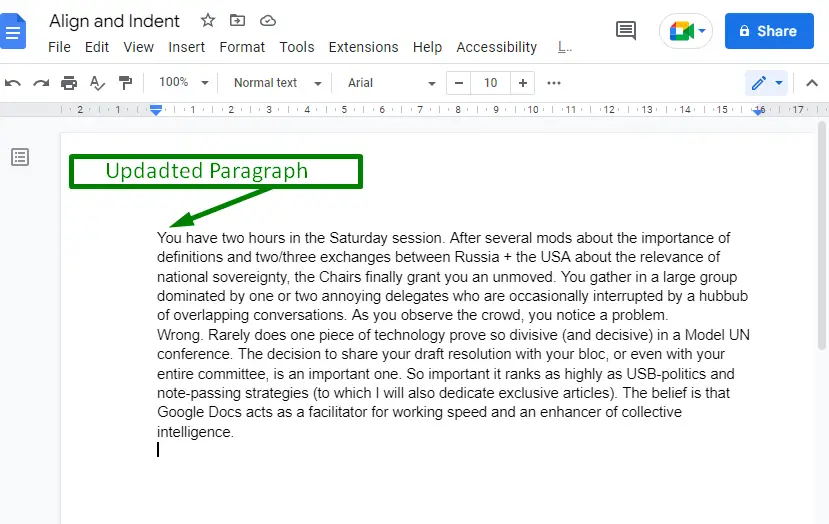
After doing so, the indent of the selected paragraph of the document is reversed:
Now, let’s have a look at the second method.
Method 2: Using the Decrease Indent Icon on the Toolbar
The “Decrease indent” icon can also be utilized to reverse the indent of the selected part of the document. The necessary steps of this method are described below:
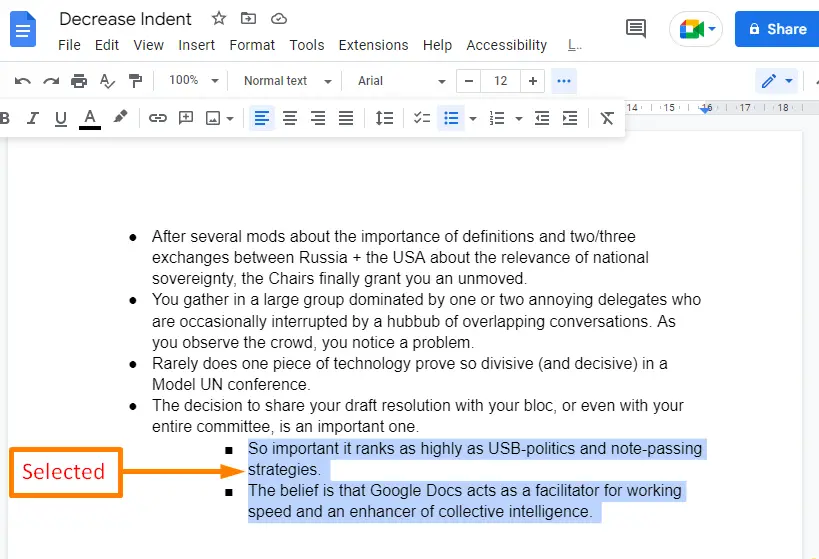
Step 1: Select the Particular Part
Select the particular part of the document on which indentation will be performed. In this scenario, the last two bulleted points are selected to perform the reverse indent operation:
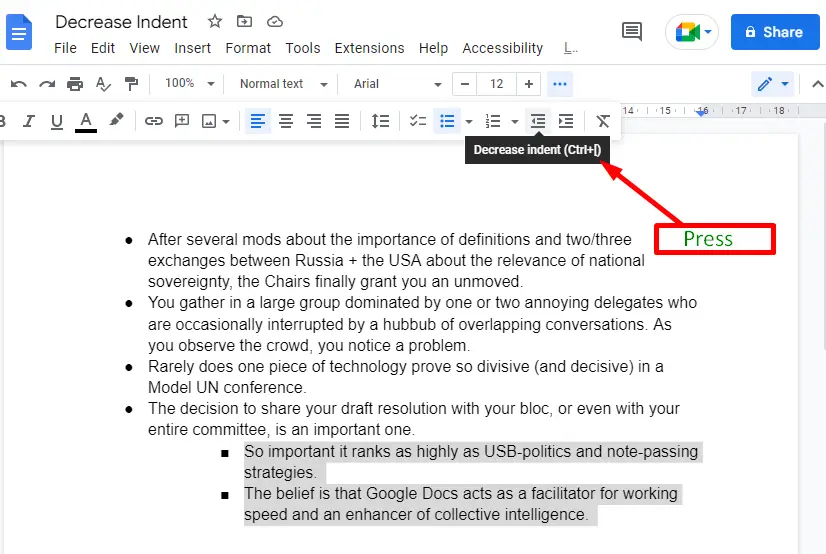
Step 2: Press the Decrease indent Icon
Press the “Decrease indent” icon from the toolbar. On each press, there would be a specific amount of reverse indent. You can press as many times as you can to acquire a specific indent level:
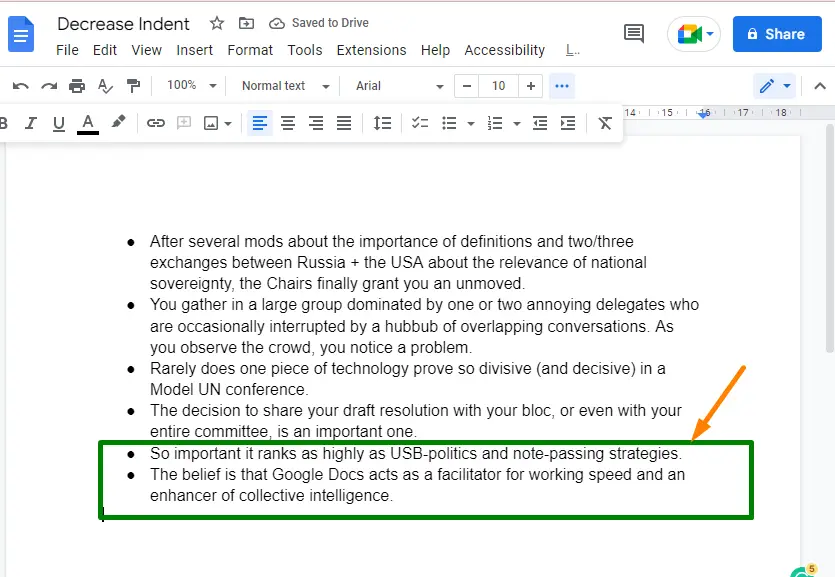
It can be observed that the two bullets are reversely indented:
Note: The user can reverse the indent in Google Docs using the “Ctrl+[” shortcut key.
Method 3: Using the Ruler
This method explains using “Ruler” to reverse the indent in Google Docs. To do so, a few steps are demonstrated below:
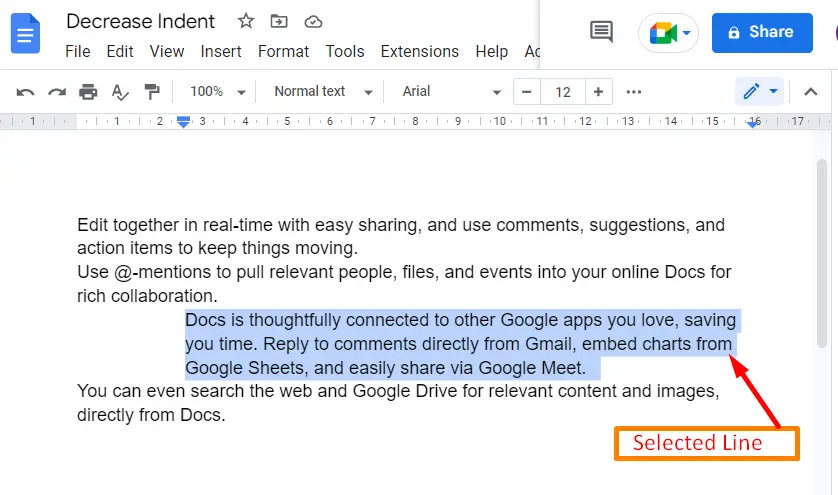
Step 1: Select the Specific Part
An existing document is followed as an example, and second line of the document is selected to apply a reverse indent:
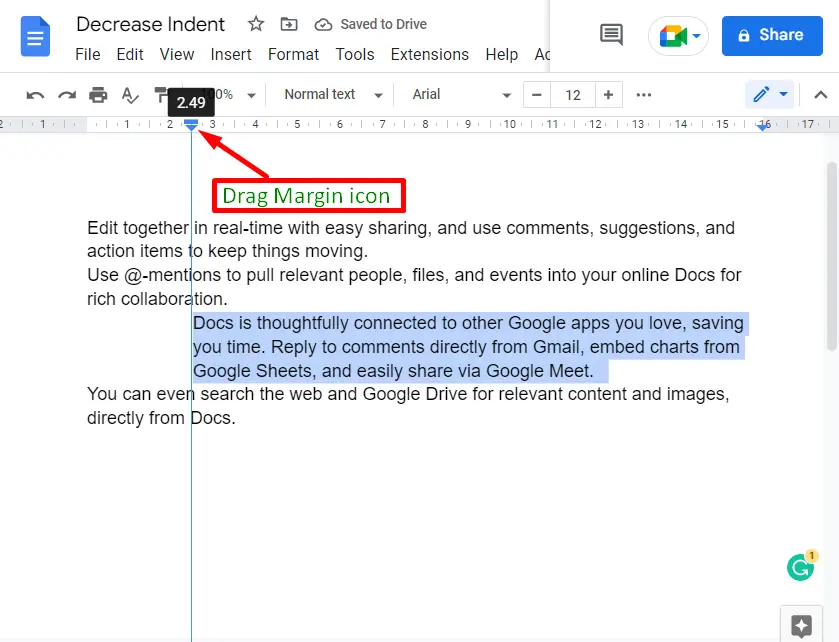
Step 2: Adjust the Ruler
Hold the “Margin Icon” of the “Ruler” and drag this “Margin Icon” on the left side to reverse the indent of the selected line:
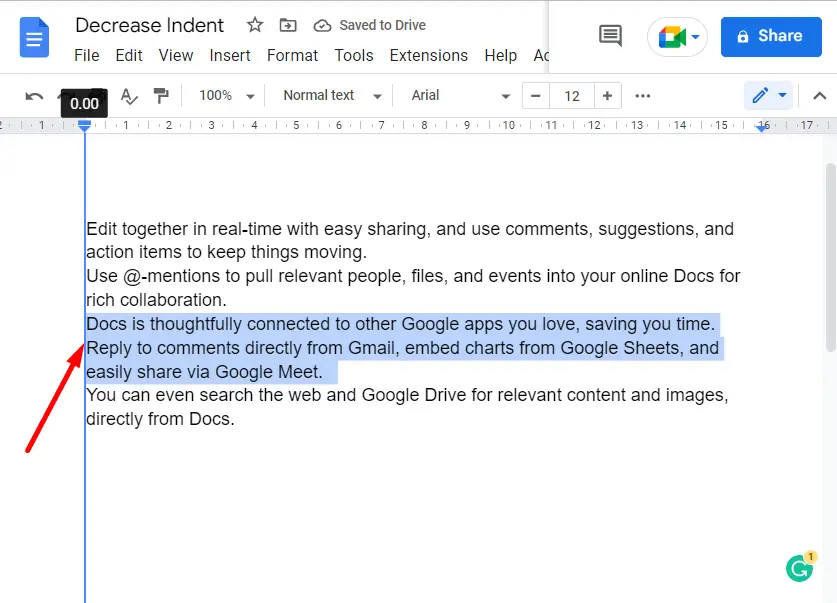
The indent of the selected line is reversed by dragging the “Margin Icon”:
That’s all!
Bonus Tip: How to Reverse Indent on a Google Docs Mobile App?
Google Docs mobile application also provides the “Decrease indent” option to reverse indent. Let’s practice how it is done:
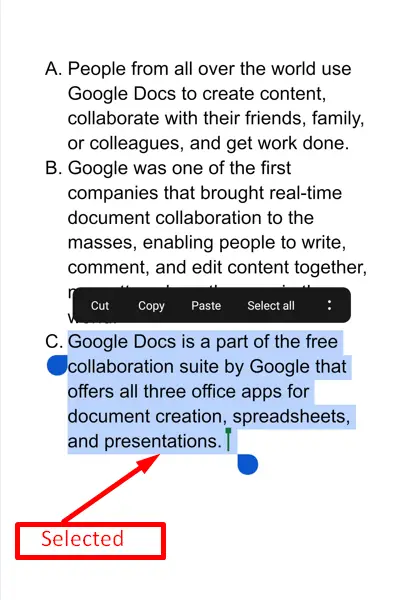
Step 1: Select the Particular Part
Firstly, select the specific part of the document that needs to be the indented reverse. The last point of the document is selected in the given below document:
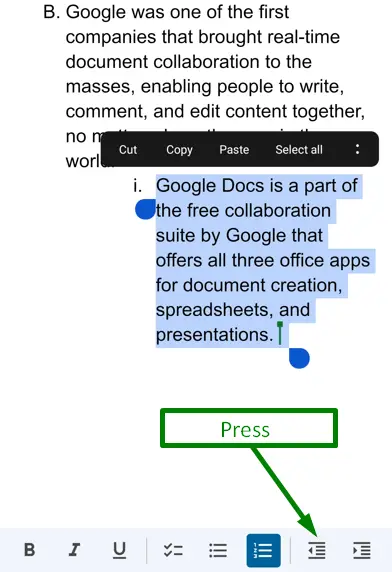
Step 2: Click on the Decrease Indent Option
Press the “Decrease indent” icon from the menu bar. The decrease indent icon is used to reverse the indent of the selected part:
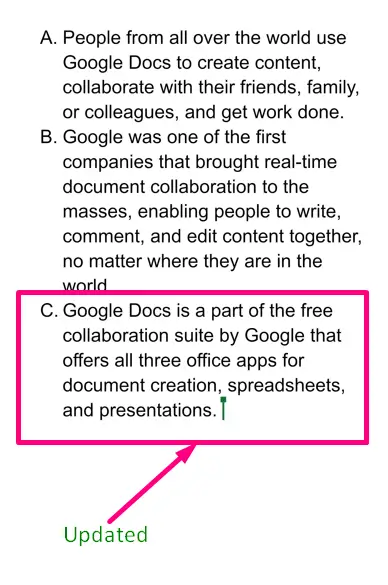
After pressing the “Decrease indent” icon, the selected point of the existing document is indented reversed:
That’s all about this guide.
Conclusion
Google Docs offers the “Align and indent” option and the “Decrease indent” icon to reverse the indent. The “Ruler” and the shortcut key “Ctrl+[” are also helpful in performing this task. In addition, the user can utilize the “Decrease indent” option in the mobile application to reverse the indent in Google Docs. In this guide, all the possible methods are described as a reverse indent in Google Docs.
