While dealing with tables in Google Docs, the column is frequently used to activate the table cell without directly accessing it. There are numerous ways to switch between columns in Google Docs. This Google Docs post will uncover all the methods to switch between table columns. The content that is carried out for this post is as follows:
Let’s start this article.
Method 1: Using Drag and Drop
Many times in documents, when you use tables, you have added the content into the wrong column. By considering this issue, the step-by-step instructions are here to switch columns in Google Docs:
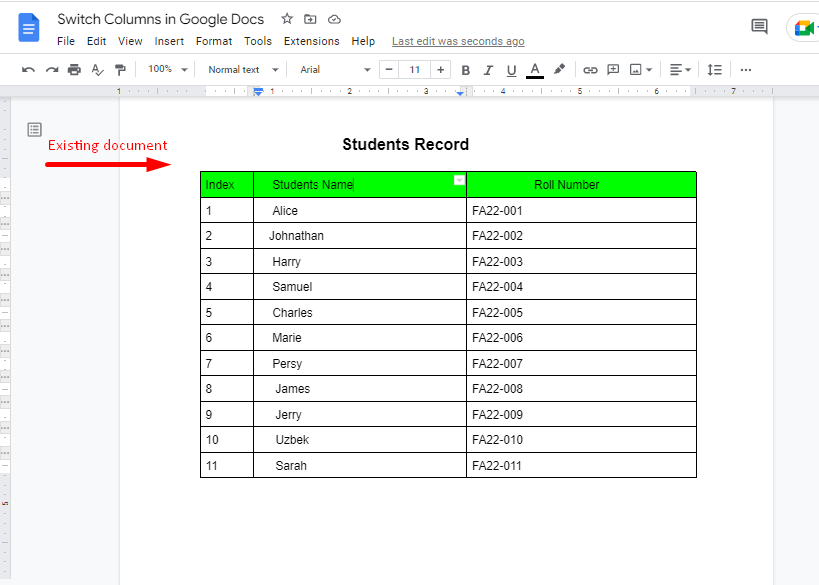
Step 1: Open an Existing Google Docs
An existing document is carried out on which a table is considered to perform switching data from one column to another column:
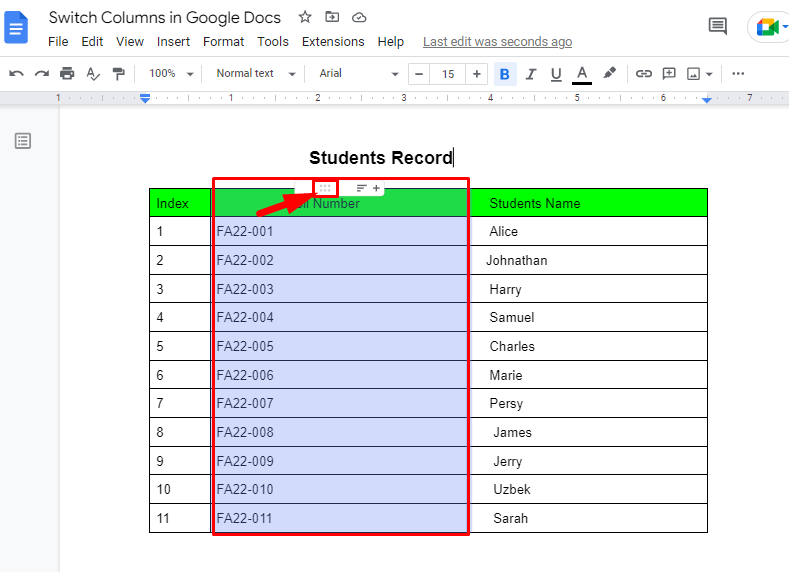
Step 2: Select the Column For Switching
To switch the content of columns, select the column by hovering over the “dot” icon. This icon hovers at the column top. Click on the below highlighted icon, and drag to another column:
Step 3: Switching Columns
Drag the column by holding the mouse and drop it to another column the user wants. To do so, a “GIF” is captured as seen below:
Follow this method as often as you need and switch as many columns as you want.
Method 2: Using the Tab Key
It is an additional way to switch cells between rows and columns. To do so, hit the “Tab” key that moves the cursor between cells in a horizontal direction. The practical demonstration can be observed in the following “GIF”:
You can verify that the cursor is moving from one column to another.
This is all from this post!
Conclusion
In Google Docs, you can switch columns by dragging and dropping content. Also, the “Tab” can be used to switch cells between columns. This feature is quite helpful in saving time for rewriting content. Additionally, users can switch cells between rows and columns by pressing the “Tab” icon. This guide has explained possible methods to switch columns in Google Docs.
