VMware is a well-known hypervisor that supports multiple operating systems on a single desktop. It platforms virtualization software and products, of which VMware Workstation is one. VMware Workstation is a lightweight and feature-enriched virtualization tool to run multiple operating systems on a single computing device.
This guide enlists all the possible ways to uninstall the VMware workstation in Linux with the following outlines:
Method 1: Uninstall VMware Workstation Using Uninstaller Script
The first method is to use the “VMware-tools” uninstaller script to uninstall it in Linux:
Type the below-mentioned command with the superuser privileges, i.e., “sudo” in the terminal. Press the “Enter” key, and the uninstallation process will be started:
$ sudo vmware-installer -u vmware-workstation
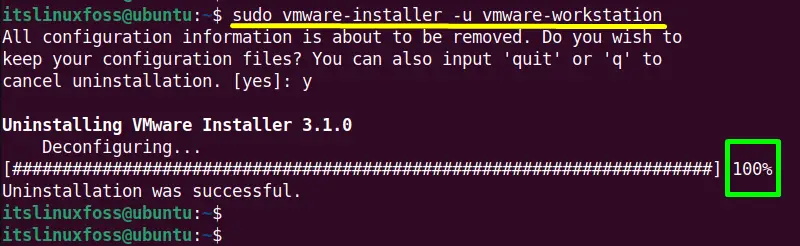
The output shows that “VMware workstation” has been completely removed/uninstalled from the system
Method 2: Uninstall VMware Workstation in Linux Manually
If the above method fails then uninstall the “VMware workstation” manually by following some essential steps.
Step 1: Stop VMware Services and Processes
First, shut down and close all the “Vmware” running services and processes in the “/etc/init.d/”directory.
This directory contains the initialization and termination scripts of “Vmware workstation”:
$ sudo /etc/init.d/vmware stop
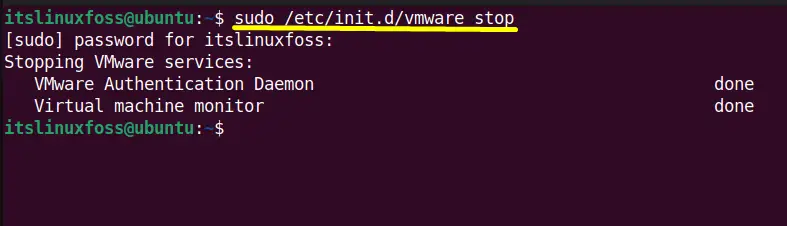
All the “Vmware workstation” services have been stopped.
For more verification, use the following combination of “lsmod(List Modules)” and the “grep” command:
$ lsmod | grep vm
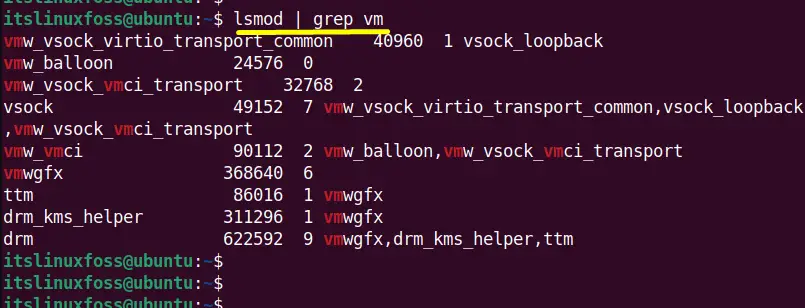
It is verified that the services are successfully stopped.
Step 2: Move the VM libraries
The “VMware workstation” libraries are in the “misc” directory. So first move into it using the “cd(change directory)” and the “kernel version” of the current system in the following way:
$ cd /lib/modules/5.15.0-52-generic/misc
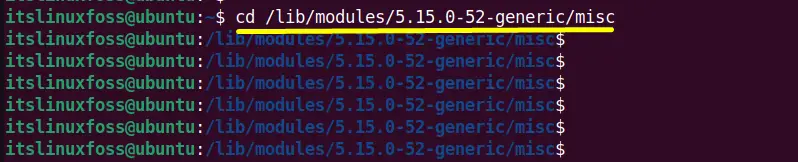
The directory has been changed:
Execute the “mv(move)” command to move all the VM libraries from “misc” to temporary “/tmp” directory:
$ sudo mv vm* /tmp

Step 3: Remove the VMware Logon Scripts
The next step is to remove the startup scripts of “Vmware” one by using the below typed “rm(remove)” command.
The “rc2.d” scripts are used for starting and stopping the process:
$ sudo rm /etc/rc2.d/init.d/rc2.d/*vmware*   #For RedHat and Other Distributions
$ sudo rm /etc/rc2.d/*vmware*            #For Ubuntu/Debian,

Remove the next script, “rc3.d”, that contains all the executable scripts starting at the boot time of the Linux system:
$ sudo rm /etc/rc.d/init.d/rc3.d/*vmware*   #For RedHat and Other Distributions
$ sudo rm /etc/rc3.d/*vmware*               #For Ubuntu/Debian

Lastly, remove the “rc6.d” which helps to kill the active processes and unmount the filesystem:
$ sudo rm /etc/rc.d/init.d/rc6.d/*vmware*   #For RedHat and Other Distributions
$ sudo rm /etc/rc6.d/*vmware*          #For Ubuntu/Debian

All the startup scripts regarding “VMware workstation” have been removed.
Step 4: Remove the VMware Files and Directories (Recommended)
It is recommended to remove the “VMware workstation” files and the directories located in the “/etc” directory:
$ sudo rm -rf /etc/vmware*

Next, remove all the “VMware” USB arbitration services in the following way:
$ sudo rm /usr/bin/vmware-usbarbitrator

Remove all the “vmnet” kernel modules remaining files and directories:
$ sudo rm /usr/bin/vmnet*

Delete the “VMware” libraries recursively with the “-r” flag of the “rm” command:
$ sudo rm -r /usr/lib/vmware*

In last, remove the “VMware” tools remaining directories:
$ sudo rm -r /usr/share/doc/vmware*

After doing so, the VMWare Workstation has been removed from the system completely.
Conclusion
In Linux, use the “VMware installer” to automatically uninstall the VMware workstation. Apart from that, the user can also remove it manually by removing all of its libraries, modules, and additional files/directories. This guide has briefly described all possible methods to uninstall VMware workstations in Linux.
