Google Docs has numerous built-in functionalities that increase the user’s work efficiency. One of them is Markdown, which is used for quick editing or formatting of the elements. Due to the robust Markdown feature, it is used to create notes, websites, books, and presentations. Considering the importance of Markdown, this article explains the possible methods to use markdown in Google Docs. The content of this guide is as below:
- How to Enable Markdown Feature in Google Docs?
- How to Use Markdown Feature in Google Docs?
Let us start with the practical implementation.
How to Enable Markdown Feature in Google Docs?
The markdown has been supported by Google Docs. This section illustrates step by step procedure for using markdown in Google Docs.
Let’s start the procedure for creating an outline in a Google Docs document.
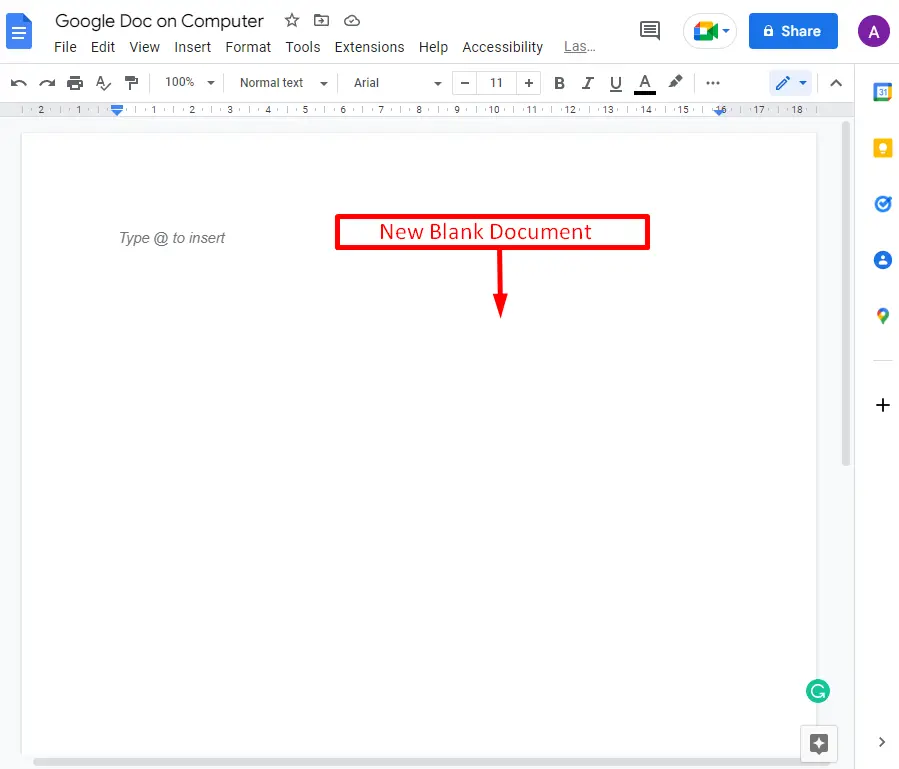
Step 1: Open a Google Docs Document
First, open Google Docs on the local system. Select a new blank document or an existing document. In this scenario, a new document is selected to use markdown in Google Docs:
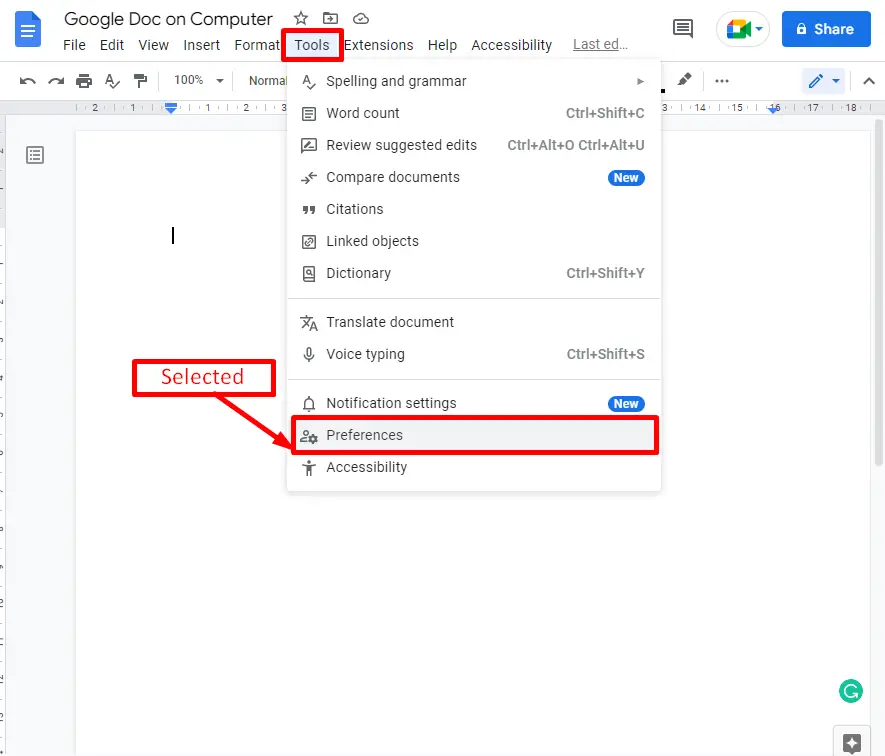
Step 2: Enable Markdown
Move the cursor to the “Tools” tab and press it. The drop-down list of multiple options will pop up. From this list, click on the option ”Preferences” option:
A “Preferences” window will open. On the “Preferences” window, there is a list of options. Move the cursor on the “Automatically detect markdown” option and click on it to enable this feature:
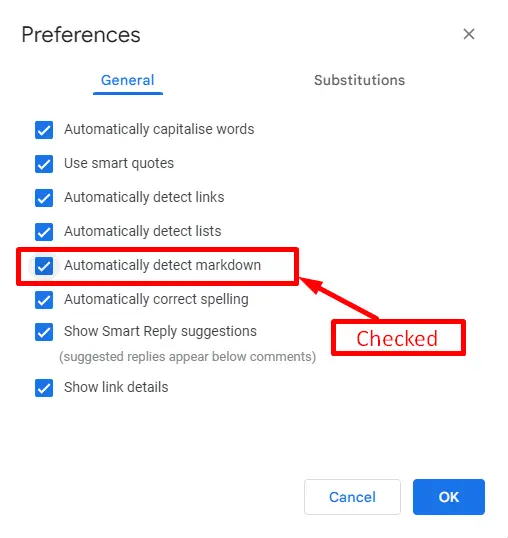
That’s it! The Markdown feature is now enabled and ready to use.
How to Use Markdown in Google Docs?
As discussed earlier, markdown is the key feature to apply some formatting through the shortcut ways. This section provides the possible usages of markdown in Google Docs. Let’s start:
Create Bold Letters Using Markdown
To convert the text as bold, insert the two asterisks or underscores around the text, such as
__Text__ or **Text**. The following “GIF” shows that the weight of the keyword is bold using the markdown shortcuts:
Create Italic Fonts Using Markdown
To convert the text as italic, insert a single asterisk or underscore around the text, such as
_Italic_ or *Italic*. As an example, the following “GIF” shows how the “Italic” keyword is changed to italic style.
Create Italic and Bold Simultaneously
To convert the text as italic and bold simultaneously, insert the three asterisks or underscores around the text, such as __Italic__ or ***Bold***. The following “GIF” illustrates the process:

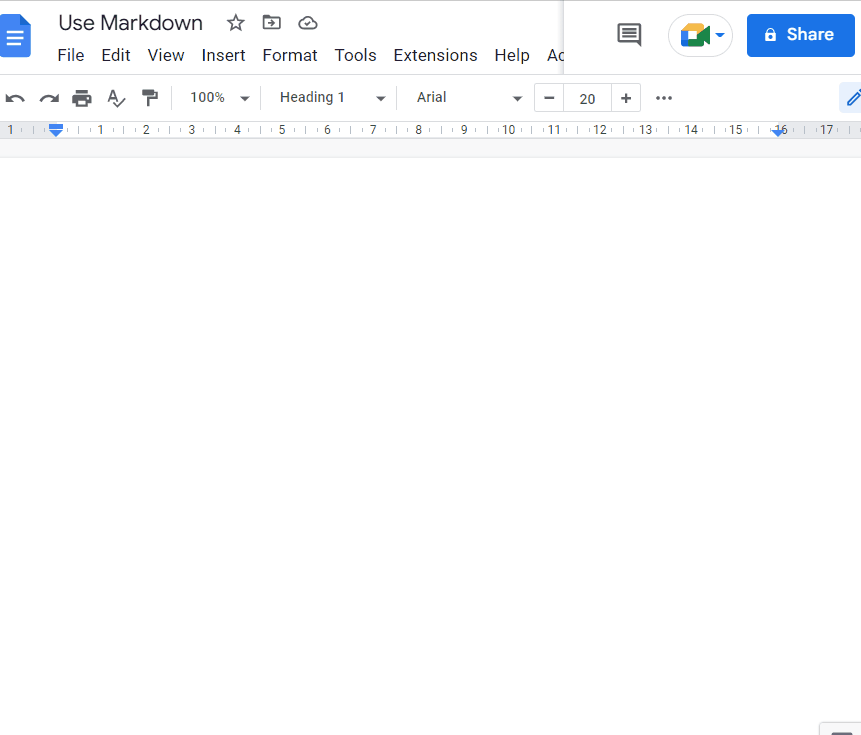
Create Headings Using Markdown
To convert the text as a heading, insert the sign “#” at the start of the word. It is noticed that a space between the “#” symbol and the keyword. The number “#” sign shows the level of heading, such as using “# Heading” for heading one, using “## Heading” for heading two, and so on:
Create Links Using Markdown
To create the links, write the linked text in brackets and type the URL in parentheses without any space, such as [Use Markdown]( https://itslinuxfoss.com).
Conclusion
In Google Docs, users can use the markdown by turning on the “Automatically detect markdown” option. After that, there are some predefined notations of formatting to create headings, italic fonts, links, and much more. This post has briefly demonstrated the methods to enable and use the markdown feature in Google Docs.
