In Linux, zipped files are mostly preferable to transfer data between systems. This is because these files take less storage and reduce the file size compared to unzipped files. Moreover, these files are easy to download and overcome the chances of corrupt files. Once the files are compressed/ zipped, they can be unzipped easily.
This guide enlists all the possible aspects to zip and unzip files on ubuntu. The content list of this guide is specified below:
- Prerequisites: Install Zip and Unzip Utility
- How to Zip Files on Ubuntu via Terminal?
- How to Zip Files on Ubuntu via GUI?
- How to Unzip Files on Ubuntu via Terminal?
- How to Unzip Files on Ubuntu via GUI?
Prerequisites: Install Zip and Unzip Utility
The “zip” and “unzip” tool is generally pre-installed into the latest Linux distribution, Ubuntu 22.04. However, if they are not installed, then install them by executing the following commands in the terminal(Ctrl+Alt+T):
Install zip Utility on Ubuntu
$ sudo apt install zip

The output displays that the “zip” is already installed in Ubuntu 22.04 with its latest version “3.0”
Install Unzip Utility on Ubuntu
$ sudo apt install unzip
The above command shows the same output as the “Unzip” tool is already the newest version, “6.0” in Ubuntu 22.04.
How to Zip Files on Ubuntu via Terminal?
The “Zip” refers to the file packaging command line tool that creates an archive of files/directories. It follows the “.zip” extension that stores all the files into a single archive. Its working depends upon its generalized syntax that is written below:
Syntax
$ zip zipfile.zip filename.txt
The above syntax contains the following parameters:
- zip: The main keyword refers to the “zip” command line tool.
- zipfile.zip: Denotes the newly created zip file having extension “.zip”
- Filename.txt: Shows the specific file that the user wants to zip.
Let’s see the tactical implementation of this syntax to create the zip files on Ubuntu 22.04.
Example 1: Create a Zip File
To create a single zip file, type the “zip filename” with the “.zip” extension and the original filename along with the “zip” command in this way:
$ zip Sample.zip Sample.txt

The output shows that the “Sample.zip” file was created from the original file “Sample.txt” stored “0%” content.
Execute the “ls” and “grep” commands separated by the “|(Pipe)” for more verification:
$ ls -l | grep Sample

The output of the above command shows both the original file “Sample.txt” and its zip file “Sample.zip” in the terminal.
Example 2: Delete The Original File after Zipping
After zipping, the original file remains saved in Ubuntu by default. To delete the original file after zipping, use its “-m” option. It will delete the original file as shown in the image:
$ zip -m SampleZip.zip Sample.txt
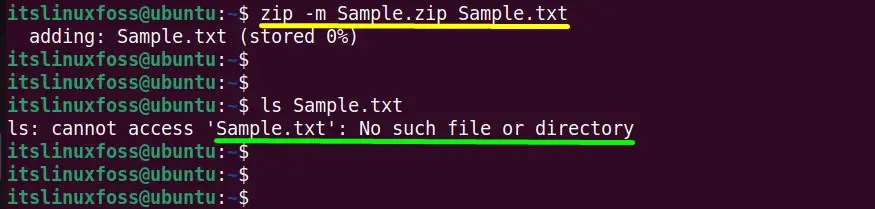
The “-m” option has deleted the original file “Sample.txt”, and there is no such file as shown in the above image.
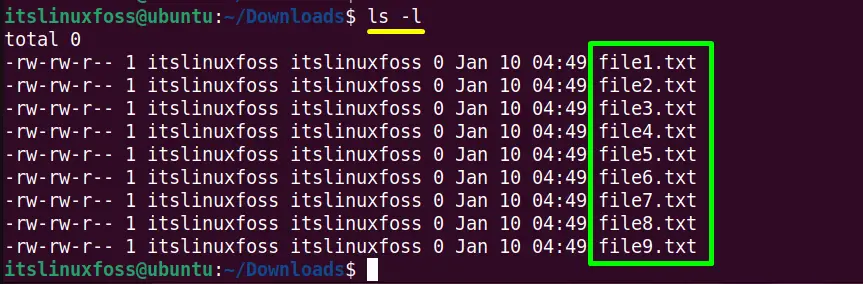
Example 3: Zip Multiple Files of a Directory
The “zip” command offers the “-r(recursive)” flag to zip multiple files available in the directory. Suppose in this example the “Downloads” directory contains nine files:
$ ls -l
To zip all these files available in the “Downloads” directory, execute the “zip” command followed by its “-r” flag as shown below:
$ zip -r Multiple.zip Downloads
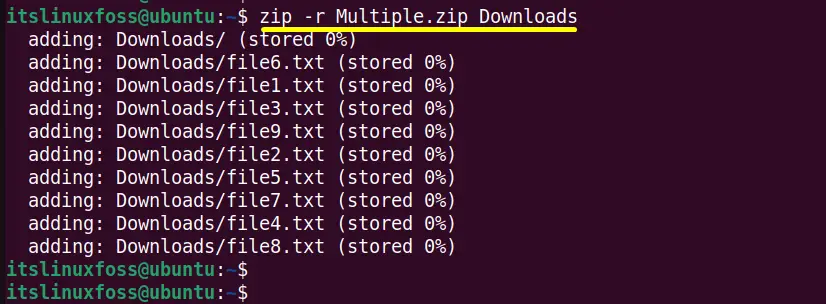
Here, all the files of the “Downloads” directory have been zipped into the “Multiple.zip” file.
Example 4: Show Zip File Content
To show the zip file content of any specified created zip file, type the following command with the zip file name:
$ zip -sf Multiple.zip
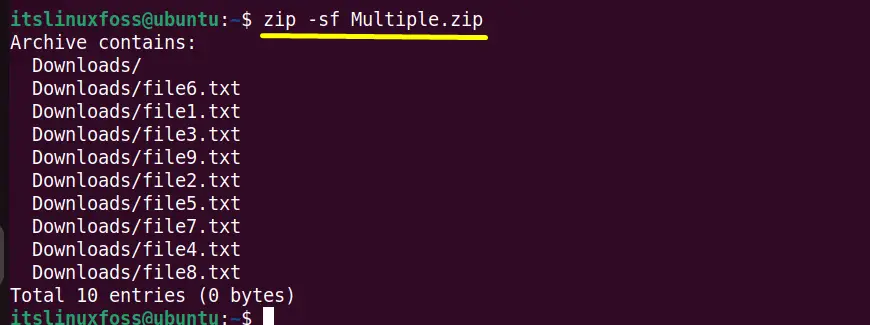
The output shows the “Multiple.zip” file content in the terminal.
Example 5: Remove Files From Zip Archive
Once the zip file is created, the user can easily delete it by utilizing the “-d” option ofthe “zip” command line tool. It will delete all the files available in the zip file.
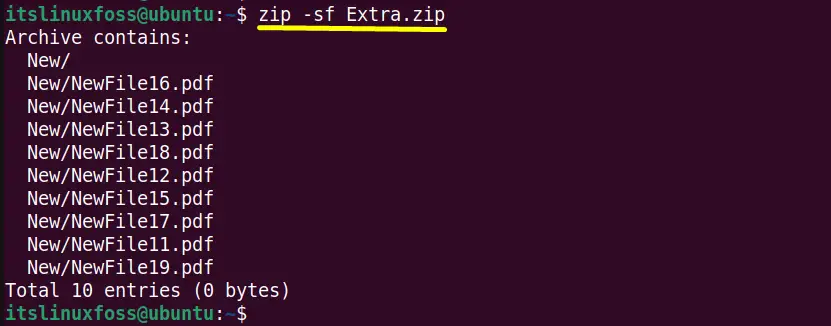
Suppose the “Extra.zip” file contains the following files:
$ zip -sf Extra.zip
To remove the files “NewFile16.pdf” and “NewFile14.pdf” from the “New” directory into the “Extra.zip” files, type the following command in the terminal:
$ zip -d Extra.zip New/NewFile16.pdf New/NewFile14.pdf

Hence the above files shown in the terminal have been deleted from the “Extra.zip” archive file.
How to Zip Files on Ubuntu via GUI?
The graphical user interface of Ubuntu also offers the “.zip” format to create zip files. To perform this task, follow the step-by-step instructions listed below:
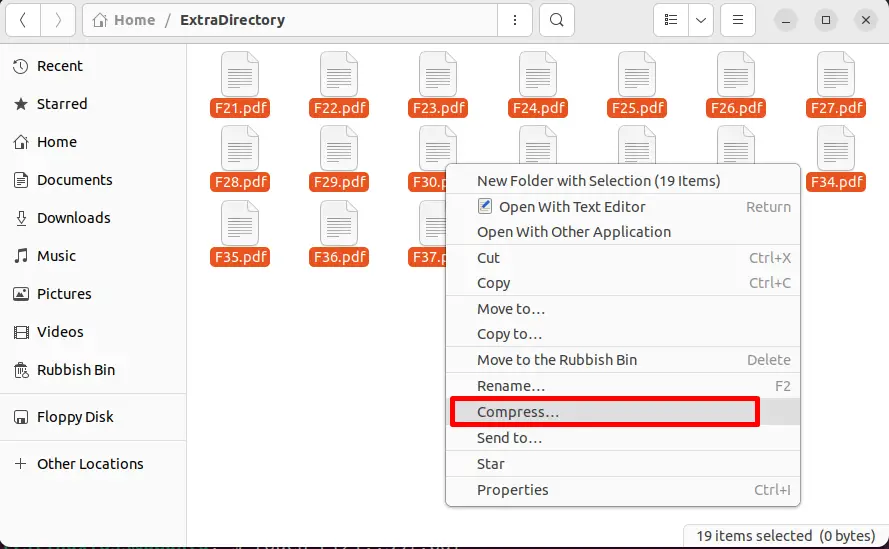
Step 1: Select the Files
The first step is to select the targeted files that the user wants to zip. In this case, all the required files are placed into the “Extradirectory”. Select the file with the help of a mouse or keyboard:

Step 2: Zip the Selected Files
Right-click on the selected files and press the “compress” option from the dropdown list:
It opens up the “Create Archive” pop-up window. On this window, type the zip archive name “New-Archive” into the “Archive name” text field. The next “extension” type is by default set to “.zip”:
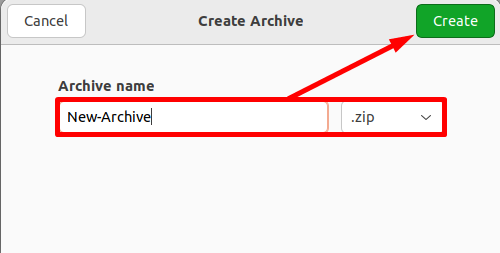
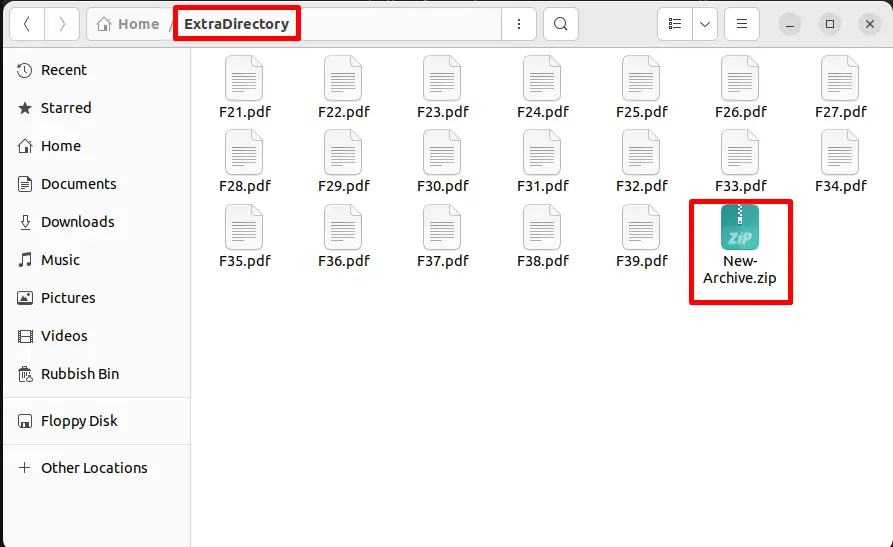
After that, hit the “Create” button and the “New-Archive.zip” file has been created into the current directory as shown in the below image:
Now, have a look at the procedure to “Unzip” the “zipped” files.
How to Unzip Files on Ubuntu?
The “Unzip” command line utility extracts, tests, and lists down the zipped files and directories. It allows the user to extract the zipped files/directory content into the current or particular directory. This method describes its working by using its supported options.
Syntax
The generalized syntax to unzip files on Ubuntu is typed here:
$ unzip zipfilename.zip
The above command line utility has the following contents:
- unzip: Denotes the main “unzip” command line tool
- zipfilename.zip: Targetedzip file that needs to be extracted.
Now move on to the various examples to unzip the files into the current directory or the specified directory.
Example 1: Unzip Files in the Current Directory
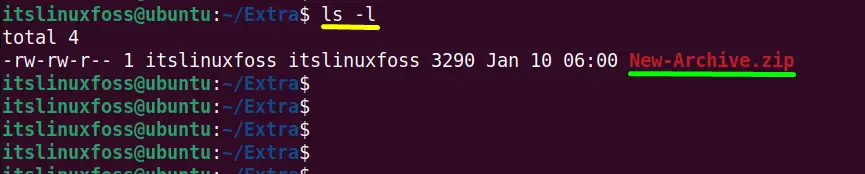
In this example, the “New-Archive.zip” zip file is available in the “Extra” directory as shown in the image:
$ ls -l
To unzip the “New-Archive.zip” zip archive file into the current directory type the “unzip” command with the zip archive name without passing any argument in this way:
$ unzip New-Archive.zip
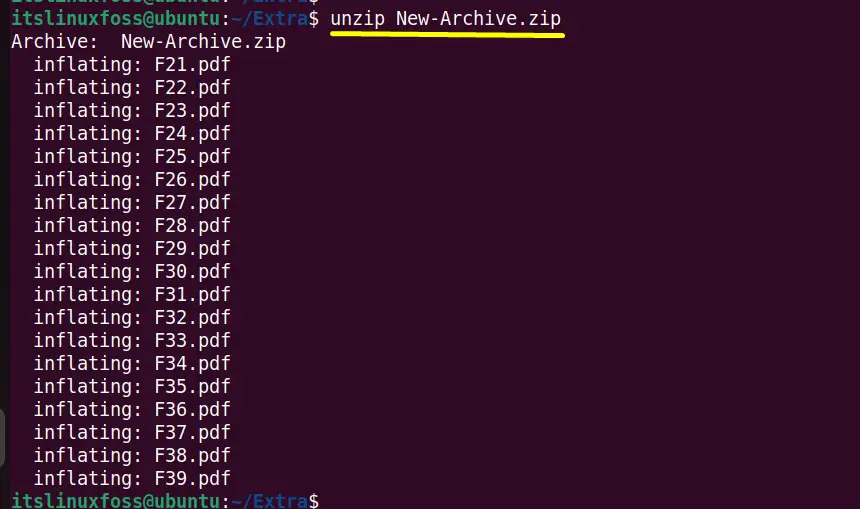
All the files of “New-Archive.zip” file have unzipped into the current working directory “Extra”.
Example 2: Unzip Files into a Particular Directory
The “unzip” command supports the “-d” option that unzips/extracts the zip archive file content into another directory.
In this example, to unzip the “New-archive.zip” into the “Documents” directory, execute the “unzip” command with the absolute path of the “Documents” directory:
$ unzip New-Archive.zip -d /home/itslinuxfoss/Documents
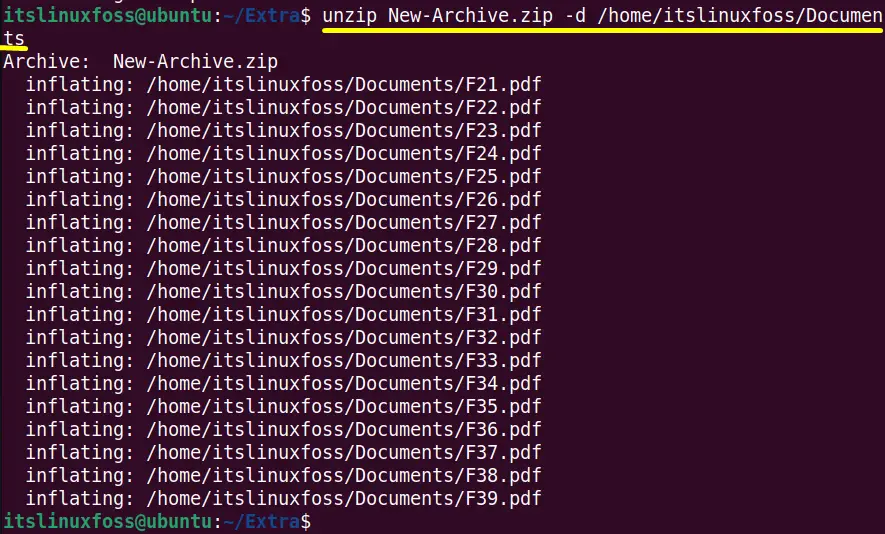
The “New-Archive.zip” has been completely unzipped/extracted into the “Documents” directory.
Example 3: Unzip All Files
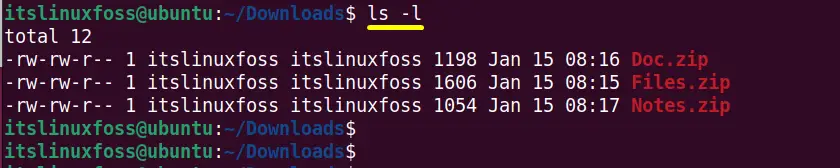
If the directory contains more than one zip file, then use the “unzip” command with the wild card “*(asterisk)” followed by the “.zip” extension. In this example, the “Downloads” directory contains 3 zipped files:
$ ls -l
Execute the “unzip” command to unzip the above three zipped files into the current working directory:
$ unzip “*.zip”
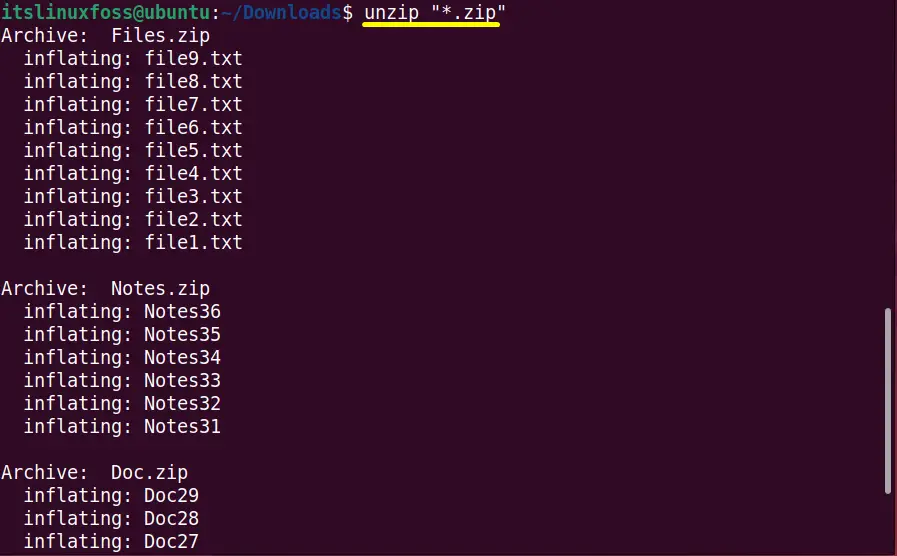
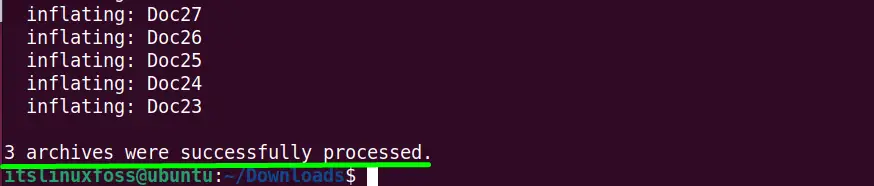
All the “zipped” files have successfully unzipped into the “Downloads” directory.
Example 4: Check the validity of the “Zip” File
The “-t” flag of the “unzip” command checks the validity of the “zip” file and i.e., whether there is an error or not. In this example, we checked the validity of the “Notes.zip” compressed files:
$ unzip -t Notes.zip
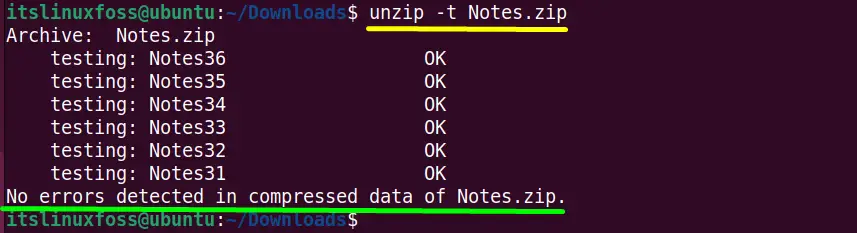
The output displays that there is no error in all the compressed files of the “Notes.zip” files.
How to Unzip Files on Ubuntu via GUI?
Same to the “zip” file format the user can easily and quickly unzip the files using the graphical user interface. It also facilitates the user to extract the zipped files into the current or specific location. To do so, some essential steps are carried out in this method:
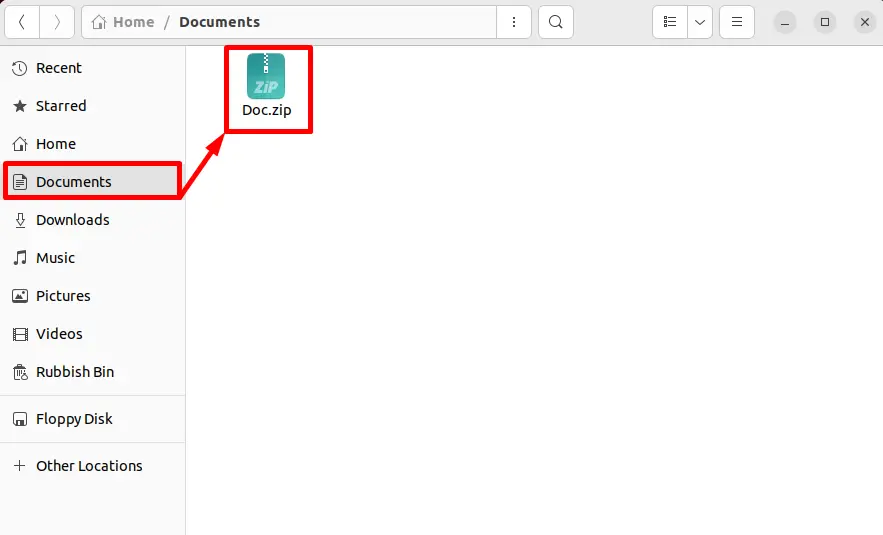
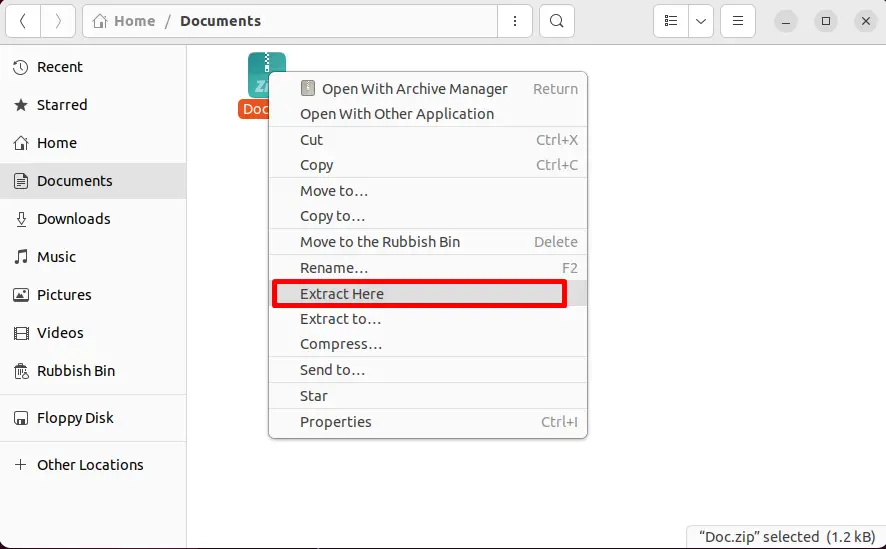
Step 1: Select the Zipped File
Firstly select the desired zipped files using the mouse or keyboard. In this step, the “Doc.zip” file is selected, located in the “Documents” directory:
Step 2: Extract the Selected File
Press the “Right-click” on the selected compressed file “Doc.zip”. It opens up a drop-down list having the “Extract to” and “Extract here” options. To extract the selected file into the current directory then, click on the “Extract Here” option otherwise, select the “Extract to” option to extract it into the other directory.
In this case, the “Extract Here” option is selected:
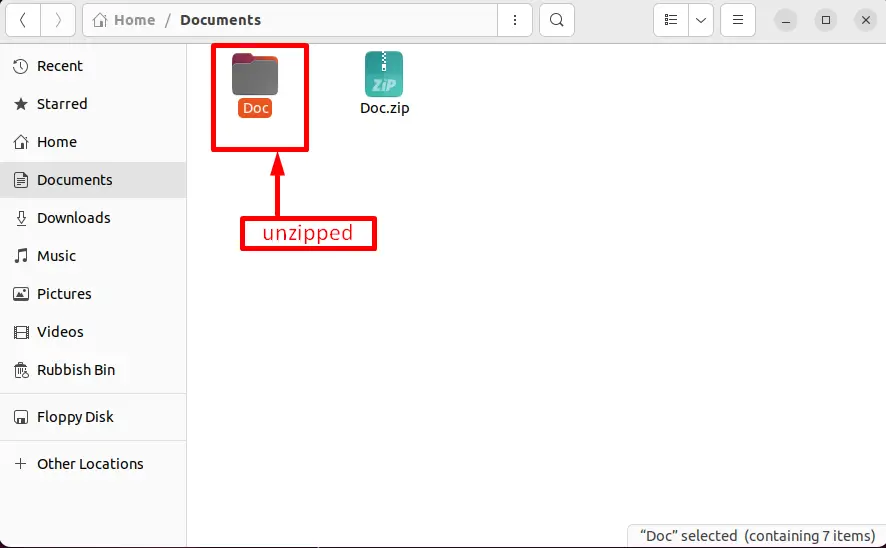
Step 3: Verify the Unzipped File
Once the option “Extract Here” is clicked, the “Doc.zip” compressed file has been extracted to the “Doc” directory into the present working directory:
Conclusion
On Ubuntu, the “zip” and “unzip” command line tool is utilized to zip and unzip files. These utilities are pre-installed on Ubuntu. Apart from the command line i.e terminal, the user can also perform this task by using the Graphical user interface. This guide has completely described both CLI and GUI methods to zip and unzip files on Ubuntu.
