
What is GCC?
GCC symbolizes GNU Compiler Collection. It is basically utilized to compile C language, Objective C, C++ language and Objective C++. GCC is considered as a core component of the GNU chain. GCC is used to compile most of the open-source projects such as GNU tools and Linux Kernel. The first version of GCC was only used for the compilation of C language scripts. Later on, it was extended for C++, Objective-C, FORTRAN, Ada, Objective-C++, Java, and also libraries for these languages. GCC commands also have different options that allow stopping the compilation process at any time. GCC sources are freely available on Git and weekly snapshots.
Components of GCC:
GNU toolchain is used to develop different operating systems and applications. Some of the components that help this toolchain to do so are given below:
- GNU Auto-tools
- GNU Make
- GNU Bison
- GNU Debugger
That’s the most comprehensive information you should know before Installing and using ‘GCC’. Now let’s move on to its Installation process on Ubuntu 20.04.
Note: To follow the installation, make sure that you are a ‘superuser’ or ‘root’ as the superuser provides unrestricted access to all the commands, files, resources, and directories.
Install GCC on Ubuntu 20.04
Step 1: First of all, Open up the terminal by searching it manually in activities, or you can also press ‘CTRL+ALT+T’ to view the terminal window.

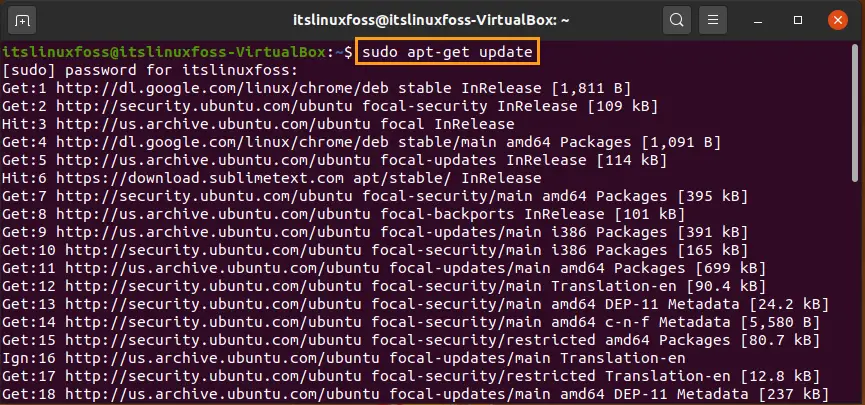
Step 2: Now update the package lists.
$ sudo apt update
Enter your password to allow the process for packages updates.

Now install these development tool packages.
$ sudo apt install build-essential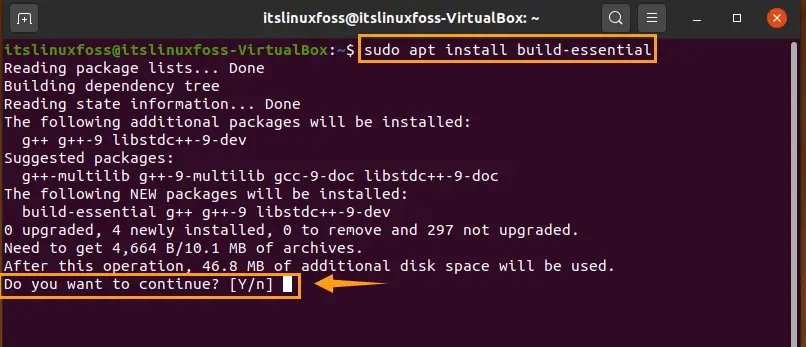
Enter ‘y’ to continue.
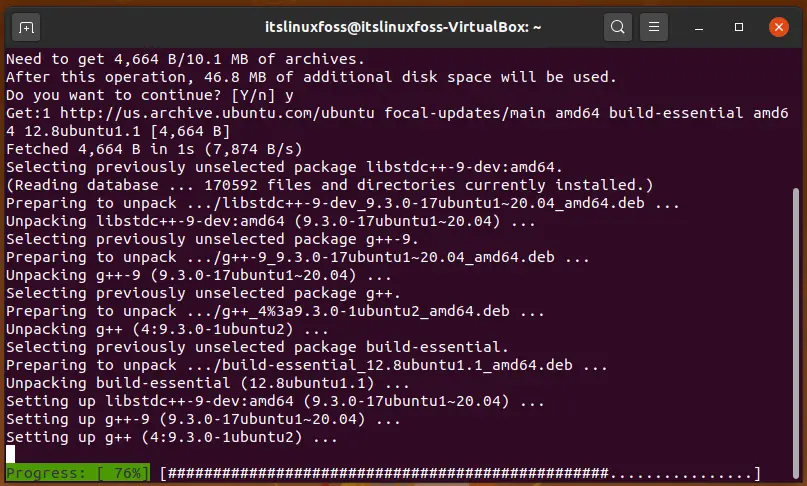
As the progress bar reaches 100%, it means that now you GCC installed on your Ubuntu 20.04.
Step 3: Execute the command given below for the confirmation.
$ gcc --version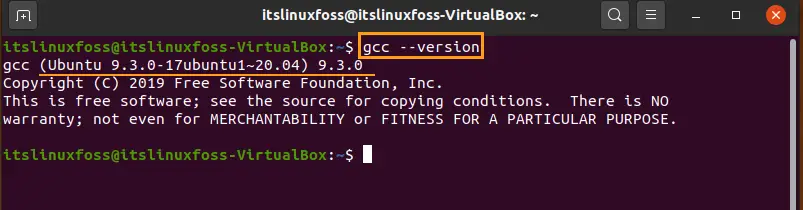
Compiling a C program:
Here is an example of a C program that is going to be compiled by the GCC. Move forward toward it for a better understanding of GCC.
Type the following command to switch to a command-line editor for creating a ‘helloworld.c’ file.
$ nano helloworld.c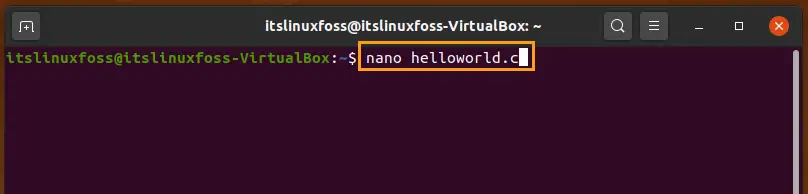
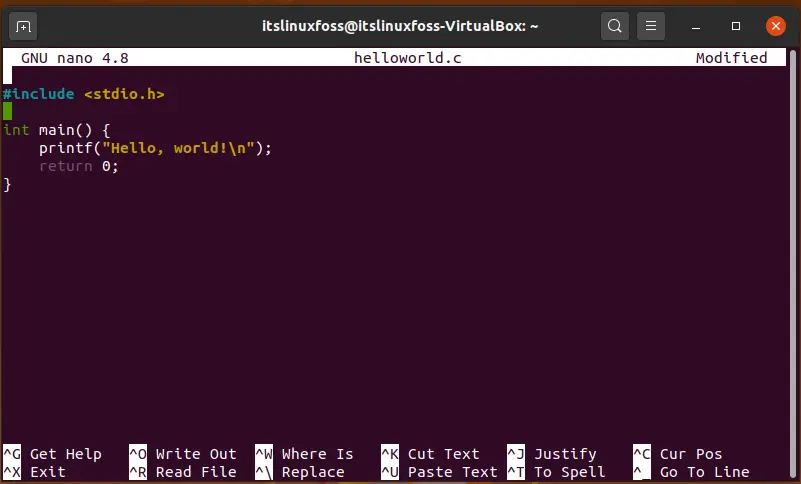
Add the following script in the file. The output of this script should print ‘Hello World’ on the terminal.
#include <stdio.h>

int main() {
    printf("Hello, world!\n");
    return 0;
}
Press ‘CTRL+O’ to write these lines in ‘helloworld.c’ file.
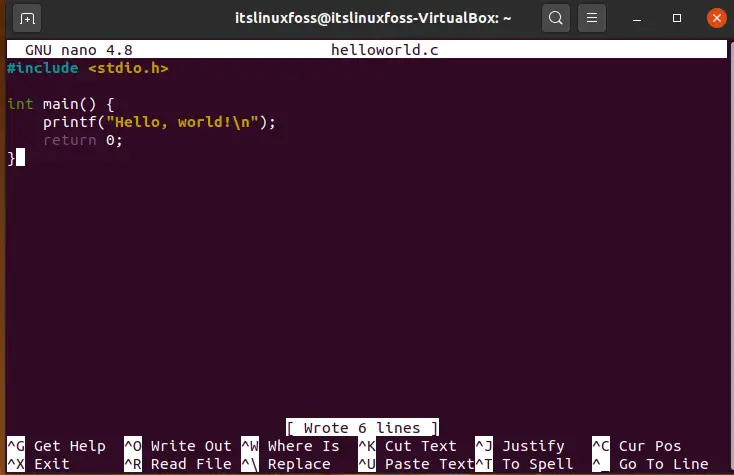
Save this ‘hello world.c’ file and press ‘CTRL+X’ to move back to the terminal window. Now we have to convert the file into an executable format for its compilation.
$ gcc helloworld.c -o helloworld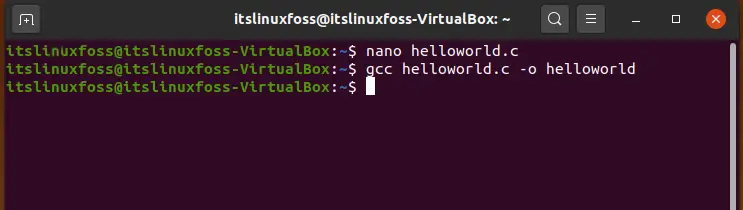
Execute the file by writing-out the given command.
$ ./helloworld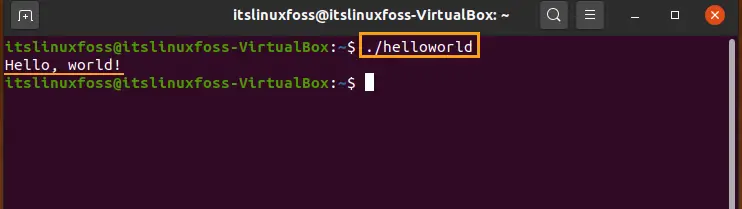
The output shows that the GCC compiled the file successively.
Conclusion:
In the first section of the article, we have discussed what is GCC, and its components. Next, we have shown you the step by step method of GCC installation on Ubuntu 20.04. In the end, we compiled a C file to give you an idea about the GCC compilation process.

Saryia is a technology entrepreneur and digital publisher specializing in Linux, open-source technologies, and developer education.