
Many of the world’s biggest enterprises use Nagios open-source monitoring tool. It is utilized to examine routers and switches and monitor network issues that data may bring on link overload or connectivity. Nagios makes server monitoring simple, allowing you to quickly detect the application, services, or problem and respond back to minimize application downtime for users.
This blog will demonstrate the procedure for Nagios installation on Ubuntu 22.04.
Nagios Installation on Ubuntu 22.04
For the Nagios installation on Ubuntu 22.04, follow the provided steps.
Step 1: Update system packages
Firstly, update system packages by pressing “CTRL+ALT+T” and running the following command:
$ sudo apt update && sudo apt upgrade -y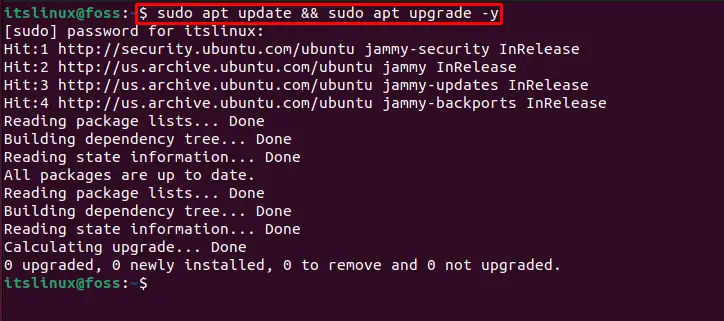
Let’s move ahead.
Step 2: Install required dependencies
Install the additional dependencies required to install and use Nagios such as “openssl”, “libssl-dev”, “php”, and others mentioned in the below command:
$ sudo apt install wget unzip curl openssl build-essential libgd-dev libssl-dev libapache2-mod-php php-gd php apache2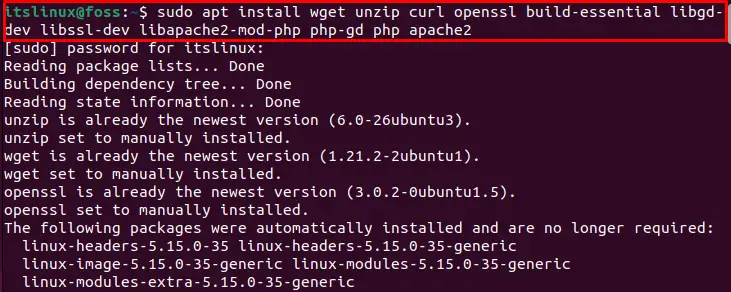
As we have successfully installed the required dependencies, let’s move ahead to download the Nagios setup file.
Step 3: Download Nagios setup file
Download the Nagios setup file from the official site using the “wget” command on the terminal:
$ wget https://assets.nagios.com/downloads/nagioscore/releases/nagios-4.4.6.tar.gz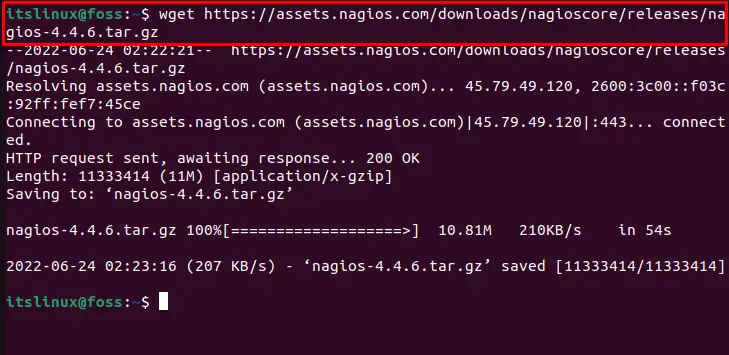
Step 4: Unzip the setup file
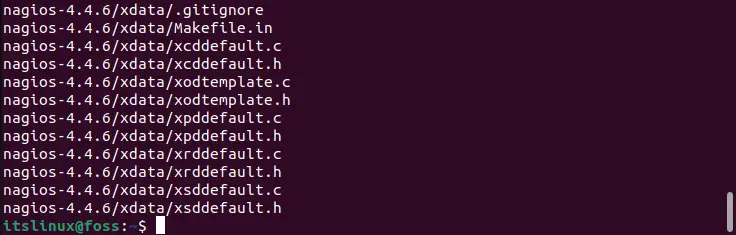
Extract the zip setup file of Nagios for installation:
$ sudo tar -zxvf nagios-4.4.6.tar.gz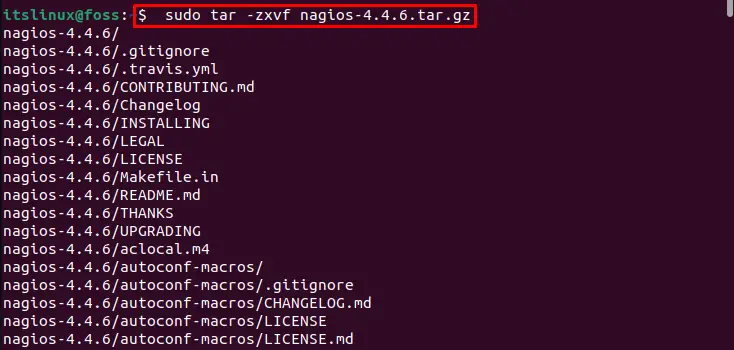
After unzipping the file, move to the Nagios folder:
$ cd nagios-4.4.6
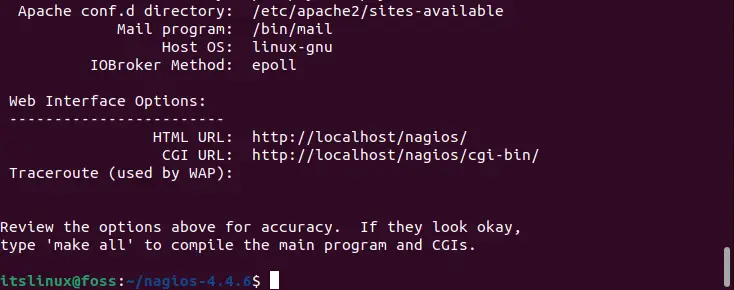
Step 5: Execute configure script
Now execute the “./configure” script on terminal:
$ sudo ./configure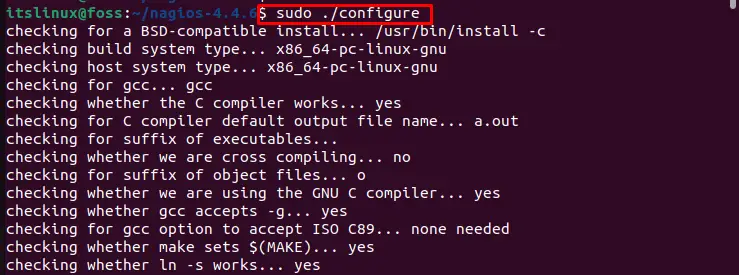
Process the source code file using the “make” utility:
$ sudo make all
Step 6: Create user
Create the Nagios group and user before installing and using Nagios:
$ sudo make install-groups-users
Let’s move to add the group with the name “nagios” in Apache via the below-mentioned command:
$ sudo usermod -a -G nagios www-data
Move to the next step for installation of Nagios.
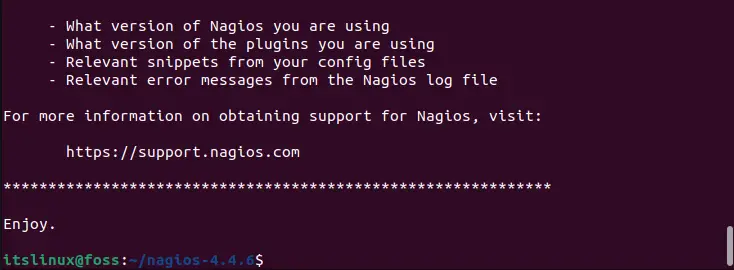
Step 7: Installing Nagios
Finally, install Nagios by utilizing the “make” utility through the following command:
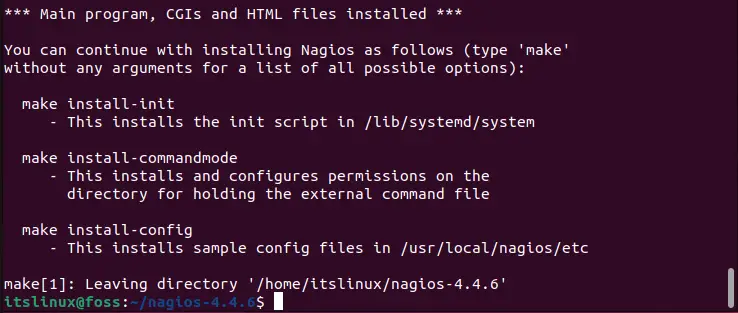
$ sudo make install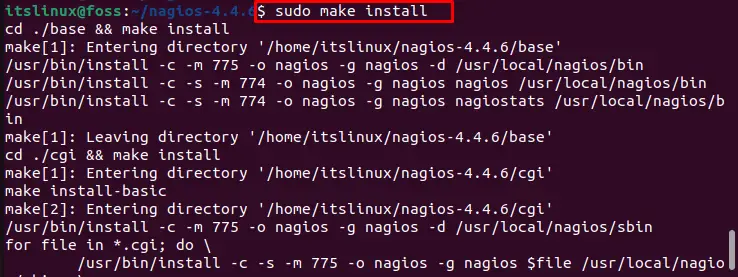
Next, install the external command file with the help of the provided command:
$ sudo make install-commandmode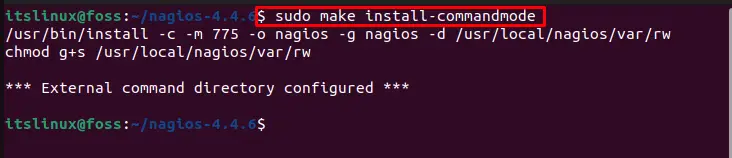
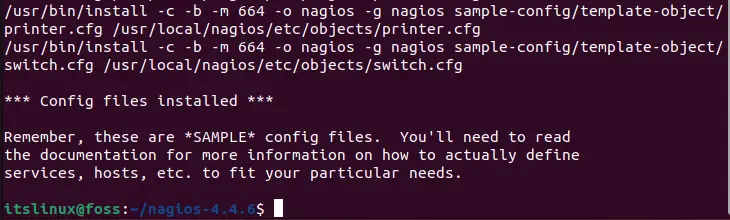
Step 8: Install configurations
Now install the Nagios startup configuration file through the following command:
$ sudo make install-config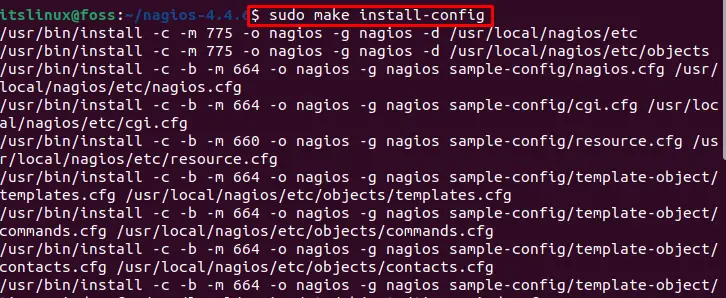
Step 9: Installing configuration file for Apache
After installing the Nagios configuration file, install the Apache configuration file:
$ sudo make install-webconf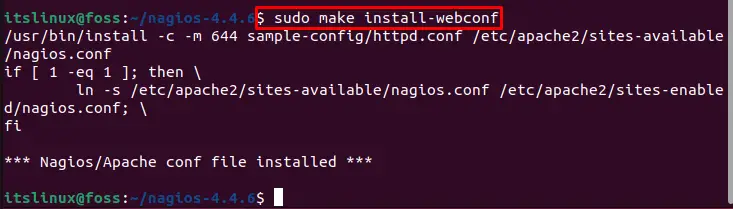
Now permit the “rewrite” module by enabling it using the “a2enmod” command:
$ sudo a2enmod rewrite
Then, enable Apache “cgi” module:
$ sudo a2enmod cgi
Step 10: Setup Firewall
Setup Firewall to allow Apache connection as shown below:
$ sudo ufw allow apache
Use the below-listed command to enable the Firewall:
$ sudo ufw enable
Then, in order to reload the Firewall using the provided command:
$ sudo ufw reload
Utilize the below command to restart the services of Apache:
$ sudo systemctl restart apache2
Step 11: Create new user on Nagios
In order to use Nagios, it is required to create a new Nagios user and password. To do so, use the below-given command:
$ sudo htpasswd -c /usr/local/nagios/etc/htpasswd.users itslinuxfoss
Step 12: Install Nagios plugin
Let’s install the Nagios plugin to run Nagios smoothly for web usage. For this purpose, download the setup file of the Nagios plugin via the following command:
$ sudo wget https://nagios-plugins.org/download/nagios-plugins-2.3.3.tar.gz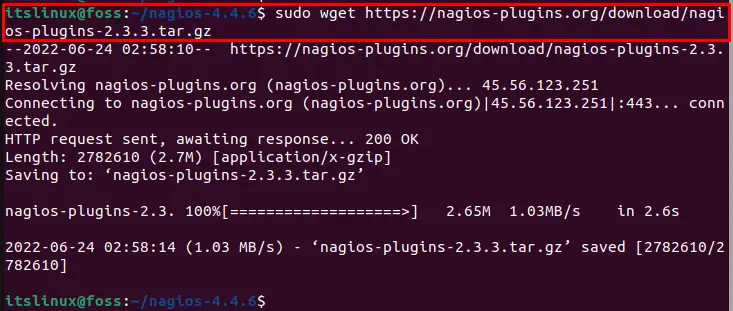
Unzip the Nagios plugin setup file to install it:
$ sudo tar -zxvf nagios-plugins-2.3.3.tar.gz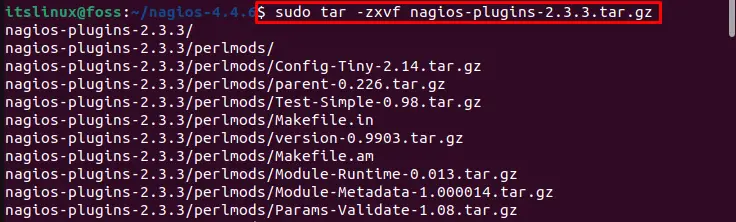
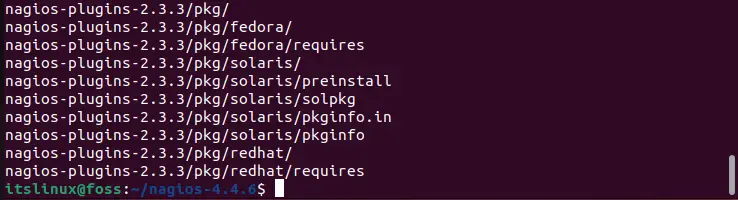
Above given output verifies that the plugin of Nagios is successfully extracted.
Open the folder named as “nagios-plugins-2.3.3” using “cd” command:
$ cd nagios-plugins-2.3.3
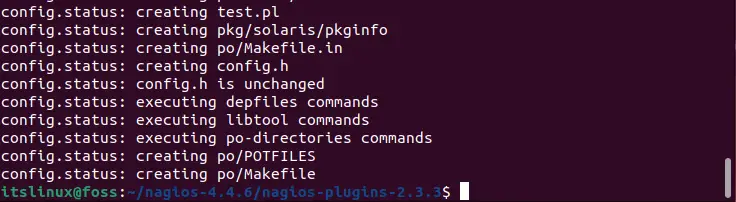
Now run the “./configure” script to configure Nagios Plugin as mentioned in the below command:
$ sudo ./configure --with-nagios-user=nagios --with-nagios-group=nagios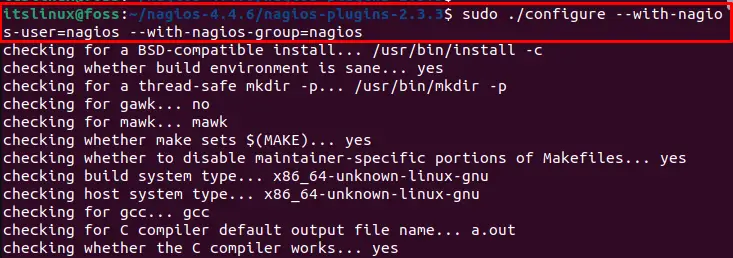
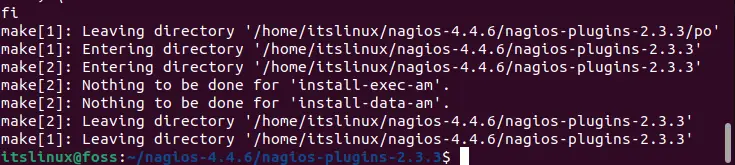
Lastly run the installation for Nagios plugin:
$ sudo make install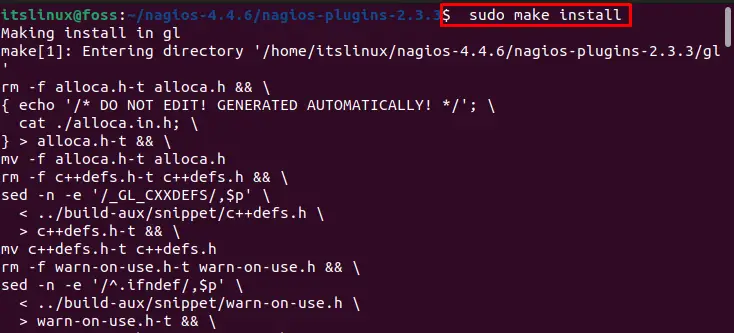
How to use Nagios on Ubuntu 22.04
Let’s verify the Nagios installation by checking its version on the command line:
$ sudo /usr/local/nagios/bin/nagios -v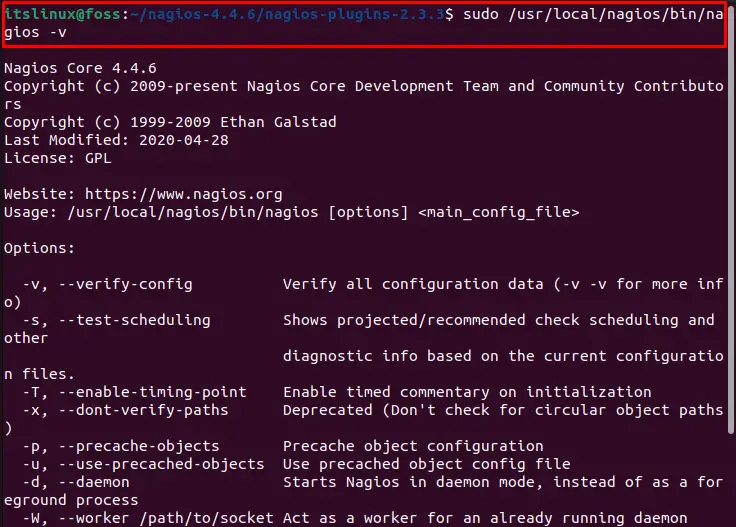

As you can see from the given output, Nagios is working efficiently. Let’s move ahead to remove it from Ubuntu 22.04.
How to remove Nagios from Ubuntu 22.04
To remove Nagios from Ubuntu 22.04, go through the below-given command:
$ sudo rm -r /usr/local/nagios/bin/nagios
Conclusion
To install Nagios on Ubuntu 22.04, first it is required to install required dependencies, then using “wget” command along with the path to download Nagios setup zip file, extract and execute it using “$ sudo make install” command. After installation, enable Firewall and allow Apache services. To run Nagios smoothly on the web, download and install the Nagios plugin setup file. This post described the step-by-step procedure to install, use, and remove Nagios from Ubuntu 22.04.

Saryia is a technology entrepreneur and digital publisher specializing in Linux, open-source technologies, and developer education.