
MySQL is the fastest, free, open-source relational database that manages, preserves, and manipulates data using SQL queries. Using stand-alone clients for MySQL, users can communicate with the MySQL database directly with the help of the Structured Query language. MySQL Cluster support also enables you to overcome the database issues of the newest web, cloud, and communications applications.
In this writeup, we will provide the method to install, set up, and use MySQL on Ubuntu 22.04.
Installing MySQL on Ubuntu 22.04
To install MySQL on Ubuntu 22.04, follow up on the below-mentioned steps.
Step 1: Update system packages
First update the system package. To do so, open the terminal using “CTRL+ALT+T” and run the given command:
$ sudo apt update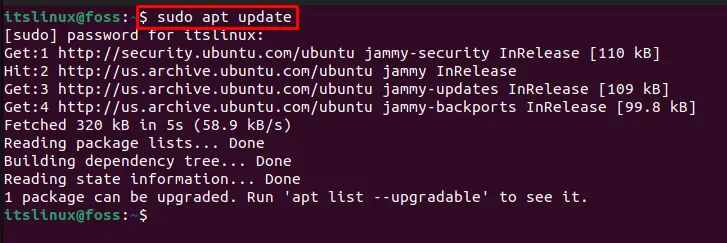
Move on to the next step for MySQL installation.
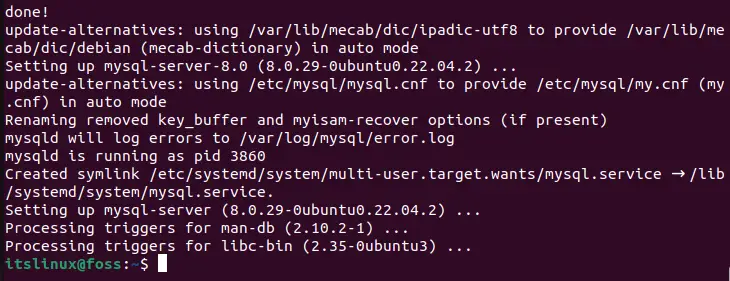
Step 2: MySQL server installation
In the next step, start MySQL installation on Ubuntu 22.04 using the provided command:
$ sudo apt install mysql-server -y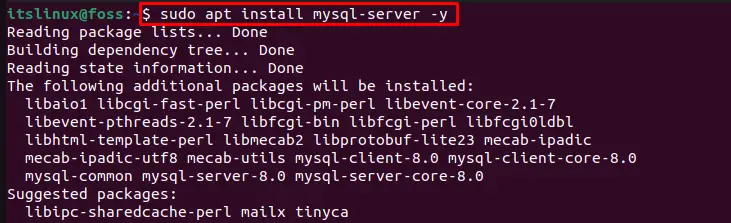
Step 3: Activate MySQL service
Activate the MySQL services on Ubuntu 22.04:
$ systemctl is-active mysql
Let’s move ahead and set up the MySQL database on Ubuntu 22.04.
Setting up MySQL on Ubuntu 22.04
To set up the MySQL database on Ubuntu 22.04, follow up on the below-mentioned steps.
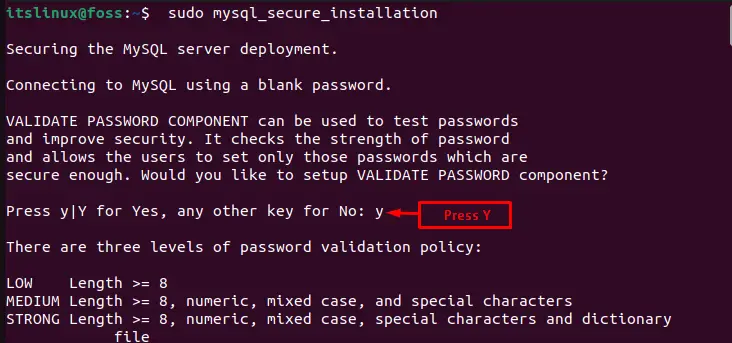
Step 1: MySQL basic configuration
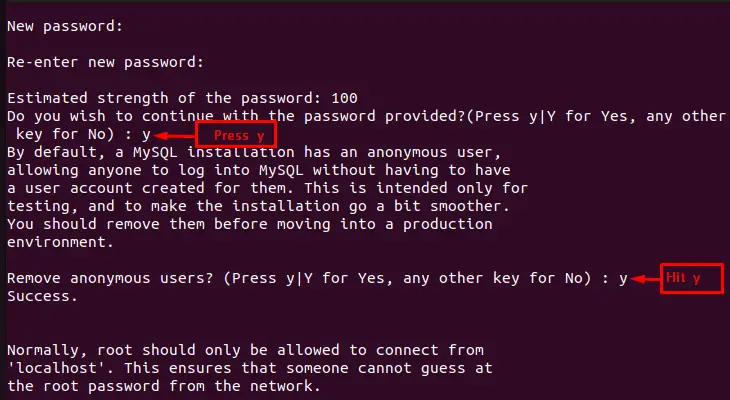
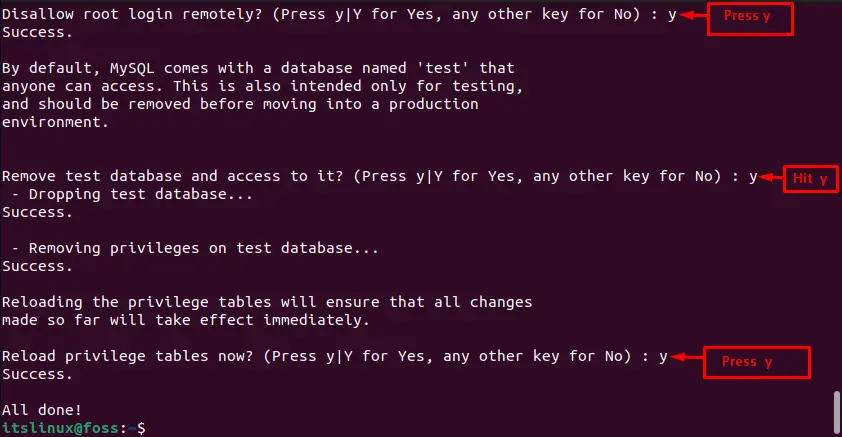
To configure MySQL in a secure environment, write out the given “mysql_secure_installation” command and follow the highlighted steps to answer the asked information:
$ sudo mysql_secure_installationThen, set the following options:
- Password for root user
- Removing anonymous users
- Logging in remotely
- Test database and its access
- Reloading privileges
Step 2: Check MySQL service status
Check the MySQL service status:
$ systemctl status mysql.service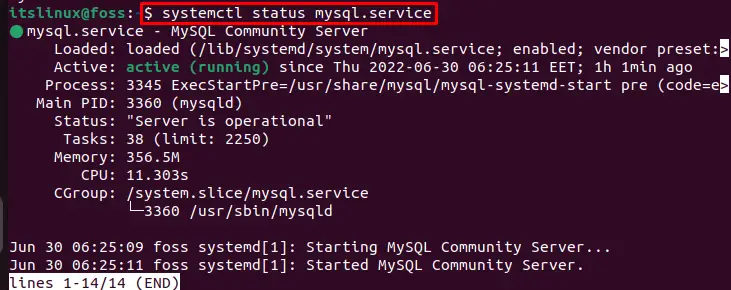
As you can see, we have successfully installed and set up the MySQL database on Ubuntu 22.04.
Using MySQL on Ubuntu 22.04
On Ubuntu 22.04, to use MySQL, follow the below-listed steps.
Step 1: Log in to MySQL
First execute the below-provided command to log in to the “root” user and provide that password you have set during MySQL configuration:
$ sudo mysql -u root -p 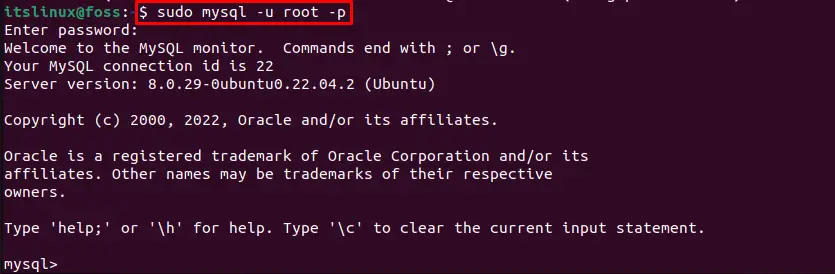
Let’s move ahead toward the next step.
Step 2: Set new password
Change the “root” password to a new password using the “ALTER USER” command. For instance, we have set “Password@098!”:
> ALTER USER 'root'@'localhost'IDENTIFIED WITH mysql_native_password BY 'Password@098!';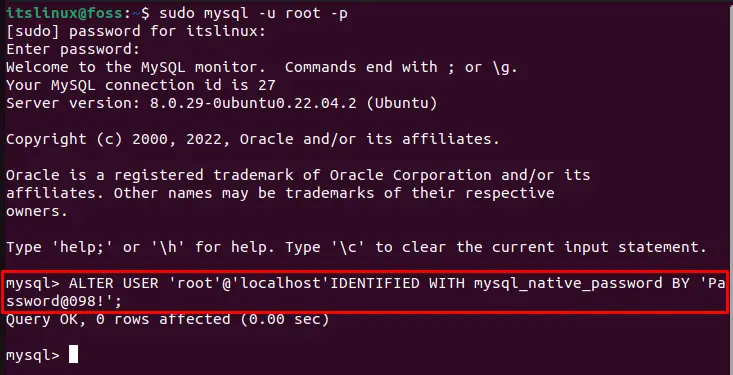
Step 3: Save MySQL Database settings
Run “FLUSH PRIVILEGES;” command to save new settings and “QUIT;” to exit MySQL terminal:
> FLUSH PRIVILEGES;
> QUIT;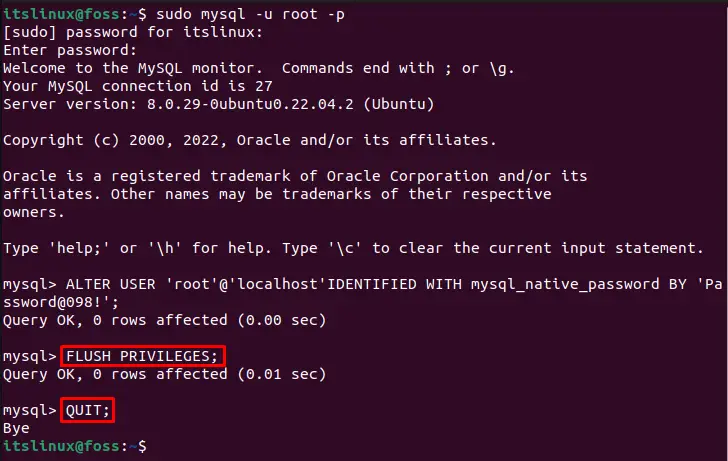
Let’s move ahead toward the uninstallation of the MySQL database.
Removing MySQL from Ubuntu 22.04
To remove the MySQL database from Ubuntu 22.04, first stop the MySQL services:
$ sudo systemctl stop mysql
After stopping MySQL services, type the below-provided command:
$ sudo apt-get purge mysql-server mysql-client mysql-common mysql-server-core-* mysql-client-core-*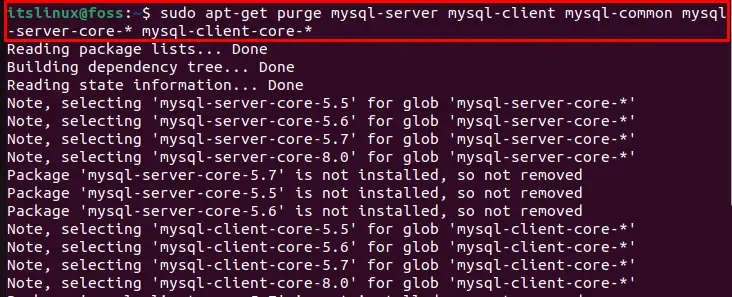
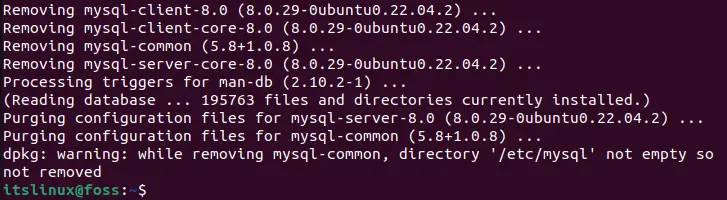
In order to completely remove the MySQL directory, utilize the following command:
$ sudo rm -rf /etc/mysql /var/lib/mysql
We have compiled all the necessary steps to install, use, and remove MySQL on Ubuntu 22.04.
Conclusion
On Ubuntu 22.04, to install the MySQL database, first update the system packages. Then, run the “$ sudo apt install mysql-server -y” command for installing the MySQL server. For the basic configuration of the MySQL database, execute the MySQL security script and make a secure MySQL database. After doing so, create users and tables, and set their privileges. In this write-up, we have effectively elaborated on how to install, set up, use, and remove the MySQL database on Ubuntu 22.04.

Saryia is a technology entrepreneur and digital publisher specializing in Linux, open-source technologies, and developer education.