
Zsh, or the Z Shell, is renowned for its improvements over the Bourne Shell (bash), including features such as plugin and theme support. Installing Zsh on Ubuntu 24.04 makes the command line easier to use and more visually appealing. It empowers you with intelligent auto-completion, extensive customization options, and plugin support to streamline your workflow.
If you’re looking to install and configure Zsh on the Ubuntu 24.04 system, this article will explain the step-by-step process based on supported content:
- How to Install Zsh on Ubuntu 24.04?
- How to Configure Zsh on Ubuntu 24.04?
- Install and Configure Oh My Zsh on Ubuntu 24.04
- Uninstall Zsh on Ubuntu 24.04
- Conclusion
How to Install Zsh on Ubuntu 24.04?
Zsh offers a wider range of customization utilities with the comparison of the (default) Bash shell. Installing Zsh from the default repository is the simplest way to maintain the software.
Let’s install Zsh on Ubuntu 24.04:
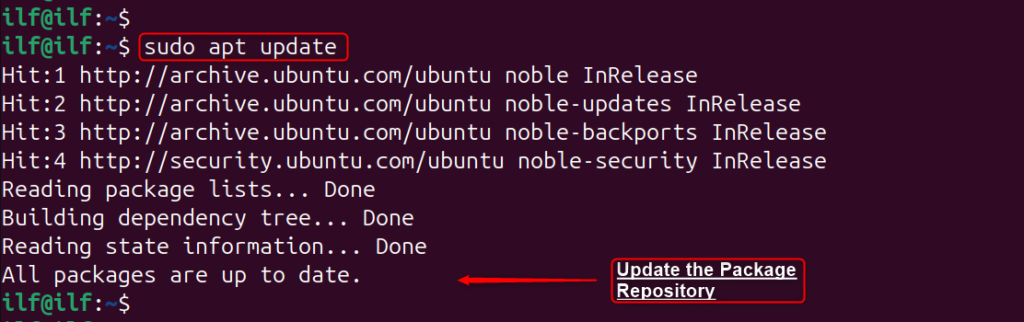
Step 1: Update the Package Repository
Before installing any new tool, it’s a better approach to update the system’s package repository. Users make sure that they have access to the most recent versions of the software available:
sudo apt update
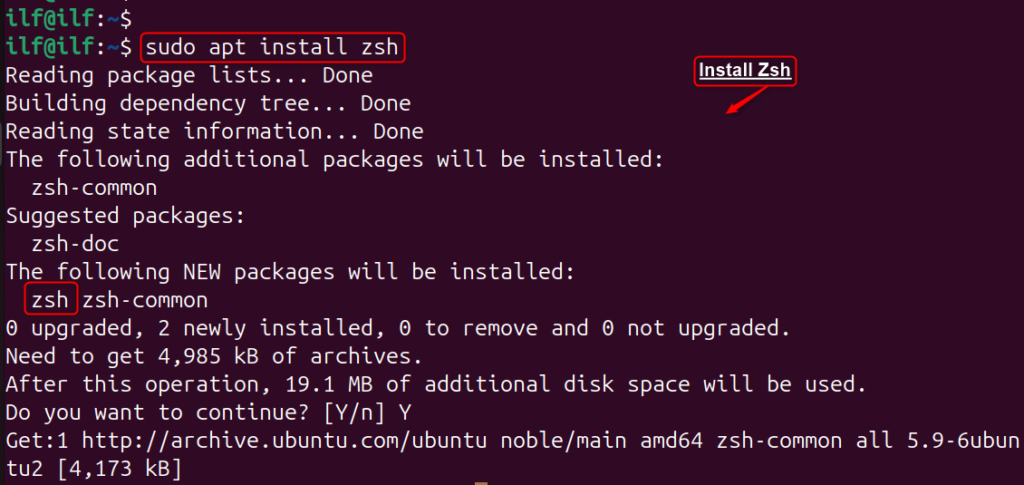
Step 2: Install Zsh
With your package repository updated, you can now install Zsh using the following command:
sudo apt install zsh
Step 3: Verify the Installation
After the installation is complete, you can verify that Zsh has been installed correctly by checking its version:
zsh --version
The version of zsh 5.9 has been installed on Ubuntu 24.04.
How to Configure Zsh on Ubuntu 24.04?
After installation, you can configure Zsh further by setting it as your “default shell” and exploring customization options like “Oh My Zsh” for themes and plugins.
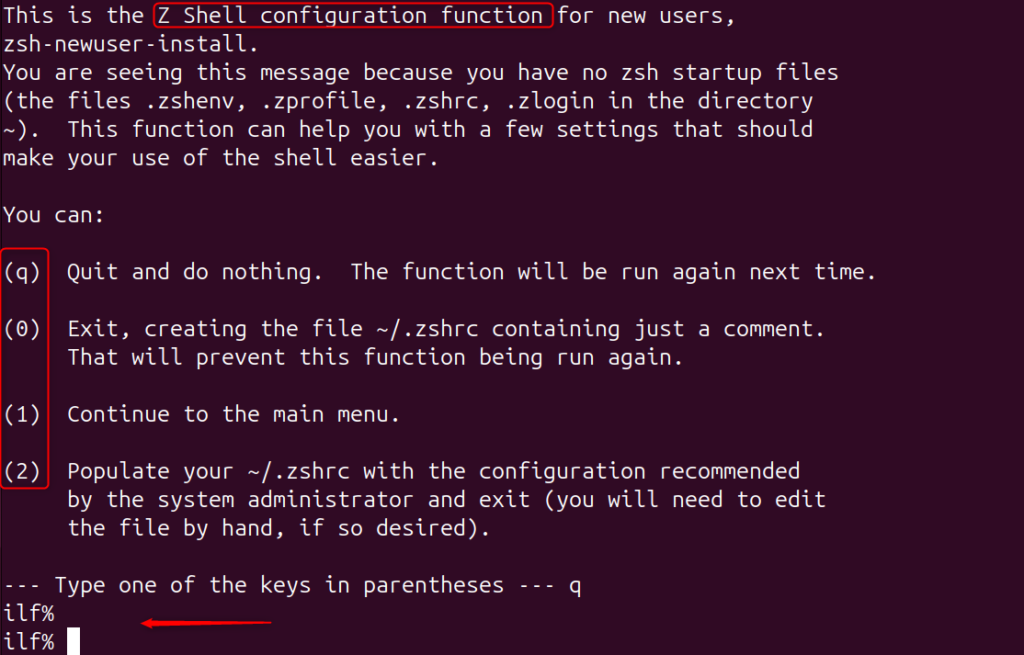
Step 1: Access the Zsh
First, access the shell interface on Ubuntu 24.04 by executing zsh on the terminal:
zsh
Users can also check the current shell by executing the echo command by mentioning the “$SHELL”:
echo $SHELL

Step 2: Customize Color
Users can customize the zsh command shell by colors and many more. To do so, access the Zsh configuration file named “.zshrc” using the nano editor:
sudo nano ~/.zshrc
It opens the configuration file in the editor. In our case, add two foreground colors “white” and “yellow” in regular expression:
PROMPT="%F{white}%n@%m %F{yellow}%~ %# %f"
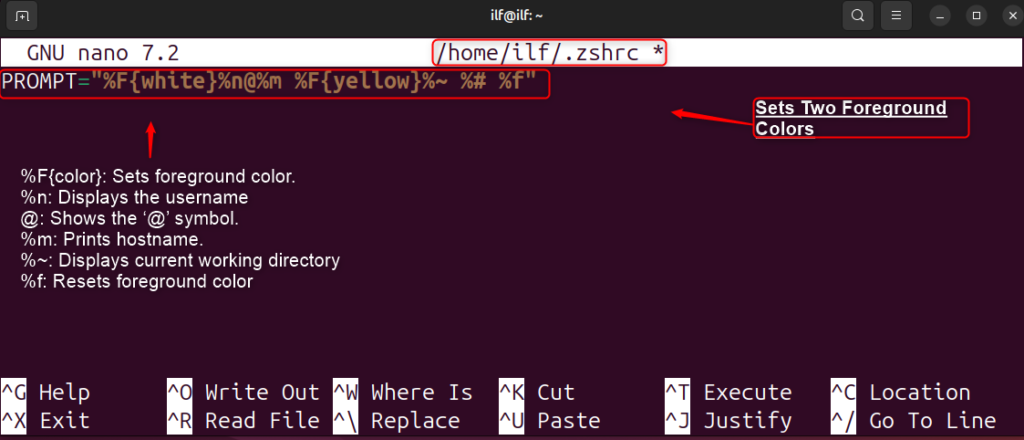
Save and exit the configuration file.
Step 3: Reload Zsh and Verification
Finally, reload the Zsh configuration file for making changes and verify the changes in the below terminal:
source ~/.zshrc

Additionally, users can utilize the “exit” command to exit the Zsh shell:
exit

(Optional): Set Zsh as the Default Shell
To utilize the full benefits of Zsh, you may want to set it as your default shell. To do so, use the “chsh” command with the “s” utility by mentioning the PATH. This prompts you for your password and set Zsh as your default shell for future logins:
chsh -s $(which zsh)chsh -s /usr/bin/zsh

Note: If users want to explore more customization options, they can follow the official guide.
Install and Configure Oh My Zsh on Ubuntu 24.04
The “Oh My Zsh” is a popular framework for managing Zsh configuration. It comes with a multitude of plugins as well as themes that users can utilize to customize the terminal experience.
Prerequisite:
First, users need to install dependencies including “git”, and “font” with the “apt” command:
sudo apt install git fonts-font-awesome
Step 1: Install Oh My Zsh
To install Oh My Zsh on Ubuntu 24.04, run the script file that is available in the GitHub repository with the “sh” command:
sh -c "$(wget -O- https://raw.github.com/ohmyzsh/ohmyzsh/master/tools/install.sh)"
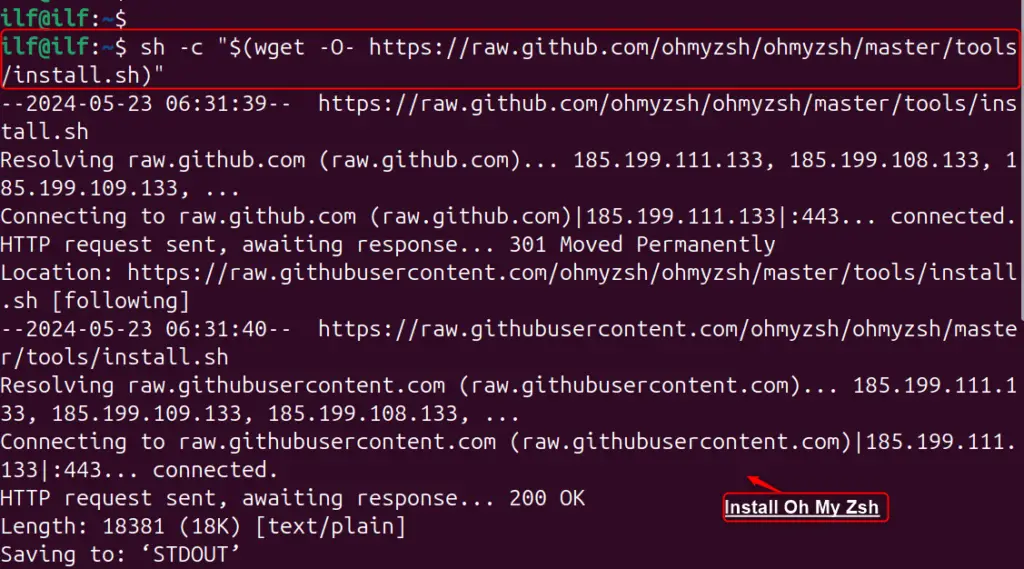
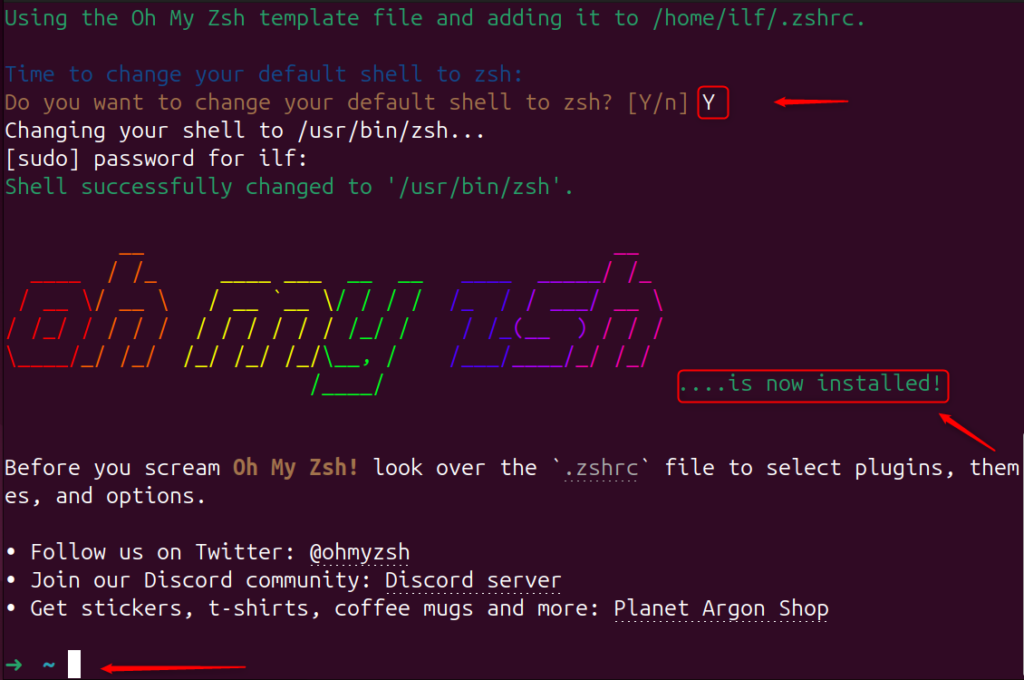
This script installs Oh My Zsh and prompts you to make Zsh your default shell if you haven’t already done so. After that, hit the “Y” keyword to complete the installation:
Step 2: Customize Zsh Environment
With Oh My Zsh installed, you can now customize your shell environment. You can add plugins like “zsh-autosuggestions” for command suggestions based on your history, and themes like “Powerlevel10k” to change the visual appearance of your terminal.
To add one or more plugins, users need to clone the repository and add the plugin to the .zshrc file:
For Auto-Suggestion
To add the auto-suggestion plugin, clone the repository and add the plugin to the .zshrc file:
git clone https://github.com/zsh-users/zsh-autosuggestions ${ZSH_CUSTOM:-~/.oh-my-zsh/custom}/plugins/zsh-autosuggestions
For Syntax Highlighting
If users are interested in adding the auto-suggestion plugin, they can clone the repository and add the plugin to the .zshrc configuration file:
git clone https://github.com/zsh-users/zsh-syntax-highlighting.git ${ZSH_CUSTOM:-~/.oh-my-zsh/custom}/plugins/zsh-syntax-highlighting

Then, add “zsh-autosuggestions” to the list of plugins in the .zshrc file.

Save and exit the configuration file.
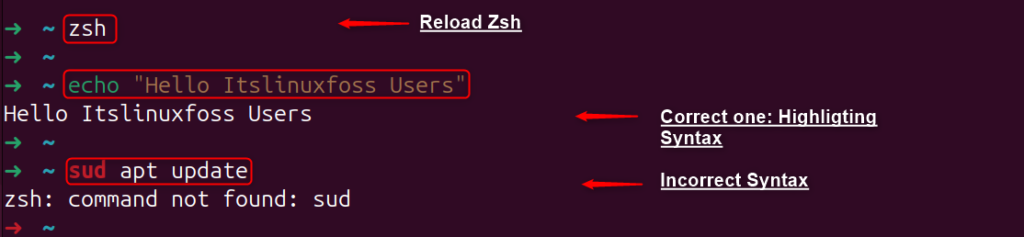
Step 3: Reload Zsh and Verification
Finally, reload the Zsh configuration file for applying changes and verify it in the below terminal:
zsh
Note: To explore more customization options and themes, users can navigate to the official guide.
Finally, you have a fully functional Zsh environment on the Ubuntu 24.04 system.
Uninstall Zsh on Ubuntu 24.04
To remove the Zsh from the Ubuntu system, the user can utilize the “apt” command with the “remove” utility:
sudo apt remove zsh    # Remove Zsh
sudo apt --purge remove zsh    # Remove Zsh along with Dependencies
Optional: Uninstall Oh My Zsh
To uninstall Oh My Zsh on Ubuntu 24.04, run the “uninstall_oh_my_zsh” command in the Zsh shell. It removes the Oh My Zsh and reverts the previous bash or zsh configuration.
sh ~/.oh-my-zsh/tools/uninstall.sh
uninstall_oh_my_zsh
That is all from the installation and configuration of Zsh on Ubuntu 24.04.
Conclusion
To install Zsh on Ubuntu 24.04, update the system repository, and install Zsh along with its dependencies using the “sudo apt install zsh” command in the terminal. To configure Zsh on Ubuntu 24.04, install Zsh and prerequisites, and start Zsh by typing “zsh” in the terminal. It prompts you to configure the .zshrc file,
Alternatively, users can install Oh My Zsh on Ubuntu 20.04 by installing Zsh. Next, download and run the Oh My Zsh installation script, set up Oh My Zsh, and create a default configuration file. It is recommended to install Oh My Zsh for easiness which is done by running only one single script file.

Check our LinkedIn company page