Drupal, written in PHP, is free software that lets you manage your websites without needing to pay for it or be a coding expert. Its user-friendly interface provides many ways to customize your web pages exactly how you want them. Drupal is trusted by many users worldwide. It is an excellent choice for individuals and organizations who want to build and maintain an online presence.
This article covers Drupal installation using the LAMP system on Ubuntu 24.04.
Table of Contents:
- How to Install Drupal on Ubuntu 24.04
- System Preparation
- Installing Apache Web Server
- Setting Up PHP and Required Components
- Installing MariaDB Database Server
- Creating Drupal Credentials by Setting Up the Database and User
- Download and Install the Drupal Core Files
- Creating Apache Virtual Host File
- Finishing the Installation Process
- Conclusion
1. How to Install Drupal on Ubuntu 24.04
To install Drupal on Ubuntu 24.04, install the Apache and PHP in Ubuntu 24.04. MariaDB database server is also needed for Drupal installation. Once these prerequisites are installed, you must create a database and user for Drupal.
After that, download the Drupal core files and place them in the document’s root. Lastly, configure the Apache virtual host and complete the Drupal installation using its web page.
Let’s check out all these Drupal installation steps in detail.
2. System Preparation
Before proceeding with the Drupal installation on Ubuntu 24.04, update the old packages:
sudo apt update -y && sudo apt upgrade -y
3. Installing Apache Web Server
Next, we need to install the Apache web server. To install Apache2, run:
sudo apt install apache2

To confirm Apache installation, run the version command:
apache2 -v

We are installing Apache here because it is responsible for receiving requests from users’ browsers and delivering the content of your Drupal website. Apache is essentially an intermediary between the user and your Drupal application.
Similarly, when a user requests a web page on your Drupal site, Apache fetches the required content and sends it to the user’s browser to display.
Next, you have to enable its service using the systemctl command:
sudo systemctl enable apache2

After enabling it, Apache service is also needed to be started. To do this, run this command:
sudo systemctl start apache2

Note: While enabling the Apache2 service, you may receive a service failure error due to the control process exiting with an error code. This is because some other web server like Nginx is already running on your system. Or check the port 80 usage using sudo netstat -nap | grep 80 command. If the netstat is not installed, run, sudo apt install net-tools command. Once you know the conflicting service, either disable them or remove them from the system.
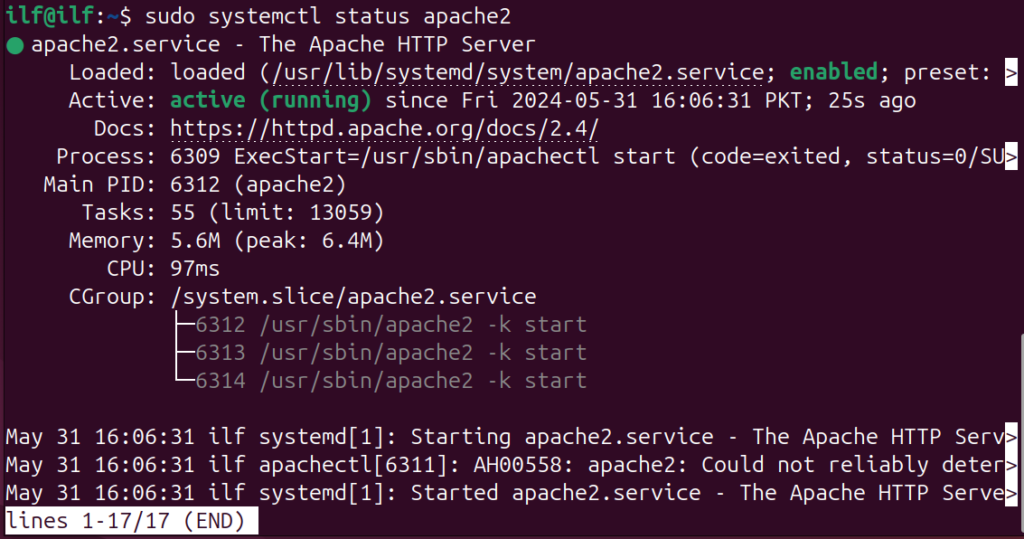
Once the Apache is installed and its service is enabled, you can confirm it by running this command:
sudo systemctl status apache2
If the Apache service is active and running, you will see a message similar to this on your terminal.
4. Setting Up PHP and Required Components
Now install these prerequisite along with PHP that are needed for Drupal:
sudo apt install php libapache2-mod-php php-dev php-bcmath php-intl php-soap php-zip php-curl php-mbstring php-mysql php-gd php-xml

The above command installs PHP and its required module. This command also installs the Apache module and integrates the PHP with your local web server. PHP is needed for Drupal to work because it acts as the engine that processes requests and generates dynamic content. It can also interact with the databases and ultimately powers the website’s functionality.
To confirm if the PHP is installed, run the version command:
php -v

5. Installing MariaDB Database Server
Now proceed to installation of MariaDB database server:
sudo apt install mariadb-server

MariaDB is needed for Drupal work because MariaDB is a relational database management system. Drupal uses it to store and manage its data.
Drupal uses MariaDB like a filing cabinet to organize and retrieve all the information that makes up your website’s content and users. Without MariaDB, Drupal wouldn’t have a place to store its data and wouldn’t function correctly.
After installing MariaDB, proceed to start and enable its services using the systemctl command:
sudo systemctl start mariadb

Now to enable MariaDB services, run:
sudo systemctl enable mariadb

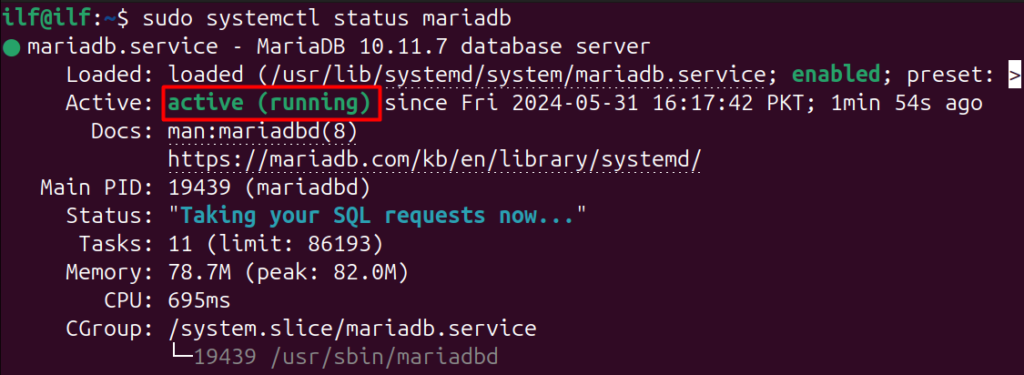
Finally, check the MariaDB working status to confirm if it is successfully enabled and running:
sudo systemctl status mariadb
6. Creating Drupal Credentials by Setting Up the Database and User
Before we continue with Drupal installation, first we have to set up the MySQL database for Drupal on Ubuntu 24.04. First, enter the MariaDB console using this command:
sudo mysql -u root -p
When prompted enter the Ubuntu user password.

The next step is to create a Drupal database user and grant them access to a specific database. For this, you can run these commands:
CREATE USER 'drupal'@'localhost' IDENTIFIED BY 'PasswordHere';
CREATE DATABASE drupal;
GRANT ALL PRIVILEGES ON drupal.* TO 'drupal'@'localhost';
FLUSH PRIVILEGES;
EXIT;
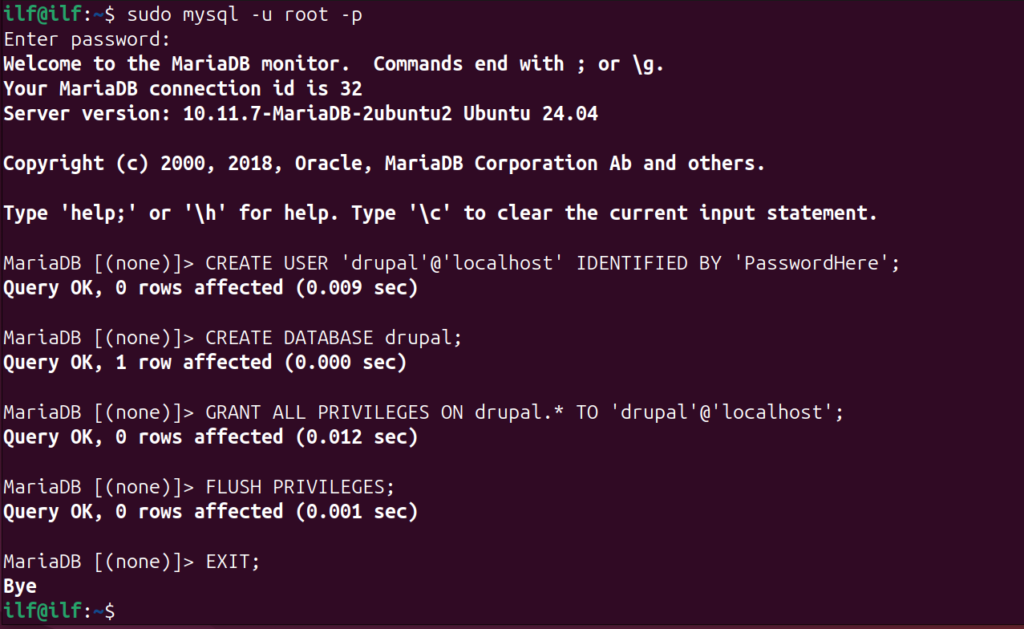
The first line will create a new user in the Drupal database system. The user can only access the database using localhost. Remember to replace YourStrongPasswordHere with an actual strong password.
The next line grants the user drupal all possible permissions on the drupal database. Some main included permissions are select, insert, delete, and create alter tables within the database.
The third line tells the database system to update its internal record of user privileges. This ensures the changes made in the previous grant statement are reflected immediately.
Finally, the last line of code (Exit) will disconnect from the database server.
7. Download and Install the Drupal Core Files
To begin the Drupal installation, we must first download the Drupal’s core files and place them within the default web content directory managed by Apache.
First, use the cd command and navigate to the /var/www/html directory. This is the default directory on Ubuntu where web server files are saved:
cd /var/www/html

Next, use the wget command to download the Drupal core files from the official Drupal project repository:
sudo wget https://ftp.drupal.org/files/projects/drupal-10.2.6.tar.gz
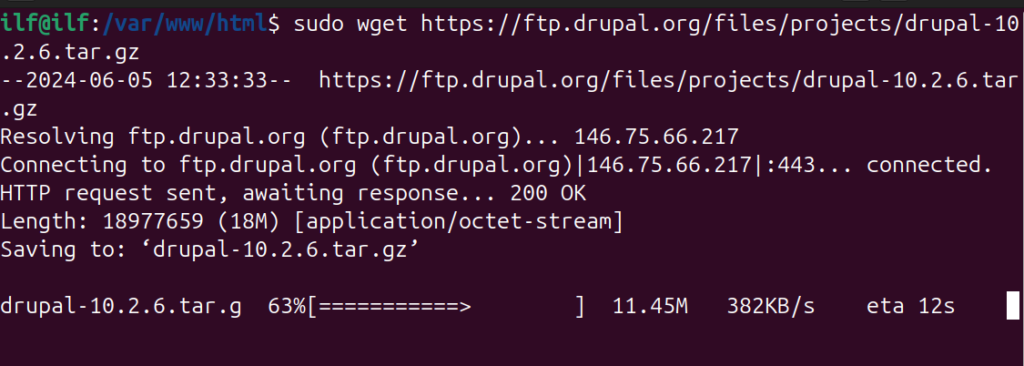
After downloading Drupal core files, extract the tar file:
sudo tar xvzf drupal-10.2.6.tar.gz

This will create a new directory containing all the uncompressed Drupal core files.
Now move the Drupal core file’s directory created after extracting files to the /drupal directory:
sudo mv drupal-10.2.6/ drupal/

The next step is to give the necessary permissions to the user so that you can access the Drupal web server and manage your files. It allows the web server to read, write, and execute directories while restricting write access to files to maintain security:
sudo chown -R www-data:www-data drupal/

sudo find . -type d -exec chmod 755 {} \;

sudo find . -type f -exec chmod 644 {} \;

Similarly, give these permissions also.

8. Creating Apache Virtual Host File
The final step before launching Drupal is to create host files for it. You have to make a Drupal configuration file so it can manage your website content.
First, navigate to the directory where Apache stores virtual host configurations. Now create a file for Drupal configuration using the touch command. This file will define how Apache serves your Drupal website:
cd /etc/apache2/sites-available/

sudo touch drupal.conf

Now paste the following content to your Drupal configuration file. Open the file using Nano or any text editor:
<VirtualHost *:80>
ServerName yourdomain.com
DocumentRoot /var/www/html/drupal

<Directory /var/www/html/drupal>
AllowOverride All
</Directory>

ErrorLog ${APACHE_LOG_DIR}/error.log
CustomLog ${APACHE_LOG_DIR}/access.log combined

</VirtualHost>
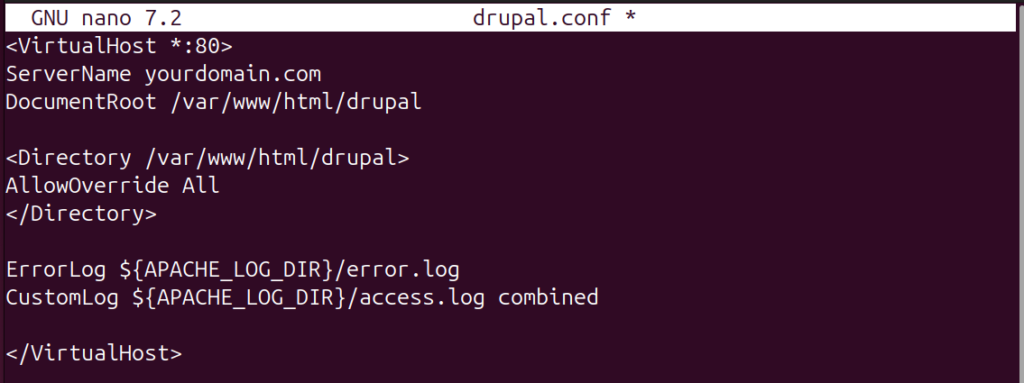
The above code defines the standard HTTP port (80) that the website can access. Change your data with domain name in above code. This tells Apache which domain name this configuration applies to. The following line points towards the Drupal file location.
The AllowOverride All section will grant Apache permission to override specific settings within the Drupal directory, which is necessary for Drupal to function correctly.
The next line defines where Apache will store error messages. The last line will configure Apache to keep a log of website access requests in a combined format.
Now run the below command to activate the Apache module that handles URL rewriting:
sudo a2enmod rewrite

Execute the below command to instruct Apache to use the configuration you created in drupal.conf:
sudo a2ensite drupal.conf

Run the apachectl -t command to verify that the Apache configuration, including your Drupal virtual host, is free of errors:
apachectl -t

You should see Syntax OK if everything is configured correctly. We are receiving an error because our domain is not set, we will visit it on the local host IP.
If the syntax check passes, restart the Apache service:
sudo systemctl restart apache2
sudo systemctl reload apache2

This will apply the changes you made to the configuration.
9. Finishing the Installation Process
Once Apache is restarted, you can access the Drupal installation process by visiting http://yourdomain.com in your web browser.
As our domain name is not configured, so we will use the local host URL or IP address:
http://localhost/drupal/
You can also try the IP address for your local host to access the Drupal homepage:
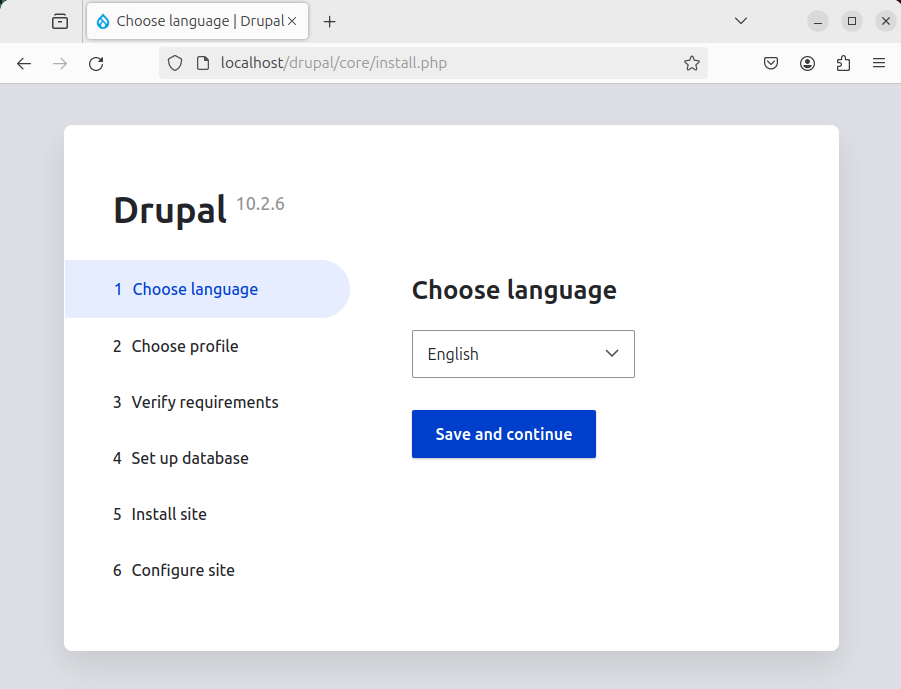
http://127.0.0.1/drupal/core/install.php
http://localhost/drupal/core/install.php
Follow the on-screen instructions to complete the Drupal installation and set up your website. During the setup, you will need to use the Username and Password which was set in step 6 above.
Conclusion
Drupal is a content management system similar to WordPress. It is written in PHP, and you can manage your sites without needing code or paying for their services. To install Drupal on Ubuntu 24.04, you must first set up the Apache web server and install the PHP on your system. After that, you can download the Drupal core files and unzip them using the tar command. Next, move the Drupal core files to the Drupal directory and edit the configuration file. After defining the user credentials, Drupal can be accessed from a web browser.

TUTORIALS ON LINUX, PROGRAMMING & TECHNOLOGY