Debian Bullseye or also known as Debian 11 is the latest release of Debian in the month of August of 2021, where Debian is one of the most popular used distributions of Linux in the world. Debian can be used in the virtual machine, the readers who don’t know what are the virtual machines? A virtual machine is a machine in which at the same time multiple operating systems can be run, which is mostly used by the developers for the testing purposes of different software on different operating systems.
The installation of the Debian Bullseye on Virtualbox is much easy through some easy steps which are discussed in this article in detail.
How to install Debian Bullseye easily on Virtualbox
There are some steps involved in the installation of the Debian Bullseye on Virtualbox are:
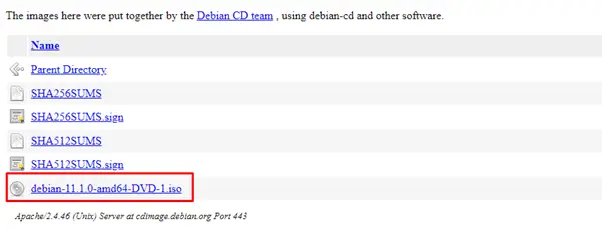
Downloading the ISO file of Debian Bullseye
We have to first download the ISO file of Debian Bullseye from its official website, download the “debian-11.1.0-amd64-DVD_1.iso”:
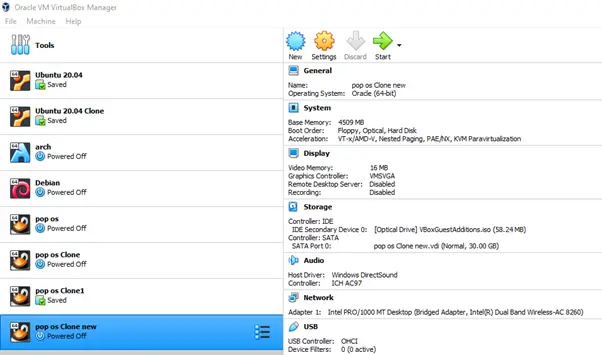
Make a machine in Virtual machine
Open the virtual machine:
Click on the “New”, type the name for the new machine, “Debian Bullseye”, and choose the “Next” button:
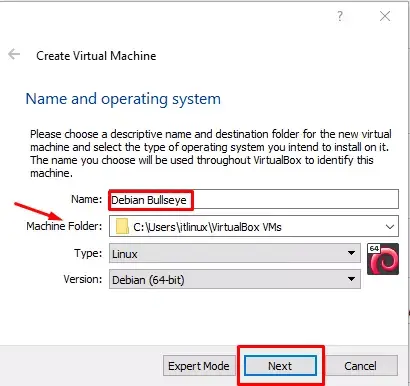
Note: You can also change the machine folder destination if you want to do so.
In the next step, assign at least 4096 MB RAM to the Debian Bullseye for the smooth operation:

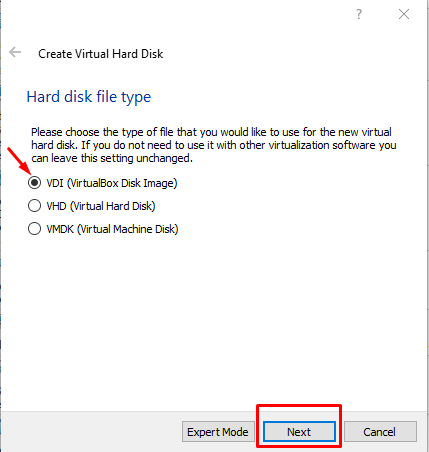
Because we are using the ISO image, select the VDI (VirtualBox Disk Image) and click on the Next button:
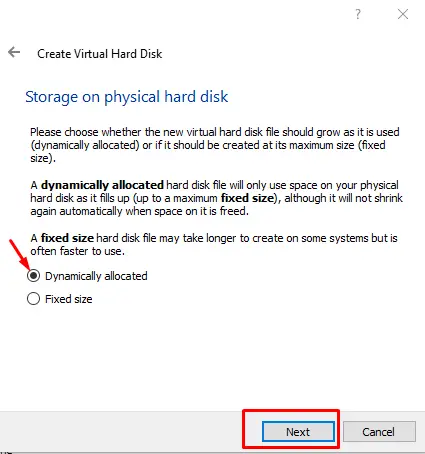
Mark the “Dynamically allocated” and click on the Next button:
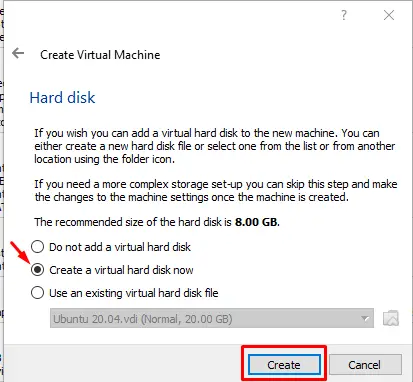
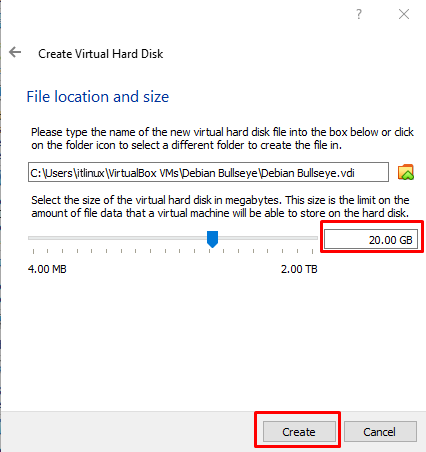
Assign the memory to the operating system, we are assigning it 20 GB, you can assign it more than, but it is recommended to assign it at least 20 GB and then click on the Create button:
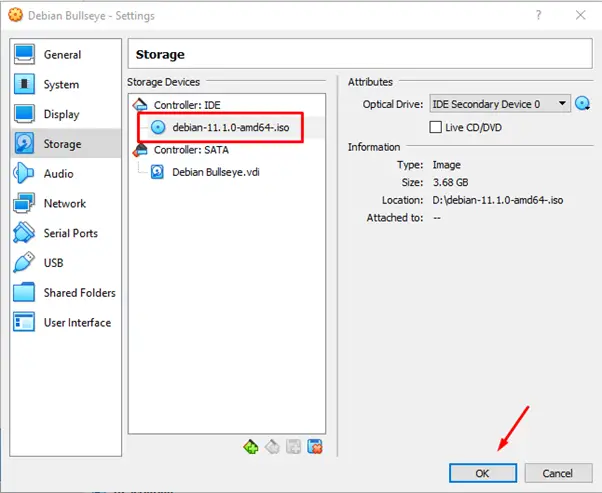
Click on the new machine, Debian Bullseye, and go to the settings, click on the storage, choose the disk and choose the downloaded disk file:
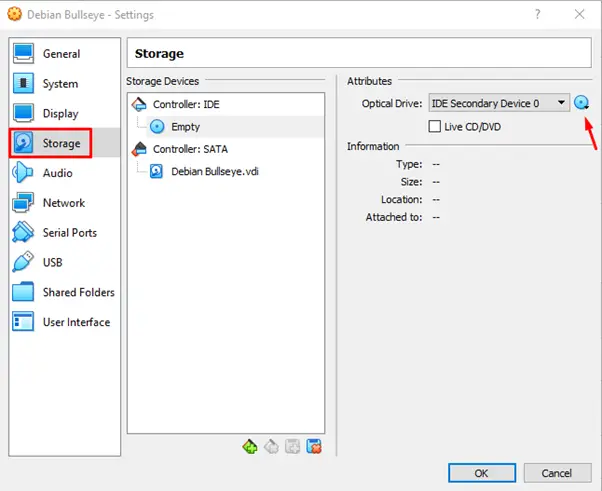
Once the file is attached, click on the OK button:
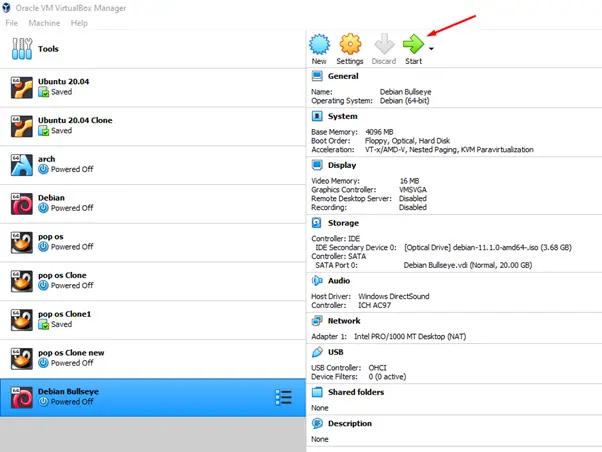
Start the machine by clicking on the Start icon:
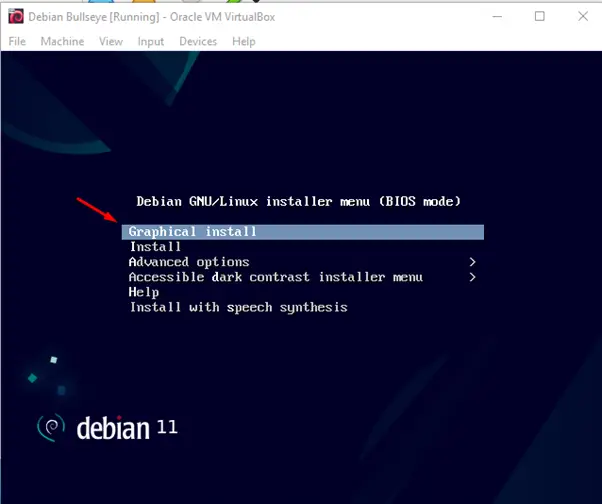
Choose the “Graphical Install” from the menu as it is easy to install:
Select the language, which is in our case is “English” and press the “Continue” button:

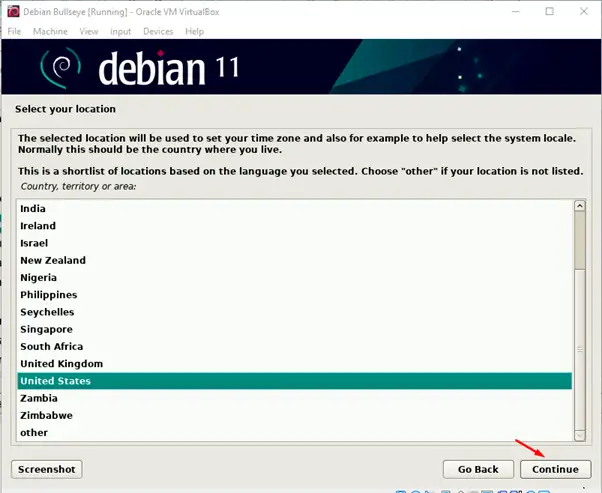
Select your location, which is in our case is “United States”, you can select according to yours and press on the “Continue” button:
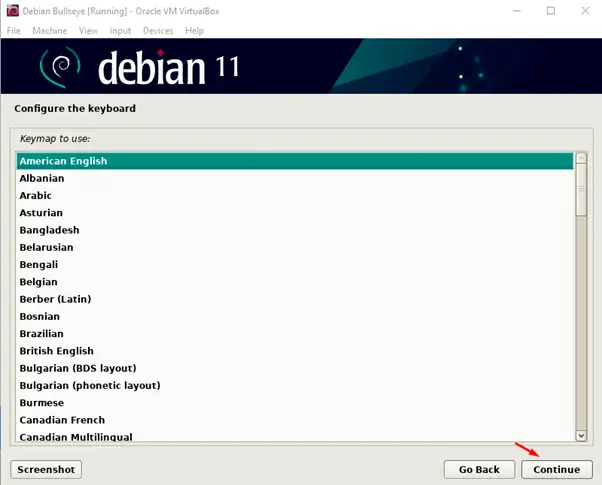
Choose the layout of your keyboard, we are choosing American English, you can choose any other, and press the Continue button:
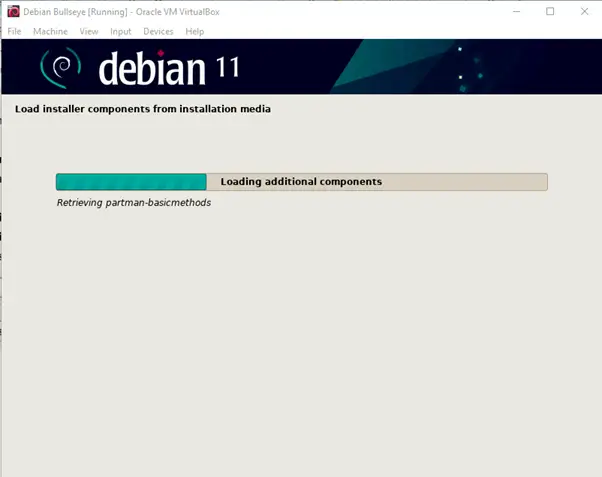
It will begin to load some installer components from installation media:
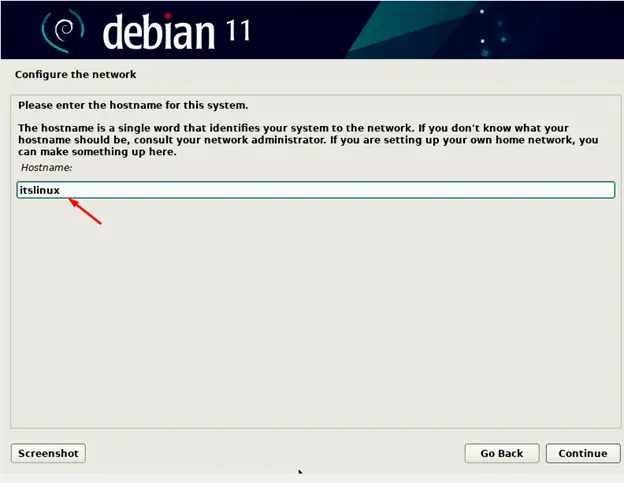
Choose the hostname for your operating system as we are choosing “itslinux”, you can choose on your own choice and click on the Continue button:
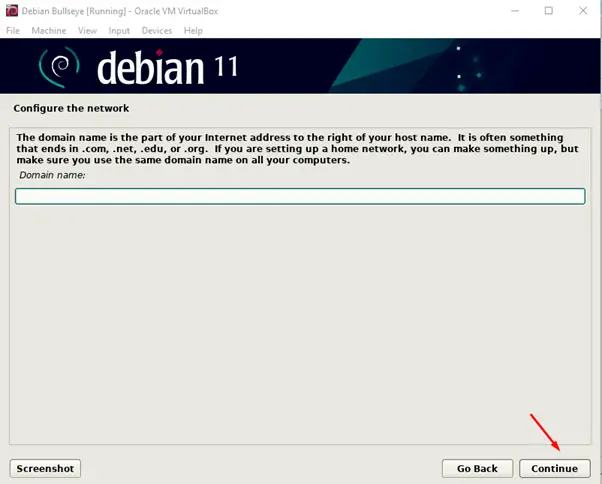
If you have a network, enter its Domain name,or just leave it blank, and click on the continue button:
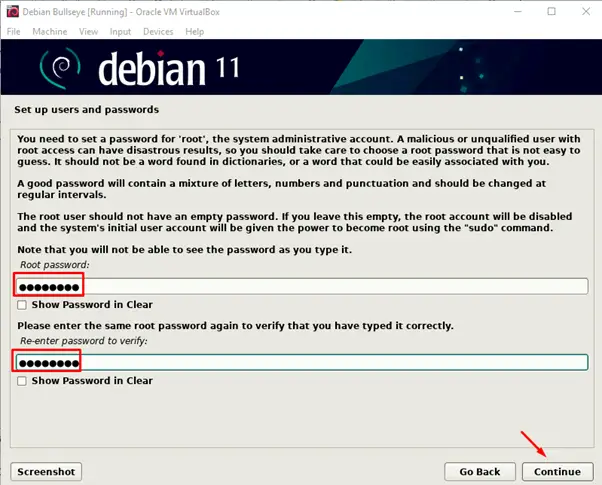
Set the root password and retype it the same password again to confirm it again:
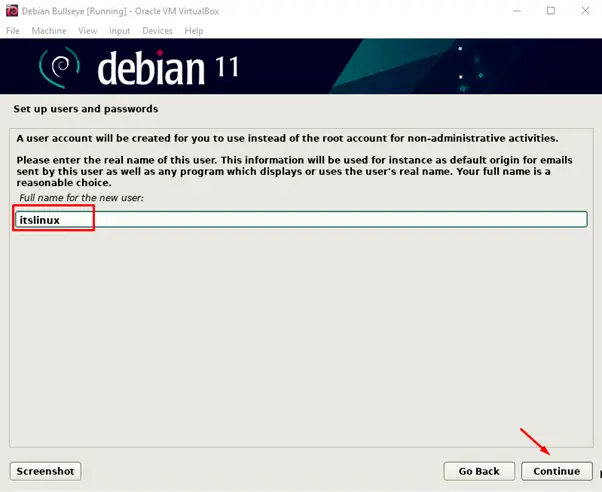
Type the full name of a user, we are typing itslinux:
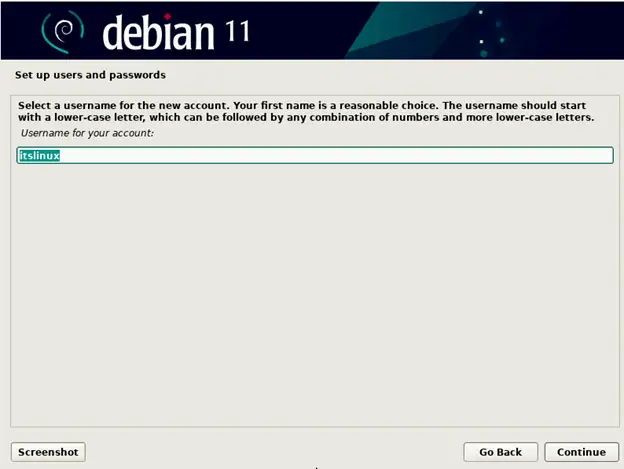
It will display the user name of the new user in the next screen, click on the Continue button:
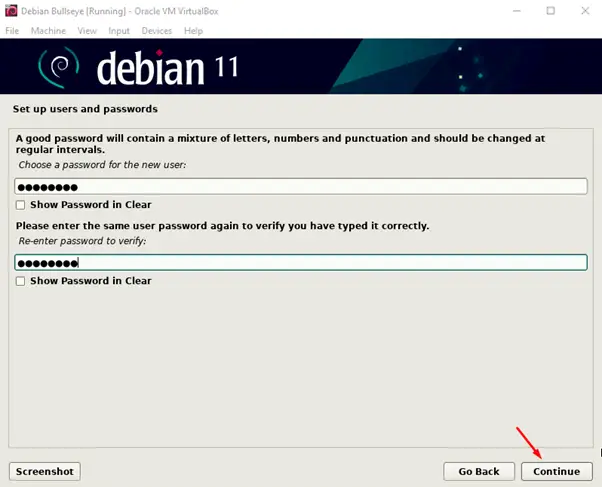
Again set the password and confirm it by retyping it again for the new user:
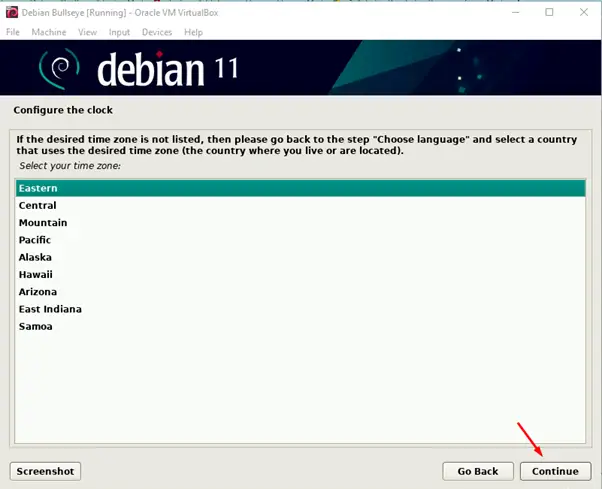
Choose the time zone, we are choosing the “Eastern”, you can choose according to yours:
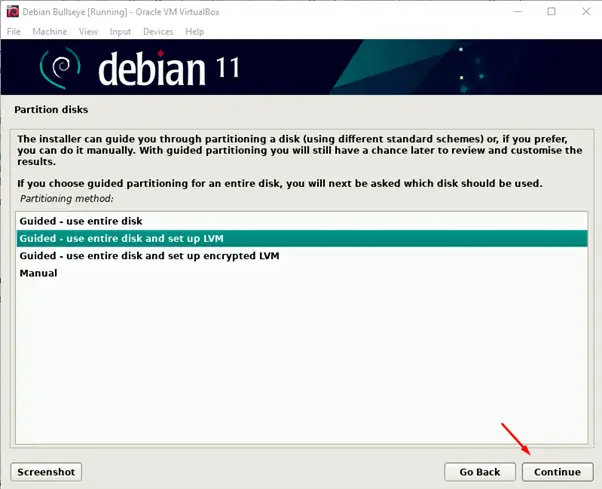
We choose the dynamic memory at the start, we choose “use entire disk and setup LVM”, LVM is used for Logical Volume Management which is very helpful for the dynamic memory:
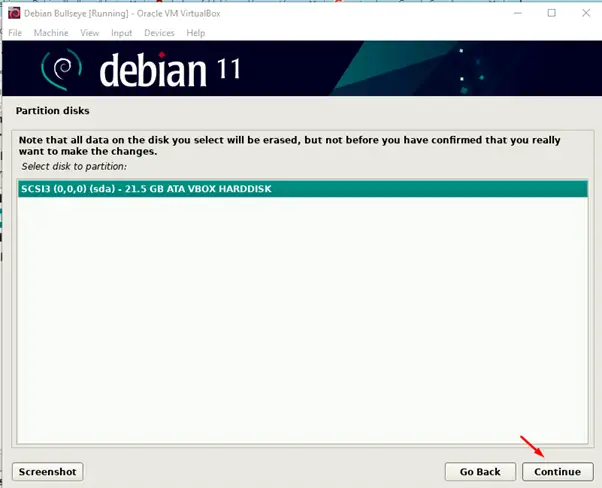
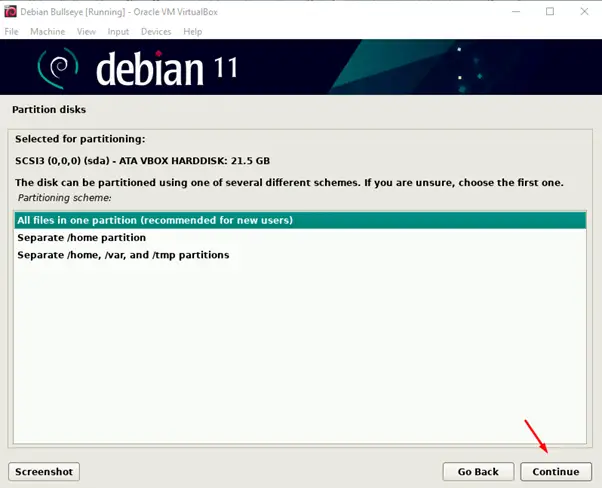
Choose the partition, where it is to be installed:
Choose the option “All files in one partition”:
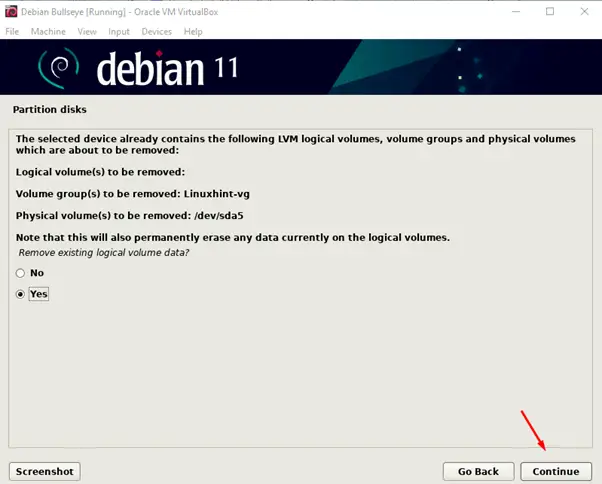
Remove the existing data of the disk by clicking on “Yes”:
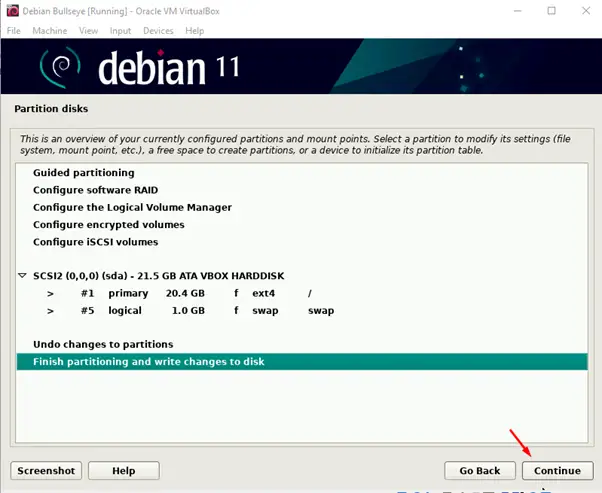
Recheck the changes you made, if they are according to your choice, then finish partitioning and save changes:
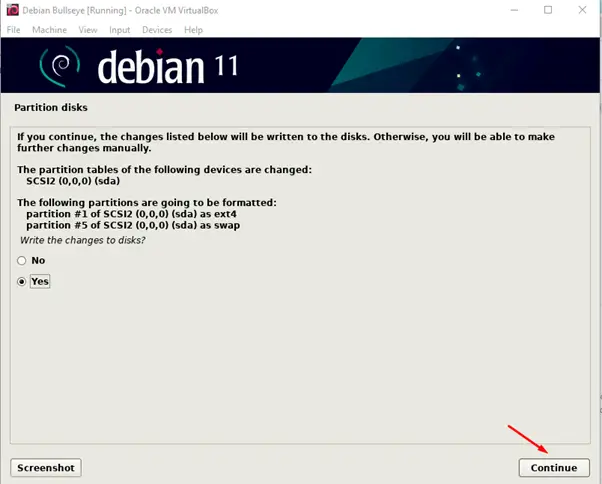
Check the “Yes” option to format the disk:
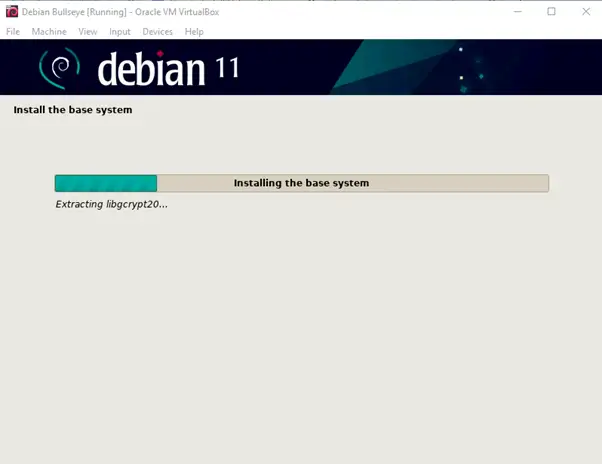
The installation of the base system will be initialized:
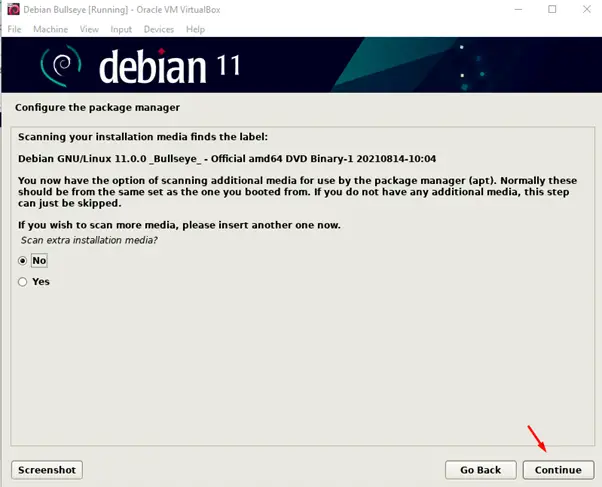
As we have only one image file so we will choose “No” and proceed towards the next step, else we can scan the other ISO files to have more packages for the package manager “apt”:
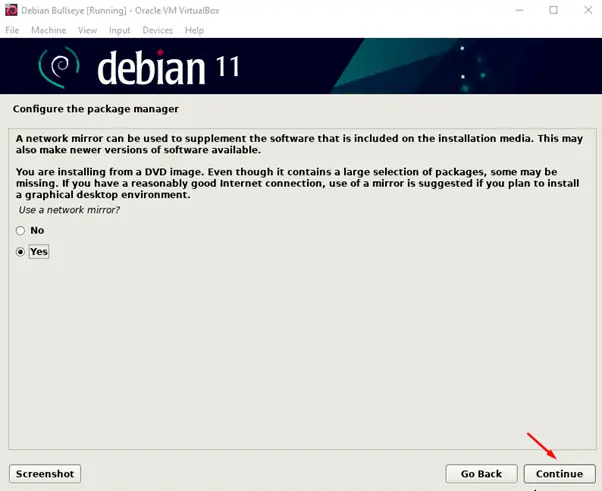
There are some other updates and software that can be downloaded if we have a good internet connection, choose the “Yes” and continue to the next section:
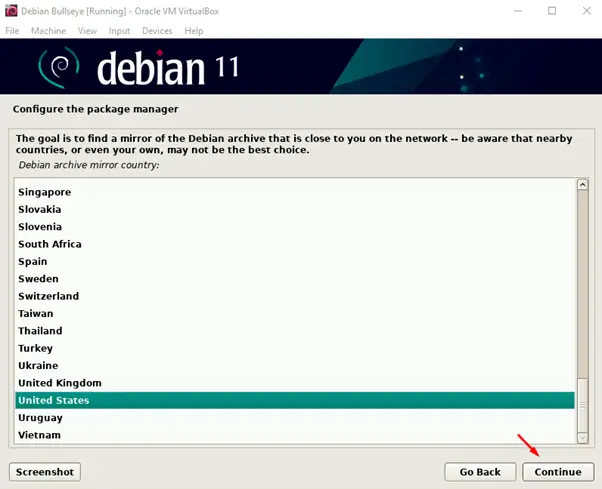
Choose the state, in our case it is United States, you can choose according to yours:
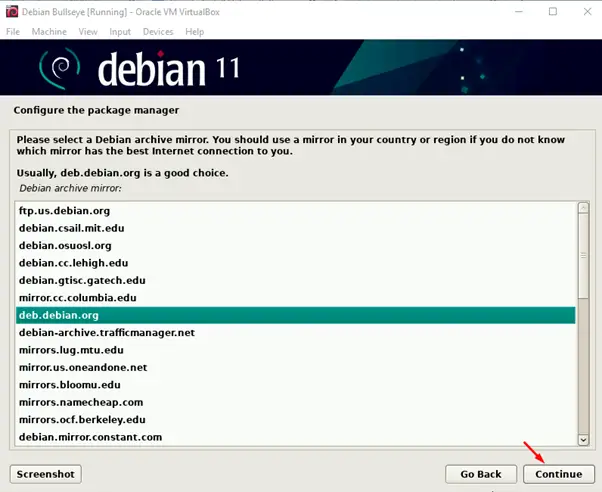
Choose the deb.debian.org and proceed to next step:
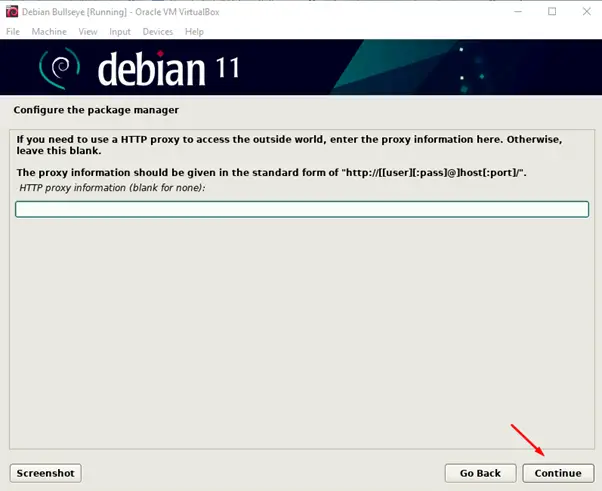
As we don’t have a HTTPS skip this step because it can be configure later:
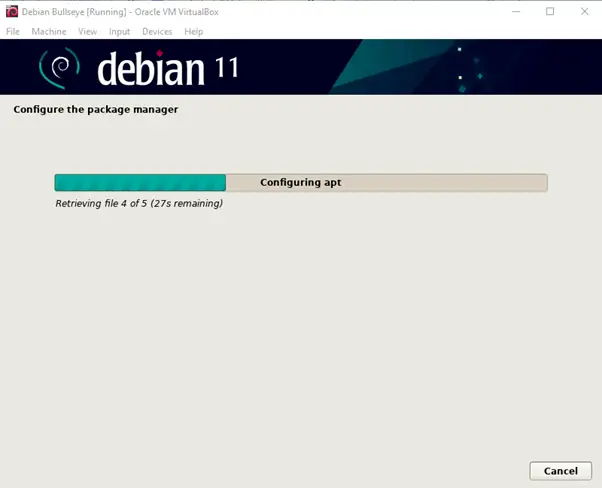
The configuration of the apt package will be started:
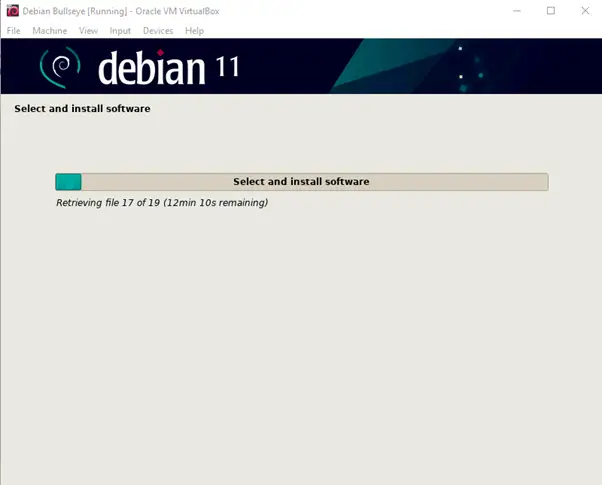
Installation of Debian Bullseye has been started:
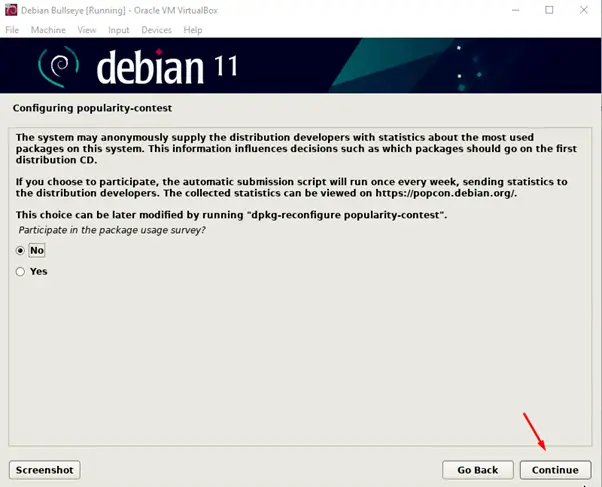
Check the “No” option because we don’t want to participate in any survey:
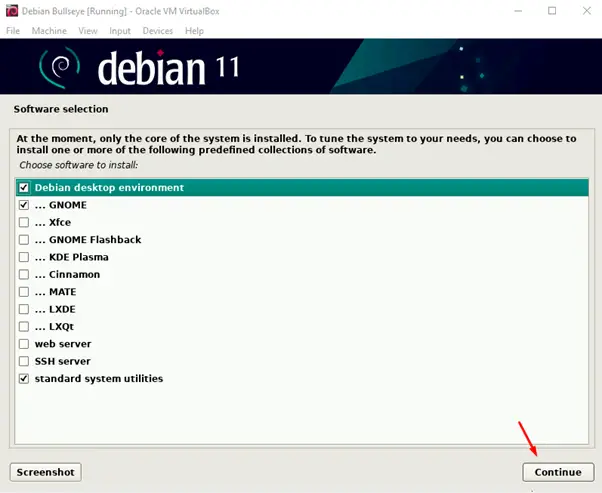
Choose the desktop environments:
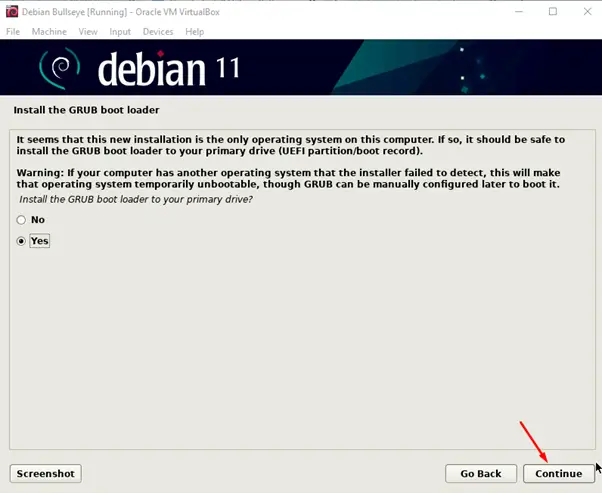
For the installation of Grub boot loader check the “Yes” option:
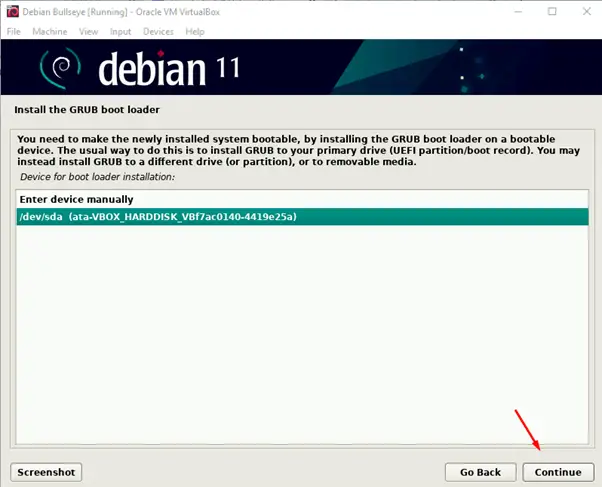
Choose the drive where you want to install the Grub Boot Loader:
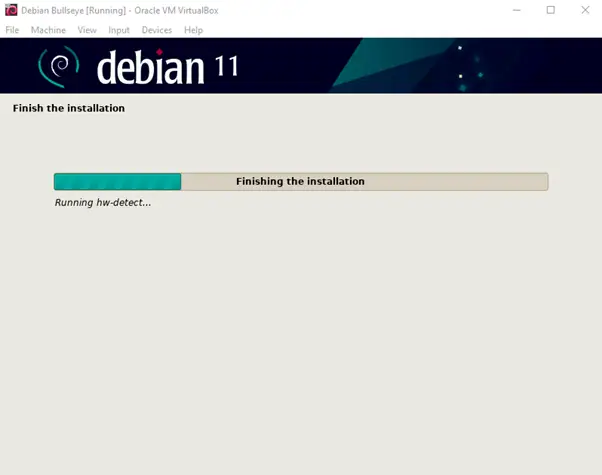
The installation in going to be completed:
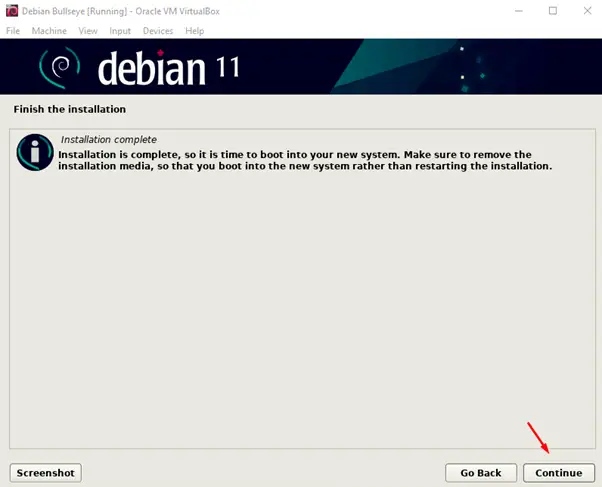
Once the installation is finished, it will be displayed on the screen:
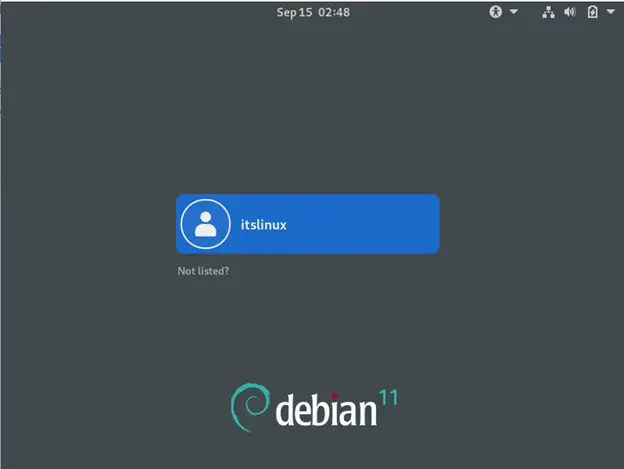
The Debian Bullseye will be launched, login to the account:
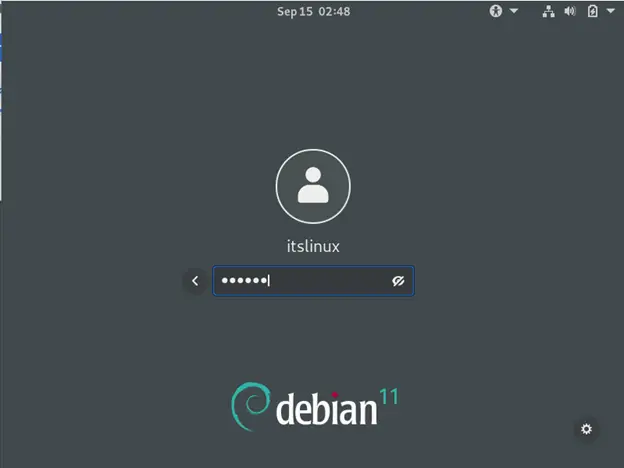
Type your password set for the user:
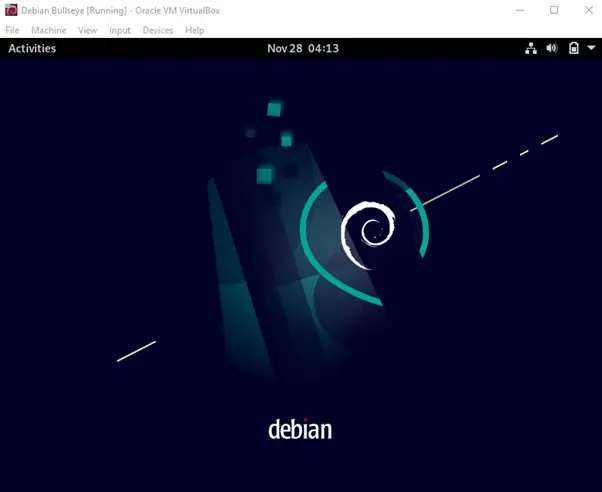
Enjoy the Debian Bullseye:
Conclusion
Debian bullseye is the latest release of Debian, whose architecture supports a good range of hardware architectures, and also it has a lot of updated packages. In this write-up, we have discussed the installation of the Debian Bullseye on Virtual box using its ISO which is very easy and convenient method.

Saryia is a technology entrepreneur and digital publisher specializing in Linux, open-source technologies, and developer education.