What is JDK?
The Java Development Kit (JDK) is a software development platform that is used for the development of various Java applets and applications. It comprises Java Runtime Environment (JRE), a compiler (javac), a documentation generator (JavaDoc), an interpreter (java), an archiver (jar), and some other great tools required for development in Java. JDK is essential for compiling code and for converting these codes to bytes codes.
JDK 14:
JDK 14 is the execution version 14 of the Java Platform. It is also an open-source version. On March 17, 2020, JDK 14 was released globally. JDK 14 brought numerous modern features to the Java programming language. Some of them are given in the list below:
- Pattern Matching Deprecate
- The Parallel Scavenge + Serial Old GC Combination
- ZGC on macOS
- JFR Event Streaming
- Memory Allocation feature for G1
- Helpful Null Pointer Exceptions
- ZGC on Windows
- Non-Volatile Mapped Byte Buffers
- Packaging Tool
That’s a brief introduction to JDK and JDK 14. Now let’s move on to its Installation process on Ubuntu 20.04. In this article, you are going to inspect two methods for JDK 14 installation.
Note: To follow the installation, make sure that you are a ‘superuser’ or ‘root’ as the superuser provides unrestricted access to all the commands, files, resources, and directories.
Install JDK 14 on Ubuntu 20.04
Step 1: First of all, Open up the terminal by searching it manually in activities, or you can also press ‘CTRL+ALT+T’ to view the terminal window.
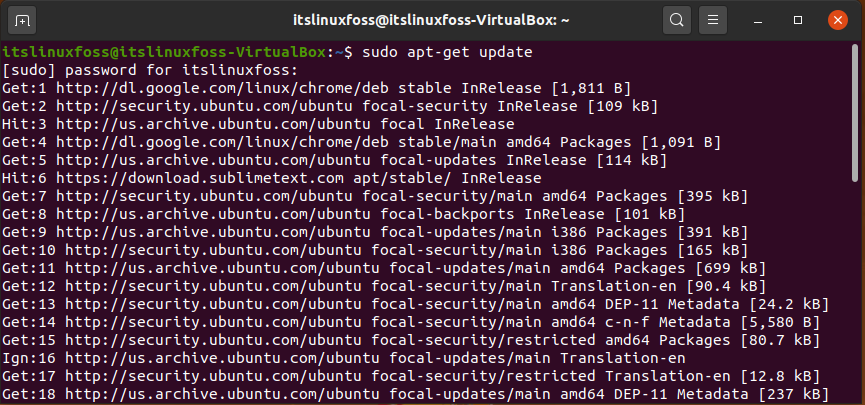
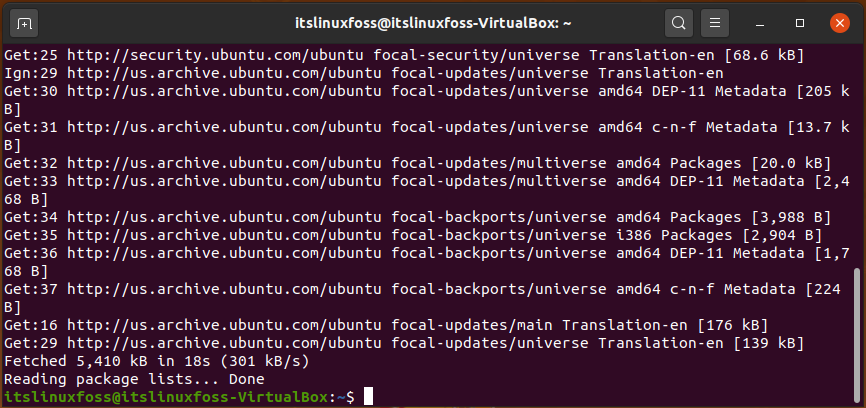
Step 2: Now let’s update the package lists.
$ sudo apt-get update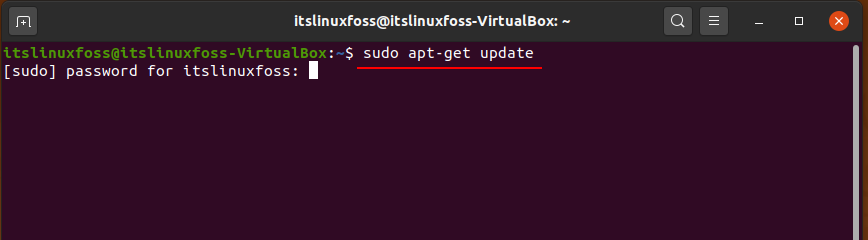
Enter your password to allow the process for packages updates.
Step 3: Now install the JDK 14 on your Ubuntu 20.04 by using the command given below.
$ sudo apt install openjdk-14-jre-headless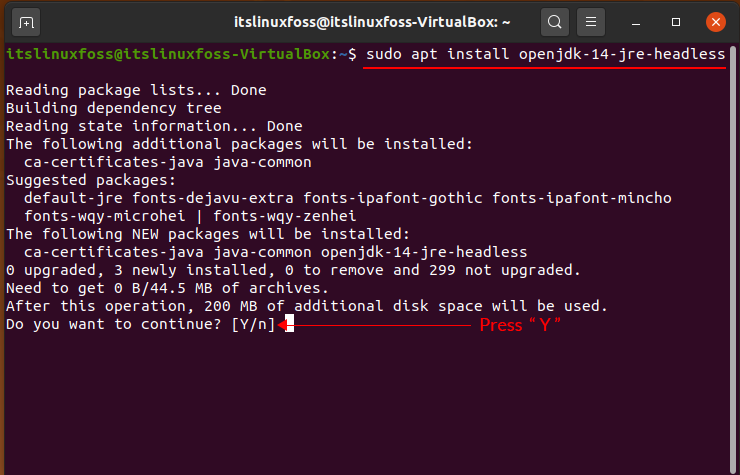
Enter ‘y’ to permit the process to continue.
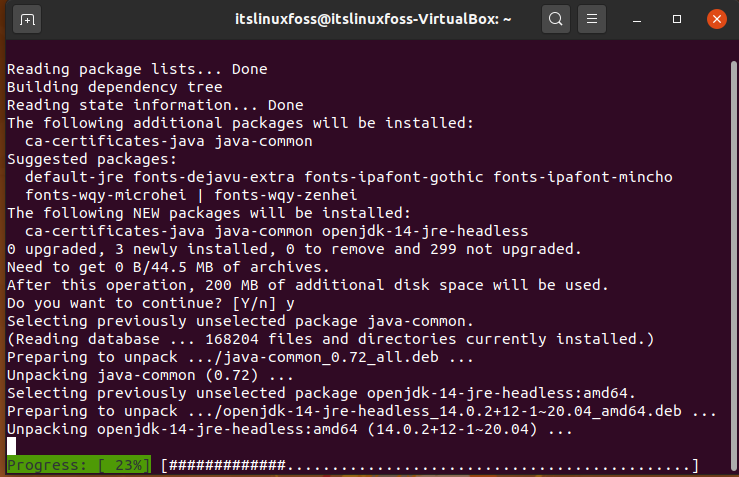
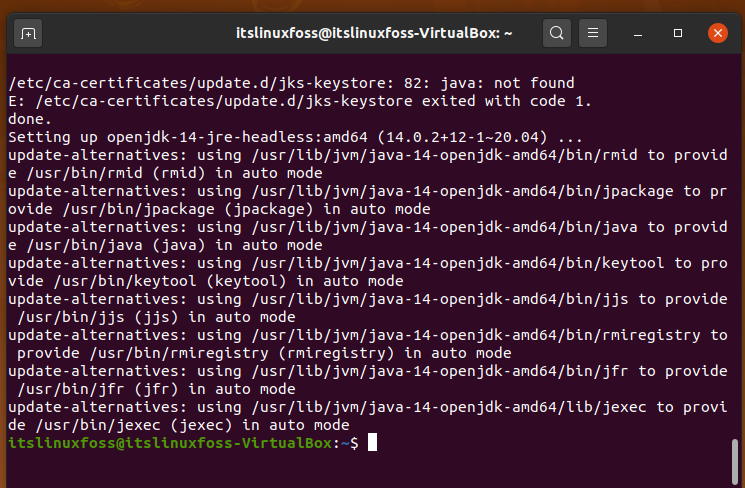
The on-screen output will let you know about the progress and the unpacking of the packages.
Step 4: You can confirm the version of the installed java by typing the command given below.
$ java -version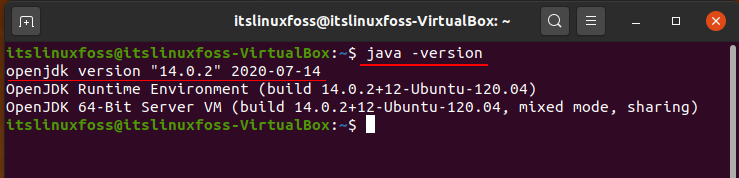
The output shows that now we have JDK 14 on our system.
Step 5: This step is mandatory for the Ubuntu 20.04 users who have multiple JDK versions on your system. Update the path to work on the latest Java version.
$ sudo update-alternatives --config java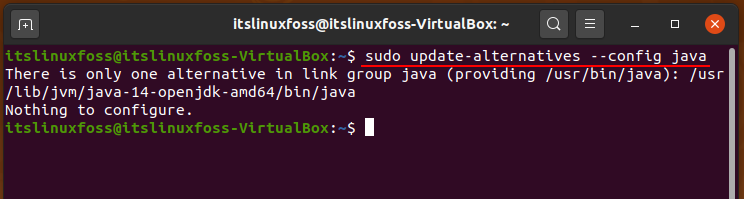
Step 6: Write out the following command on your terminal to open the environment file.
$ sudo gedit /etc/environment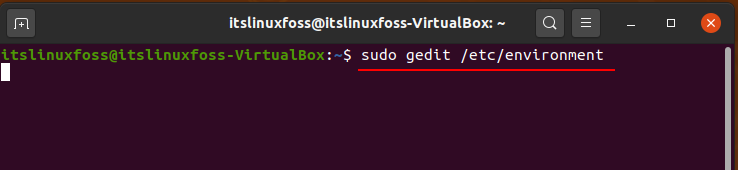
Now add the following content in that file to change the path of the Java_home variable.
JAVA_HOME=”/usr/lib/jvm/java-14-openjdk-amd64”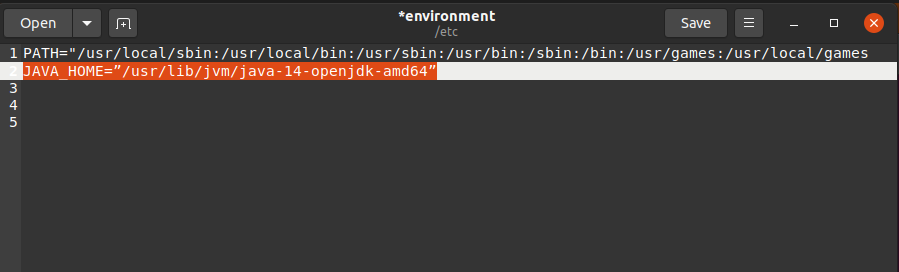
Step 7: You have to save the file and then write out the following command
$ source /etc/environment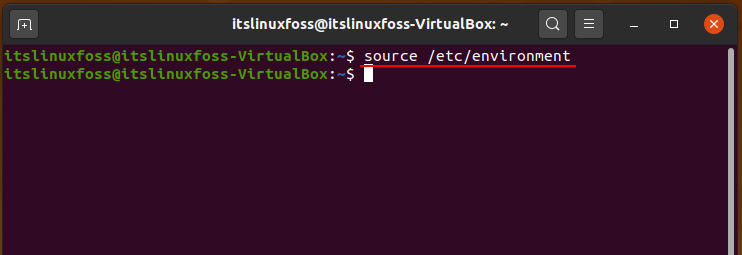
This command will show you the path of the home variable.
$ echo $JAVA_HOME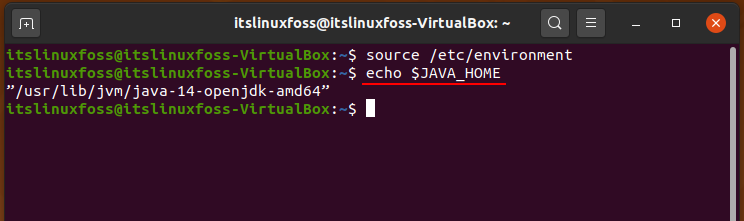
Conclusion:
In this article, you’ve learned about JDK, JDK 14, and some of its features. After that, we moved forward towards JDK 14 Installation on Ubuntu 20.04.

Saryia is a technology entrepreneur and digital publisher specializing in Linux, open-source technologies, and developer education.