
Squid is a cache server. It carries the content caching using various protocols such as DNS lookups, HTTP, FTP, HTTPS, SSL requests, etc. It also performs as a proxy by request forwarding to the destination and also maintaining the desired content side by side. Meanwhile, if a different server requests the same information, Squid will provide it to that server as well. This is the way Squid saves bandwidth. It is also utilized for improving the performance of web servers by caching the stored requests and accessing the restricted content. It is installed on a detached server rather than on the Web server containing the original files. It keeps the track of the object’s usage in the network. Squid saves the copy of the client’s object request and passes it to other clients if any of them need it, which improves the download speed.
That’s the most comprehensive information you should know before Installing and Configuring ‘Squid Proxy’. Now let’s move on to its Installation process on Ubuntu 20.04.
Note: To follow the installation, make sure that you are a ‘superuser’ or ‘root’ as the superuser provides unrestricted access to all the commands, files, resources, and directories.
Install Squid Proxy on Ubuntu 20.04
Step 1: First of all, Open up the terminal by searching it manually in activities, or you can also press ‘CTRL+ALT+T’ to view the terminal window.
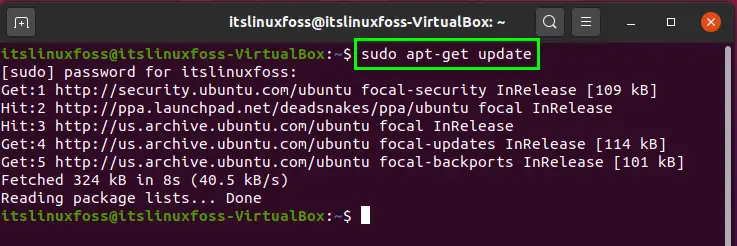
Step 2: Now update the package lists.
$ sudo apt-get update
Enter your password to allow the process for packages updates.
Step 3: Verify the presence of Squid in your Ubuntu 20.04.
$ sudo apt-cache policy squid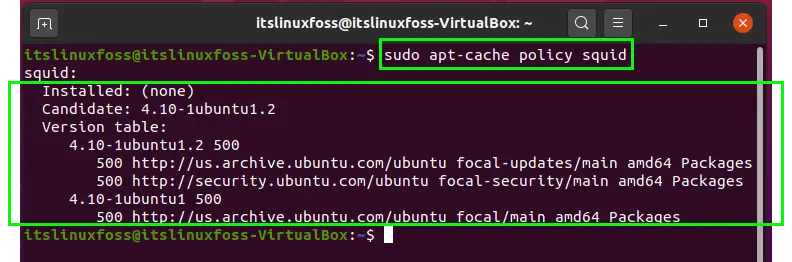
Step 4: Write-out the following command to install the Squid Proxy.
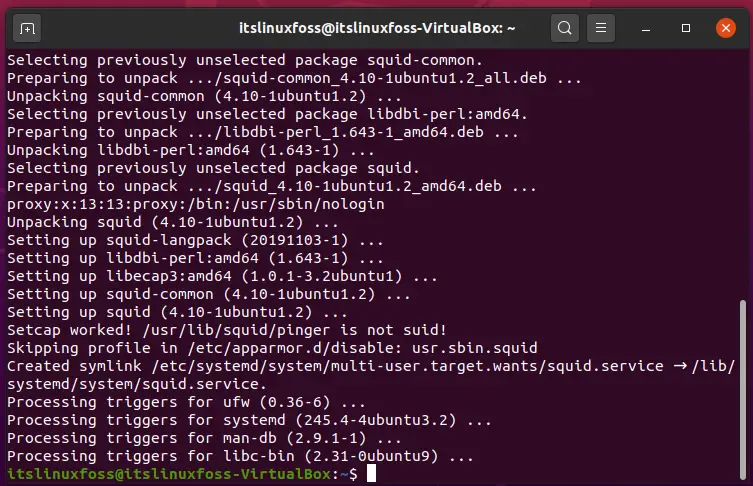
$ sudo apt-get install -y squid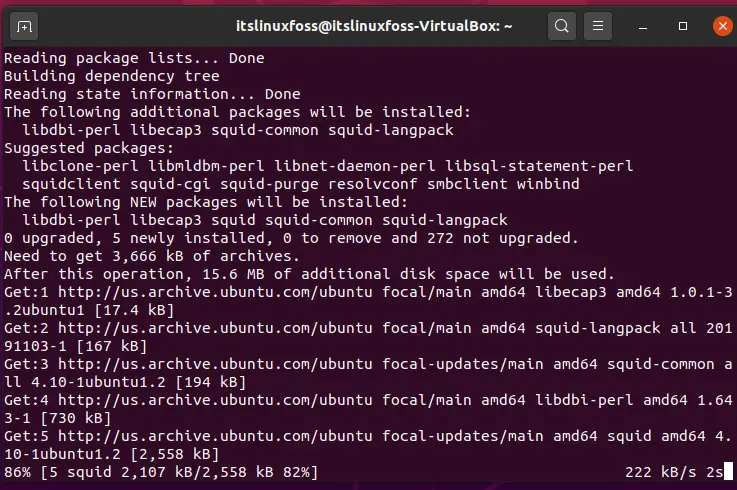
Now, start and enable Squid Proxy.
$ sudo systemctl start squid$ sudo systemctl enable squid
$ sudo systemctl status squid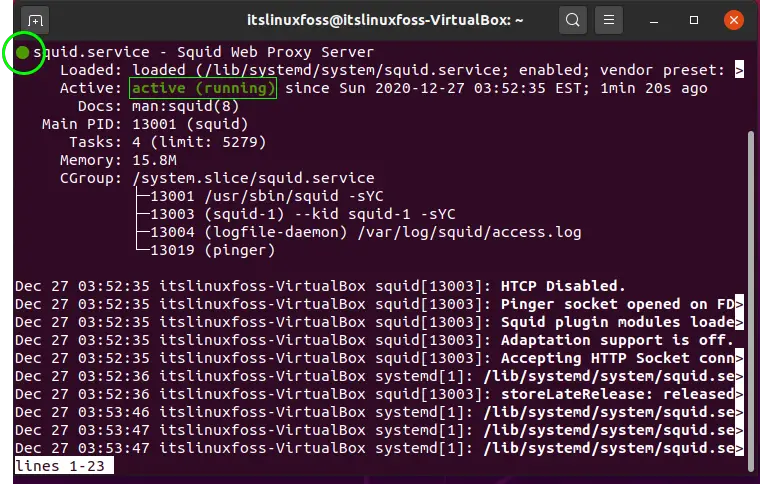
Configuring Squid Proxy on Ubuntu 20.04:
Step 1: Forthe configuration of Squid Proxy, first of all, we are going to create a backup of the original configuration file.
$ sudo cp /etc/squid/squid.conf /etc/squid/squid.conf.origNow, we will change the settings according to our choice.
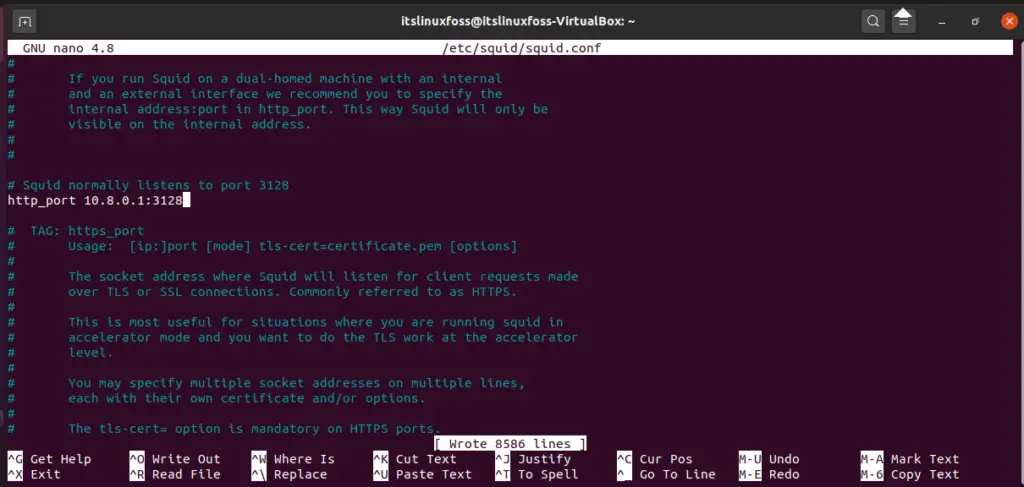
$ sudo nano /etc/squid/squid.conf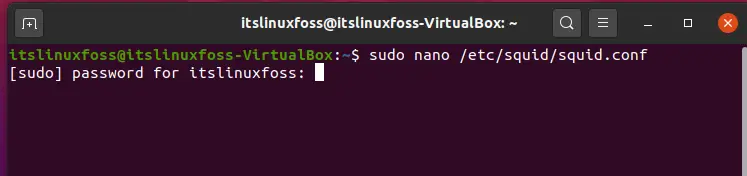
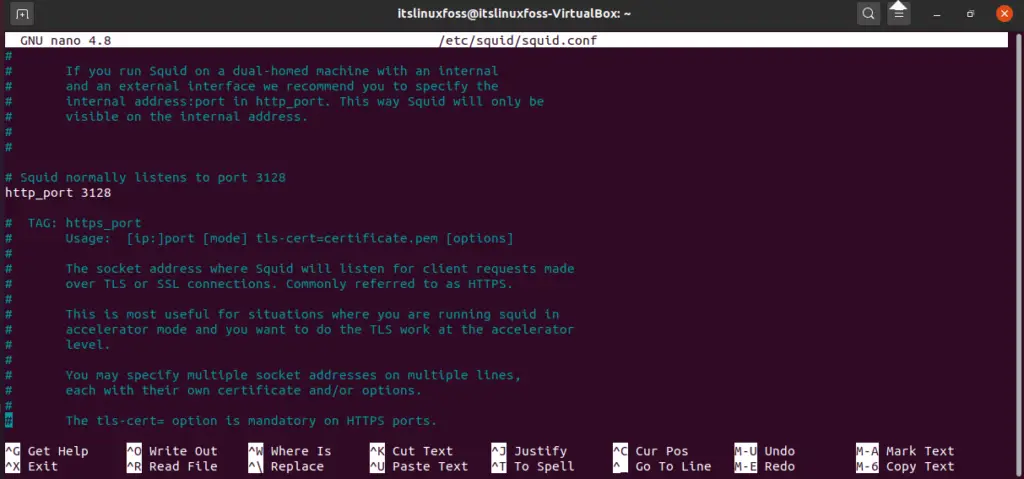
You can modify the port number here.
Step 2: Don’t forget to permit the port number to the firewall.
$ sudo ufw allow 8080/tcp$ sudo ufw enable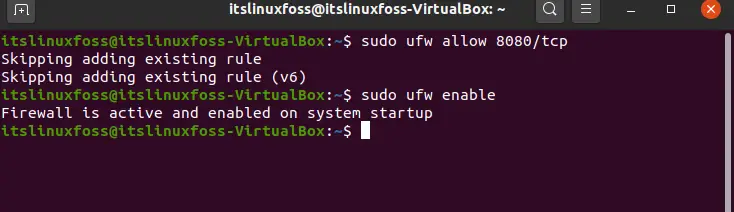
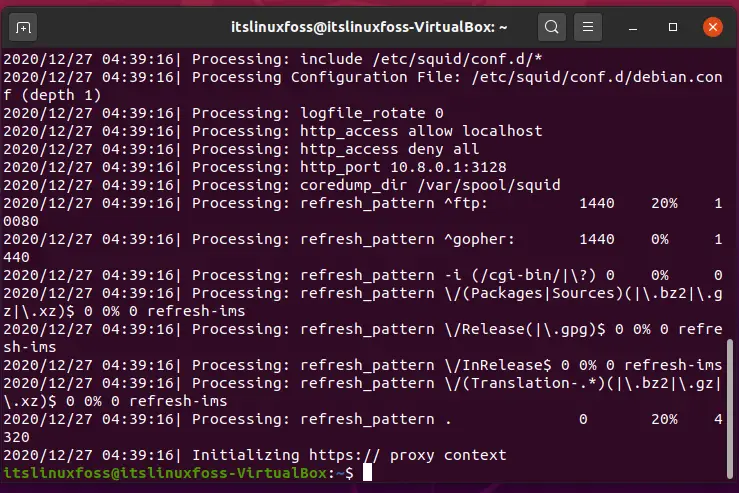
Step 3: Use the below command to find out the errors present in the configuration file.
$ sudo squid -k parse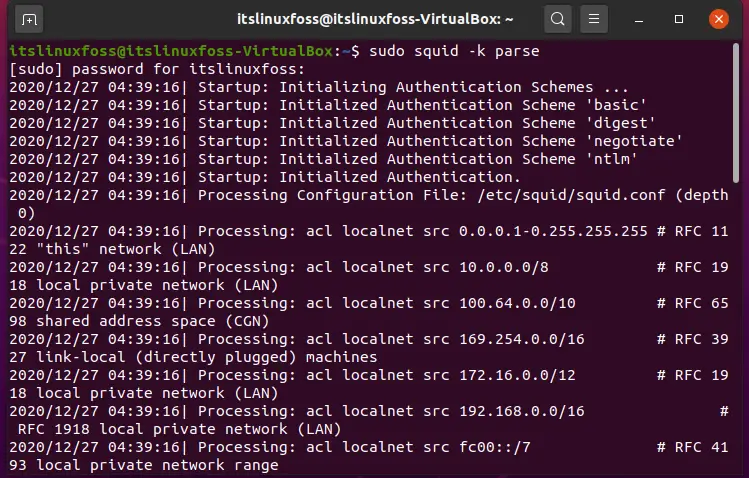
Step 4: To configure the user setting, first we will install ‘apache2-utils’ for enabling the HTTP authentication.
$ sudo apt install -y apache2-utils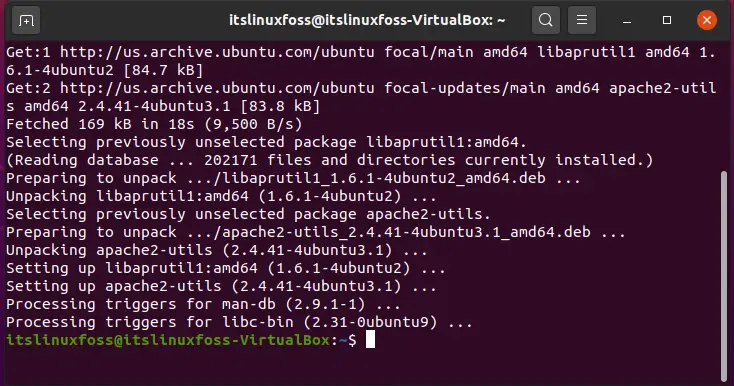
Step 5: In this step, we will create a file that will contain the users’ data. In this case, we named our file as ‘passwd’. Next, we added a user named as ‘itslinuxfoss’.
$ sudo touch /etc/squid/passwdchown proxy: /etc/squid/passwd$ sudo htpasswd /etc/squid/passwd itslinuxfossEnter the password of your choice.

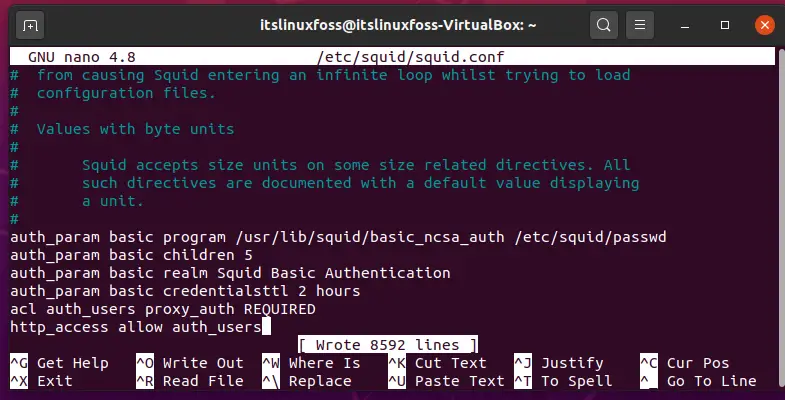
Step 6: Open-up the configuration file by writing-out the command given below.
$ sudo nano /etc/squid/squid.confAdd the following content in the opened file.
auth_param basic program /usr/lib/squid/basic_ncsa_auth /etc/squid/passwd
auth_param basic children 5
auth_param basic realm Squid Basic Authentication
auth_param basic credentialsttl 2 hours
acl auth_users proxy_auth REQUIRED
http_access allow auth_users
Step 7: Now, we will reestablish the service.
$ service squid restart
Step 8: Verify the path of the ‘ncsa_auth’ file to avoid getting errors.
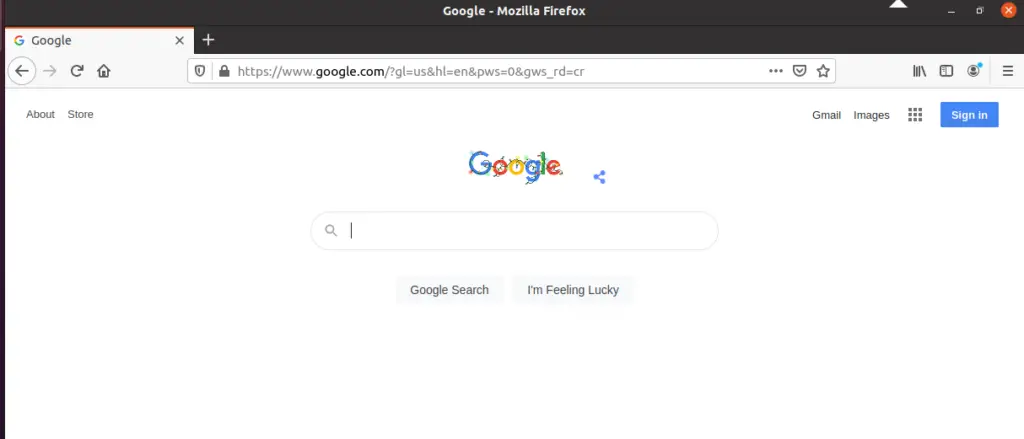
$ sudo dpkg -L squid | grep ncsa_authStep 9: Now we will manually set the proxy authentication settings to check whether Squid is working or not. Open-up the Firefox browser and click on the three bars present on the top right corner of this interface. From the list of available options, select ‘Preferences’.
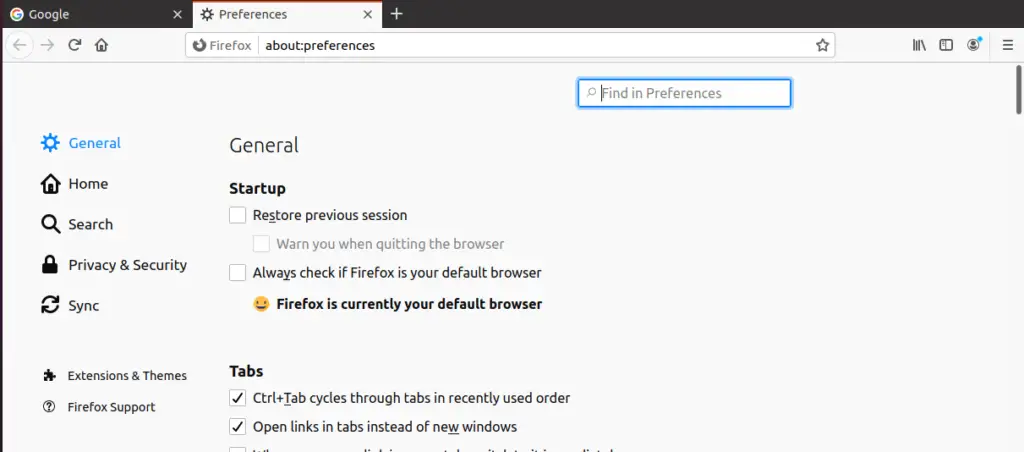
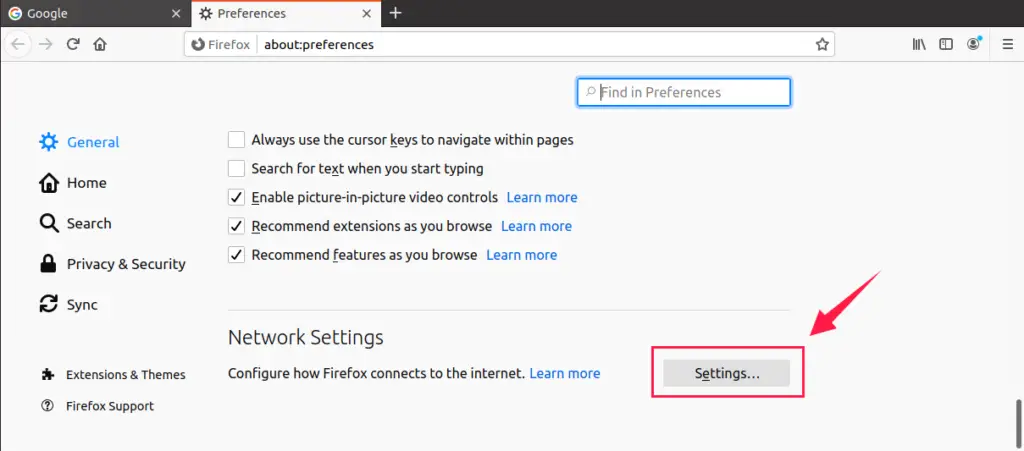
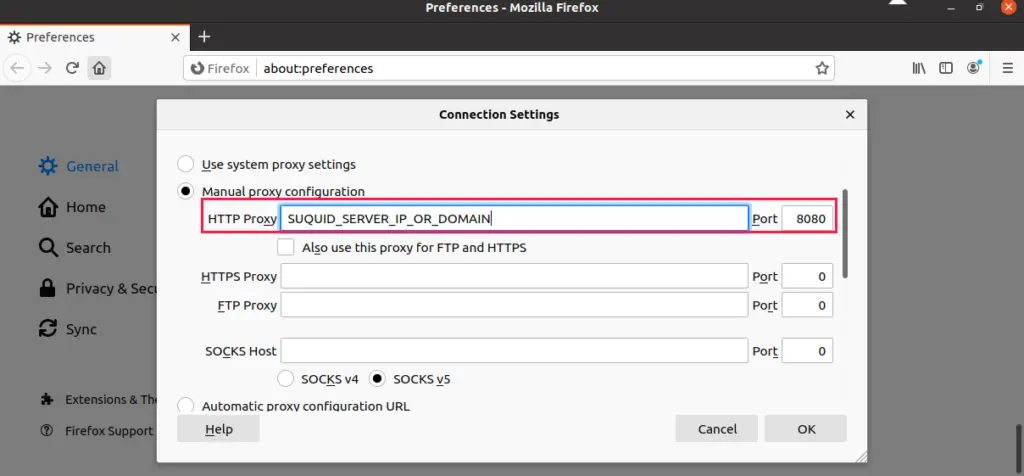
Click on the button named as ‘Settings’. It will open a dialogue box to set the connection settings. Here add the HTTP proxy with its defined port number.
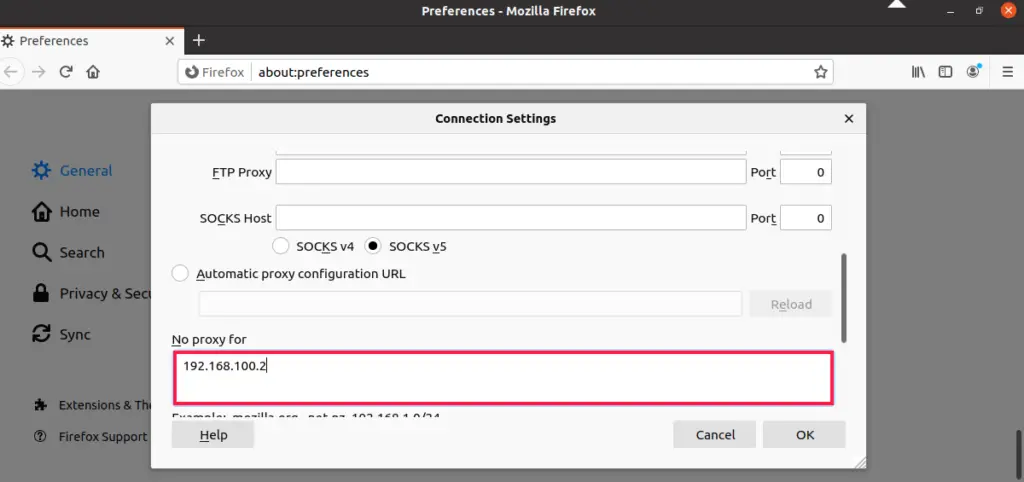
Scroll down and add the IP address to restrict the site on this connection. In this example, we added YouTube’s IP address.
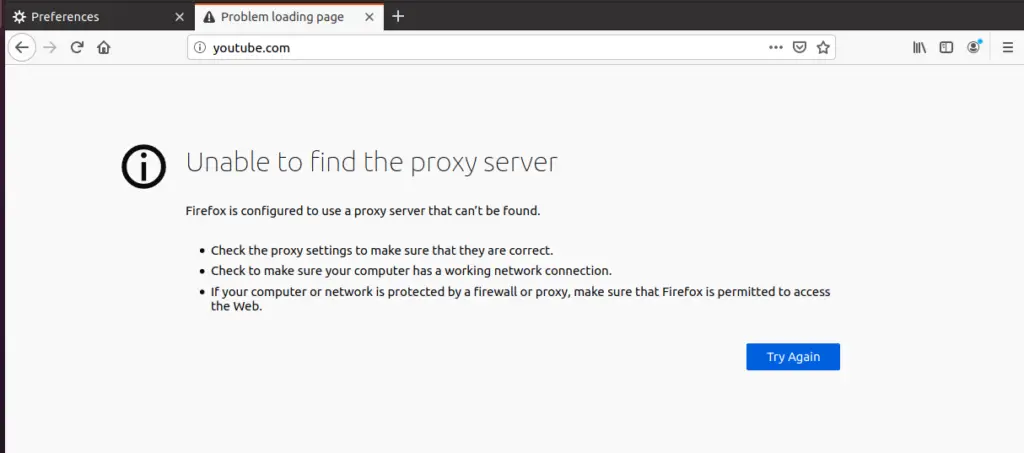
Now let’s see that the proxy is working according to the settings or not. Type the URL of the YouTube site in the search bar. If it shows you the following results then congratulations!, you’ve perfectly configured Squid Proxy on your Ubuntu 20.04.
Conclusion:
In this article, we have addressed the Squid Proxy and its working. Furthermore, we have also shared its Installation and Configuration method on Ubuntu 20.04 step by step.

Saryia is a technology entrepreneur and digital publisher specializing in Linux, open-source technologies, and developer education.