
Jenkins is a free and open-source Java-based server for solving automation problems. It provides a variety of plugins that make continuous delivery and continuous integration easy. Continuous integration is the key practice area of DevOps where several developers continuously update their code and commit the changes to the version control repository. In short, the Jenkins streamlines the continuous delivery, continuous integration, deployment, and testing of new code.
Installing Jenkins on Ubuntu 20.04
As Jenkin is based on Java, therefore it requires Java 8 or later version to be installed on Ubuntu 20.04. Hence, we will install OpenJDK 11 to use Jenkins on Ubuntu 20.04. Complete the below-given steps to install Jenkins on Ubuntu 20.04:
Step 1: Update apt package listing
Before installing any new package or application, update apt existing apt packages:
$ sudo apt update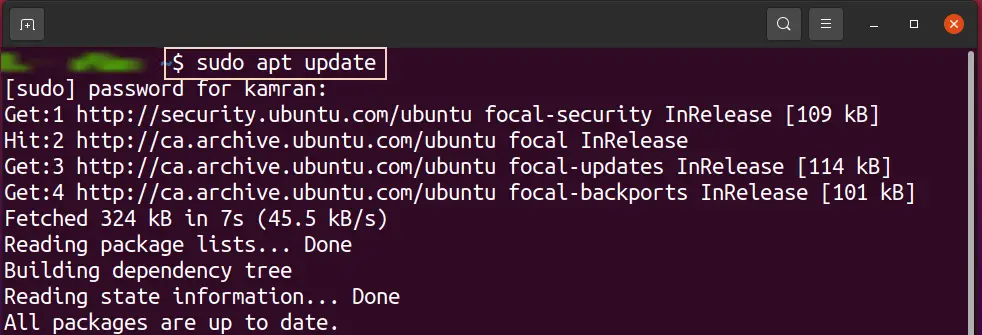
The apt cache will be updated.
Step 2: Get OpenJDK 11
Subsequently, install the OpenJDK 11 by executing:
$ sudo apt install openjdk-11-jre-headless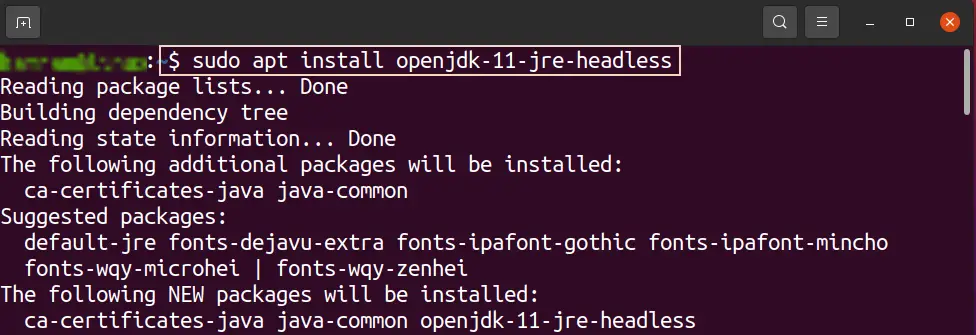
Upon successful installation, verify the installation with the below-given command:
$ java --version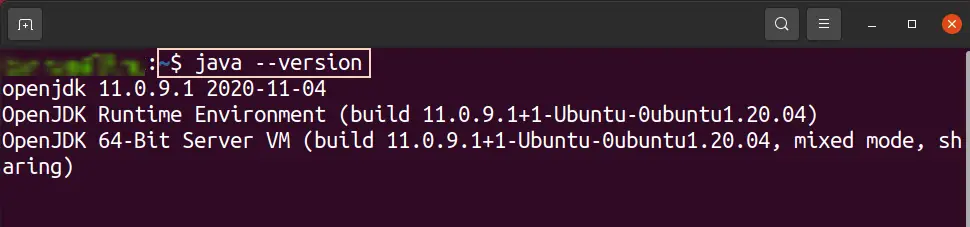
The output displays that the OpenJDK 11 is successfully installed.
Step 3: Add Jenkins repository key
Jenkins is not included in the Ubuntu 20.04 base repository, therefore, we need to add the Jenkins repository key with the command:
$ wget -q -O - https://pkg.jenkins.io/debian-stable/jenkins.io.key | sudo apt-key add
Next, placed the repository in sources.list.d.
$ sudo sh -c 'echo deb http://pkg.jenkins.io/debian-stable binary/ > /etc/apt/sources.list.d/jenkins.list'
The repository is placed to the sources.list.d.
Step 4: Install Jenkins
Upon adding Jenkins repository to server’s list, update the apt cache:
$ sudo apt update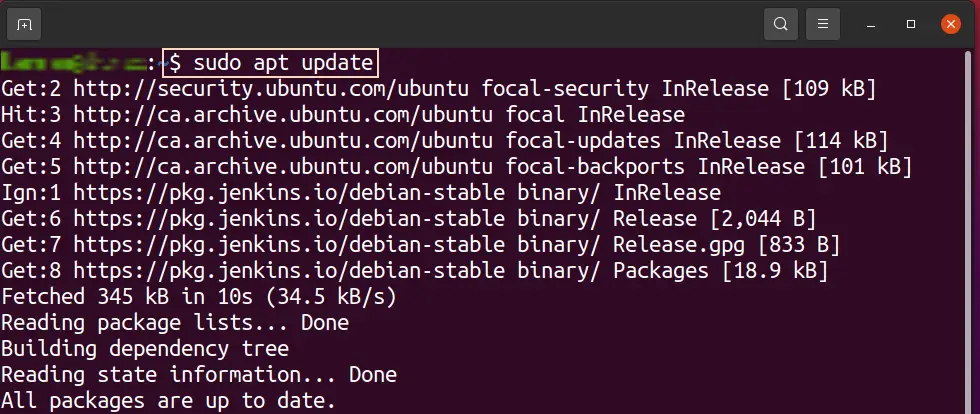
Now, install the Jenkins using the command:
$ sudo apt install jenkins
During the installation, when the command line prompts about additional disk space information, press y on the terminal to continue the Jenkins installation.

The Jenkins will be installed successfully.
Step 5: Check Jenkins service status
Upon successful installation, the Jenkins service will start automatically. To check the Jenkins service status, type the below-given command:
$ sudo systemctl status jenkins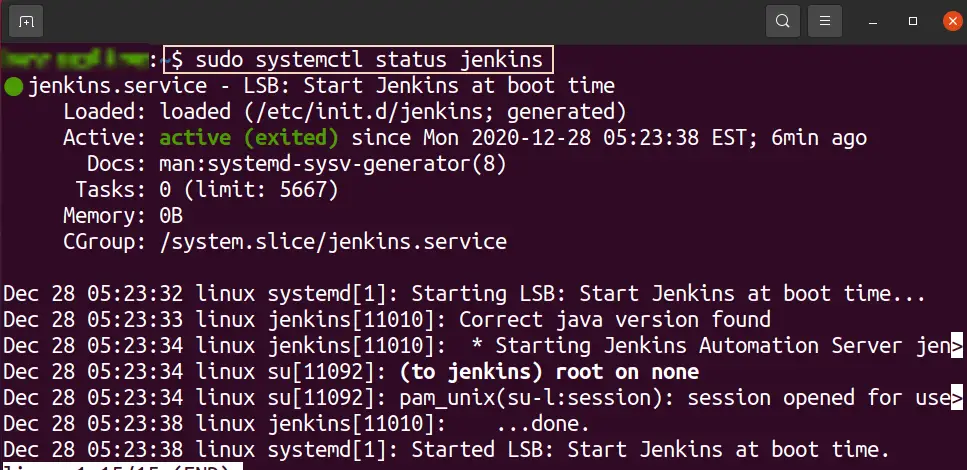
The output displays that the Jenkin service is started. However, for any reason, if the Jenkin service does not start, then type the command given-below to start it:
$ sudo systemctl start jenkins
Configure the Firewall
Configure the firewall to access Jenkins from the web browser. First, let’s enable the firewall by executing the commands in the given order:
$ sudo apt install ssh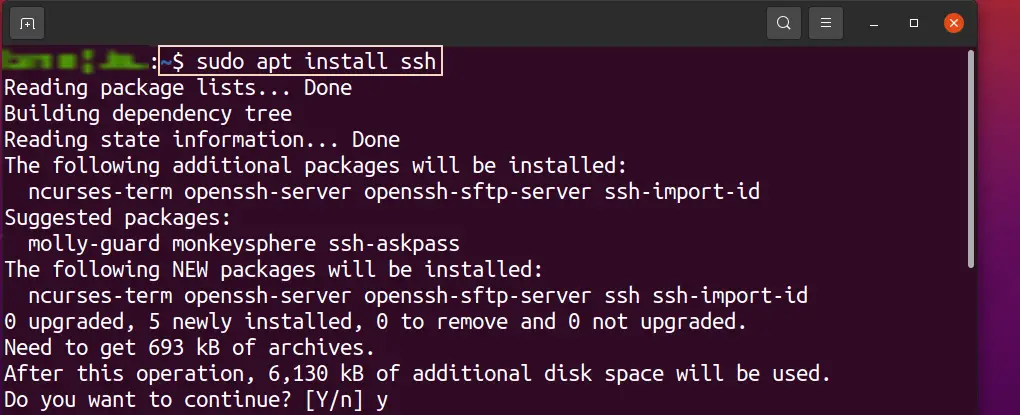
$ sudo ufw allow OpenSSH
$ sudo ufw enable
The Jenkins uses port 8080 to perform functionality, open the ufw port 8080 with the command:
$ sudo ufw allow 8080 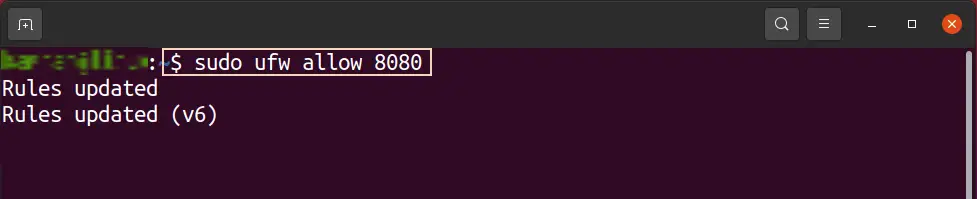
Let’s check the ufw’s status with the command:
$ sudo ufw status
The port 8080 allows traffic from anywhere.
Getting started with Jenkins
Use the IP address of your server or domain name with port 8080 to access and perform the initial configuration for Jenkins. To find the IP address, type the below-given command:
$ ifconfig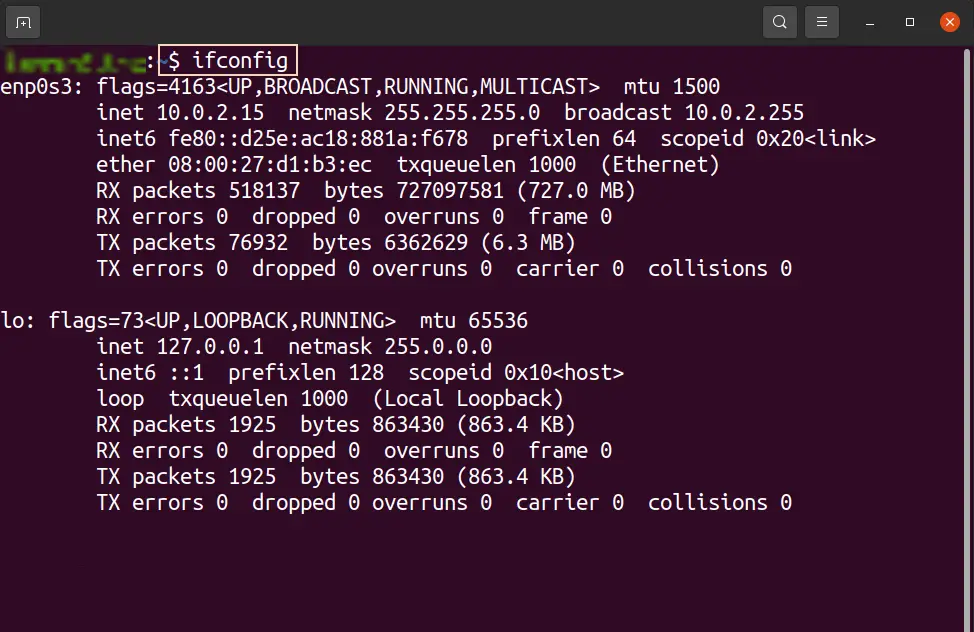
Now, open your favorite browser and enter the URL:http://server_ip_or_domain:8080
In my case, it would be http://10.0.2.15:8080
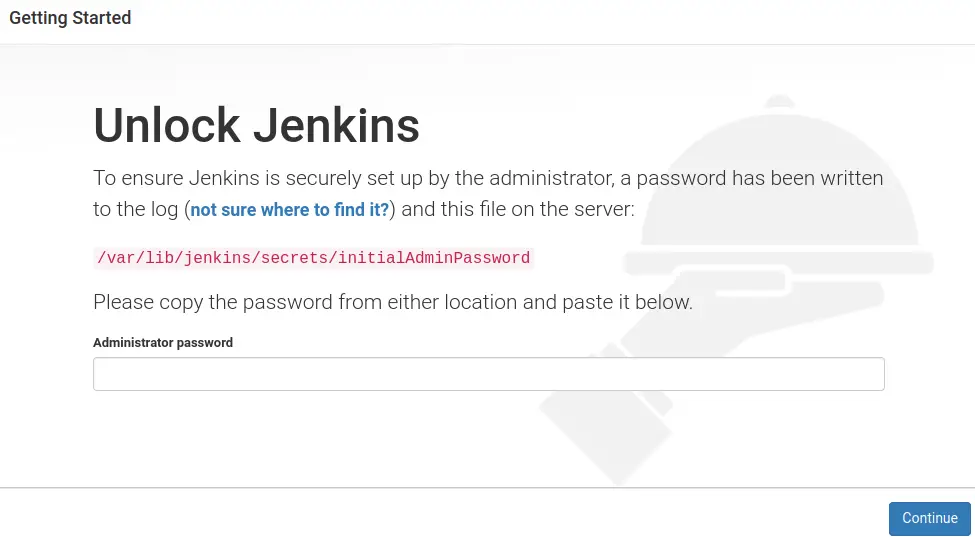
The Unlock Jenkins screen will be displayed. To ensure Jenkins security, a password has been written to the log file.
Execute the cat command with the sudo privileges to get the password:
$ sudo cat /var/lib/jenkins/secrets/initialAdminPassword
Note the password value and enter or paste it into the ‘Administrator password’ field, and press ‘Continue’.
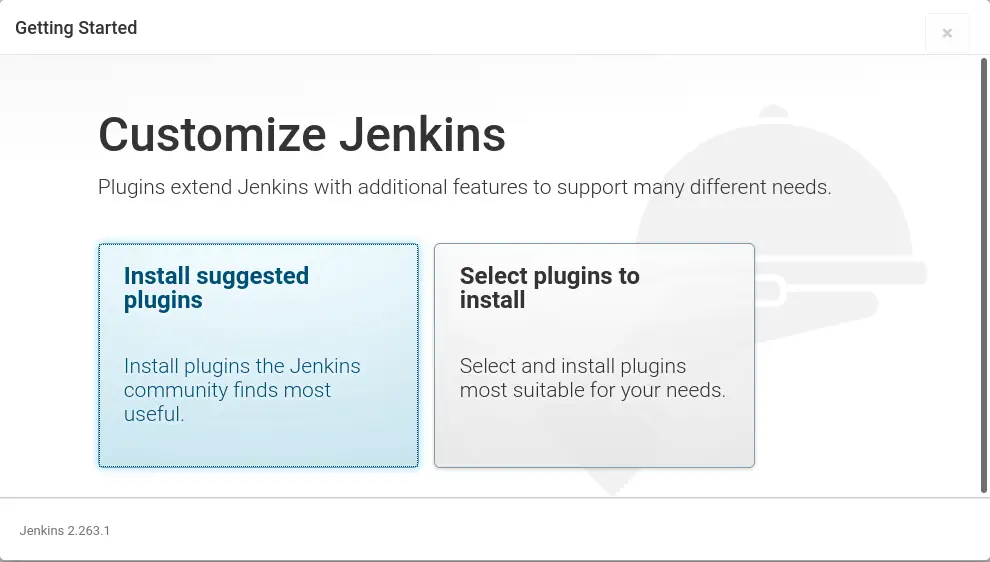
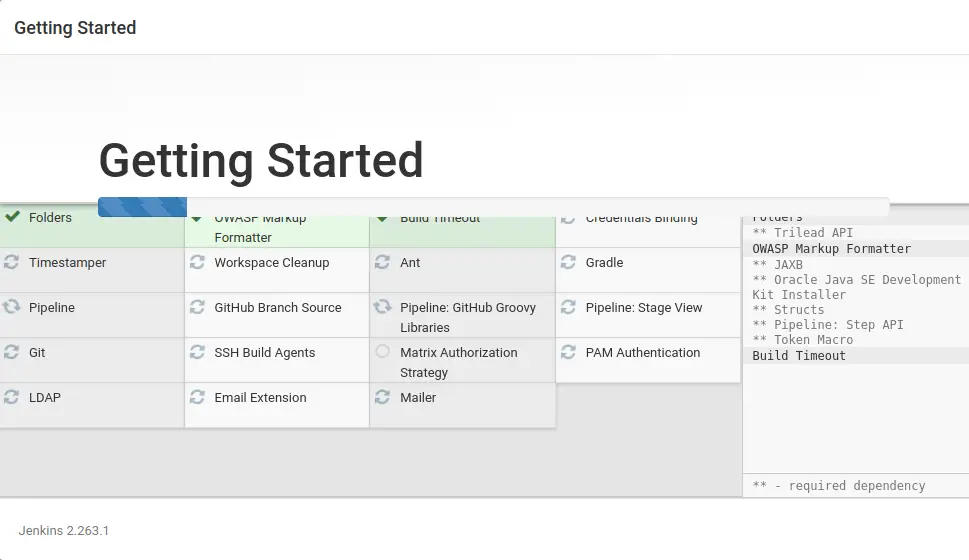
You can install the suggested plugins and can select various plugins to install. It is better to install the suggested plugins as they are widely used by the community.
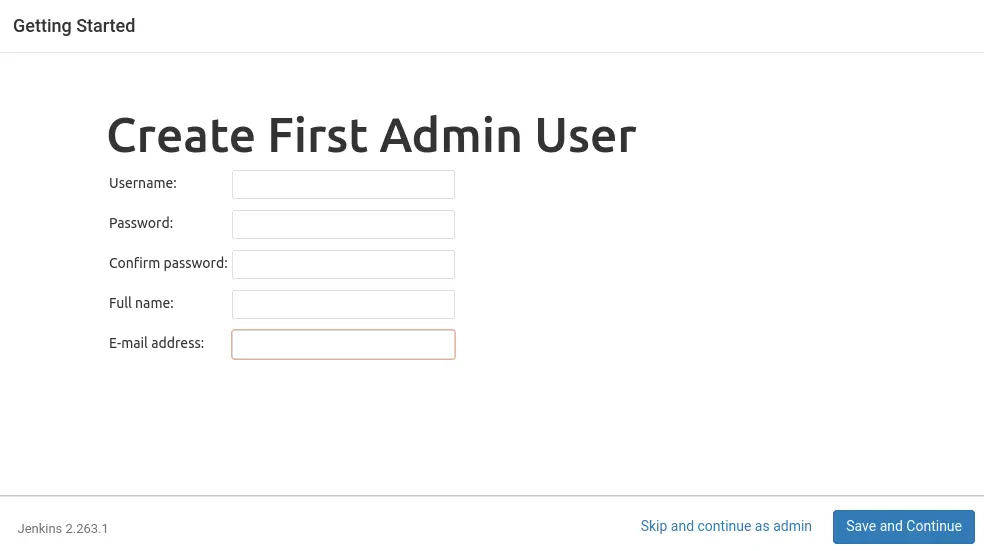
Next, create the first admin user. Enter the appropriate data in all the fields and click on ‘Save and Continue’. We also have an option of skipping the account creation and continue as admin.
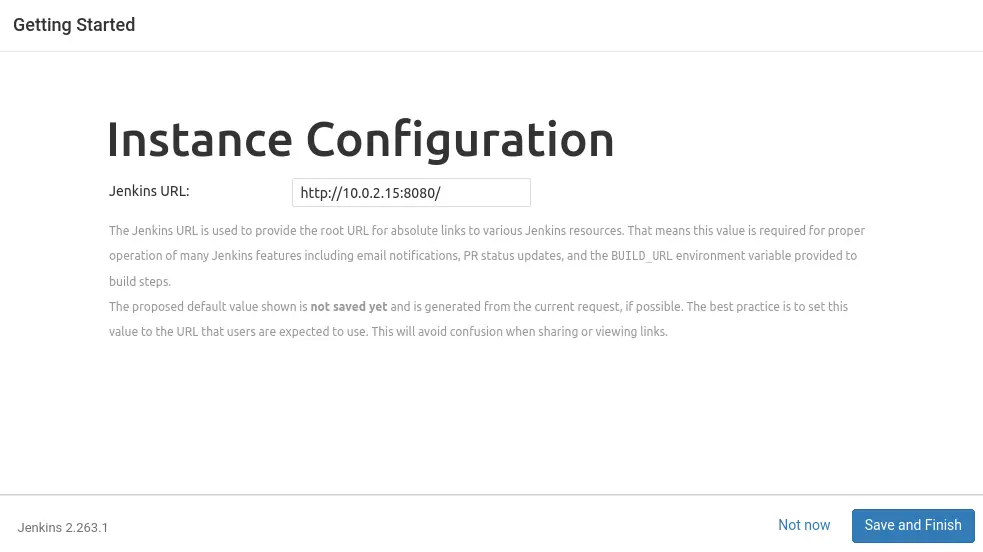
An instance configuration page will be displayed. Confirm the Jenkins URL and click on ‘Save and Finish’.
After the successful setup, the Jenkins will be ready for use.

Conclusion
Jenkins is a useful tool to solve automation-related problems. You can install Jenkins on Ubuntu 20.04 by performing the described steps.

Saryia is a technology entrepreneur and digital publisher specializing in Linux, open-source technologies, and developer education.