Drupal is a type of application that is designed for the purpose of managing content. Most of the commonly used websites and applications are built with it. Drupal comes with a lot of great standard features, such as simple content authoring, dependable performance, and strong security. But the versatility that sets it apart and modularity are one of its guiding principles. The tools assist you in creating the structured and flexible content essentials for dynamic web experiences.
It’s also a great option for building digital frameworks that are integrated. You can customize this framework with one or more of the countless available add-ons. Its functionality is enhanced by modules. Themes allow you to customize the appearance of your content. Also, the distributions are Drupal bundles that can be utilized as starter kits. To improve Drupal’s core capabilities, you can match up these components. Alternatively, integrate Drupal with your infrastructure’s external applications and resources. There exists no other content management system which is as powerful and scalable as this one.
Drupal is a freely available, open-source project. Everyone has the access to download, use, collaborate, and share it. It is based on values such as globalization, co-operation, and innovation. The GNU GPL governs its distribution (GPL). There exist no license fees for its usage. Drupal will be always available for free.
That’s all about Drupal. Now, let’s start its installation guide on Ubuntu 20.04. Firstly, ensure that you are using the terminal as a ‘superuser’.
Installing and Configuring Drupal on Ubuntu 20.04
Step 1: Open the terminal by pressing ‘CTRL+ALT+T’ or search it manually in the activities and update the packages list.
$ sudo apt update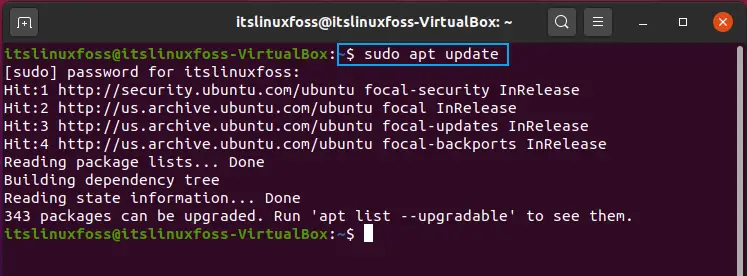
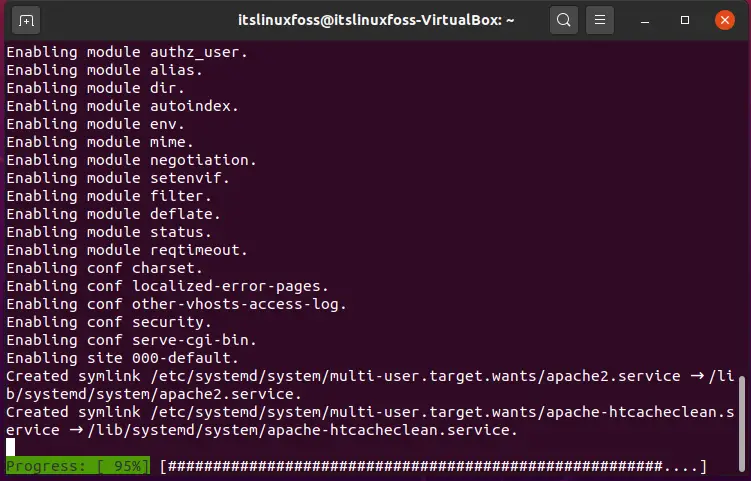
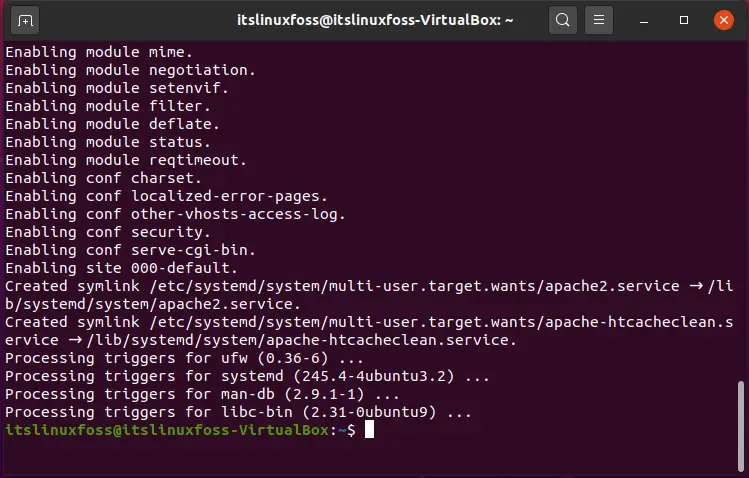
Step 2: First of all, we need to install apache 2 on the system.
$ sudo apt install apache2 -y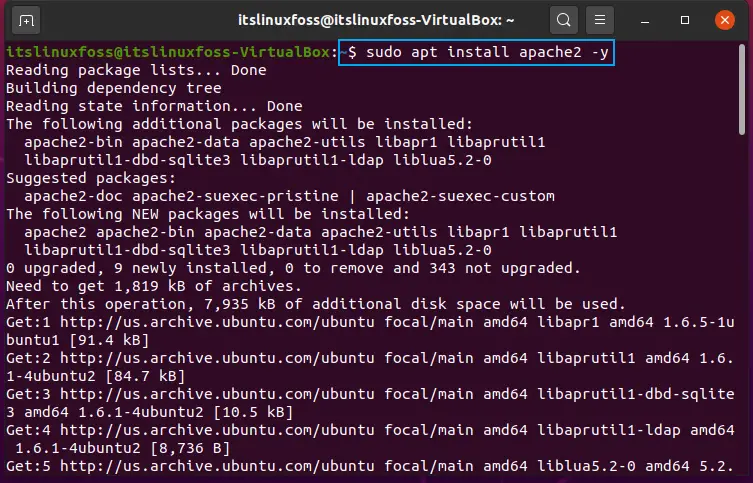
Step 3: Now, enable the Apache2 service by utilizing the below-given commands.
$ sudo systemctl stop apache2.service
$ sudo systemctl start apache2.service
$ sudo systemctl enable apache2.service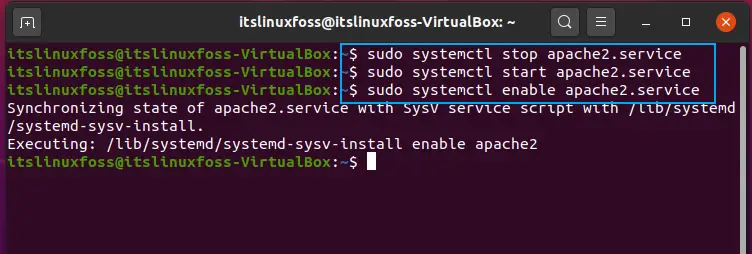
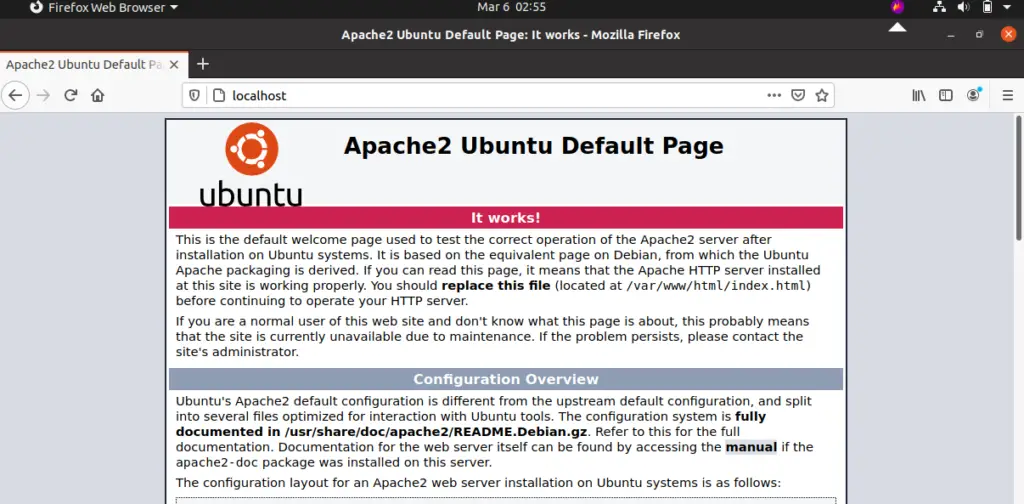
Browse local hosts on your system to check if the Apache2 service is enabled or not.
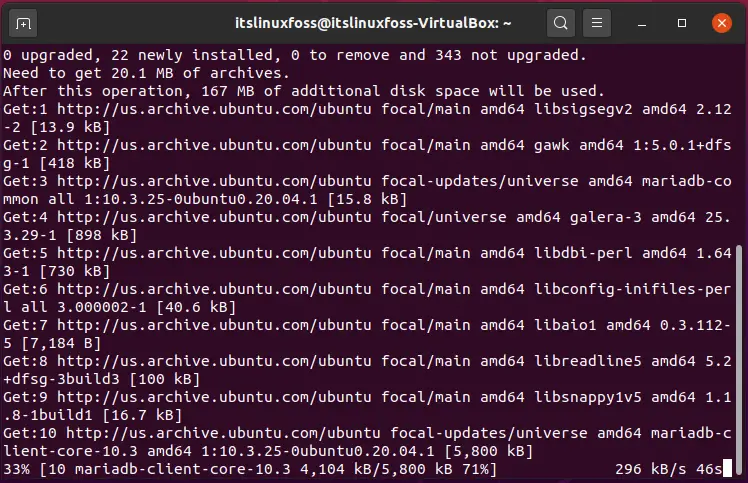
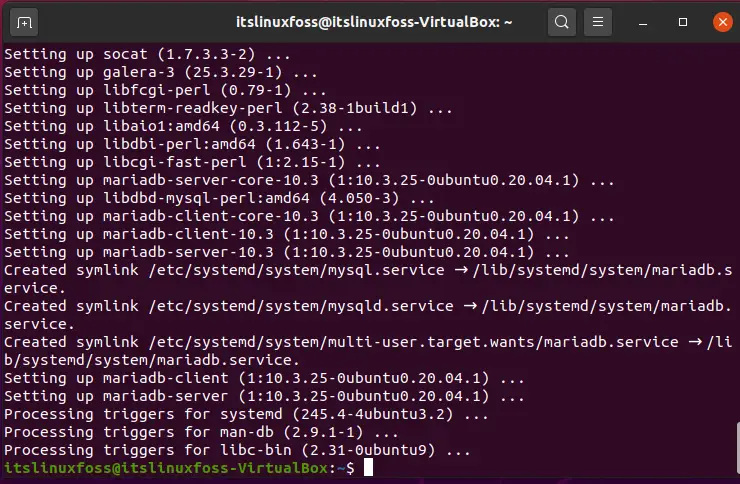
Step 4: It is one of the Installation requirements of Drupal to have a web-based server on the system and MariaDB is one of the best Web-based servers out there.
$ sudo apt install mariadb_server mariadb_client -y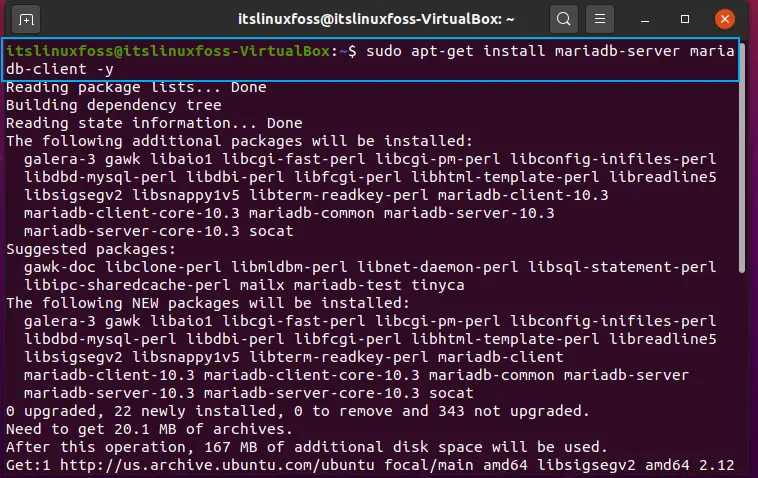
Step 5: Enable the MariaDB service by following these commands.
$ sudo systemctl stop mariadb.service
$ sudo systemctl start mariadb.service
$ sudo systemctl enable mariadb.service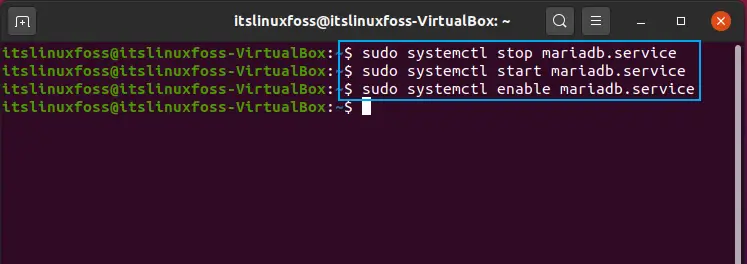
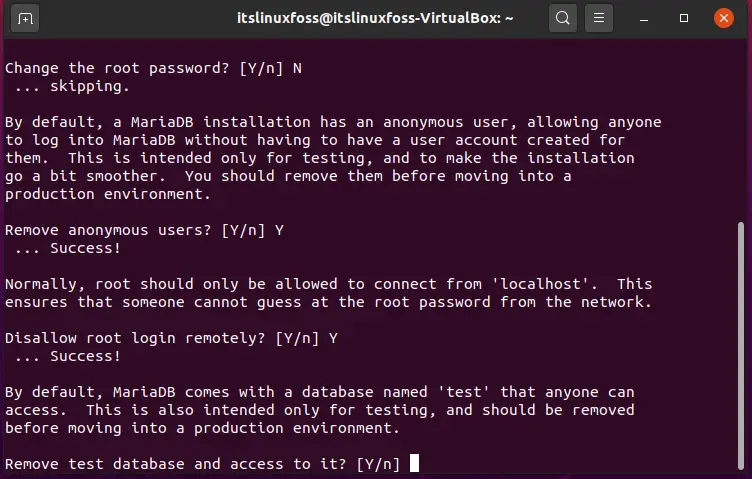
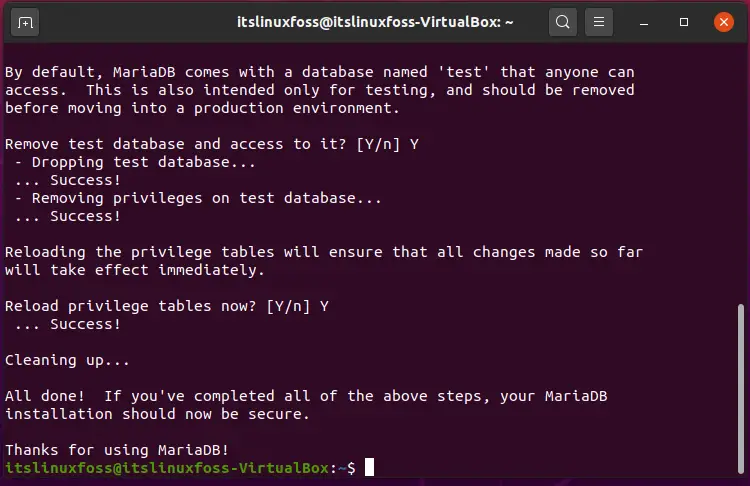
Step 6: Now configure the settings related to the user settings. The preceding pictures will help you to do so.
$ sudo mysql_secure_installation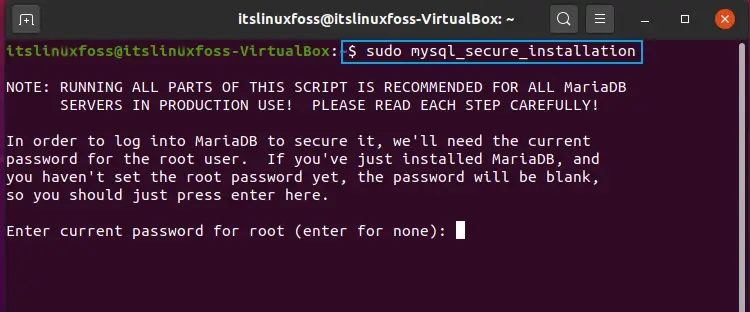
Step 7: Utilize the following command to verify that MariaDB is working correctly.
$ sudo mysql -u root -p
>EXIT;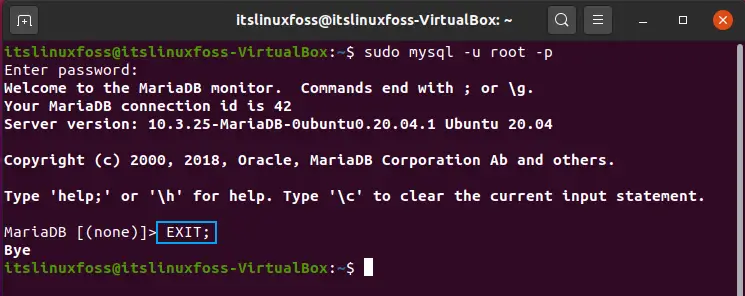
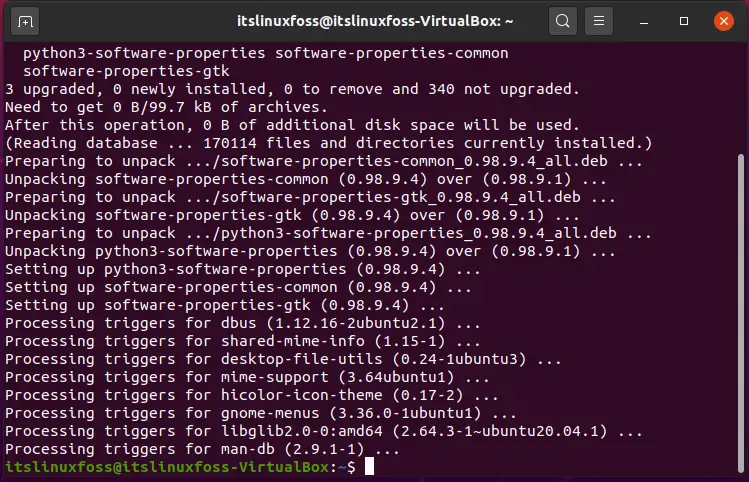
Step 8: Now, fulfill the other necessities as well.
$ sudo apt-get install software-properties-common -y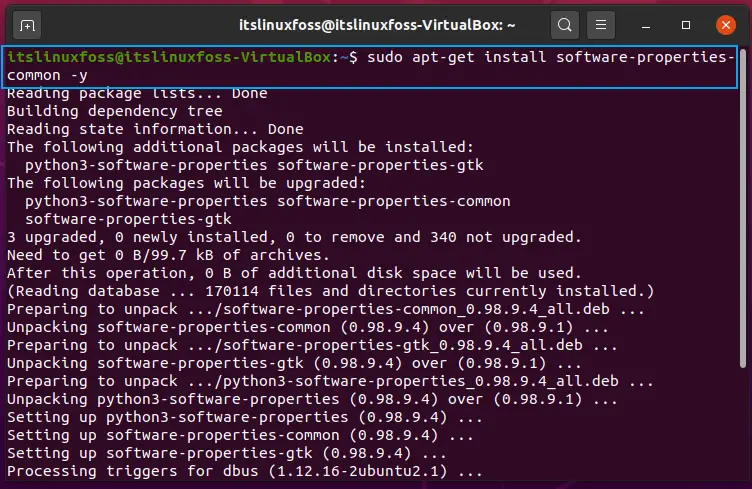
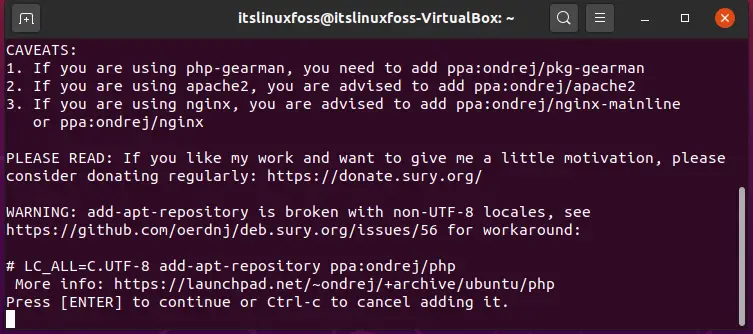
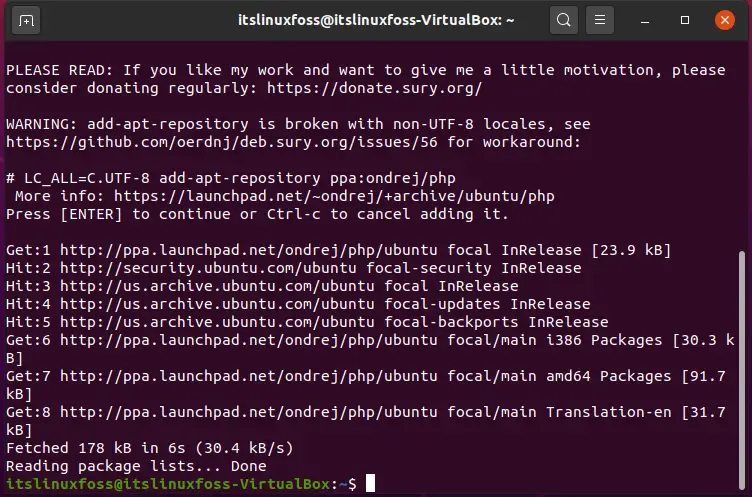
Step 9: Now we will add the ppa repository that will lead us towards the PHP installation.
$ sudo add apt-repository ppa:ondrej/php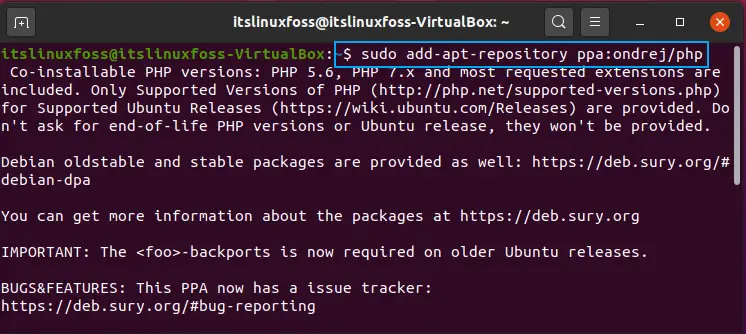
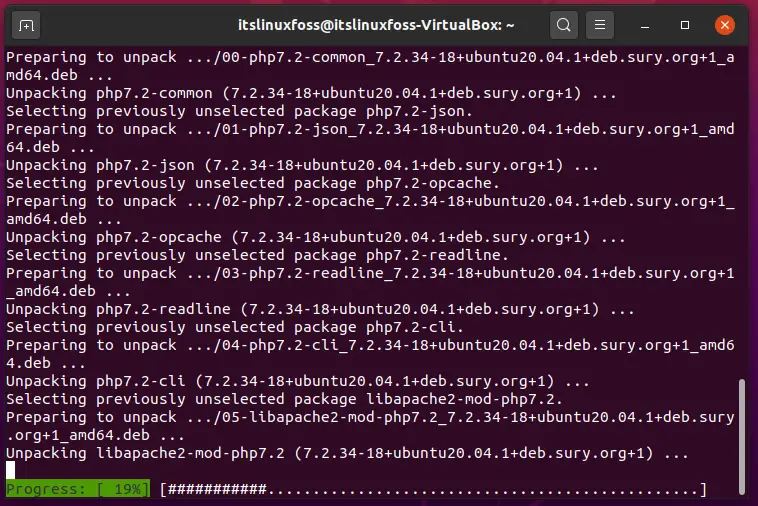
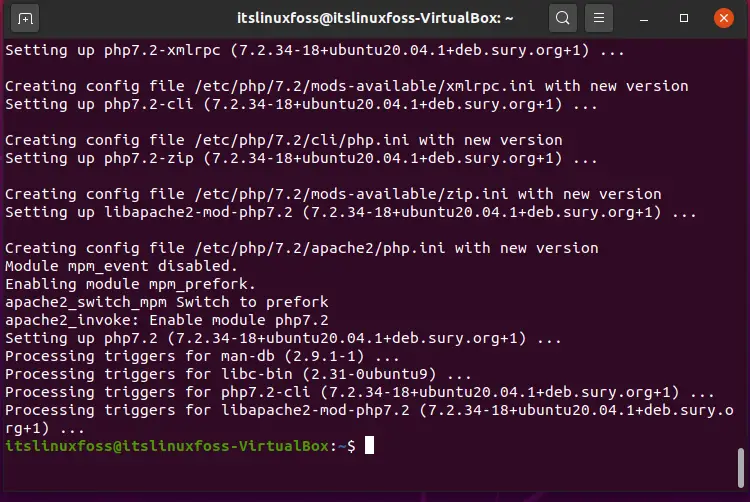
Step 10: Write-out the following command to install PHP 7.02 and all of its compulsory modules.
$ sudo apt install php7.2 libapache2-,od-php7.2 php7.2-common php7.2-mbstring php7.2-xmlrpc php7.2-soap php7.2-gd php7.2-xml php7.2-intl php7.2-mysql php7.2-cli php7.2-zip php7.2-curl -y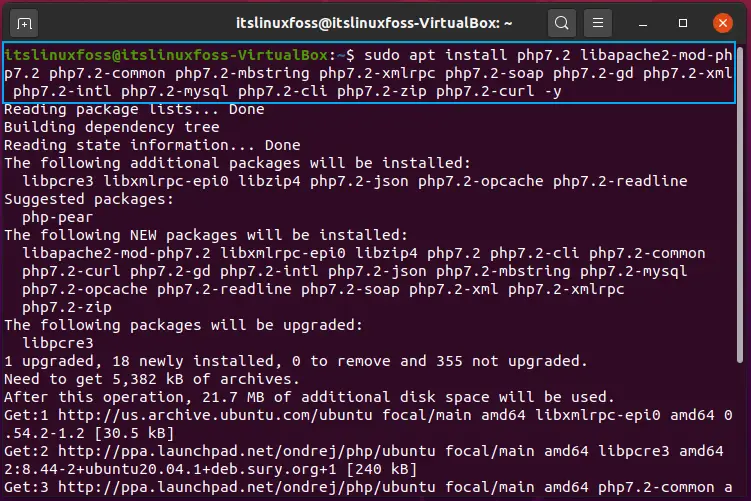
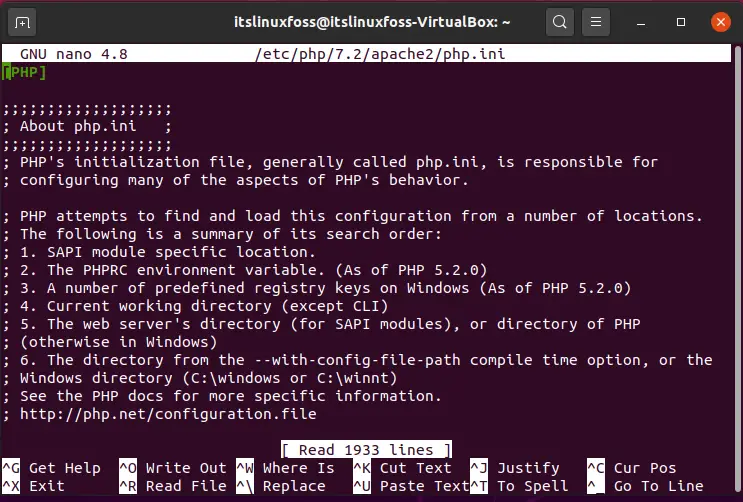
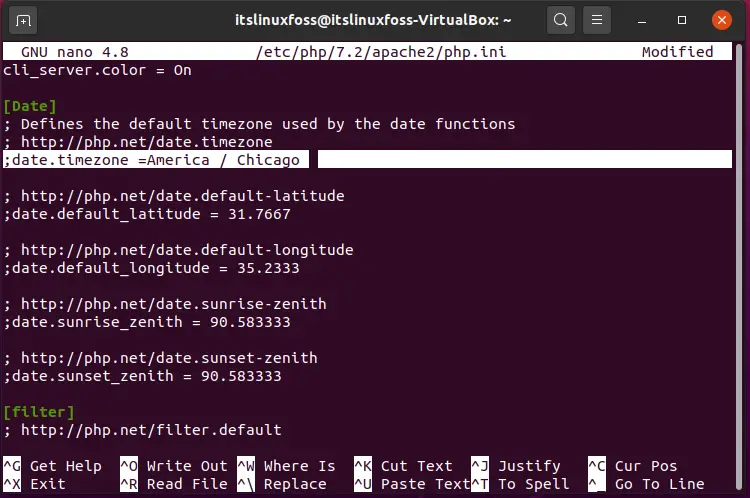
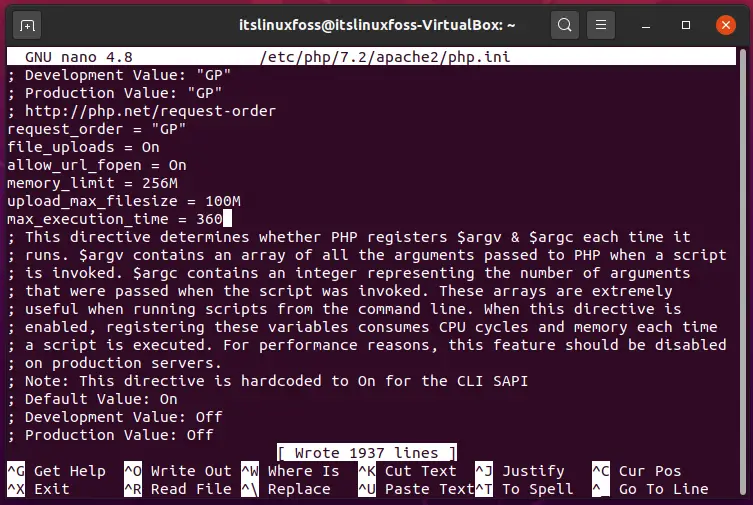
Step 11: Set your timezone in the configuration file of PHP.
$ sudo nano /etc/php/7.2/apache2/php.ini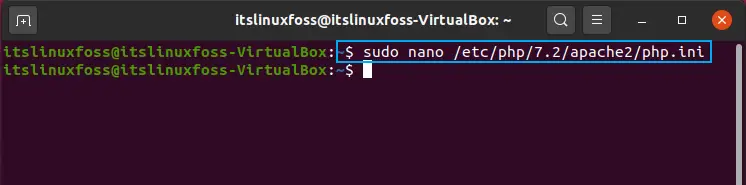
$ sudo systemctl restart apache2.service
$ sudo nano /var/www/html/phpinfo.php
<?php phpinfo(); ?>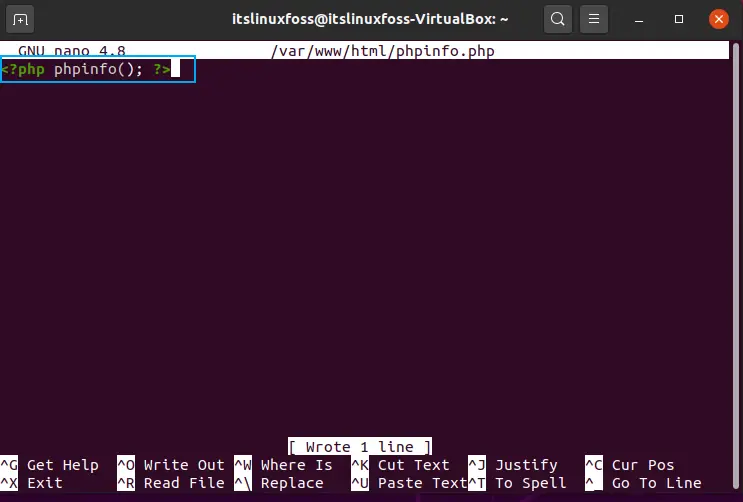
Step 13: Log-in to your MariaDB environment. Create a database for Drupal, assign a password, and set other privileges.
$ sudo mysql -u root -p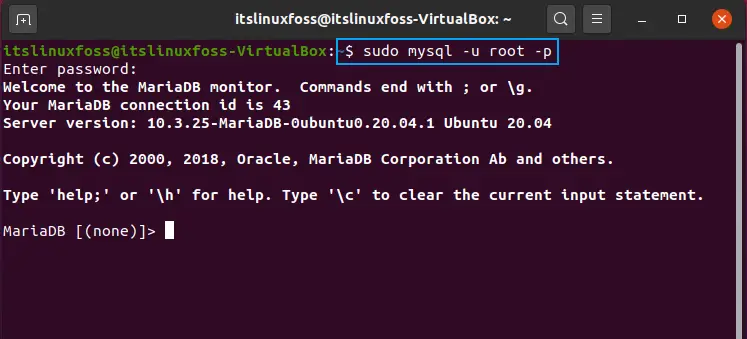
> CREATE DATABASE drupaldb;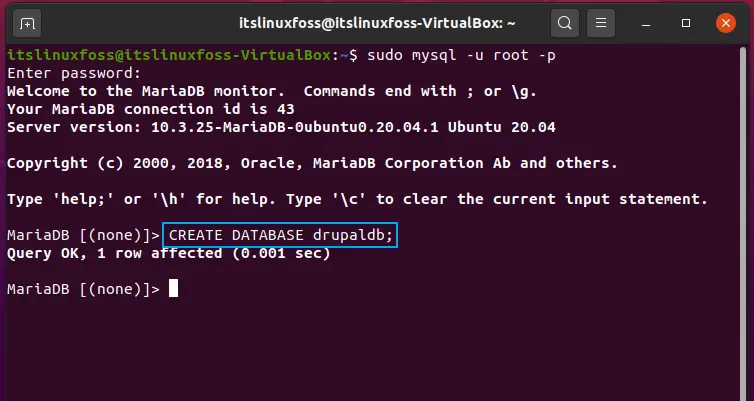
> GRANT ALL ON drupaldb.* TO ‘drupla_user’@’localhost’ IDENTIFIED BY ‘drupal_passwd’ WITH GRANT OPTION;
> FLUSH PRIVILEGES;
> EXIT;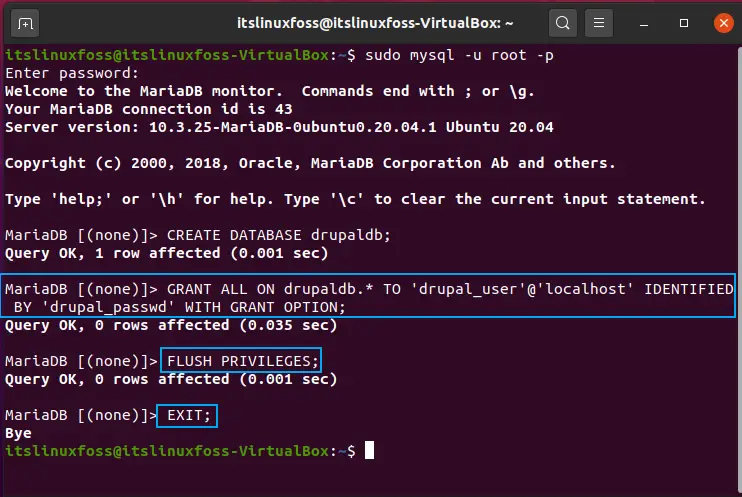
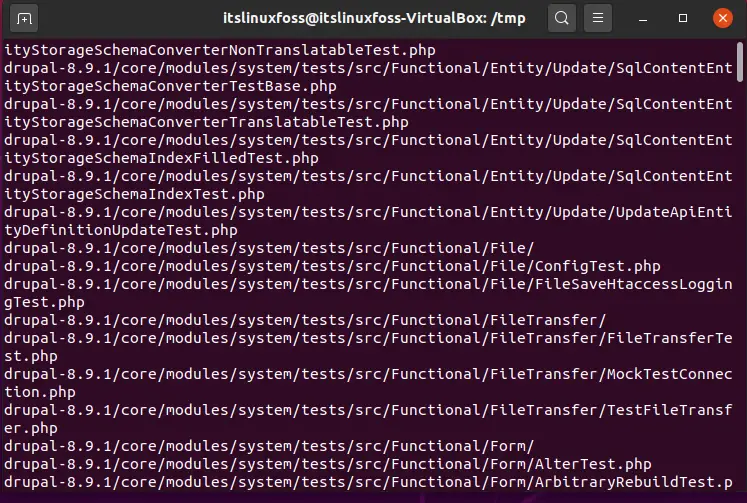
Step 14: Write-out the following command to download and extract the package of Drupal.
$ cd /tmp && wget https://ftp.drupal.org/files/projects/drupal-8.9.1.tar.gz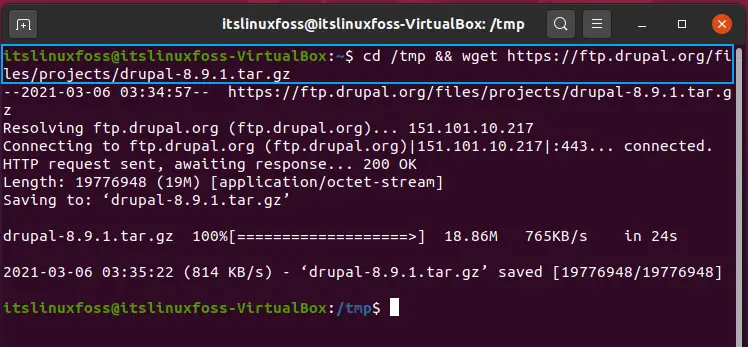
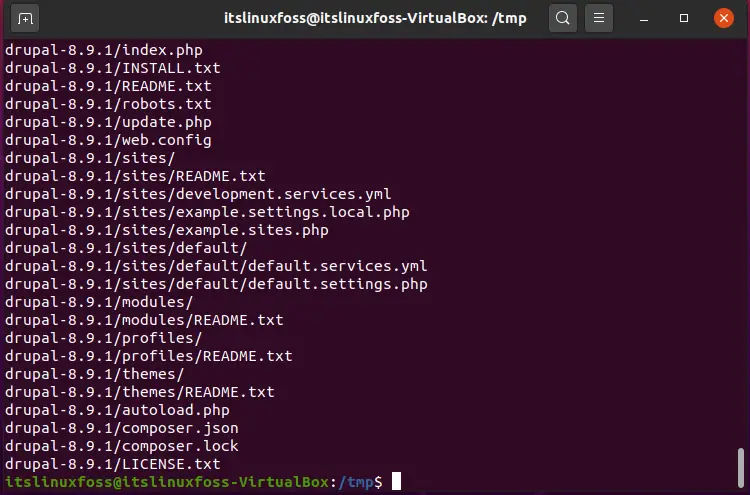
$ tar -zxvf drupal*.gz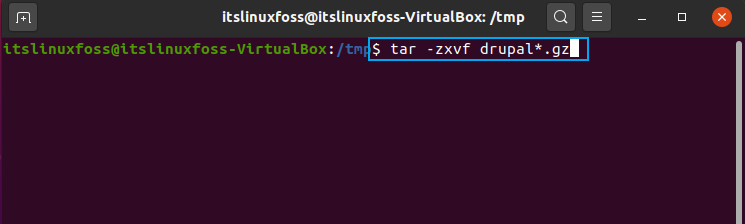
$ sudo mv drupal-8.9.1 /var/www/html/drupal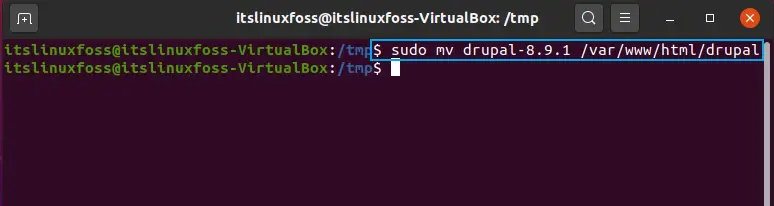
$ sudo chown -R www-data:www-data /var/www/html/drupal/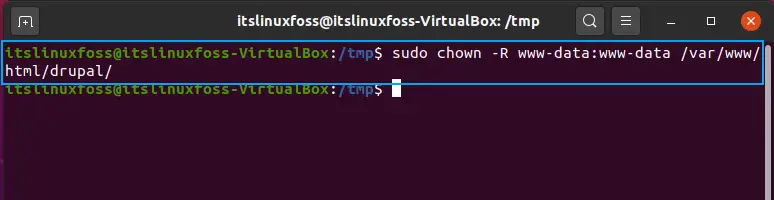
$ sudo chmod -R 755 /var/www/html/drupal/
Step 15: Add the following content in the configuration file.
$ sudo nano /etc/apache2/sites-available/drupal.confServer Admin [email protected]
DocumentRoot /var/www/html/drupal/
Server Name example.com ServerAlias www.example.com
ErrorLog ${APACHE_LOG_DIR}/error.log
CustomLog ${APACHE_LOG_DIR}/access. log combined
Options FollowSymlinks
AllowOverride All
Require all granted
RewriteEngine on
RewriteBase /
RewriteCond %{REQUEST_FILENAME} !-f
RewriteCond %{REQUEST_FILENAME} !-d
RewriteRule ^(.*)$ index.php?q=$1 [L,QSA)
Step 16: Now it’s time to enable the newly settled configuration settings.
$ sudo a2ensite drupal.conf
$ sudo a2enmod rewrite
$ sudo a2enmod env
$ sudo a2enmod dir
$ sudo a2enmod mime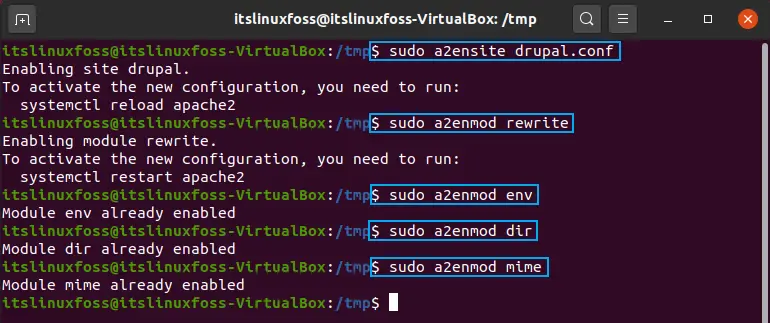
Step 17: After that, again restart the Apache 2 service.
$ sudo systemctl restart apache2.serviceStep 18: Now access the configuration page of Drupal by utilizing the following command.
http://localhost/drupal/Conclusion:
This article has shown you a complete guide of installation and configuring Drupal on Ubuntu 20.04 which includes its installation of other requirements such as Apache 2, MariaDB server, PHP7.2, and some other packages.

Saryia is a technology entrepreneur and digital publisher specializing in Linux, open-source technologies, and developer education.