There are various methods to install the packages of software applications on Debian 12. One of them is to build the packages from its source code. The source code of different applications software is either available on their official websites or the community contribution platforms such as GitHub.
The installation method of building the packages is convenient if users want to install a specific version of the application. This method also allows the users to monitor every step of the installation.
This blog will explain the installation method of the package by building it from the source.
How to Build a Package from its Source Code on Debian 12?
To build a package from its source code on Debian 12, we will understand the installation of the “Imagemagick” on Debian from its source code. The steps to build a package from its source code are listed:
- Step 1: Open the Terminal
- Step 2: Upgrade the Packages
- Step 3: Install the Git
- Step 4: Clone the Repository
- Step 5: Navigate to the Package Directory
- Step 6: Configure the Files
- Step 7: Make the Executable File
- Step 8: Install Package
- Step 9: Display the Installed Version
Follow the next explained steps for the installation of ImageMagick on Debian.
Step 1: Open the Terminal
The packages are built by running several commands and for this purpose, the first step is to open the terminal:
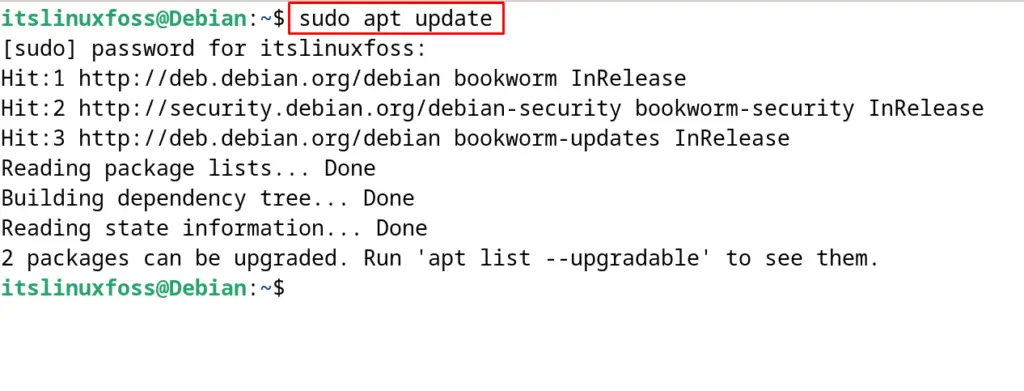
Step 2: Upgrade the Packages
Now ensure that the package list is updated by running the command:
$ sudo apt update
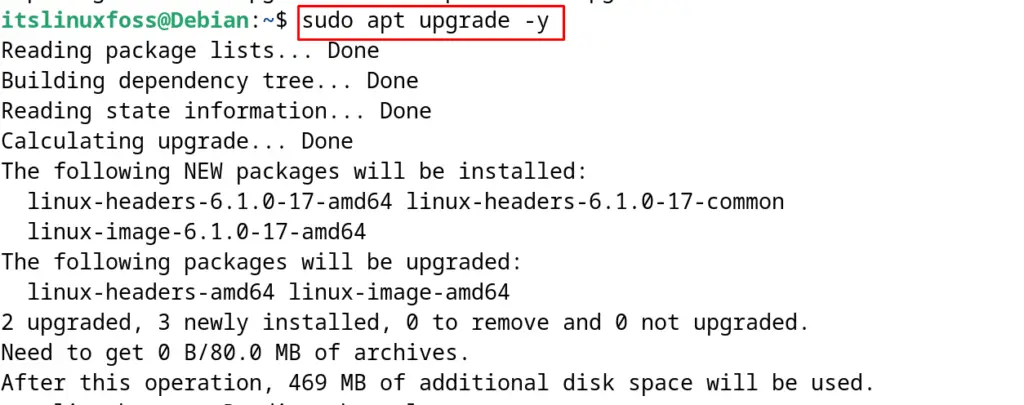
If there are some updates available in the package list, execute the next command to upgrade them:
$ sudo apt upgrade -y
Step 3: Install the Git
When the packages are updated, then install the package of the Git by following the instructions explained in the post.

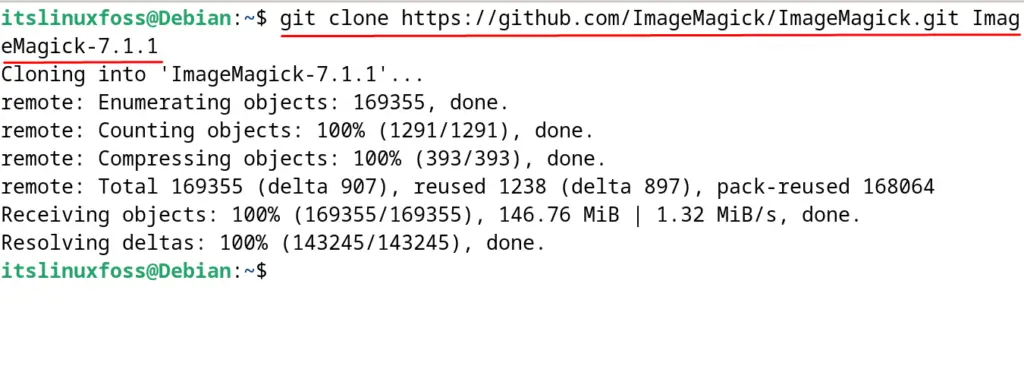
Step 4: Clone the Repository
In this step, we will pull out or copy the entire data of the available repository of ImageMagick on Debian from GitHub. This process is known as cloning the repository and to clone the repository of ImageMagick, run the command:
$ git clone https://github.com/ImageMagick/ImageMagick.git ImageMagick-7.1.1
Step 5: Navigate to the Package Directory
When the repository is cloned successfully, then enter the “ImageMagick” directory to access the files:
$ cd ImageMagick-7.1.1

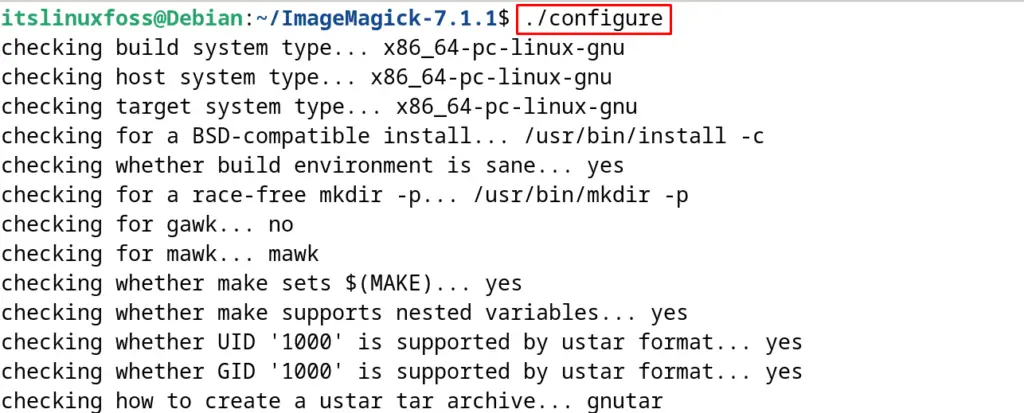
Step 6: Configure the Files
Initialize the configuration of the binaries of the “ImageMagick” application with the execution of the command:
$ ./configure
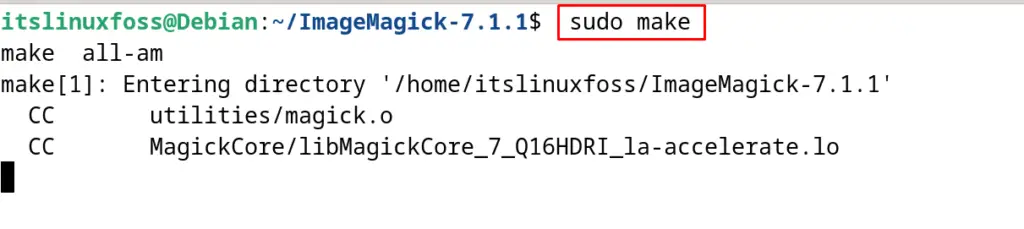
Step 7: Make the Executable File
Use the make command to create an executable file for the installation of “ImageMagick” from the configured files:
$ sudo make
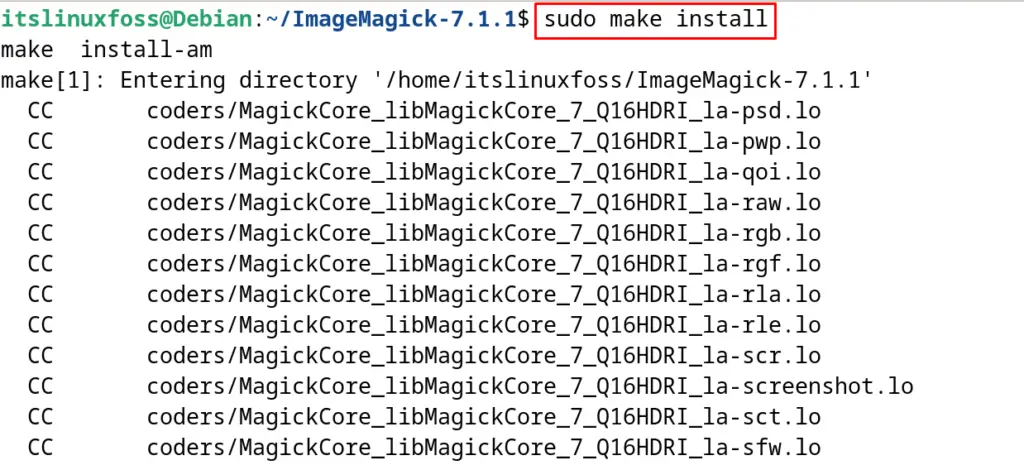
Step 8: Install Package
Finally, install the ImageMagick on Debian 12 from the executable files by using the command:
$ sudo make install
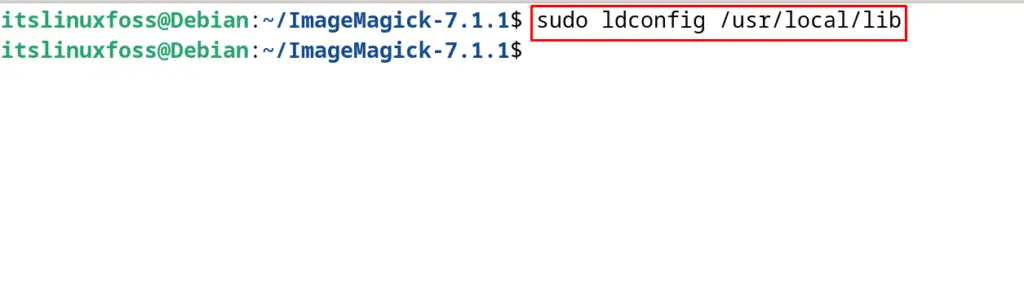
Also, run the command to configure the ld library of the “ImageMagick” application:
$ sudo ldconfig /usr/local/lib
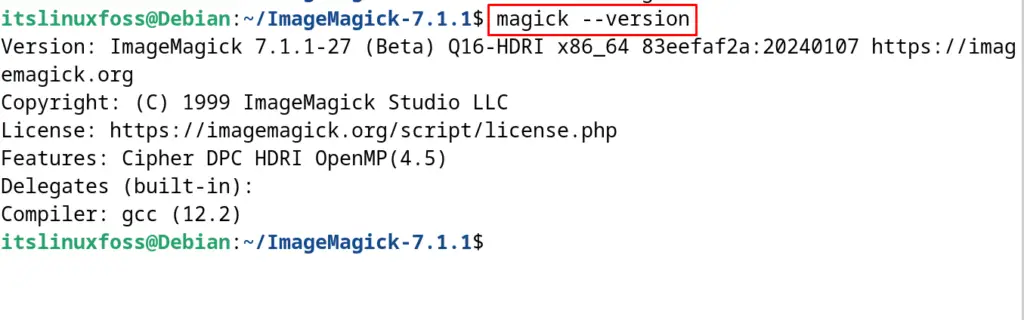
Step 9: Display the Installed Version
To validate the successful installation of the “ImageMagick” on Debian, display the installed version:
$ magick --version
These are the steps to install a package by building it from its source code.
Conclusion
To build a package from its source code on Debian 12, first configure the binaries of the package. Then make an executable file and install it.
All the steps involved in the installation of the package from its source code by building packages have been explained in this post.
