Openfire is an Open Source Apache-licensed real-time collaboration (RTC) server. The only widely used open protocol is adopted for instant messaging known as XMAPP. Openfire is also known as the XMPP server. It is used for building chat applications at the elementary level. Openfire XMPP is tremendously easy to set up and for maintaining, but their service offers rocking and solid security and performance. You can read about the XMPP protocol before heading towards the Openfire and its usage for development purposes. All of the packets such as messages from the client end which can be web or mobile applications pass through the XMPP server. After that, the server transfers the packet to the intended recipients.
Features of Openfire
- Support for LDAP integration and with other external instant messaging servers
- Based on clustering to avoid the least amount of failure too
- Embedded database (PostgreSQL, Oracle, MySQL) support for details about users and messages storage.
- Spark Instant Messaging client integration
- It also can support SSL and TSL for security.
- Openfire also contains a manager for the Web GUI configuration manager.
- A variety of plug-ins extend its functionality.
Now, let’s step-in towards the OpenFire Installation process on Ubuntu 20.04. Before following the installation guide, make sure that you are logged in as ‘superuser’.
Installing OpenFire on Ubuntu 20.04
Step 1: Open the terminal by pressing ‘CTRL+ALT+T’ or search it in the activities and update the list of packages.
$ sudo apt-get update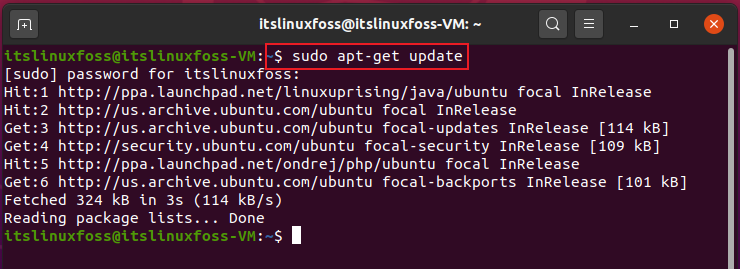
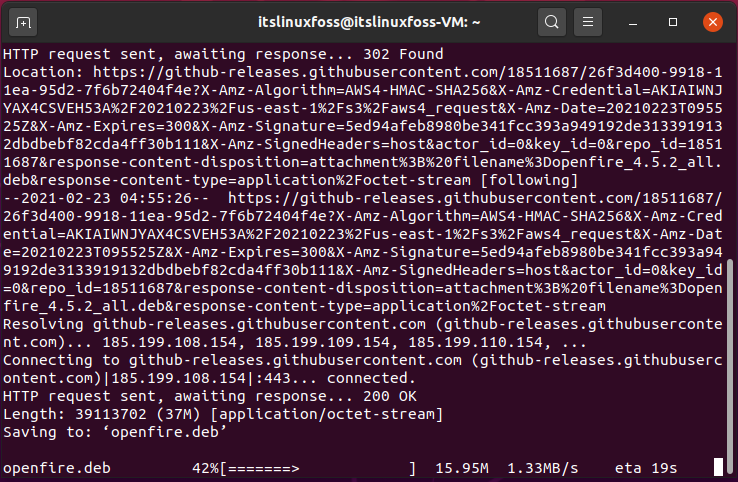
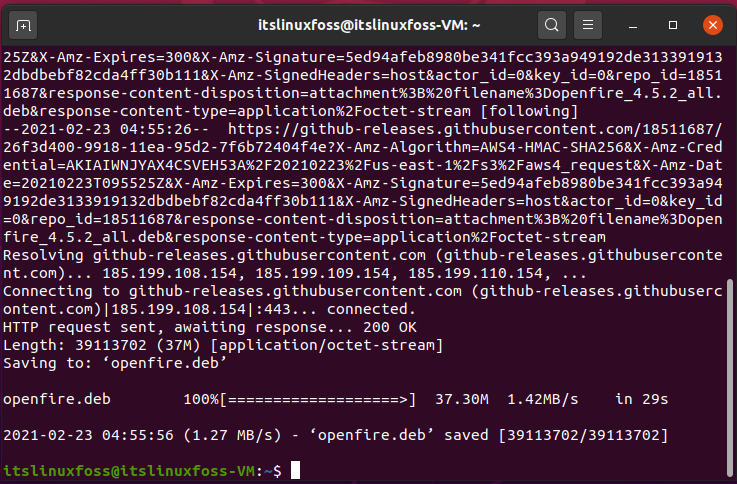
Step 2: Download the .deb package of the Openfire XMPP chat server on your system.
$ sudo wget https://www.igniterealtime.org/downloadServlet?filename=openfire/openfire_4.5.2_all.deb -O openfire.deb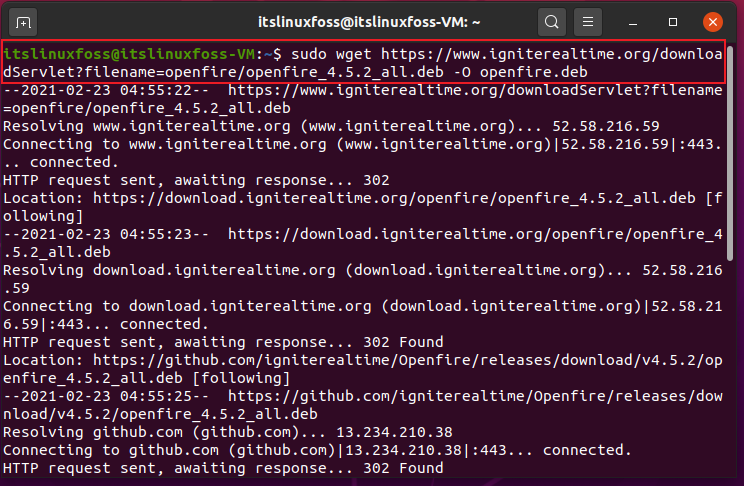
Step 3: Write-out the following command to install the downloaded Openfire package.
$ sudo apt install ./openfire.deb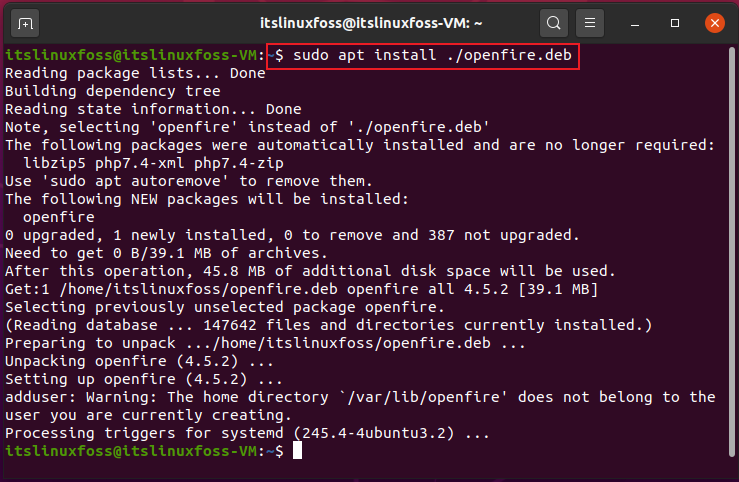
After that, enable the Openfire service and then check its status.
$ sudo systemctl enable --now openfire$ systemctl status openfire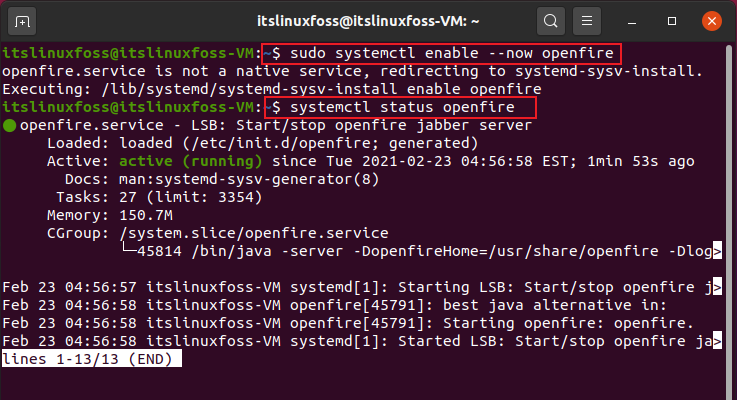
Step 4: Now install the ‘MariaDB-server’ by utilizing the following commands.
$ sudo apt -y install mariadb-server
$ sudo mysql -u root
Create a database name as ‘openfire’, assign password and privileges.
> CREATE DATABASE openfire;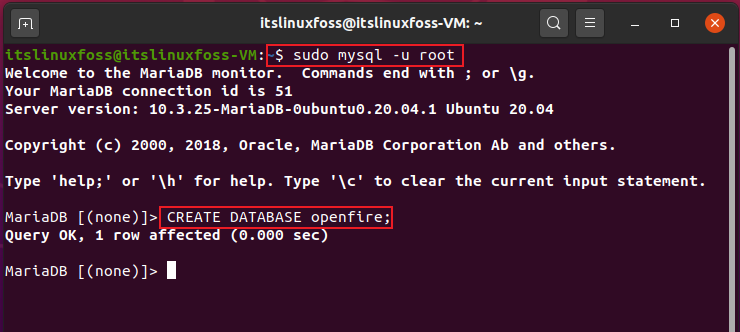
> GRANT ALL PRIVILEGES ON openfire.* TO openfire@localhost -> IDENTIFIED BY ‘StrongP@assword123!’;
> FLUSH PRIVILEGES;
>QUIT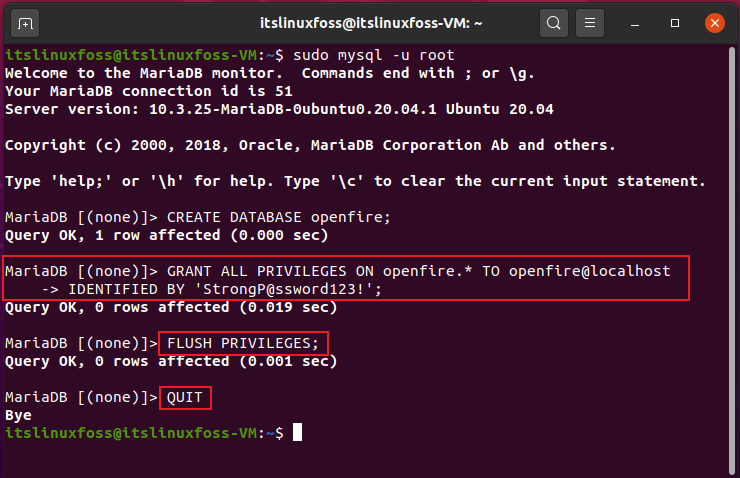
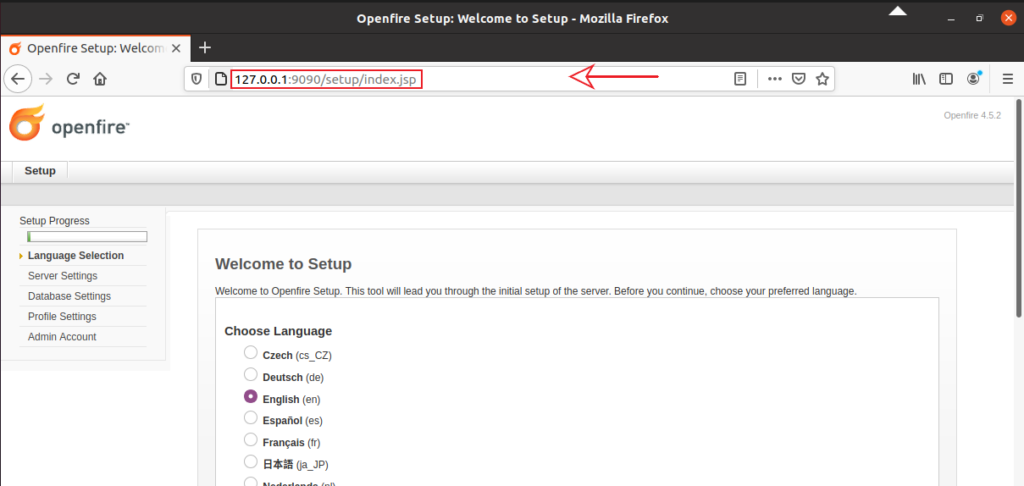
Step 5: use the port number along with your IP address to set up the Openfire web setup.
http://127.0.0.1:9090Choose your native language.
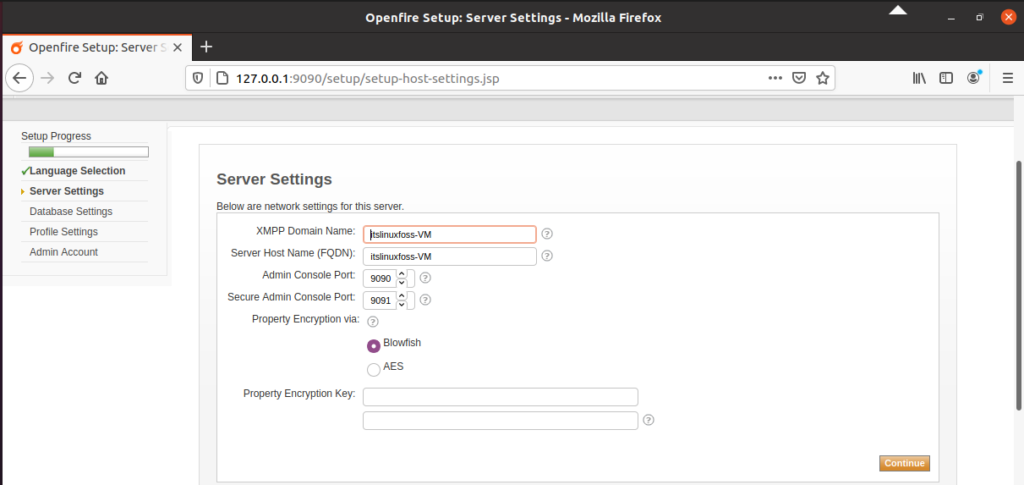
Configure the server settings by adding the XMPP domain name, server hostname, admin console port, and a secure console port.
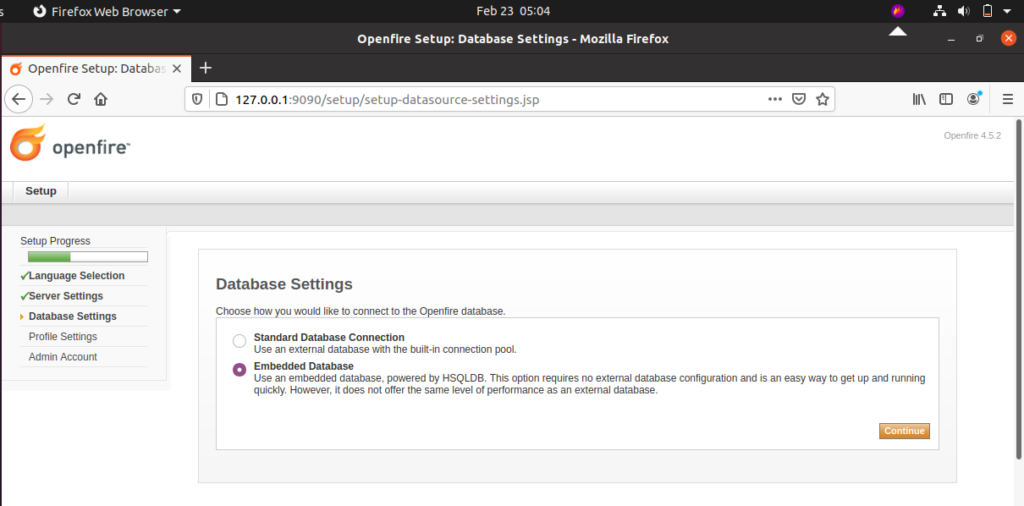
Next, choose the way you like to connect the Openfire database.
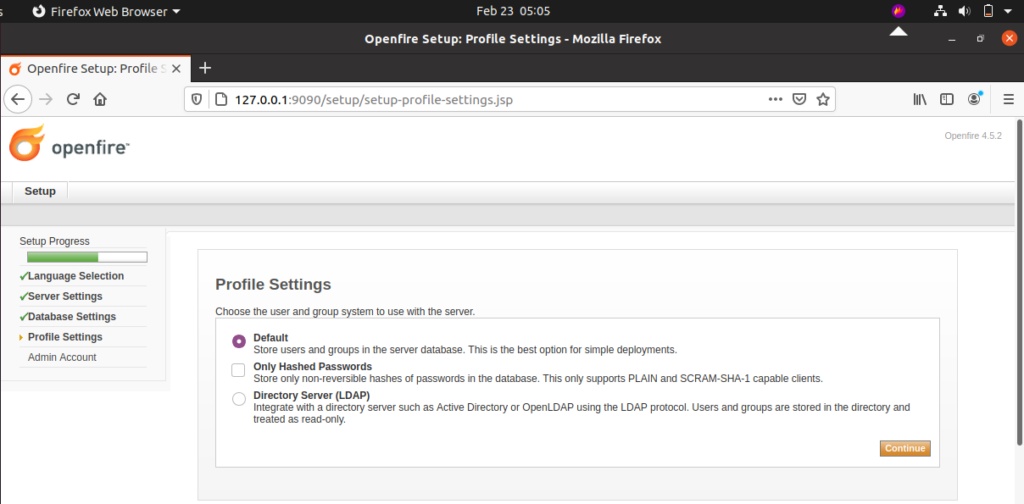
Setup your profile type.
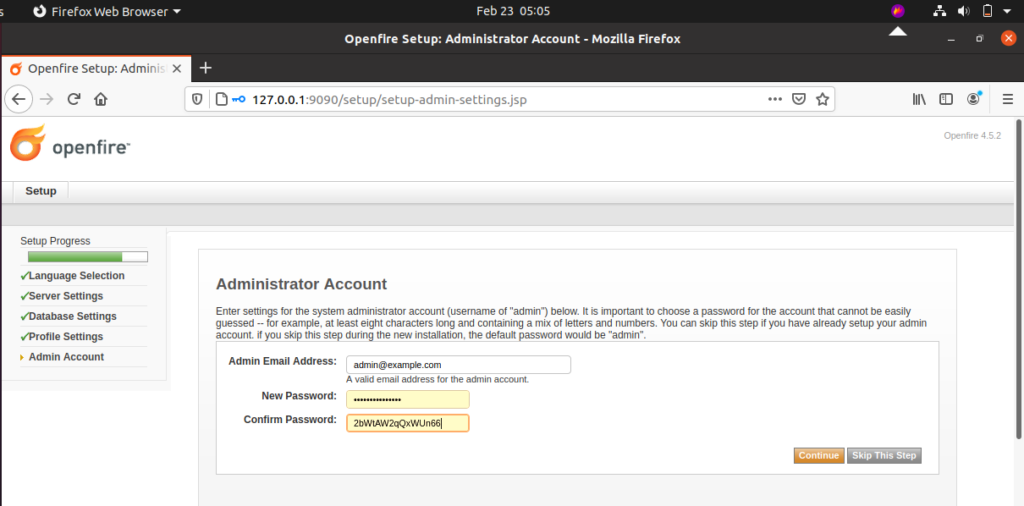
Add the admin email address and password.
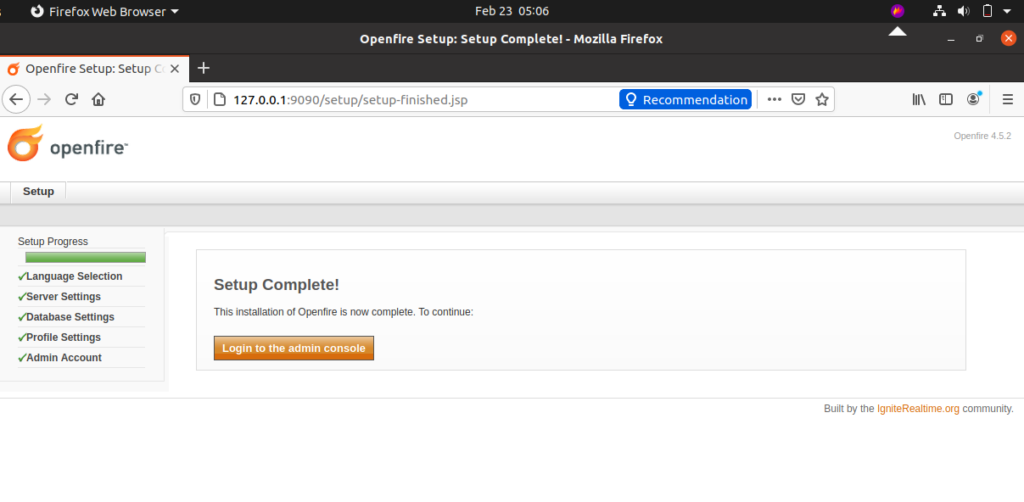
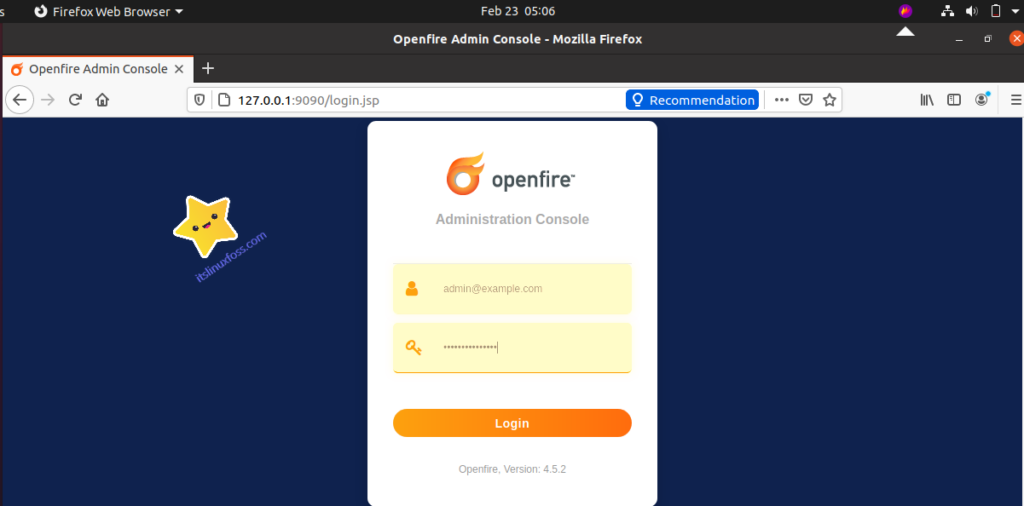
After completing the setup, login to the Openfire web interface by entering the admin email and password.
Conclusion:
This article started with a brief introduction to the Openfire XMPP Chat server and then it leads you towards its installation method on Ubuntu 20.04. We have shown you the step-by-step procedure for installing Openfire.

Saryia is a technology entrepreneur and digital publisher specializing in Linux, open-source technologies, and developer education.