
Different operating systems such as Windows, macOS, and other Linux distributions are embedded in computers to control the connected devices and manage all the tasks of the computer. Ubuntu is one such Linux distribution popular nowadays because of its robust cross-platform experience.
In this guide, we will demonstrate the installation of Ubuntu 22.04 LTS Raspberry Pi.
How to Install Ubuntu on Raspberry Pi?
We can install Ubuntu on Raspberry Pi by downloading the ISO file of Ubuntu from its official website. Then, flash the ISO file on a USB/SD card, insert the USB/SD card into Raspberry Pi, and start the installation by following the steps:
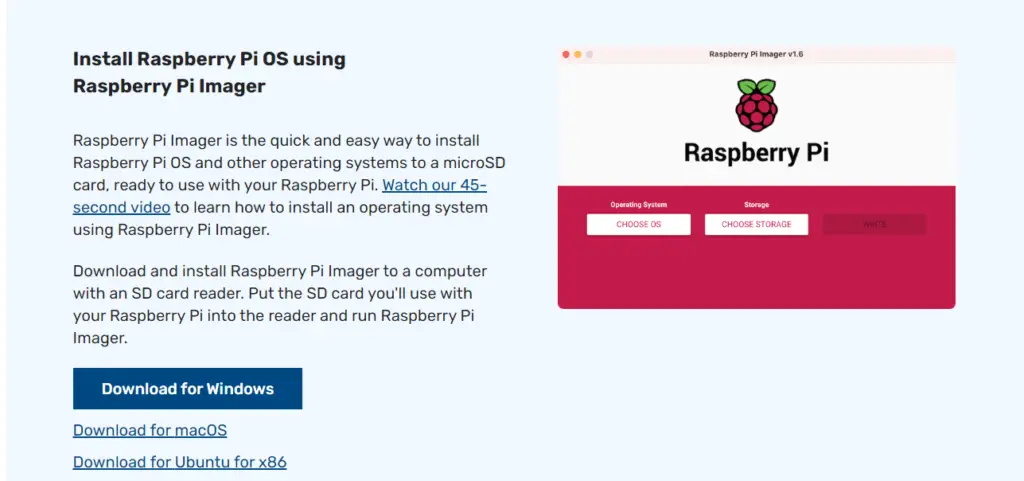
Step 1: Download Raspberry Pi Imager
First of all, download the Raspberry Pi Imager from its official website:
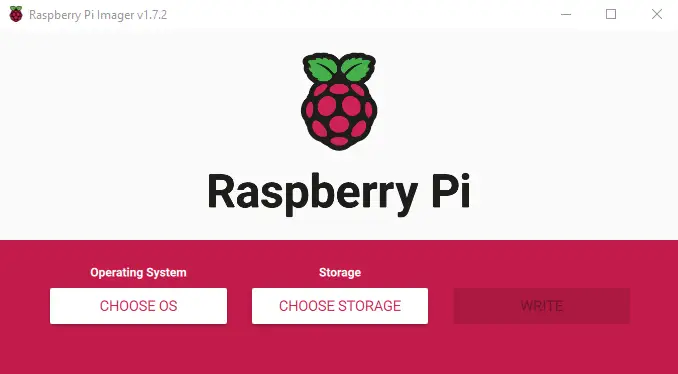
Step 2: Flash ISO file on a USB/SD card
The next step is to flash or write the Ubuntu ISO file on a USB/SD card. As a result, you will see the following wizard; click on the “CHOOSE OS” option to move ahead:
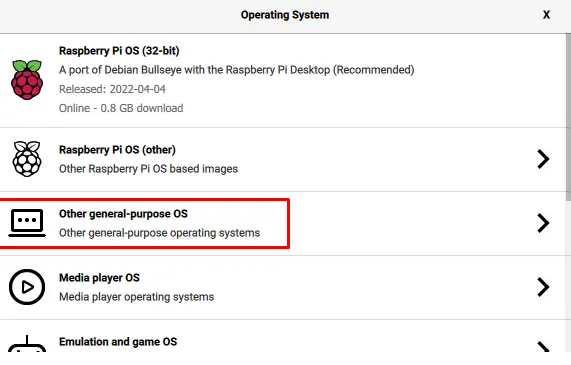
Step 3: Choose OS
Click on the “Other general-purpose OS” option from the appeared menu:
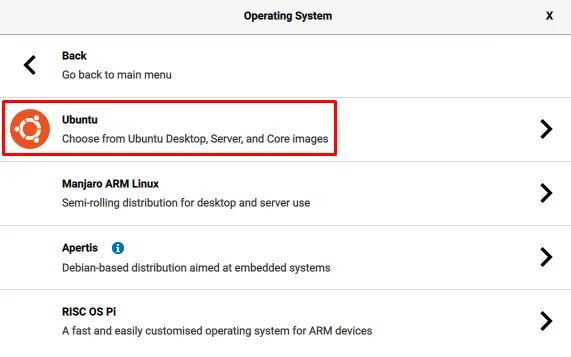
Select “Ubuntu” as your operating system:
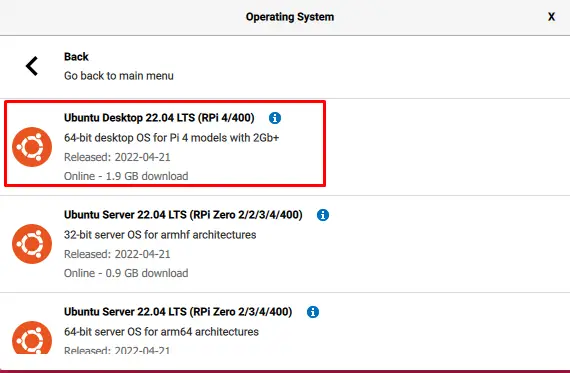
Step 4: Select Ubuntu Version
Choose the version of Ubuntu according to your Raspberry Pi model. As we are using Raspberry Pi 4, so we will select it accordingly:
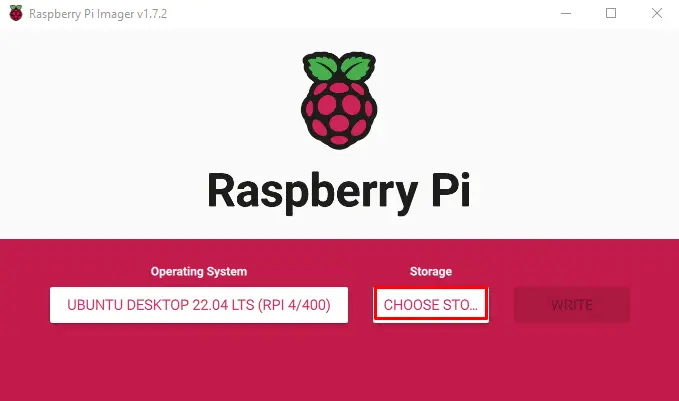
Step 5: Choose Storage
Click on the “CHOOSE STORAGE” option to select the USB/SD card on which you want to write the Ubuntu image:
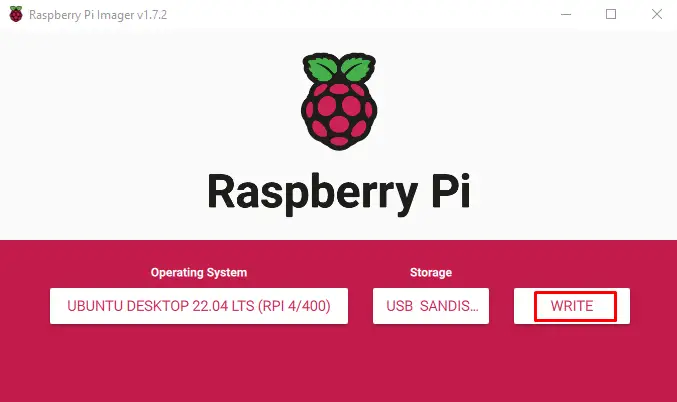
Step 6: Write Ubuntu on Raspberry Pi
Finally, click on the “WRITE” button to start the installation of the selected Ubuntu version on Raspberry pi:
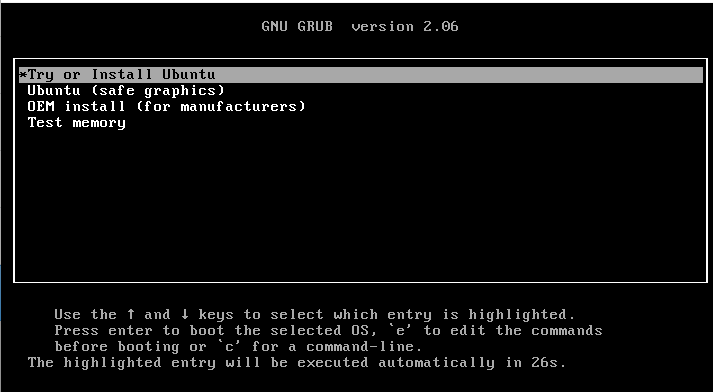
Step 7: Connect USB with Raspberry Pi
When the image is successfully written, remove the USB and connect it to the Raspberry Pi. Next, turn on the Raspberry Pi, and select the first option from the GRUB menu:
Ubuntu will start loading:

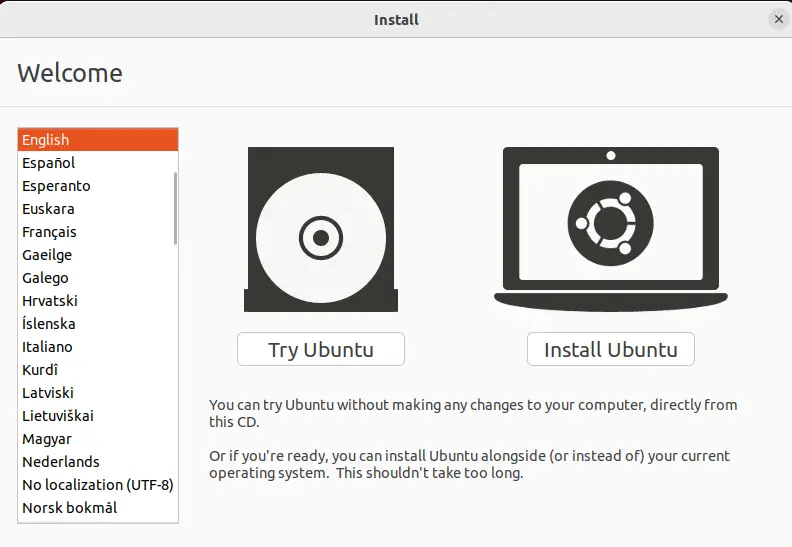
Step 8: Install Ubuntu
The good thing about Ubuntu is that you can use it with or without installation. In our case, we will click on the “Install Ubuntu” option to start the installation instead of using it without installation:
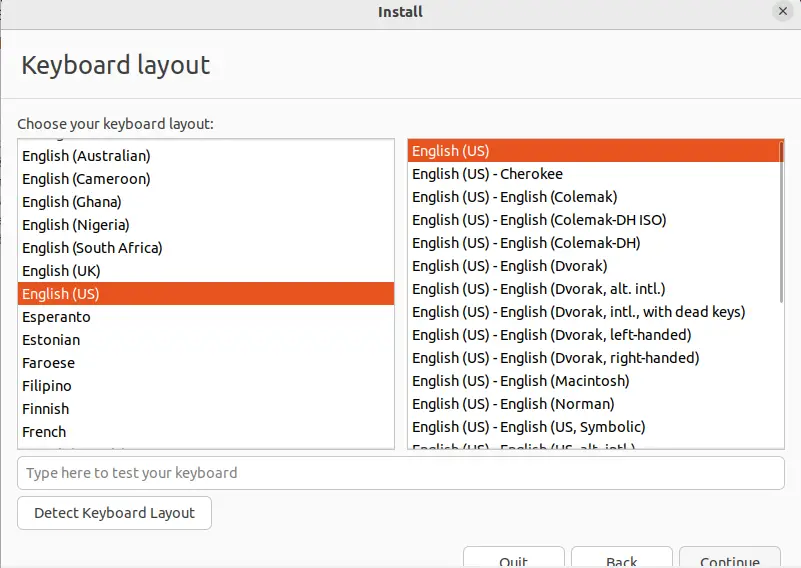
Step 9: Choose Keyboard Layout
Next, choose the keyboard layout:
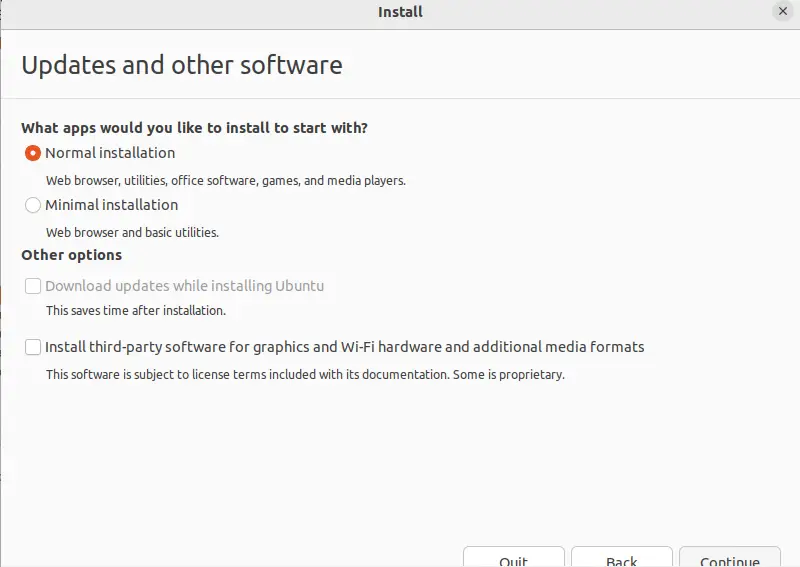
Step 10: Choose Ubuntu Installation Mode
Select any of the listed installation modes and click on “Continue”:
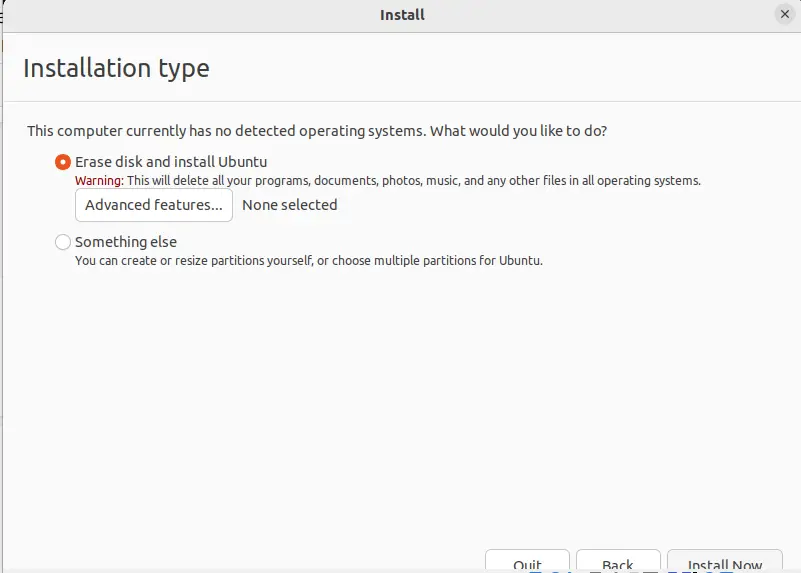
Step 11: Specify Installation Type
In this step, we can erase all the previous data stored on the machine simply by clicking on “Erase disk and Install Ubuntu” and then install the new OS by clicking on “Install Now”:
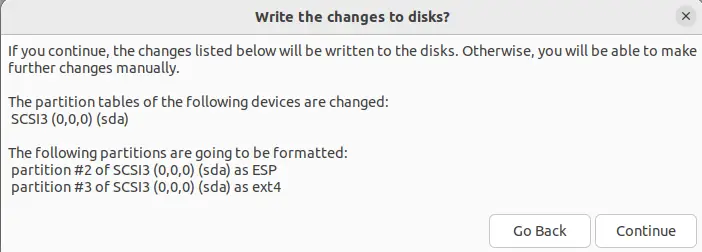
You will be asked to verify the disk formation operation and then proceed by clicking on the “Continue” button as shown below:
Step 12: Select Region
Choose the region you are living in and click “Continue”:

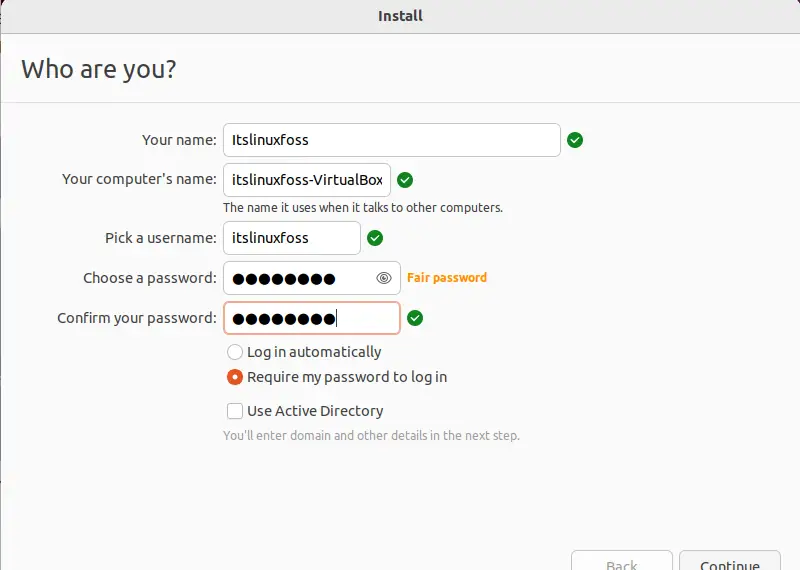
Step 13: Set Username and Password
Type the name of the user and set the password for:
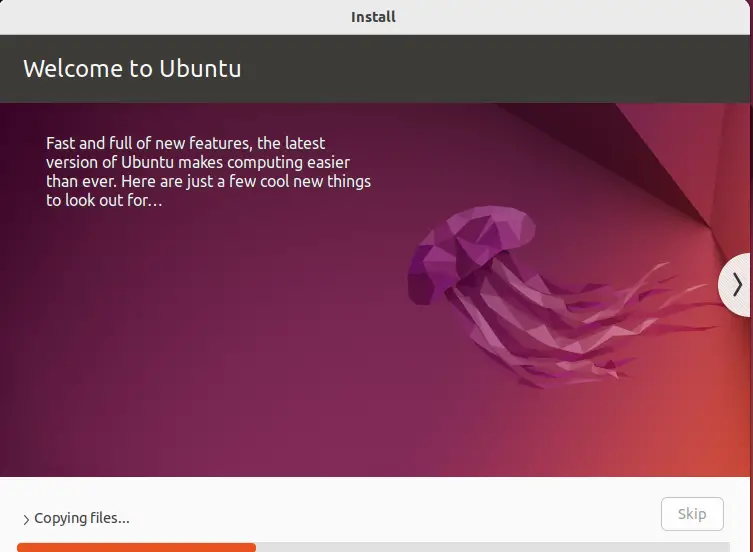
Finally, the installation wizard will start copying the files:
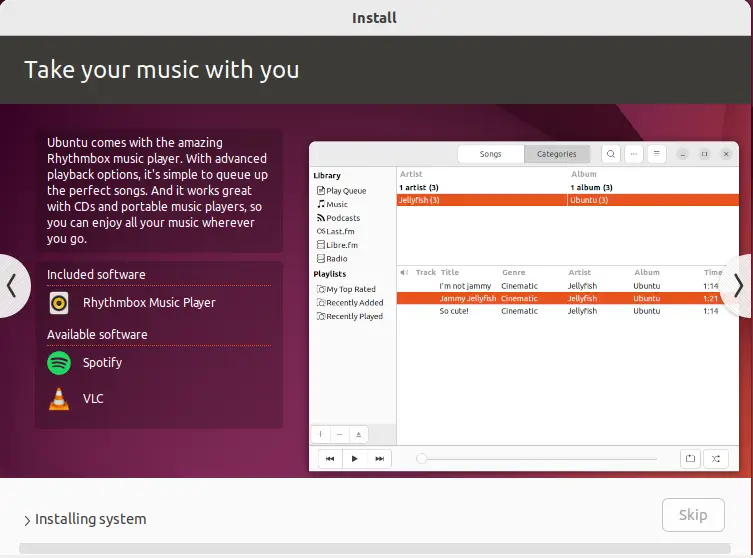
When all the files are being copied, the wizard will start installing them:
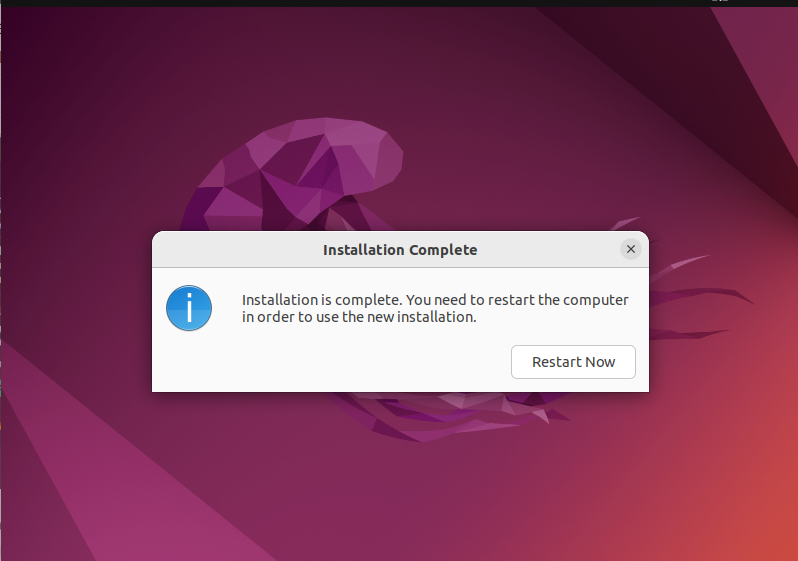
Step 14: Restart System
After some minutes, the installation will be completed; click on the “Restart Now” button to restart the system:
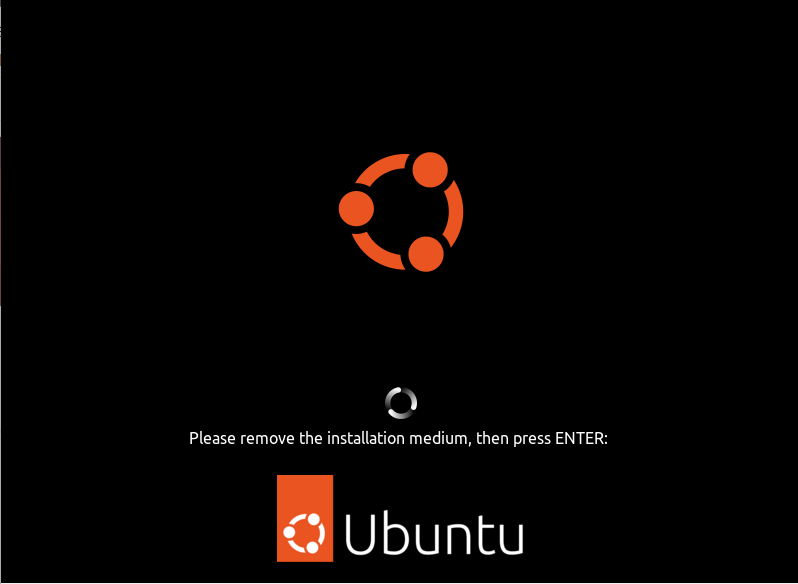
Step 15: Remove Installation Medium
Remove the installation medium and press the “Enter” key:
Step 16: Login to Ubuntu
Lastly, enter the password of the created user to login to the Ubuntu OS on Raspberry Pi:

Here you are ready to use Ubuntu OS on a Raspberry Pi device:

We have compiled the easiest method to install Ubuntu on Raspberry Pi.
Conclusion
To install Ubuntu on Raspberry Pi, download the Raspberry Pi imager, Flash ISO file on a USB/SD card, and choose Ubuntu as the operating system as its distribution. Next, write Ubuntu on Raspberry Pi, connect USB to it, and start installing Ubuntu by following the wizard instructions. This write-up demonstrated the method of installing Ubuntu on Raspberry Pi.

Saryia is a technology entrepreneur and digital publisher specializing in Linux, open-source technologies, and developer education.