Remote Desktop Services is the way of presentation through which an end-user can interact with all resources, services, and applications provided by the host and present in their basic hardware. With RDS your information remains secured remotely, so in case of any issue with your hardware, the important documents will be saved.
Xrdp
Xrdp is an execution form of the Remote Desktop Protocol (RDP) of the Microsoft server. It provides a fully functional remote desktop experience which is RDP compatible with other operating systems such as BSD-style operating system, Linux (excluding Windows). This graphical login to remote machines is established with the help of RDP. Xrdp works by tying up the graphics from the Window system to the client and transmitting controls back to the Window system to the client. Developers stated that it works with FreeRDP, rDesktop, and Microsoft’s Desktop Client (for Android, iOS, macOS, Windows).
Features of Xrdp:
- Xrdp supports not supports graphics remoting only but also
- Auto redirection
- The transport on RDP is encrypted using TLS by default.
- The two-way transfer of clipboard including bitmap, file, text.
- It also helps to mount the local drives of the client on a remote machine which is also known as drive redirection.
- There are not many security issues as long as you are using Xrdp for remote assistance on your system.
That’s all about the FTP server. Now, let’s start the installation guide of setting up an FTP server on Ubuntu 20.04 but first make sure that you are logged in as a ‘superuser’.
Installing FTP Server on Ubuntu 20.04
Step 1: Open the terminal by pressing ‘CTRL+ALT+T’ or search it manually in the activities and update the packages list.
$ sudo apt update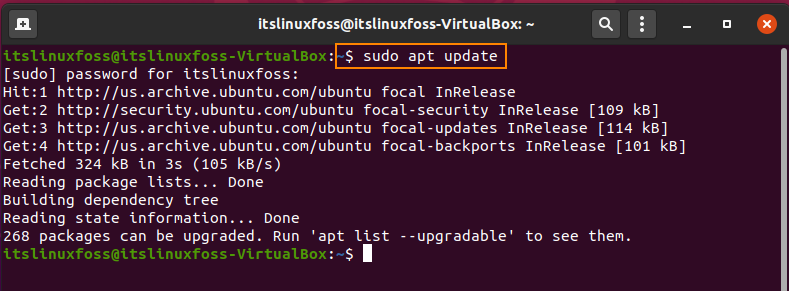
Step 2: First of all install the desktop environment of Ubuntu, if you don’t have it already. You can install Gnome or Xfce on your system using the following commands.
$ sudo apt install ubuntu-desktop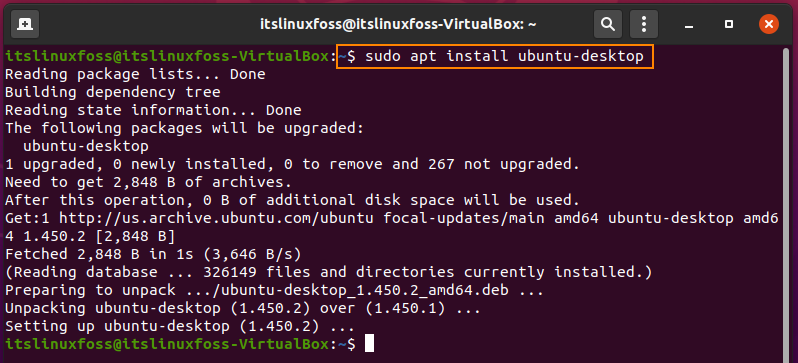
$ sudo apt install xubuntu-desktop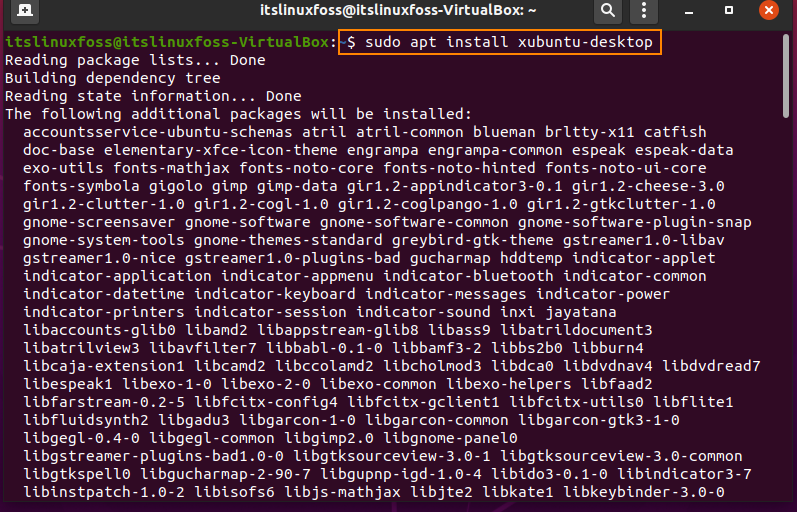
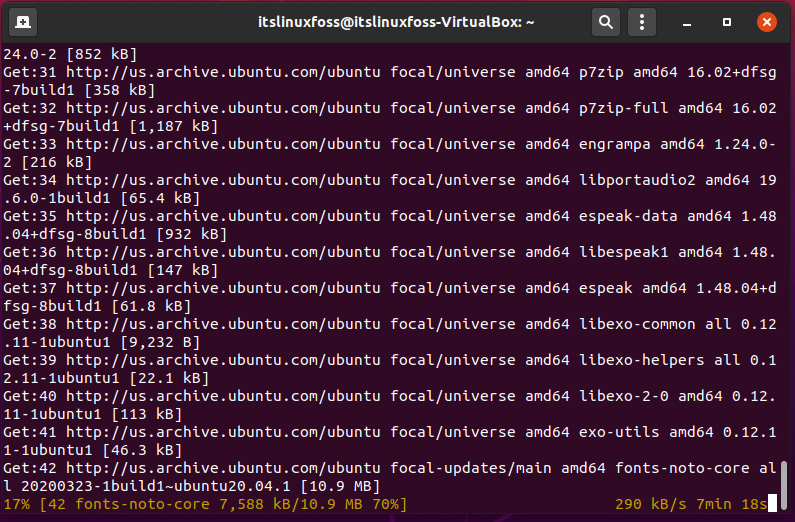
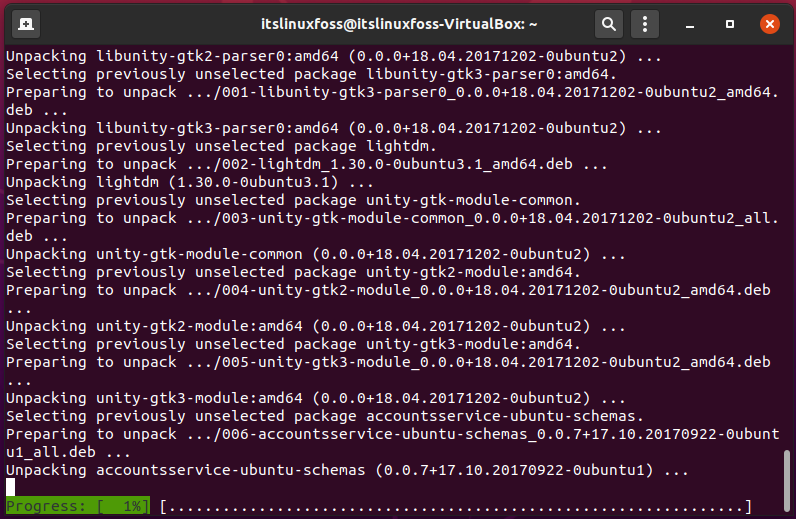
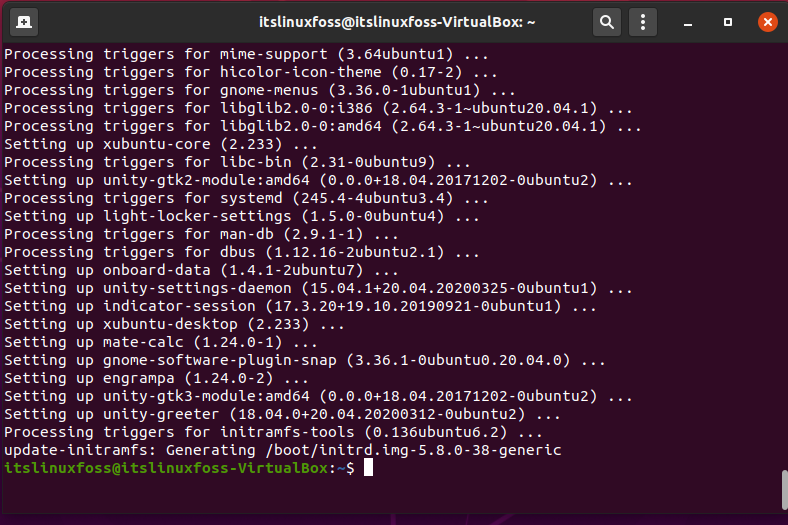
Wait until all of the components of the Desktop environment get installed.
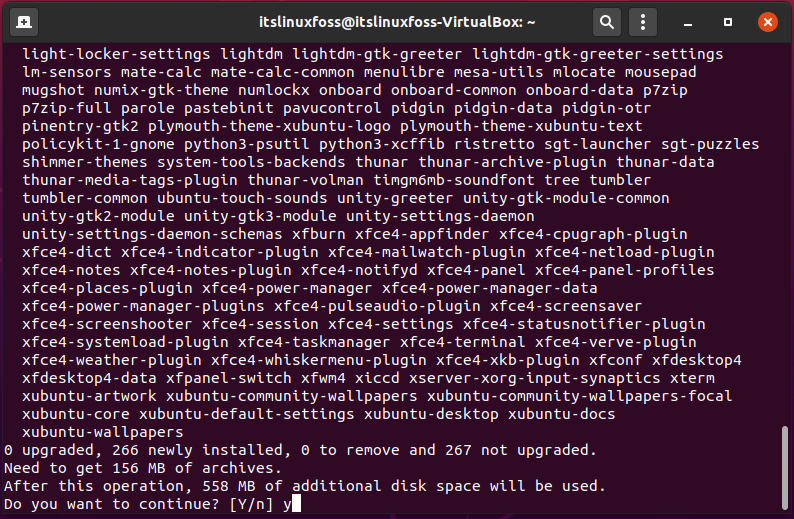
Enter ‘y’ to permit the installation process.
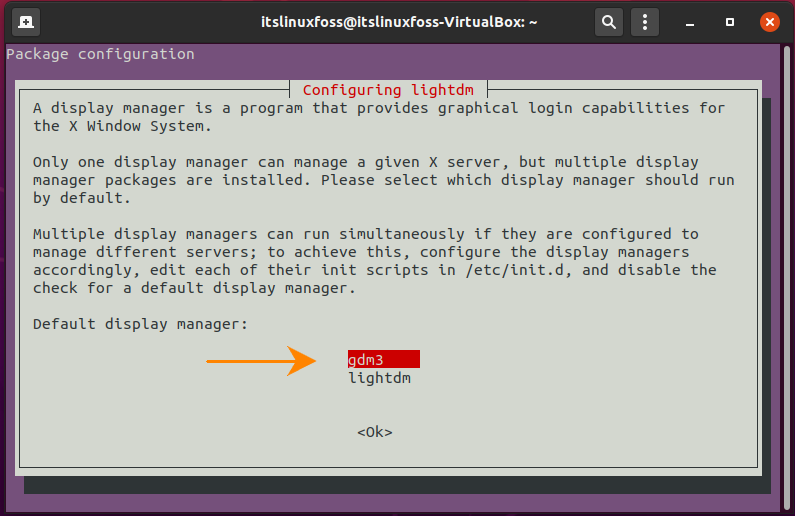
Meanwhile, configure the settings of the display manager according to your choice.
Step 3: Write-out the given command for installing Xrdp.
$ sudo apt install xrdp 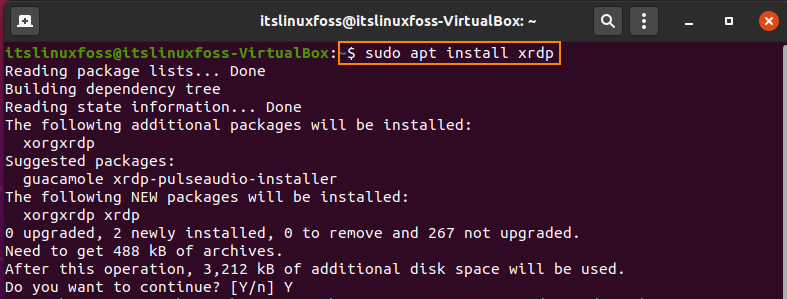
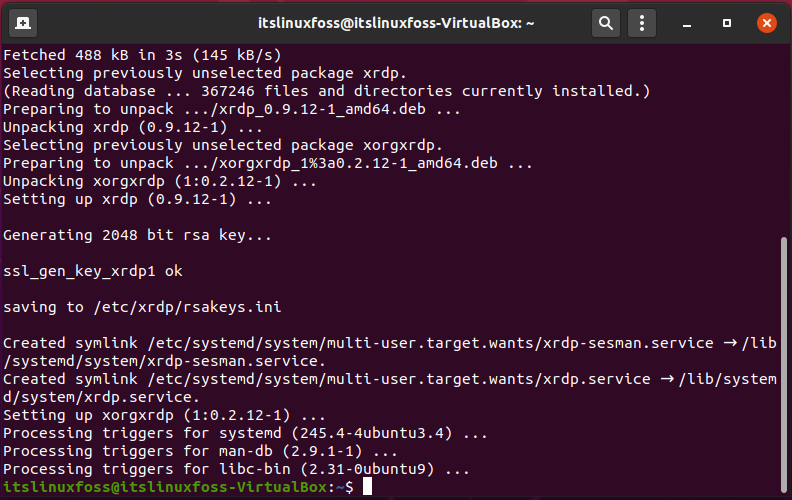
The error-free output declares that now Xrdp exists on your Ubuntu 20.04.
Step 4: Check the status of Xrdp.
$ sudo systemctl status xrdp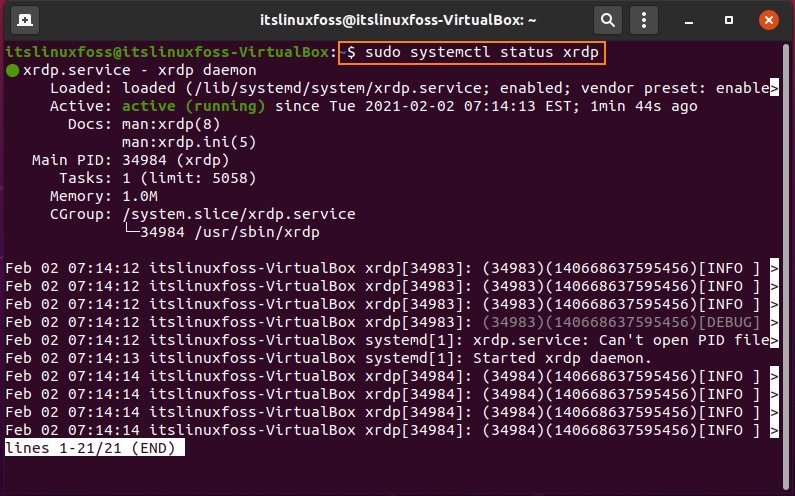
Step 5: Now it’s time for adding the user of Xrdp to the ‘ssl-cert’ group.
$ sudo adduser xrdp ssl-cert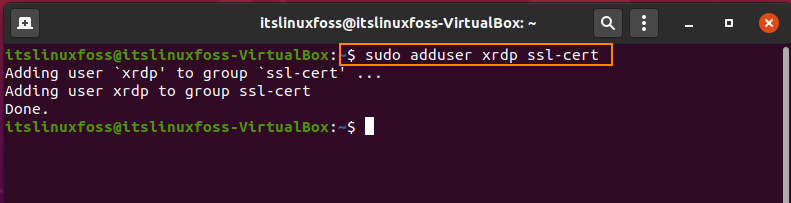
Step 6: Restart Xrdp by utilizing the following command.
$ sudo systemctl restart xrdp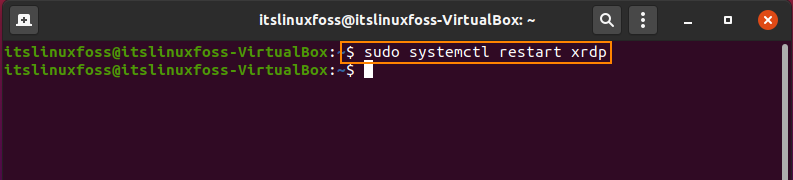
Step 7: You can use the below-given commands to allow traffic access towards any or specific port.
$ sudo ufw allow from 192.168.33.0/24 to any port 3389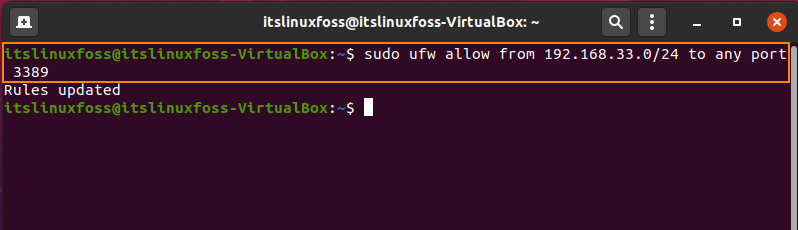
$ sudo ufw allow 3389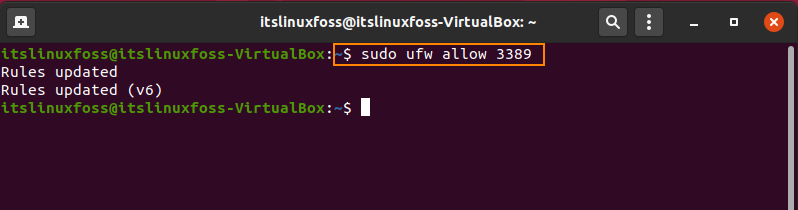
That’s all about the installation and setup of Xrdp. Enter the credentials of the server-side for establishing a session.
Conclusion:
In this article, we have learned about Remote Desktop, Protocols, Xrdp, and its features. Furthermore, we have also shown you a step by step procedure of Xrdp installation on Ubuntu 20.04.

Saryia is a technology entrepreneur and digital publisher specializing in Linux, open-source technologies, and developer education.