Jenkins project was released as Hudson in 2004 was renamed in 2011 and it is the open-source server automation server that is used for multi-purposes like deployment of the applications, testing of the new software and it also supports the building tools. It supports thousands of plugins that help the developers in the development of different software and applications. It is also supported by various tools like CVS, subversion, and Git.
The features of the Jenkins are:
- Its plugins are available
- It is extensible
- It has a simple configuration
- It can be integrated with different clouds
Jenkins can be installed in different operating systems, in this article, we will discuss the installation procedure of Jenkins in the new release of Debian Bullseye which is also known as Debian 11.
How to install Jenkins on Debian 11
It is recommended to update the repository of Debian 11 before installing any packages, so to update we will run the command:
$ sudo apt update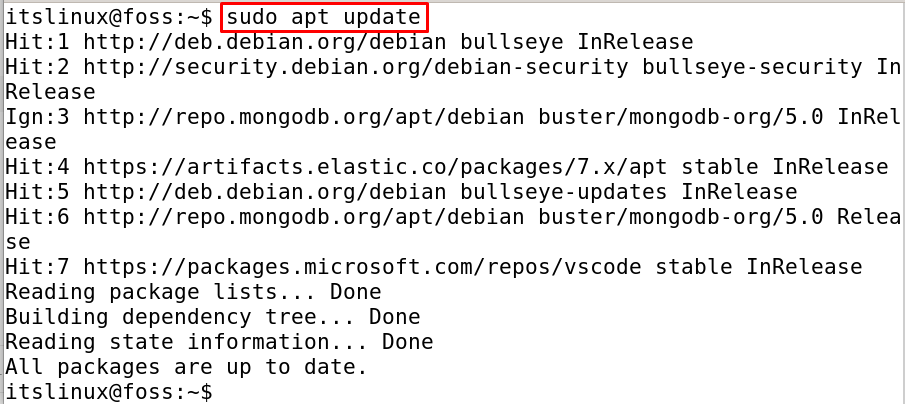
Now all the packages are up to date, so we will now install the java packages in Debian as we know the Jenkins is written in the Java language so it is considered as its prerequisite. To install the java package in Debian 11, run the command:
$ sudo apt install default-jdk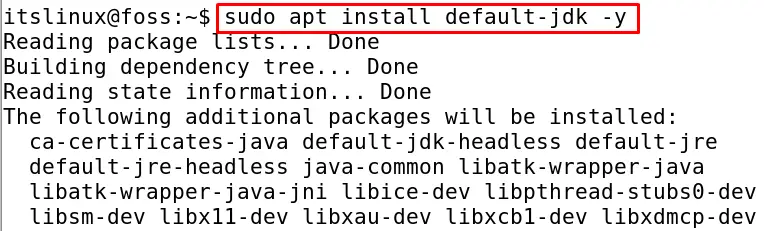
After the installation of the Java package, we will import the GPG key of the Jenkins from its official website by using the command:
$ wget -q -O - https://pkg.jenkins.io/debian-stable/jenkins.io.key | sudo apt-key add -
After importing the GPG key ‘OK’ will be displayed, after this will import the source repository from the official website of the Jenkins by the execution of the command:
$ sudo sh -c 'echo deb https://pkg.jenkins.io/debian-stable binary/ > /etc/apt/sources.list.d/jenkins.list'
After importing both; GPG key and source repository of Jenkins from its official website to the repository of Debian 11, once again update the repository of Debian 11.
$ sudo apt update
Now, install the Jenkin using the command:
$ sudo apt install jenkins -y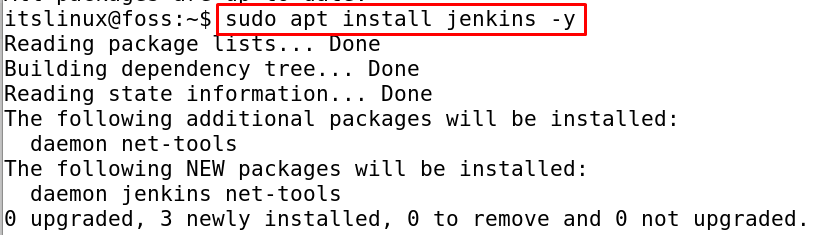
Once the Jenkins is installed, we will enable it using the systemctl command:
$ sudo systemctl enable jenkins
After enabling, start the Jenkins using the systemctl command:
$ sudo systemctl start jenkins
To verify the status of Jenkins using the systemctl command, execute:
$ sudo systemctl status jenkins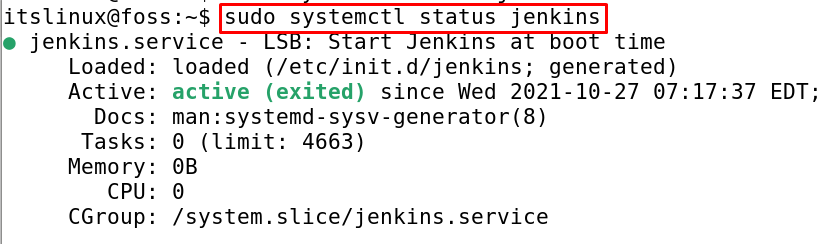
By default port 8080 is assigned to the Jenkins, to confirm this copy the following URL and paste it into your browser.
http://localhost:8080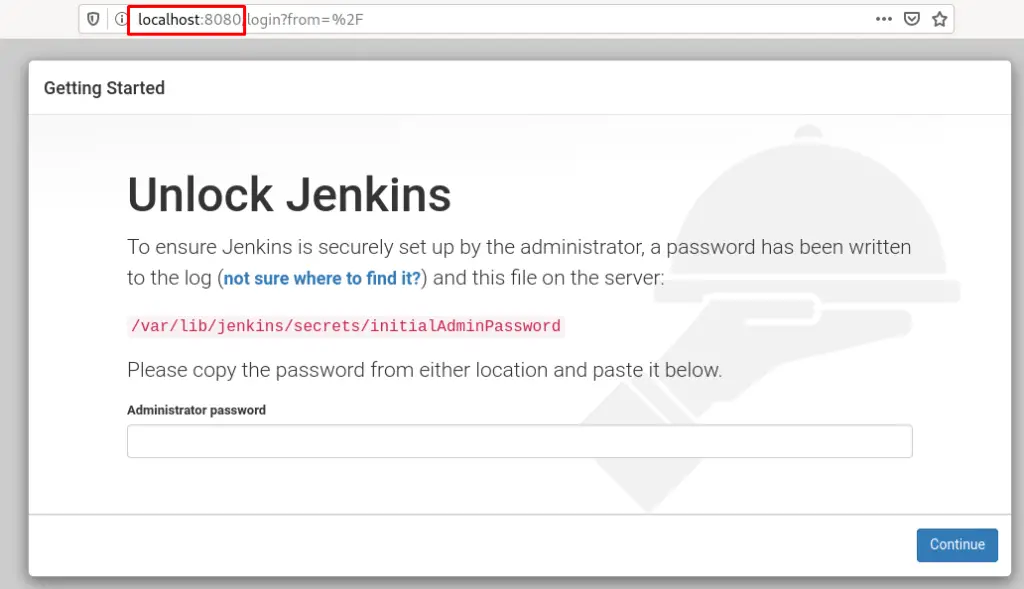
It will ask for the password, so as to extract the password, again go to the terminal and execute the following command to open the configuration file of password:
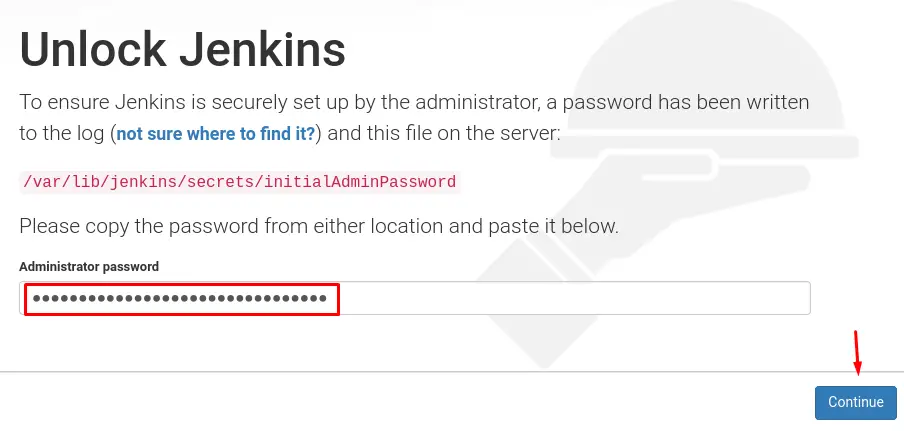
$ sudo cat /var/lib/jenkins/secrets/initialAdminPassword
So the password is “13a40a113b044692b61e6e91d920df4e”, this password can differ in every user case so you can extract it in the same way. Now copy and paste this password in the browser and press Continue.
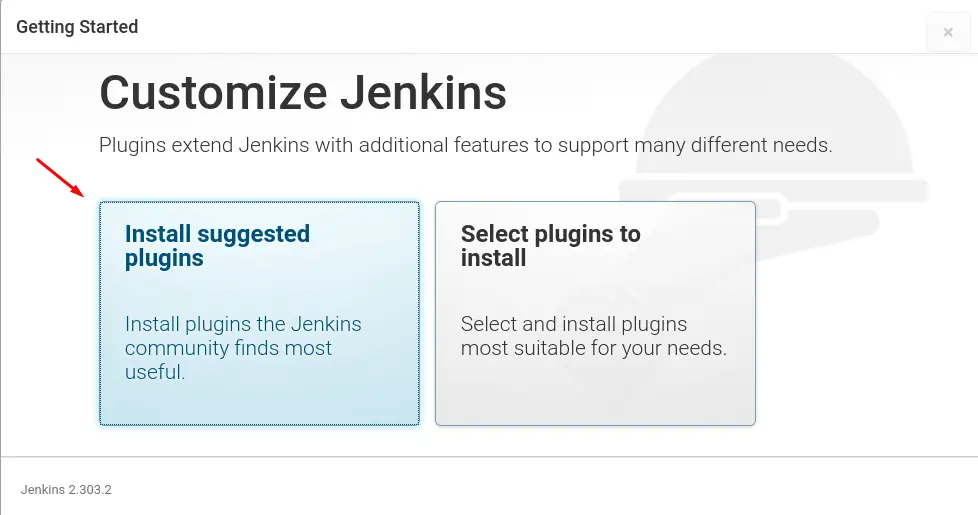
A screen will be open, choose “Install suggested plugins”.
After completion of the installation of suggested plugins, a screen will appear asking for the details of user name, password, email to create a new user. Fill all the fields and proceed towards the “Save and Continue” button.

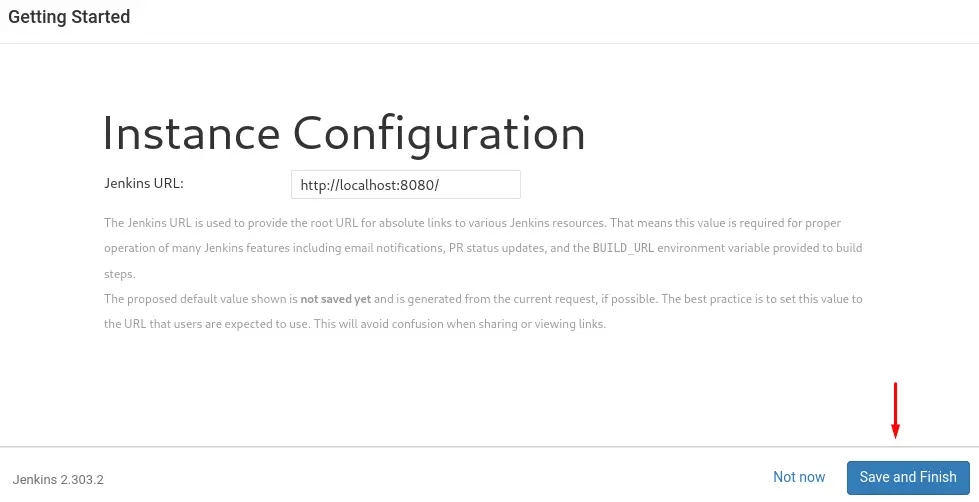
Once it is done, another screen will appear of the Instance Configuration, click on the “Save and Finish” button.
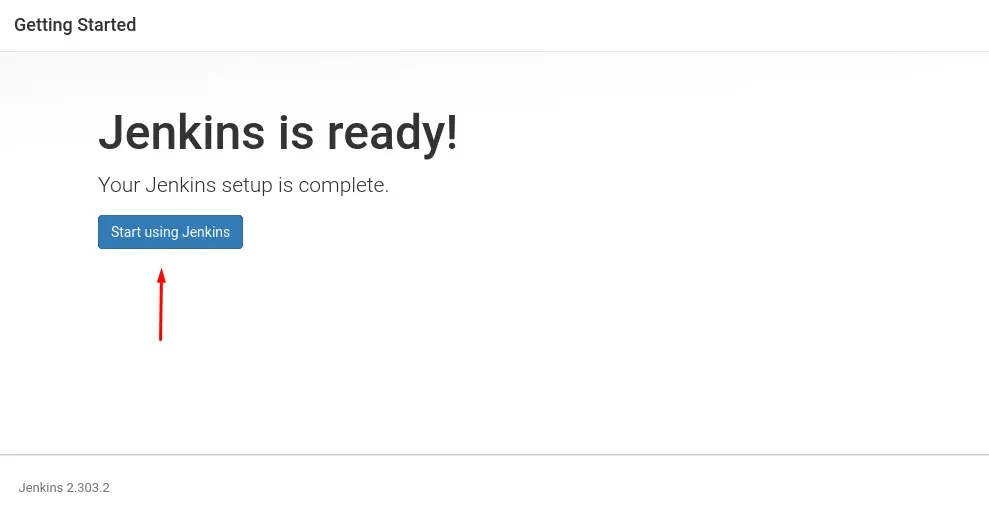
Now a screen will appear showing the Jenkin is ready, click on the “Start using Jenkins” button.
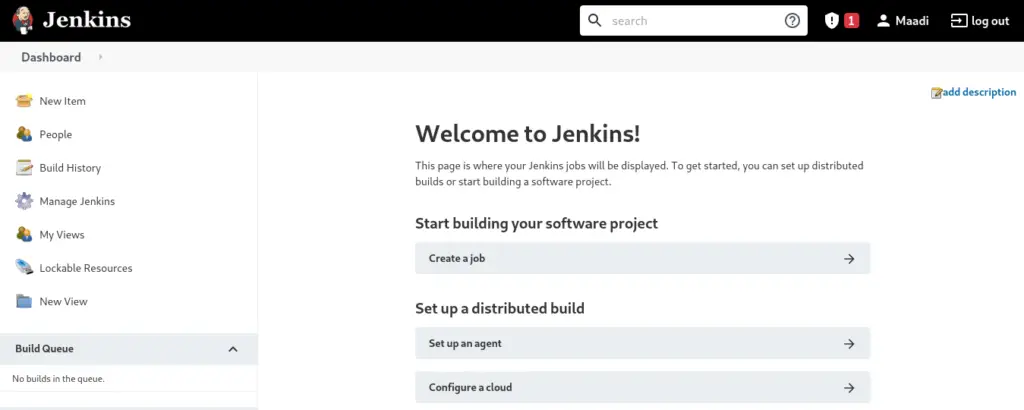
The Jenkins environment is displayed.
To remove Jenkins from Debian 11 execute the command:
$ sudo apt purge jenkins -y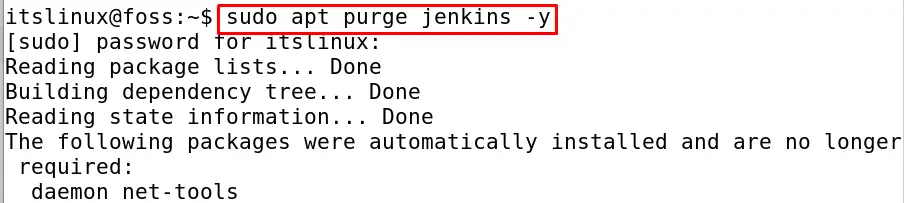
Conclusion
Jenkins is a server that has a lot of plugins and extensions which can provide ease in the life of developers in developing applications and software for different purposes. This article has explained the installation procedure of Jenkins in Debian 11 in detail. We imported the GPG key and source repository of Jenkin from its official website and added it to the repository of Debian, then install the Jenkins and configured it by accessing its port 8080 from the browser and installing it using the GUI.

Saryia is a technology entrepreneur and digital publisher specializing in Linux, open-source technologies, and developer education.