
NGINX is an open-source that can be used for different purposes as a load balancer, web server, and media streamer. If we talk about the structure of NGINX then we can say that NGINX has an asynchronous structure that allows the server to respond to many requests at the same time and also it grows its service with the increase in client’s web traffic which defines its scalability.
NGINX is popular nowadays and can be installed on any Linux distribution but in this guide, we are focussed on the installation of NGINX on Ubuntu.
How to install NGINX on Ubuntu 22.04
We can install NGINX on Ubuntu, before proceeding with installation, we will update all the packages of the Ubuntu repository using the command:
$ sudo apt update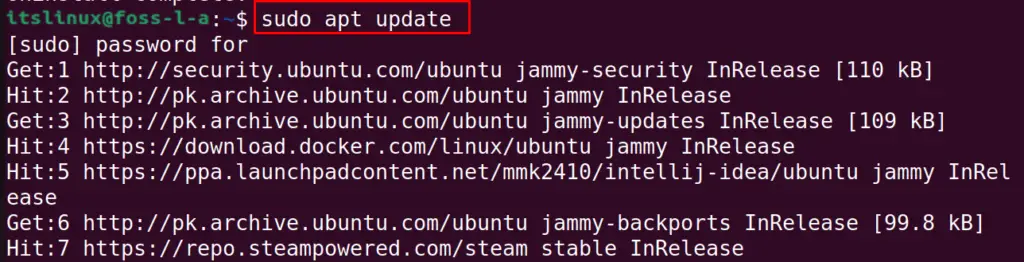
Step 1: installation of NGINX on Ubuntu
There are three packages of NGINX for the users in the repository of Ubuntu, one is the basic package, other is the full package, and the last one is the extra features package. We will first install the basic package of NGINX using the command:
$ sudo apt install nginx -y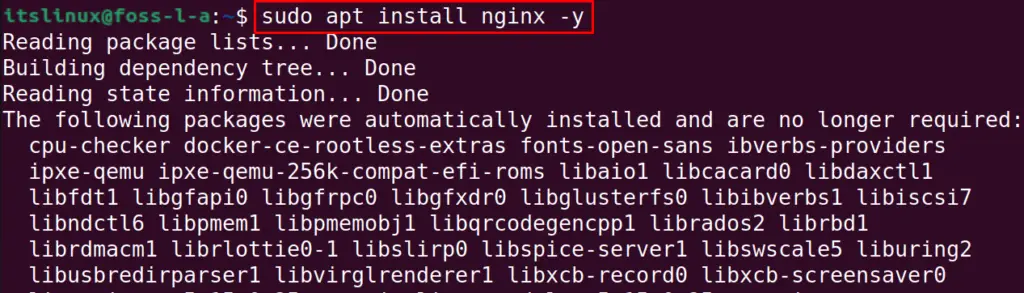
To install the package of NGINX containing all the features, run the command:
$ sudo apt install nginx nginx-full -y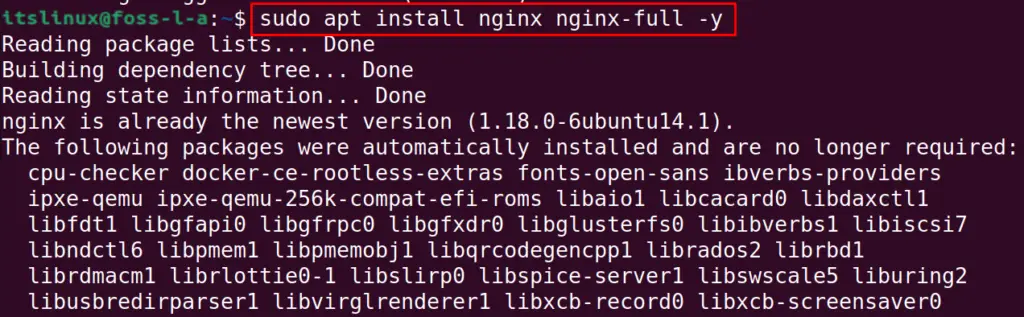
And to install the extra features of NGINX, use the command:
$ sudo apt install nginx-extras -y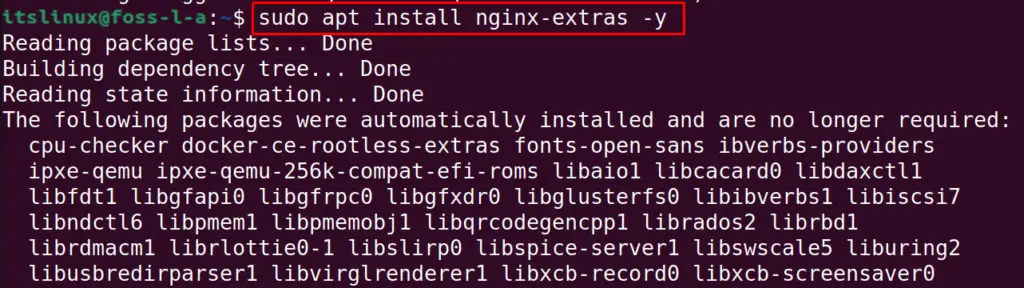
Step 2: Verification of installation of NGINX
To verify the installation of NGINX, we will use the command to display the installed version of it:
$ nginx -v
Step 3: Check the status of NGINX
To check the status of NGINX service, we will use the systemctl command:
$ sudo systemctl status nginx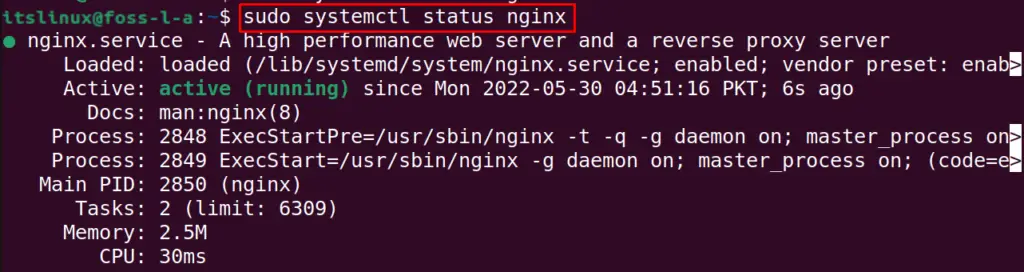
And to enable the service of NGINX, run the command:
$ sudo systemctl enable nginx
Step 4: UFW configuration for NGINX
To configure the UFW for NGINX, first we will install the UFW package:
$ sudo apt install ufw -y
Then make UFW enable using the command:
$ sudo ufw enable
Then we will allow the ports of HTTP and HTTPS by using the command:
$ sudo ufw allow 'Nginx FULL'
To confirm the changes, we will check the status of UFW:
$ sudo ufw status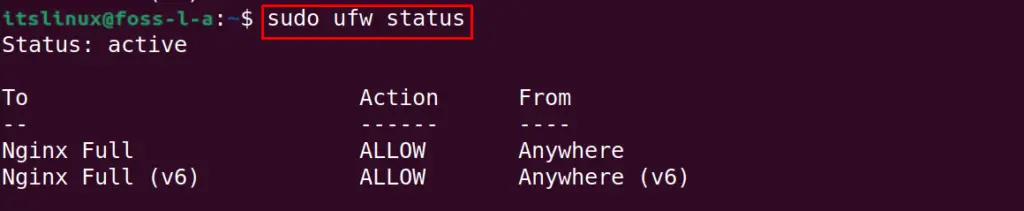
Restart the NGINX service to save the changes:
$ sudo systemctl restart nginx
Step 5: Find IP address of your machine
We will first find the IP address of our machine using the command:
$ ip a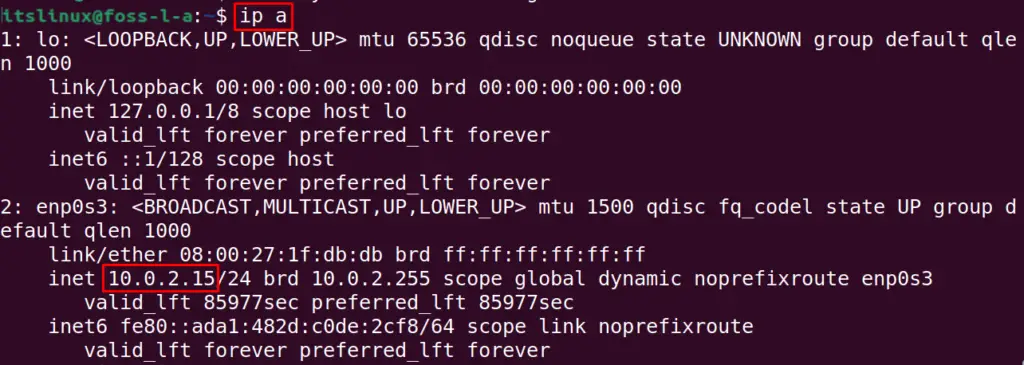
Now we will use the IP address and check the server name:
$ curl -i 10.0.2.15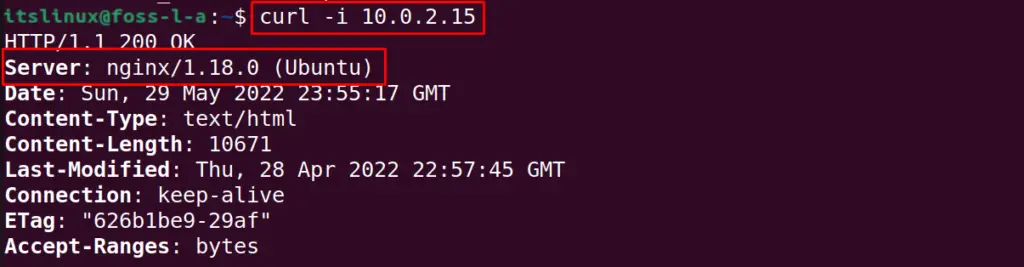
The welcome page of NGINX has been displayed and to delete the NGINX with all its configuration files, we will use the command:
$ sudo apt autoremove nginx --purge
Conclusion
NGINX is a web server similar to the Apache web server, but it is also used as a load balancer and HTTP cache. NGINX is also preferred more than Apache because of its lightweight and in this guide, NGINX has been installed on Ubuntu 22.04.

Saryia is a technology entrepreneur and digital publisher specializing in Linux, open-source technologies, and developer education.