
Secure File Transfer Protocol, known as SFTP, is a protocol service that transfers files from one machine to another. It works similarly to the FTP (File Transfer Protocol), but the major difference is the “S,” which means Secure. The SFTP usually sends data in encrypted form using SSH so no one can access it until it reaches the desired machine.
This write-up explores the installation and setting up of a method of the SFTP server in Ubuntu 22.04.
- Install and Set Up the SFTP Server
- Configure the SFTP User Account
- Configure a Directory to Transfer Files of SFTP
- Delete sftp Support from Ubuntu
Let’s get into the installation first.
How to Install and Setup SFTP Server on Ubuntu 22.04?
This section comprises various steps required to set up SFTP on Ubuntu 22.04. Let’s get into them:
Install and Configure SSH on Ubuntu
The SFTP relies on SSH as the secure file transfer is carried out using the SSH connection. Thus SSH is the main component to be installed and configured before using SFTP.
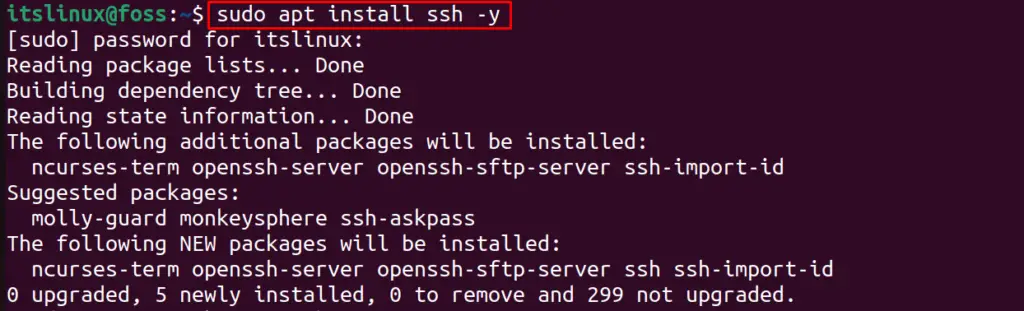
Step 1: Install SSH
The SSH server should be installed by running the command:
$ sudo apt install ssh -y
Step 2: Manage SSH Service
After installing the SSH, enable (so that the SSH is usable on every restart) the service by running the command:
$ sudo systemctl enable ssh

When the SSH is enabled, start the service using the systemctl command:
$ sudo systemctl start ssh

To confirm the SSH running status, use the command:
$ sudo systemctl status ssh

The SSH is running and in active status.
Configure the SFTP User Account
To configure the user account in SFTP, follow the steps mentioned below:
Step 1: Create the SFTP Group
In this step, first, make a group for the SFTP to grant some mutual permissions to a group of users. For example, the “sftp” named group is made using the command:
$ sudo addgroup sftp

Step 2: Create the User
Then, we need to create the user; for example, John is added, who will have the same privileges as the group:
$ sudo useradd John

To confirm the creation of the user “John”, use the command:
$ less /etc/passwd | grep John

Step 3: Secure the User Account
After verification of the user John, set the password for the user John so unauthorized users cannot access the group:
$ sudo passwd John

Step 4: Add the User to the sftp Group
Add the user “John” to the SFTP group (which was created in the step1) with the command:
$ sudo usermod -a -G sftp John

To confirm the above command’s execution, verify the sftp’s group details via the command below:
$ grep sftp /etc/group

The user John is successfully added to the group SFTP.
Configure a Directory to Transfer Files of SFTP
To transfer the files; there should be a directory that the users can access instead of accessing the entire machine. To create a directory of “Document” in a parent directory named “/var/sftp/Documents”, run the command:
$ sudo mkdir -p /var/sftp/Document

Set the ownership of the above-stated directory to the root user:
$ sudo chown root:root /var/sftp

Change the access permissions of the directory:
$ sudo chmod 755 /var/sftp

In the above command, we allowed the other users with only read permissions using the 755 number. Also, allow access of the “Documents” directory to the user John (would be changed in your case) by running the command:
$ sudo chown John:John /var/sftp/Document

Open the SSH configuration file with the nano text editor:
$ sudo nano /etc/ssh/sshd_config

Copy and paste the script below in the opened file:
Match User John ChrootDirectory /var/sftp X11Forwarding no AllowTcpForwarding no ForceCommand internal-sftp

In the above lines:
- “Match User” tells the SSH to which user we are supposed to make these changes
- We restricted the user to the “/var/sftp directory” only.
- “X11Forwarding” and “AllowTcpForwarding” are the protocols used for tunneling and are disabled in our case
- “ForceCommand” ensures the connection of SSH will be established after the login only
Save the file using the shortcut of CTRL+S and exit it with a shortcut key of CTRL+X, then restart the ssh service:
$ sudo systemctl restart ssh

Now, its time to log in the SFTP user account.
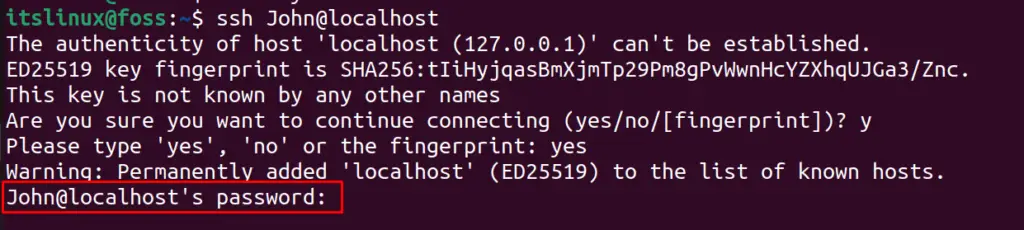
Step 4: Log in to the SFTP user account on Ubuntu
First, connect to the user John using the SSH service only for the testing purpose:
$ ssh John@localhost

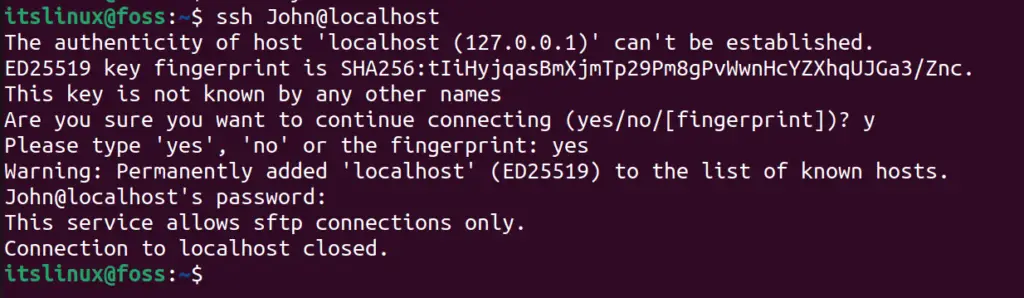
It will ask for the password John, provide it to Log in:
The connection is closed to localhost:
Now, connect the sftp John with the IP address of the machine where it exists:
$ sftp [email protected]
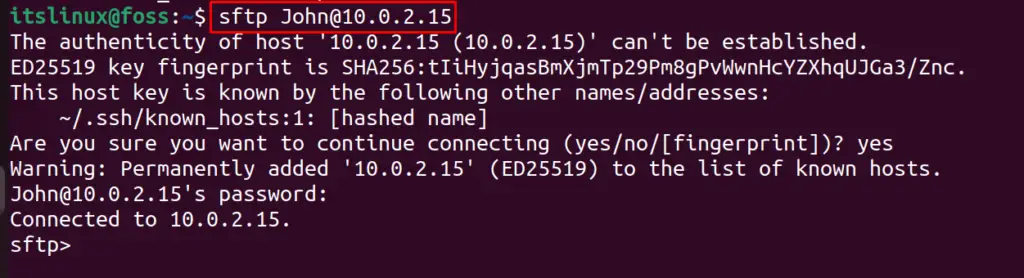
List down the directories of SFTP:
$ ls

The SFTP is set up.
How to Delete SFTP Support from Ubuntu 22.04?
It can be removed from Ubuntu by deleting the SSH with all its associated files with the execution of the command:
$ sudo apt purge ssh -y
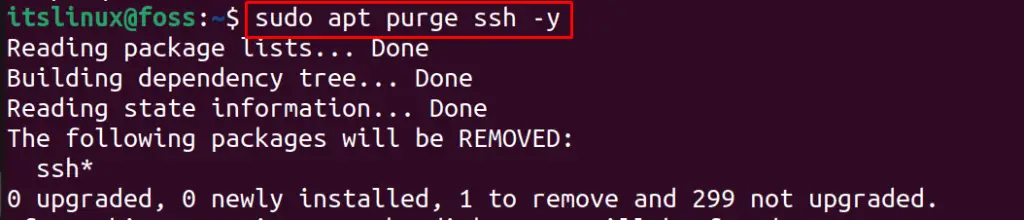
The package of SFTP is removed with all its data.
That’s how you can install and set up the sftp server on Ubuntu 22.04.
Conclusion
To install SFTP on Ubuntu, the users need to install SSH using the “sudo apt install ssh -y” command and configure it. After that, the user account/group and the directory for SFTP transfers are created to start using SFTP. Once done, you can now connect to the other machine via SSH and then log in to the SFTP shell to transfer files.
