
TigerVNC is the “Virtual Network Computing” protocol that is used to create a connection between the client and the server. It allows Linux users to connect with the client machines remotely and view what’s going on with them.
It also supports 3D and other video applications on client/server machines. It provides a high-performance graphical user interface to connect the client machines.
TigerVNC can be installed on different Linux distributions including Fedora, OpenSUSE, and Arch Linux. This post demonstrated the steps to install TigerVNC on Debian 12 following the outline:
- What are the Key Features of TigerVNC on Debian
- What is the Installation Method of TigerVNC on Debian
- How to Uninstall and Remove the TigerVNC on Debian
Let’s start the blog by exploring the features of the TigerVNC.
What are the Key Features of TigerVNC on Debian?
Key features of the TigerVNC are explained below:
- It provides the graphical user interface to connect the local machine to the server computer
- It is an open source providing the community an opportunity to make the developments in it for a better user experience
- It can be used on multiple platforms including Windows, Linux, and macOS
- It is known for the high-performance remote desktop access
- It is supported by various desktop environments including GNOME and XFCE
What is the Installation Method of TigerVNC on Debian?
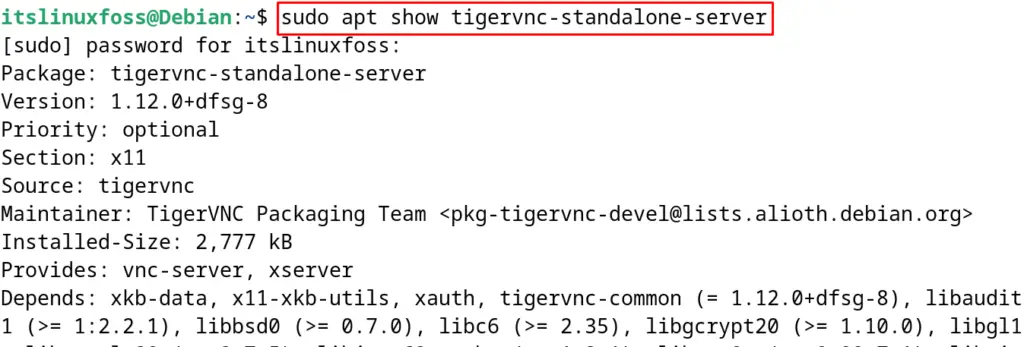
The package of the TigerVNC is included in the default package list of Debian. It can be confirmed by running the command:
$ sudo apt show tigervnc-standalone-server
To install the available package of the TigerVNC, follow the steps mentioned below.
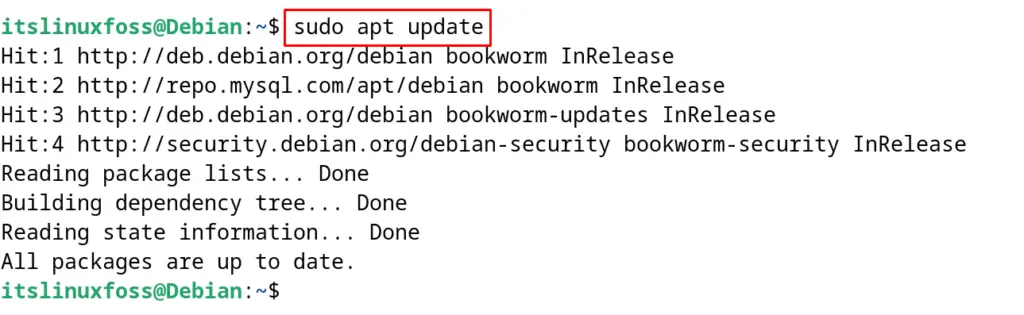
Step 1: Update the Package List
First, update the package list of Debian by using the apt command’s “update” option:
$ sudo apt update
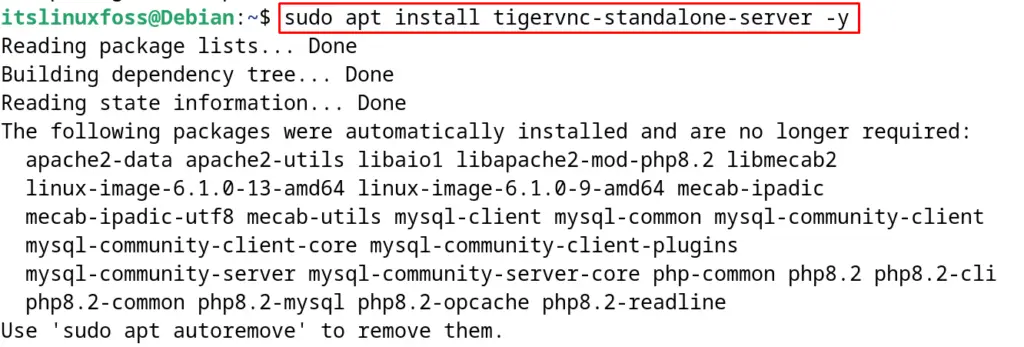
Step 2: Install TigerVNC Server on Debian
Now with the execution of the next mentioned command, install the TigerVNC on Debian:
$ sudo apt install tigervnc-standalone-server -y
Step 3: Configure the TigerVNC
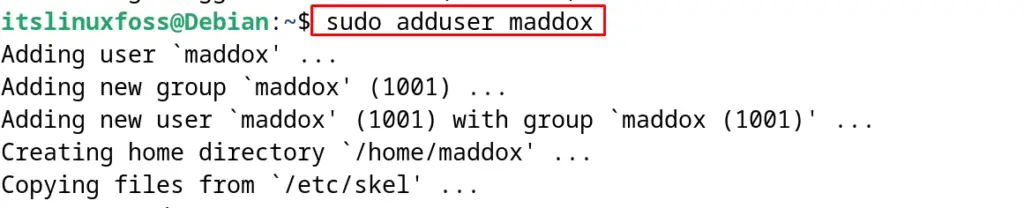
When the installation is completed, configure the TigerVNC. For the configuration, first, create the non-root user:
$ sudo adduser maddox
Now secure the user by setting the password for the “maddox” user:
$ sudo su - maddox

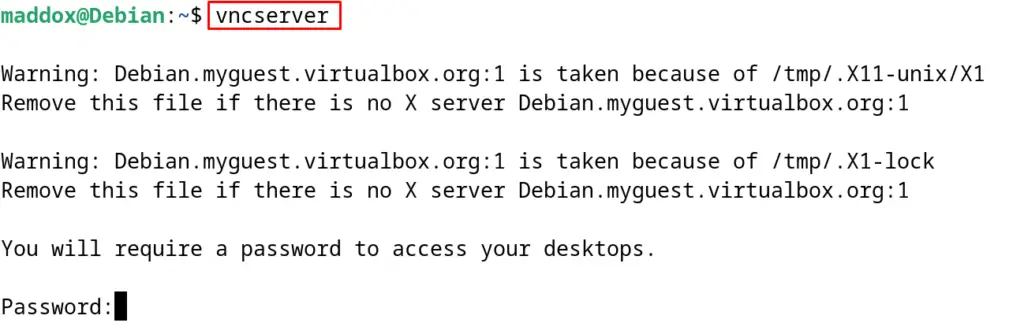
Now set the password that will be used to connect with the tigerVNC by initializing the vncserver with the command:
$ vncserver
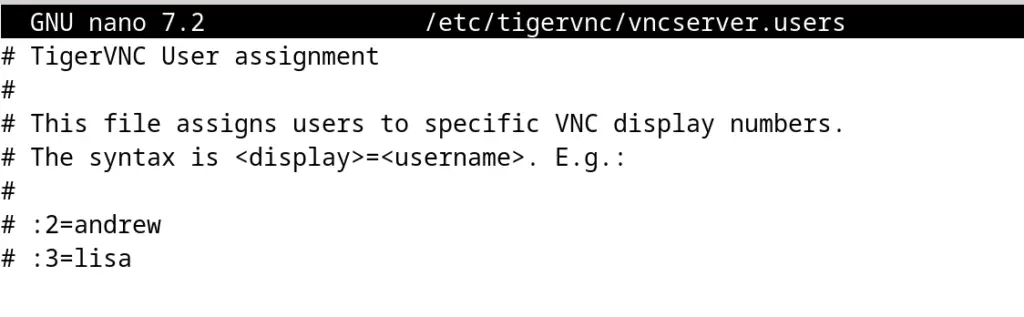
Open the file mentioned below to create a VNC user with the nano text editor:
$ nano /etc/tigervnc/vncserver.users
Add the user with the serial number as shown below:
:1=vncUser
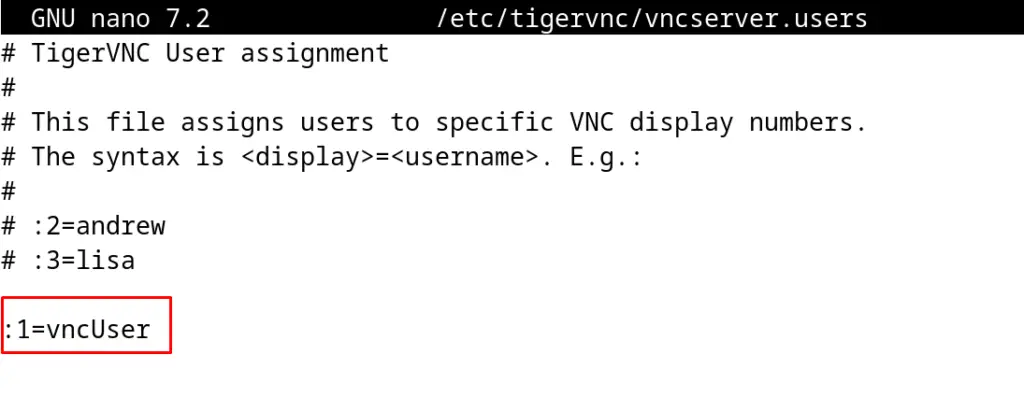
Now save the file and exit the nano text editor.
Step 4: Start and Enable the TigerVNC
Start the service of the tigerVNC with the command:
$ sudo systemctl start tigervncserver@:1.service
Also, enable the tigervncsever so it can be started at the boot time with the following command:
$ sudo systemctl enable tigervncserver@:1.service
In the above two commands, “:1” implies to initialize the desktop 1.
Step 5: Display the Status of TigerVNC
To confirm the status of the TigerVNC, run the command:
$ sudo systemctl status tigervncserver@:1.service
It can be seen that the TigerVNC is enabled and running on Debian successfully.
How to Uninstall and Remove the TigerVNC on Debian?
To remove and uninstall the TigerVNC with its configuration files, run the command:
$ sudo apt purge tigervnc-standalone-server -y
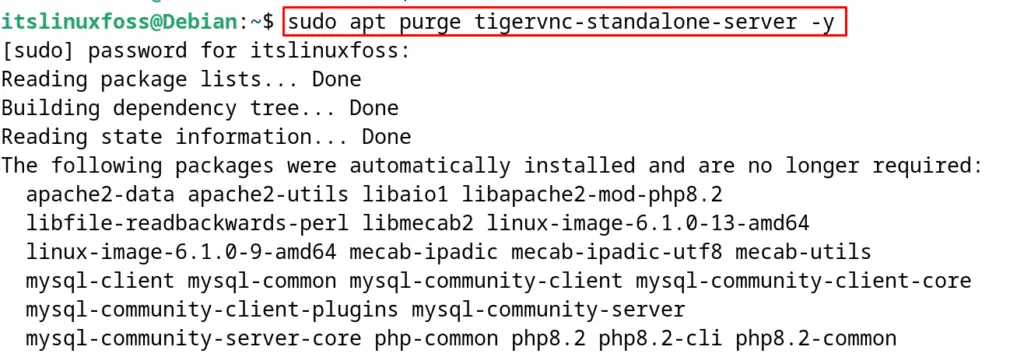
The package of the TigerVNC has been removed and uninstalled successfully on Debian with the successful execution of the above command.
Conclusion
TigerVNC can be installed on Debian by running the “sudo apt install tigervnc-standalone-server -y” command in its terminal. TigerVNC is used to establish a remote connection between the remote and server computer.
TigerVNC can be installed on multiple operating systems and this post explained the installation of TigerVNC on Debian 12.
