Ubuntu 24.04 LTS (code-named Noble Numbat) is the latest released Ubuntu version that enhances security, modifies the desktop experience with GNOME 46, and improves usability features. While Oracle VirtualBox is a feature-rich open-source tool that lets us create and run multiple machines on our system simultaneously. We can install Ubuntu 24.04 on VirtualBox to run it alongside our primary operating system. Don’t know how to proceed with the installation process? No worries! In this guide, we’ll demonstrate a step-by-step process to install Ubuntu 24.04 on VirtualBox.
How to Install Ubuntu 24.04 on VirtualBox
To install Ubuntu 24.04 on VirtualBox, go through the below-listed steps:
- Step 1: Download Ubuntu 24.04
- Step 2: Create a New Virtual Machine
- Step 3: Change Machine’s Network Settings
- Step 4: Install Ubuntu 24.04 on VirtualBox
- Step 5: Verify Distribution Information
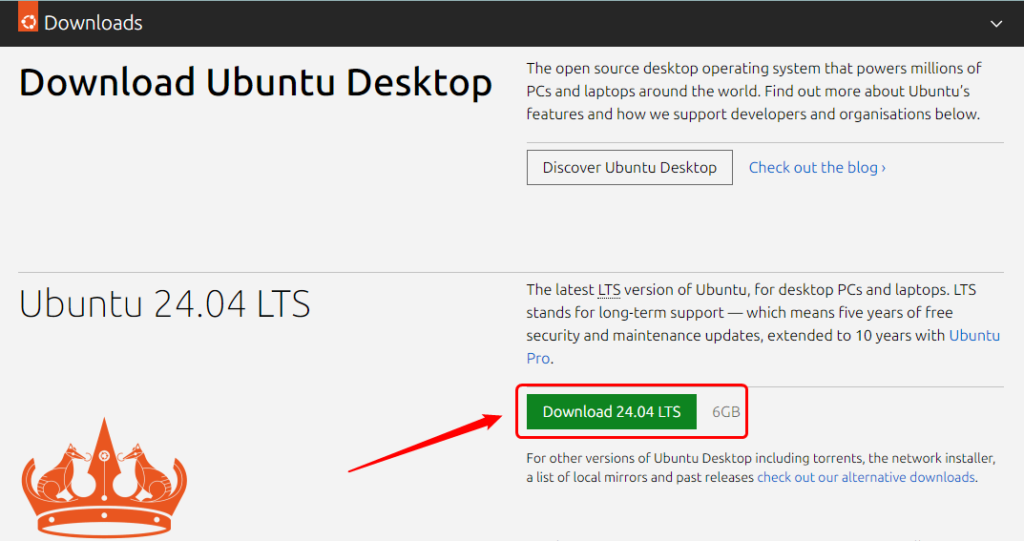
Step 1: Download Ubuntu 24.04
Open your favorite browser, and navigate to Ubuntu’s official page to download the ISO image of Ubuntu 24.04 LTS:
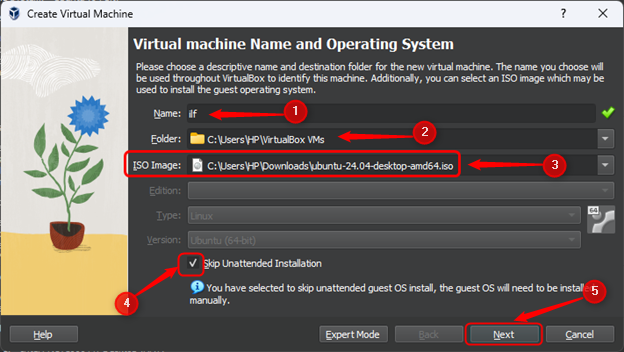
Step 2: Create a New Virtual Machine
After downloading the ISO image, open the VirtualBox and create a new virtual machine. Specify the machine name and the folder in which the machine will be created. Add the downloaded ISO image and hit the next button to proceed:
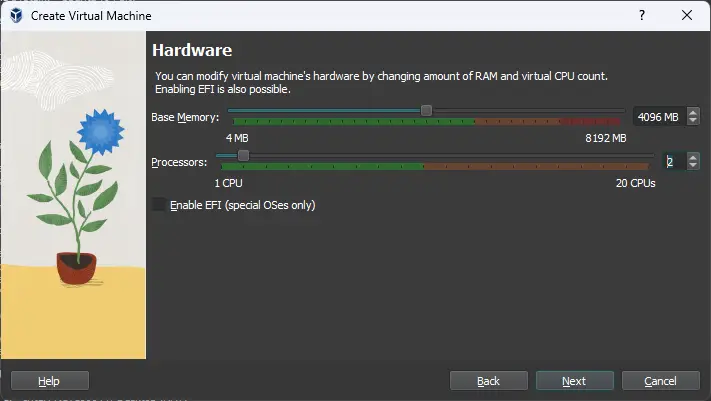
Set the virtual machine’s hardware by specifying the base memory and number of processors, and click the next button:
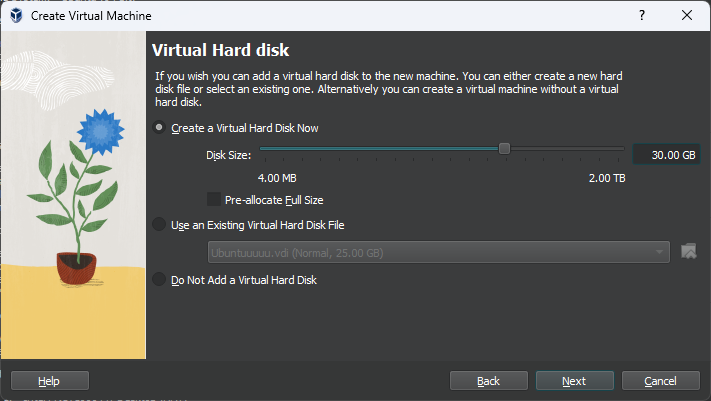
Specify the disk space that you want to allot to this virtual machine:
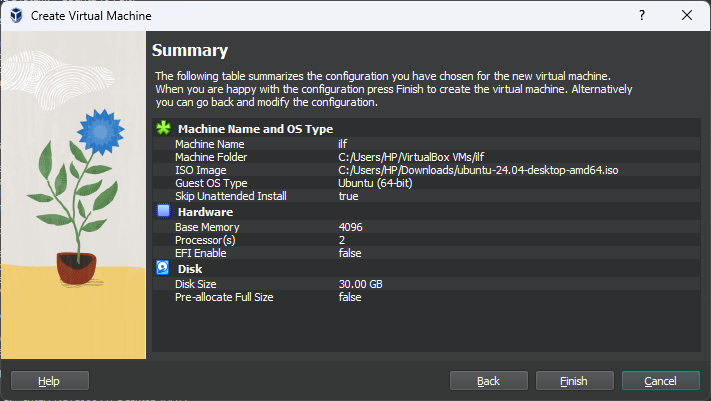
Review the summary and hit the next button to create a new virtual machine with the specified specifications:
Step 3: Change Machine’s Network Settings
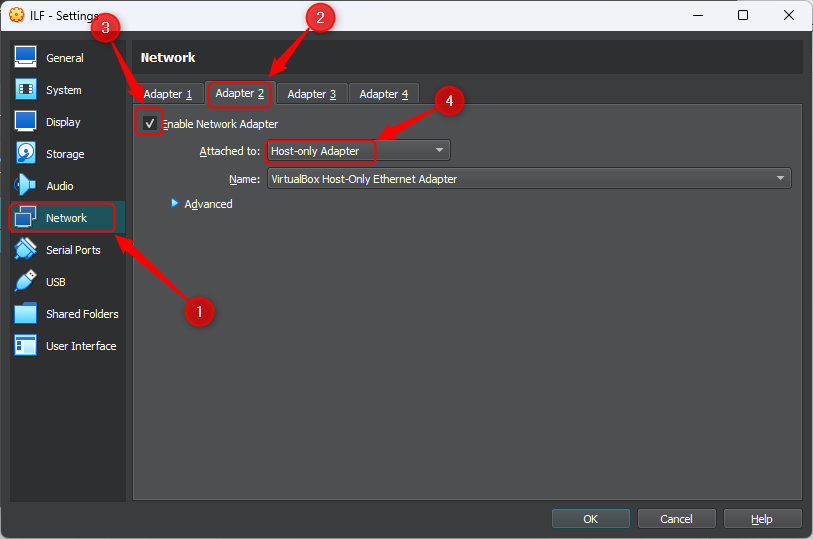
To configure network settings for the virtual machine, open the virtual machine settings and navigate to the Network settings. By default, the first interface attached is NAT, which is necessary to provide the VM with Internet access. In the next tab, i.e., “Adapter 2”, first, tick “Enable Network Adapter”, and then select “host-only adapter” from the available options to allow access to the VM from the host:
Step 4: Install Ubuntu 24.04 on VirtualBox
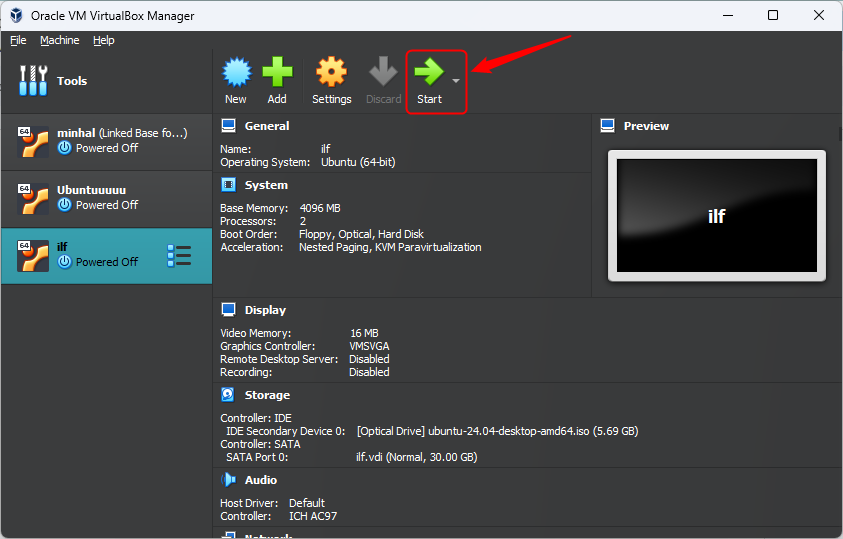
Now left-click on the created virtual machine and hit the start button to proceed with the installation process of Ubuntu 24.04:
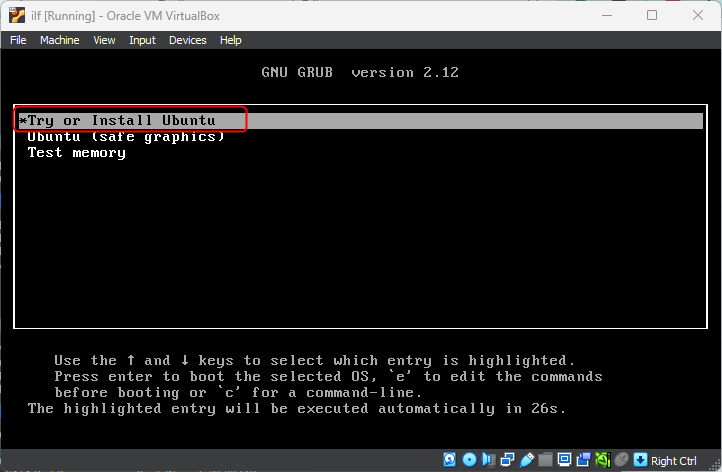
Select the “Try or Install Ubuntu” option with the keyboard’s arrow keys and press the “Enter” button:
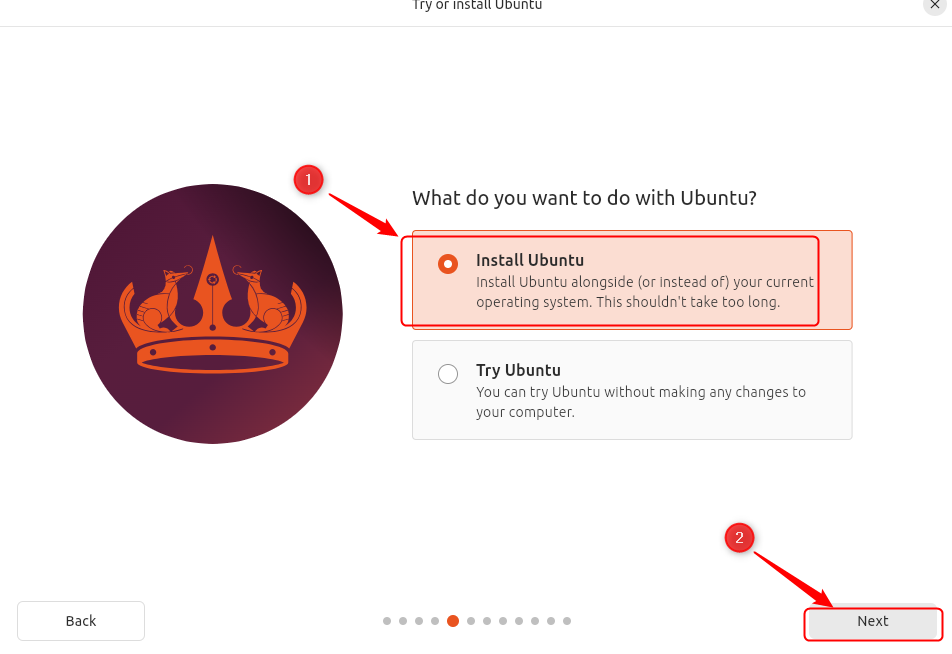
Now follow the on-screen instructions to choose your language, set accessibility settings, keyboard layout, and internet connection. After this, you will be navigated to the following screen; select the “Install Ubuntu” option and hit the “Next” button to proceed with installation:
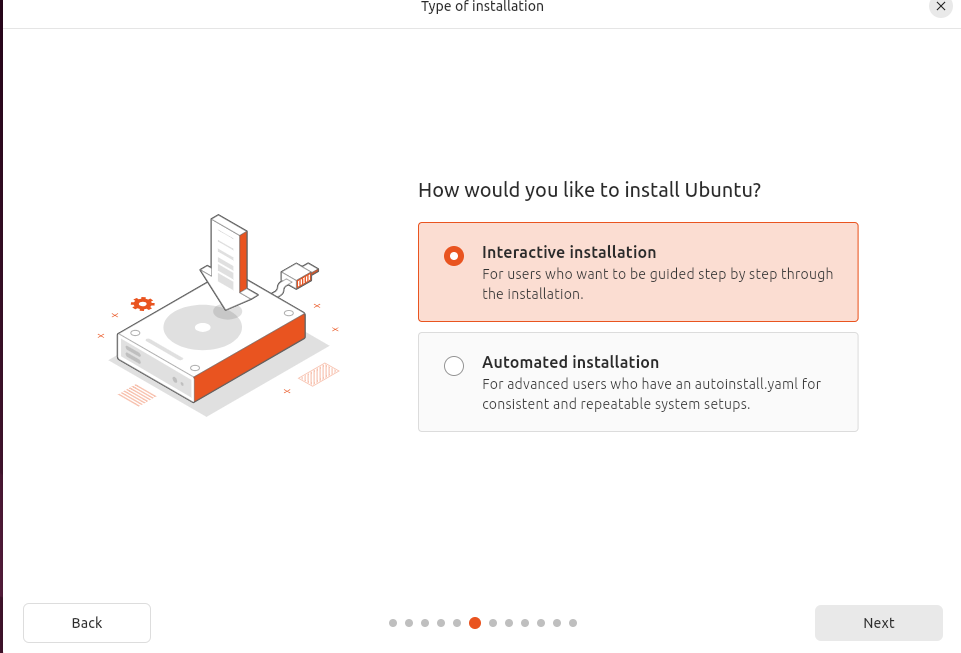
Choose the type of installation from the given options and click the next button to continue the installation process:
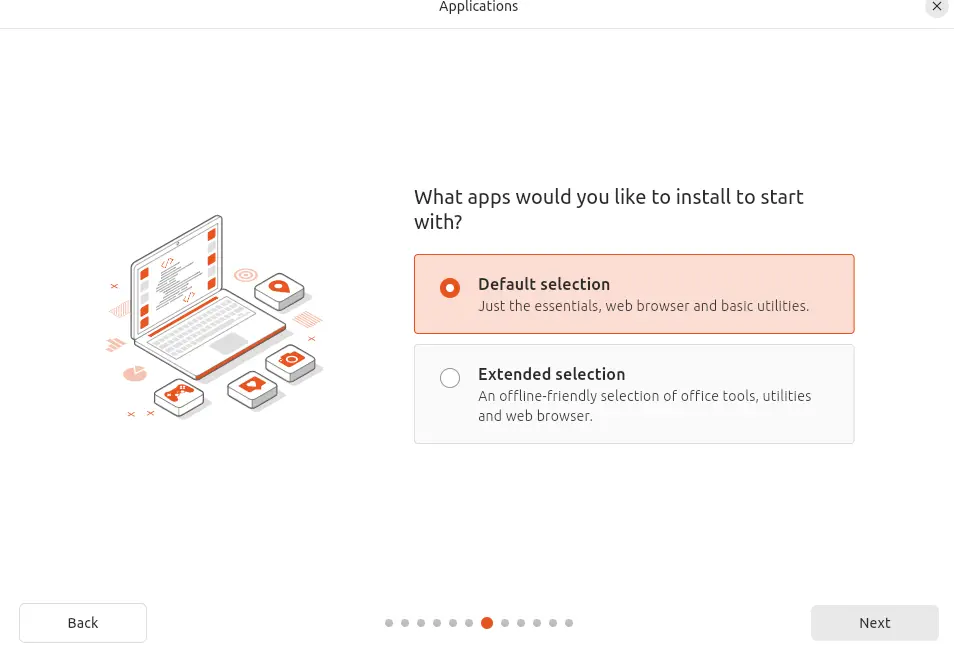
Now select the “Default Selection” if you want to install Ubuntu with essential utilities only. Also, you can select the “Extended Selection” to install Ubuntu with some additional applications and utilities:
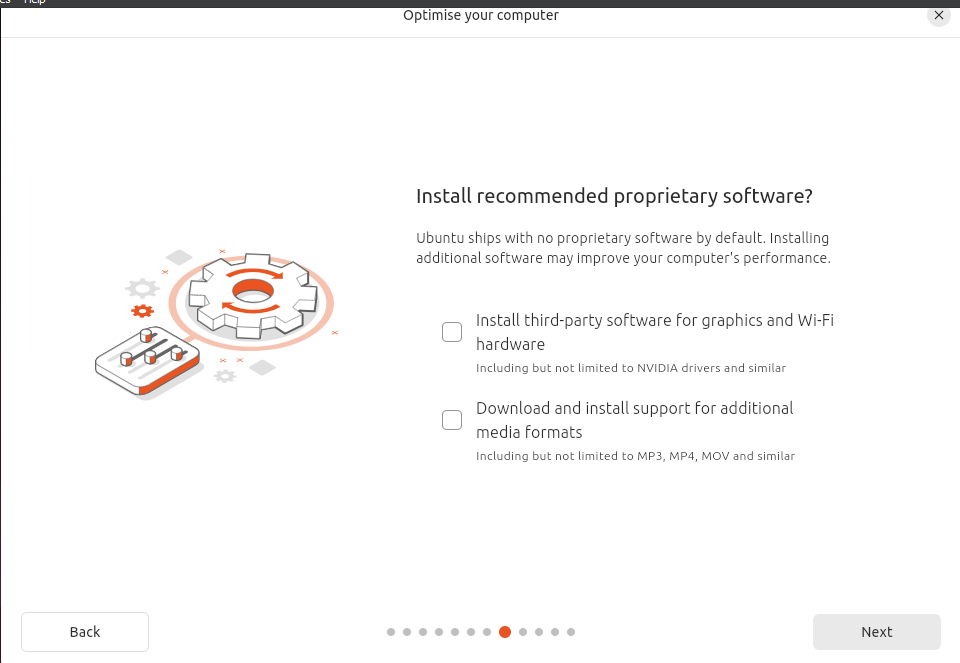
Do you want to install the recommended proprietary software? If yes, select the option accordingly and hit the “Next” button to proceed. In our case, we are skipping this option; you can select one according to your preferences:
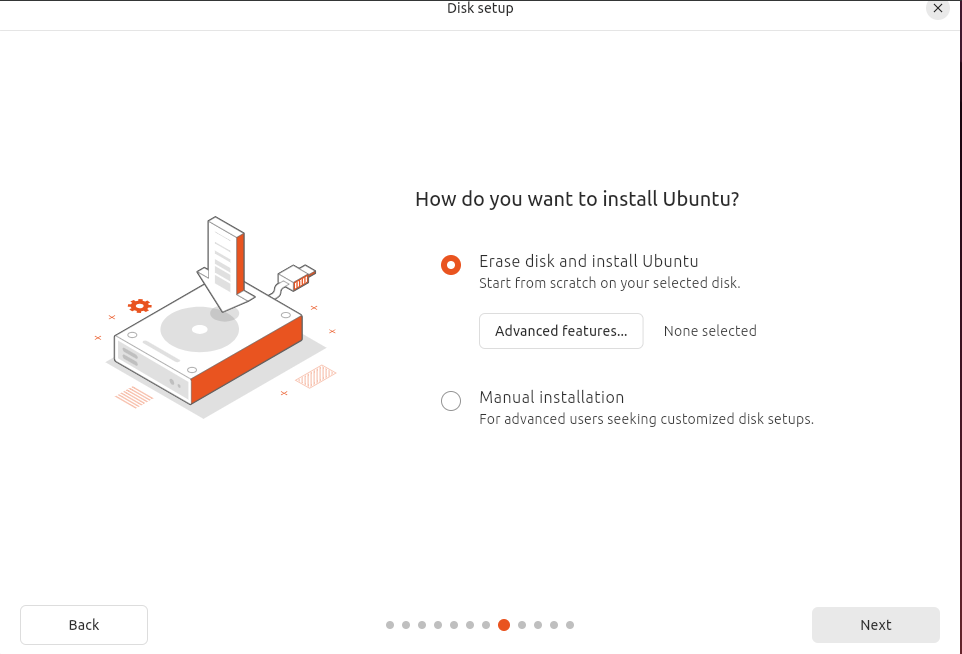
From the Disk Setup page, select the “Erase disk and Install Ubuntu” option to install Ubuntu from scratch on the selected disk. Alternatively, you can choose the “manual installation” to install Ubuntu with customized disk setups:
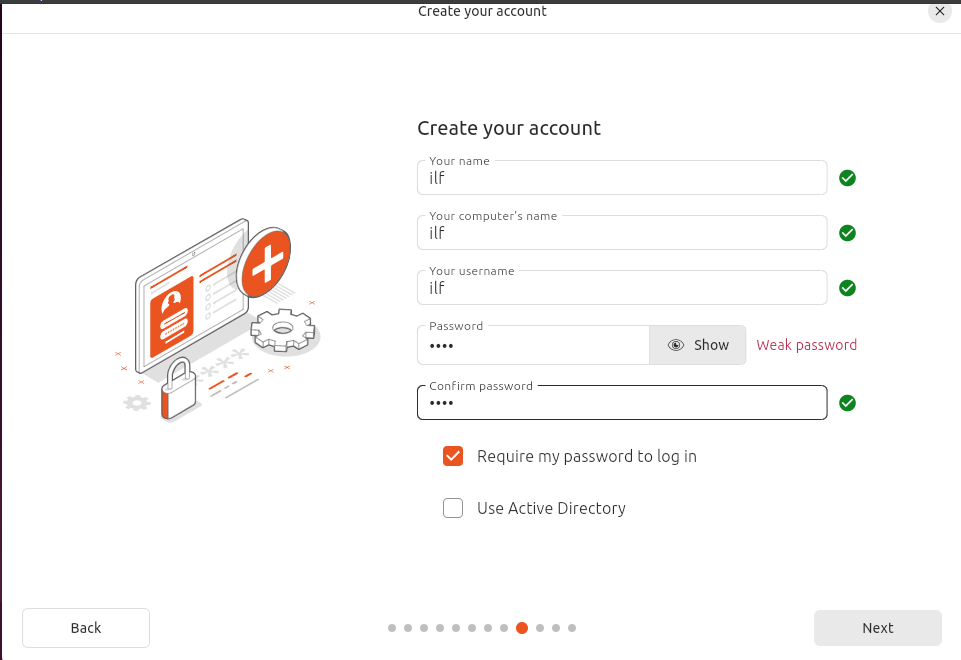
Now create your account by specifying your name, computer’s name, username, and password:
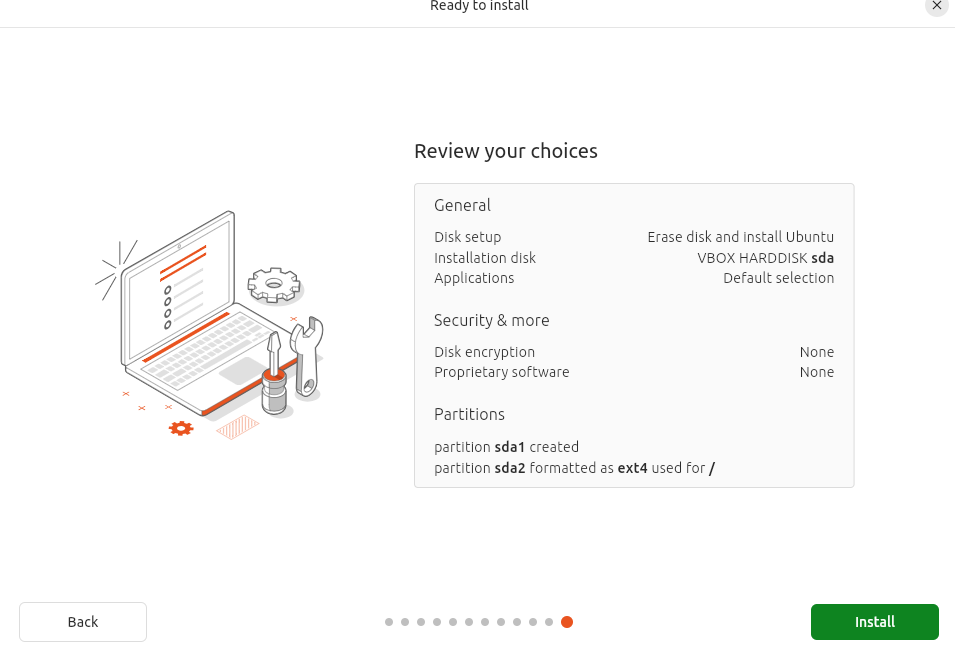
After this, select the timezone and hit the next button to navigate to the “ready to install” page. Review your choices and hit the “Install” button to begin the installation:
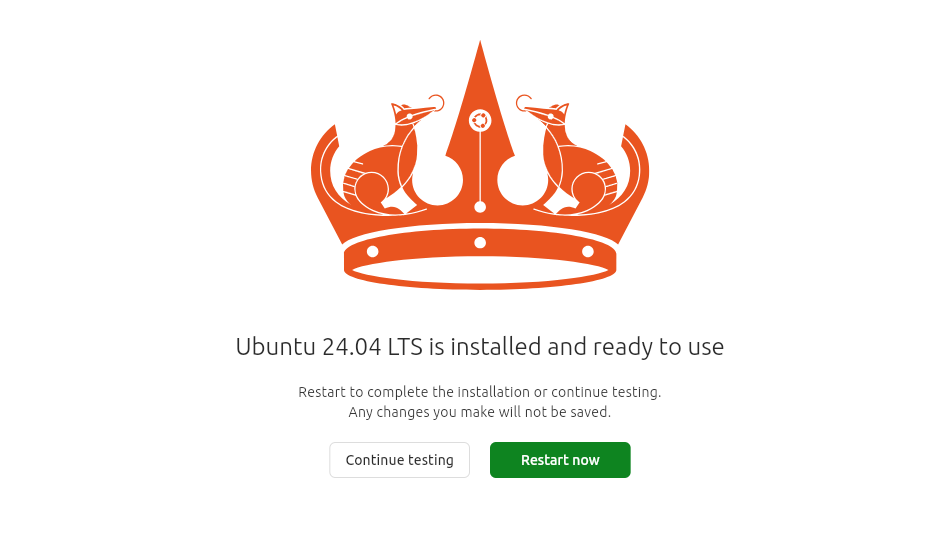
The installation process will take some time; once completed, you will be navigated to the following screen, click on the “restart” button to complete the installation:
After restarting Ubuntu 24.04, provide the login credentials to start your machine, and then follow the on-screen instructions to complete the setup:
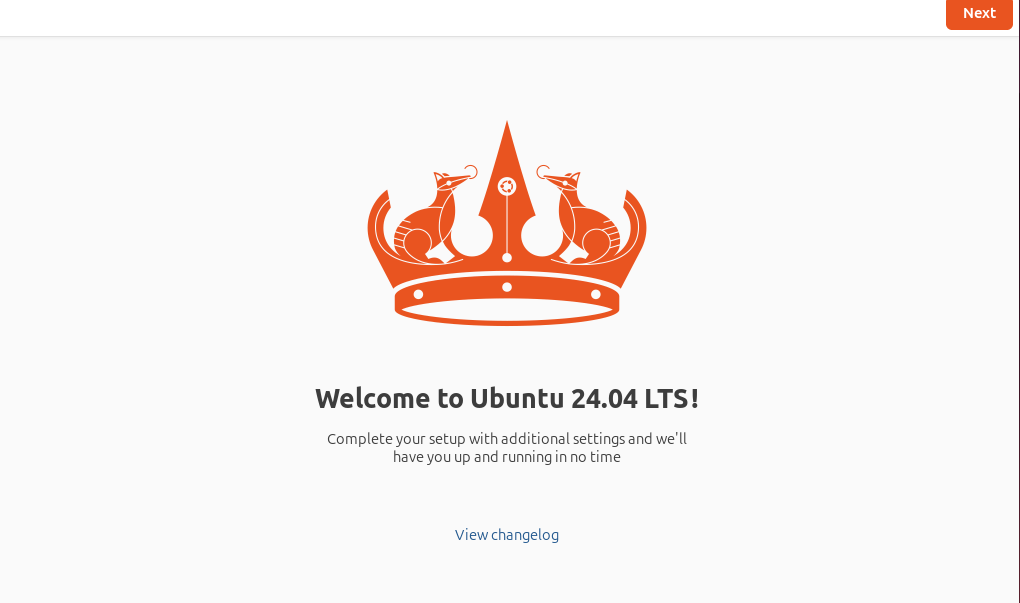
Now we are all set to use Ubuntu 24.04 on VirtualBox.
Step 5: Verify Distribution Information
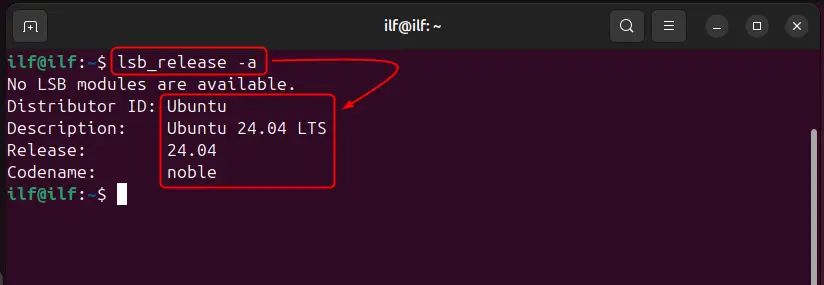
Open the terminal and run the “lsb_release” command with the “-a” option to get all the details regarding the installed Linux distribution:
lsb_release -a
The output confirms the successful installation of Ubuntu 24.04 on VirtualBox:
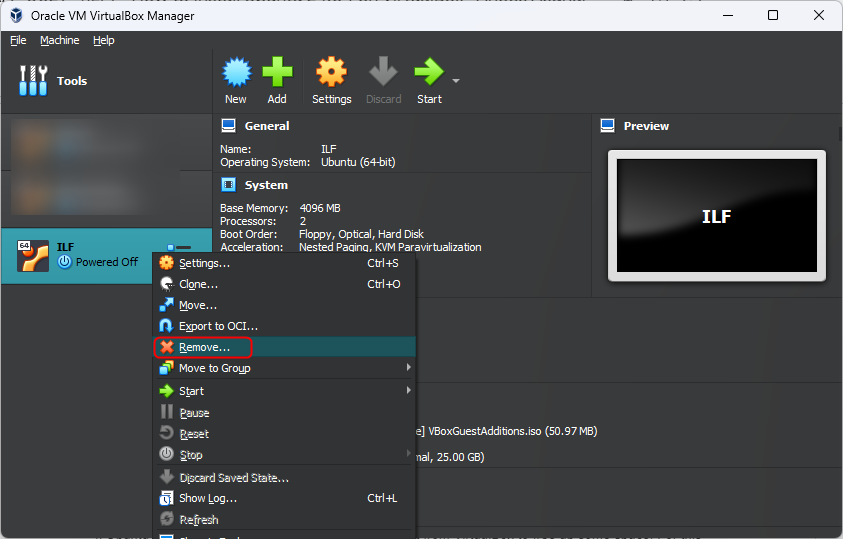
How to Completely Remove a Virtual Machine From VirtualBox
If Ubuntu 24.04 is no longer needed, you can remove it from VirtualBox to free up some space. For this purpose, right-click on the VM to be removed, and select the “Remove…” option:
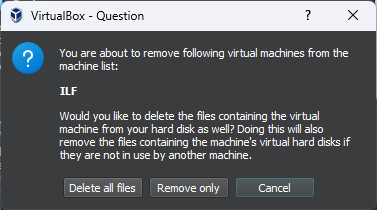
Upon clicking the “Remove…” option, the following dialog box will pop up, click on the “Delete all Files” button to remove the selected VM from VirtualBox completely:
That’s all about installing and uninstalling Ubuntu 24.04 on VirtualBox.
Final Thoughts
VirtualBox is a feature-rich, cross-platform software that lets us create a virtual machine along with our primary operating system. To install Ubuntu 24.04 on VirtualBox, first, download its ISO file from the official page, and create a new virtual machine by specifying the downloaded ISO image. After creating the virtual machine, change the machine’s network settings, and install Ubuntu 24.04 on VirtualBox by following the on-screen instructions, as demonstrated in this post.
